How to resample hardware synths with Ableton Live's Simpler and Sampler
Here's one way to combine sampled outboard synthesizers with creative in-the-box techniques
With Ableton Live, sampling real-world instruments is easy, fun and creatively lucrative. In this walkthrough, we'll show you how to render the output of a hardware synth into Live's Simpler and Sampler devices in order to apply a range of treatments that only software can deliver.
• For many more Ableton Live guides go to our massive learning hub: Learn Ableton Live and Ableton Push: music production tips and tutorials
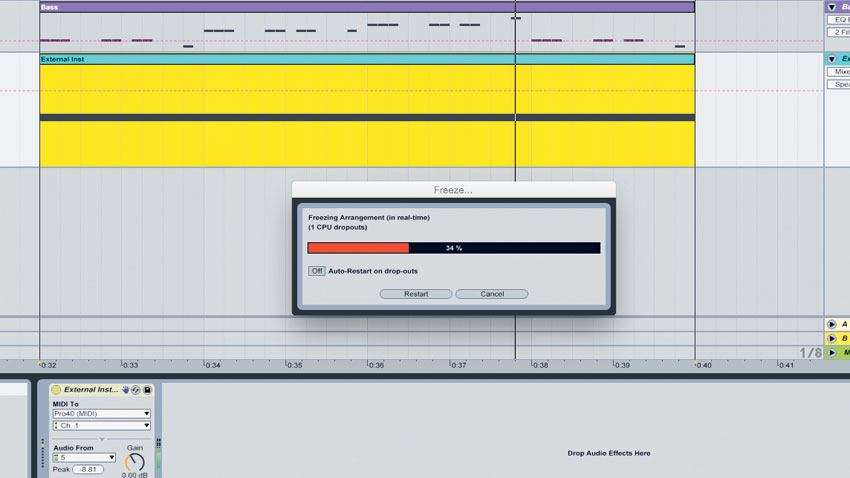
Step 1: After building a basic 120bpm beat-and-bass groove, we use a monophonic hardware synth to create an inspiring arpeggiated lead line. The synth is being triggered using Live's External Instrument - to sample four bars of this riff, we right-click on the lower half of our MIDI clip and select Freeze; right-click again and select Flatten to render the frozen signal to an audio file.
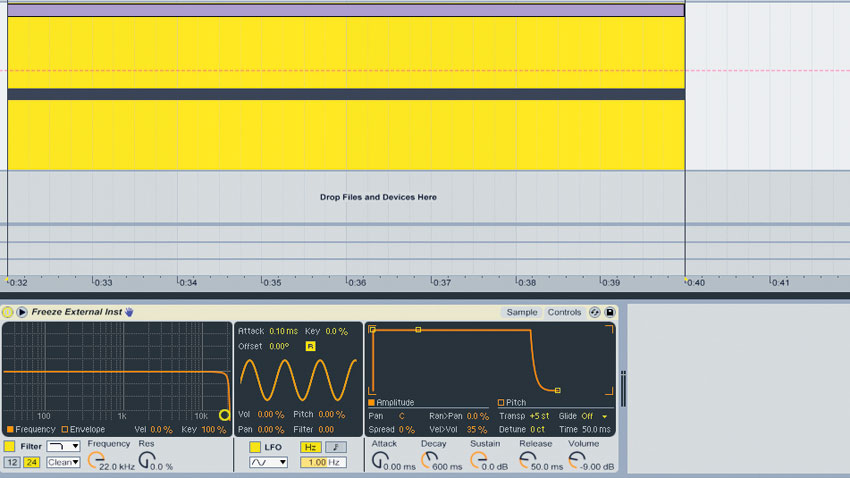
Step 2: Drag the newly-created audio clip into the bottom window of a new MIDI track to load it into an instance of Simpler. As our track is in G, we'll create a new MIDI clip and draw in a G2 note to trigger the audio riff, raising Simpler's Controls>Transpose amount to +5 so the loop plays back at its original pitch. Send the riff to the default Return A for some performance reverb.
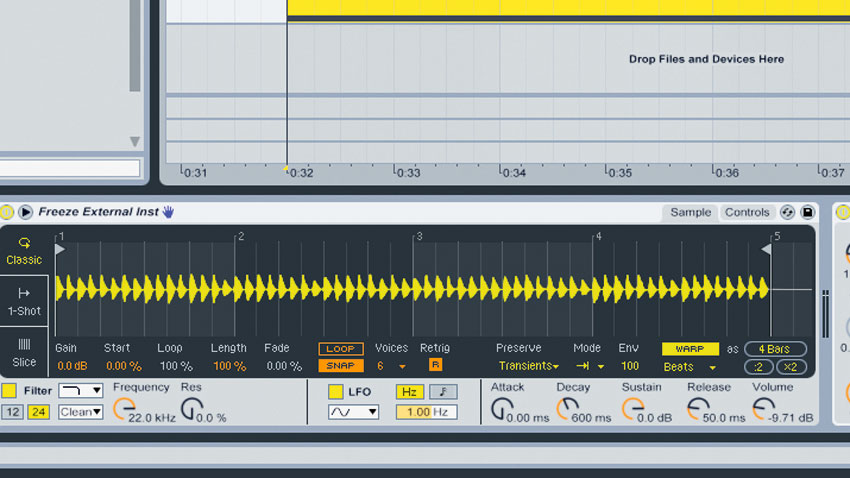
Step 3: Simpler's Sample>Warp button is engaged, meaning our rhythmic loop's timing will stay locked to the track's tempo when played back at different pitches across the keyboard. We duplicate the triggering MIDI note to G1 and G3, adding unison thickness across three octaves. The thicker signal's bass is bloated, so we cut away sub and low-mid frequencies with an EQ.
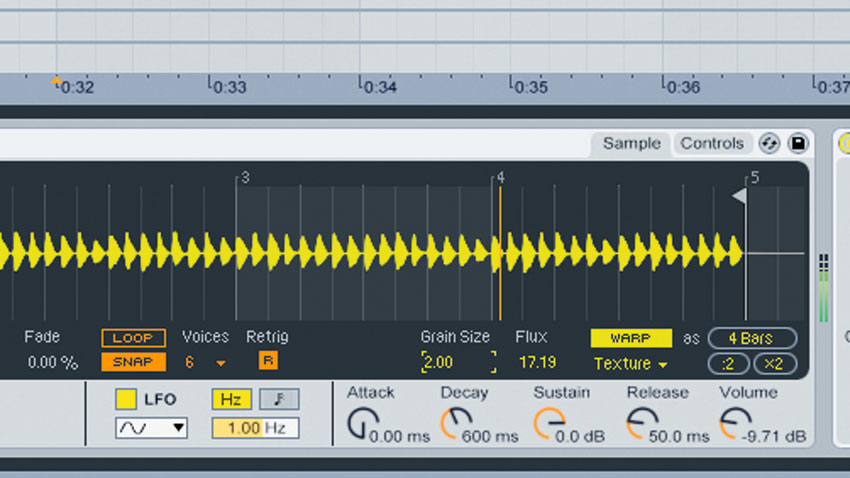
Step 4: Try the various Warp Modes to hear how each can alter the riff's timbre. Textures mode is useful for weirder effects - we rhythmically sweep the Grain Size to generate odd glitches. This Grain Size parameter can't be automated, so we'll route this channel's signal into a new audio track, hit record and print our Grain Size sweeps onto the new channel as audio.
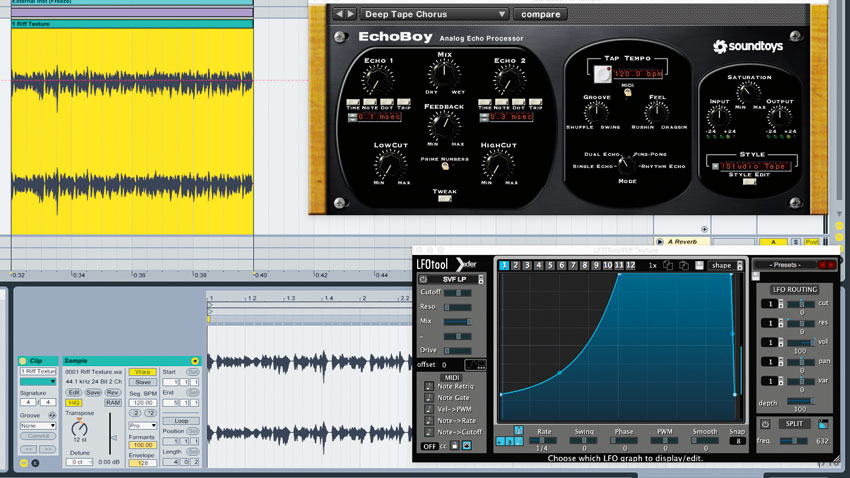
Step 5: Let's mould this glitchy version of our arp loop into a pumping riff element. Push up the audio clip's Transpose amount to +12, then change the clip's Warp Mode to Complex Pro, giving the loop even more grainy texture. A large helping of chorus and sidechain pumping turn the signal into a wide, glitchy riff which can be layered over the original source signal.
Want all the hottest music and gear news, reviews, deals, features and more, direct to your inbox? Sign up here.
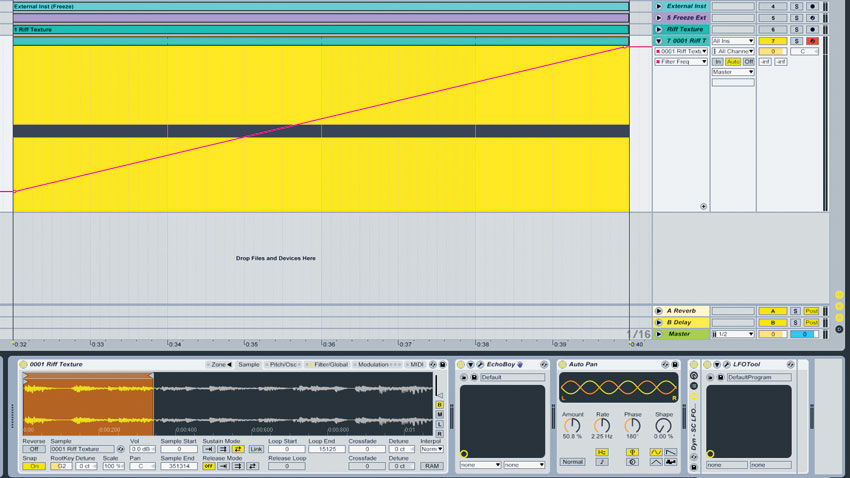
Step 6: Drag the original file created in step 4 into a new instance of Sampler. By engaging the Sustain Loop Mode's Loop Back and Forth option, then setting up the loop range over a small section of the glitch loop, we create an odd pattern that plays forwards and backwards. Giant delay repeats, autopan, sidechaining and filtering transform this into a tonal, cavernous sweep.
Future Music is the number one magazine for today's producers. Packed with technique and technology we'll help you make great new music. All-access artist interviews, in-depth gear reviews, essential production tutorials and much more. Every marvellous monthly edition features reliable reviews of the latest and greatest hardware and software technology and techniques, unparalleled advice, in-depth interviews, sensational free samples and so much more to improve the experience and outcome of your music-making.

