PRODUCTION EXPO 2013: One of the most problematic aspects of recording is making a great vocal. 'How loud should my vocal be?' 'Why don't my vocal parts sound like those on hit records?' Let's look at some tips to set you on your way from recording through to vocal production...
Vocal Channel Strips
While it would never be advisable to recommend the specific positions of parameters within a combination of plug-ins, it is possible to recommend a combination of plug-in types which will serve the majority of vocals well, to use as a starting point for your own mixes.
It helps to think in terms of what effect types you'll need rather than thinking of specific processors to begin with, so as you're likely to want control over tone, dynamic range and space, you're also likely to want 'remedial' plug-ins to iron out problems arising from other processors.
You may well want EQ, compression and spatial effects like reverb and delay, but you might also need de-essers to compensate for a bright EQ solution. Try to think about the difference between insert effects that are specific to your vocal, like individual EQ and compression treatments, and auxiliary effects that you will want to share with other sounds, such as reverbs and delays.
Here are some of the best signal path practices when treating vocals...
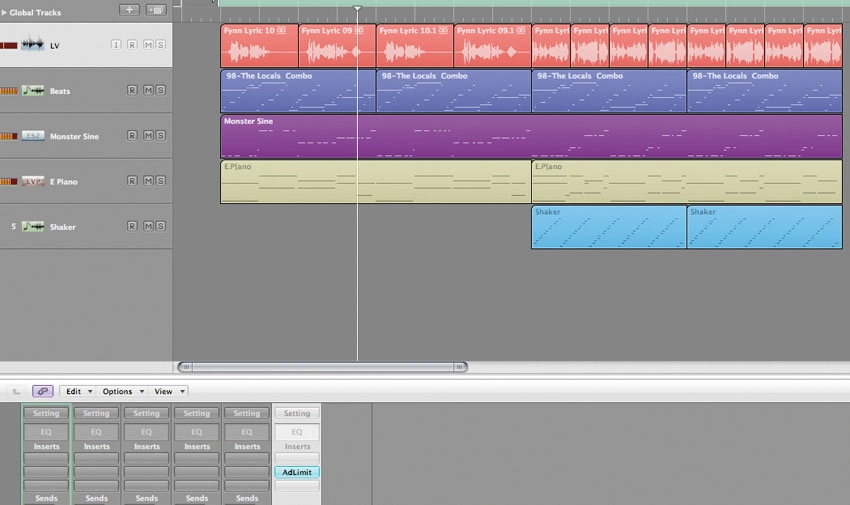
Step 1: Our vocal part here is an Apple loop consisting of a couple of phrases around which we've added some accompaniment in the form of a loop from Stylus RMX, a deep bassline, an electric piano part and, for the pre-chorus hook, a shaker part to add some subtle lift.

Step 2: We add the Sonnox EQ, FabFilter's ProC compressor and Logic's DeEsser. The EQ adds sparkle and reduces 'body', with boosts at 1.5kHz and 5kHz and a high shelf from 10kHz. The compressor uses a Ratio of 4:1 while the DeEsser grabs the 't' sounds and makes them less present.

Step 3: Next we set up three auxes. On the first, we insert a stereo delay with a quarter-note (left) and an eighth-note (right) delay. Aux 2 features a plate reverb with a Decay time of 2s. The third aux features a quarter-note delay that only activates for the 'yeah' and 'got it' end phrases.
Thickening vocals
Chorus is one of those vocal effects that goes in and out of fashion. Way back when, it was hard to find a vocal on a pop record which wasn't awash with obvious chorus, whereas now, treatments tend to be much more subtle.
Use of chorus is still all too prevalent, though - and when you consider how it works, it's not hard to understand why. Chorus units receive an input signal, delay it for a few milliseconds and then 'widen' its tuning, usually by detuning a 'copy' of the part a little flat and another a little sharp.
These copies are then played back, producing a vocal which occupies a wider, thicker pitch base and therefore has more presence in a mix. This technique is particularly effective when you're working with a single vocal (rather than one that has been double-tracked or is supported by multiple harmonies) which is having to fight its way through a mix to be heard.
Read the steps to below and check out the clips to hear chorus in action.

Step 1: We've constructed an arrangement around a thin, laid-back vocal part. There's plenty of feeling in the vocal but, due to its thinness, there's no real presence here. If the arrangement were to thicken, the vocal would probably end up getting drowned.

Step 2: We set up UAD's emulation of the Roland Dimension D chorus unit on an auxiliary, though any chorus plug-in will do. Then we send this to Logic's Stereo Spreader to spread the chorus's sound across the stereo spectrum.

Step 3: This thickens the vocal nicely, but the result is still quite dry. To counter this, we set up delay (Aux 1) and reverb (Aux 2). These are applied both to the dry vocal and the chorused vocal at Aux 3. The levels are dropped to balance the track, but the vocal is now much richer.
Picking up the chorus
'Don't bore us - get to the chorus!' It's an age-old rule of pop songwriting, yet in production terms, the slightly less snappy 'Don't bore us when you get to the chorus' is just as applicable.
Choruses have to lift. Even if you've written the best song in the world, if the production and mix of your track doesn't go up a few gears at this point, all of the expectation you've so carefully constructed through the verse will fall like a lead balloon as the chorus comes in.
There are a number of things you can do to ensure your chorus really delivers, but before we look at specific vocal treatments, the first point to note is that it shouldn't only be the vocal which delivers the power increase.
Your whole arrangement needs to provide more power and strength on the chorus because if only the vocal part goes up a few notches, it'll sound as though it's fighting the arrangement rather than drawing strength from it.

Step 1: Here's our basic arrangement. It features a softer 'verse' vocal treatment singing a 'woah' part, followed by a more belting chorus line. The arrangement matches this, with dreamier, arpeggiated sounds in the verse before the beat drops with more power in the chorus. Remember, a powerful vocal treatment will only work with an arrangement to match.

Step 2: One way to ensure that your chorus really picks up is to make what comes before it lighter, so the contrast from softer to louder is more obvious. We do this by EQing and compressing the verse vocal, with air added via a high shelf and power removed with drops lower in the spectrum.

Step 3: We're adopting an unusual tactic with the chorus vocal by introducing auxiliary effects first. Firstly, there's a quiet basic stereo delay which adds width via independent left and right delay channels. Then we add reverb via Aux 2 and a more tailored quarter-note delay which rises in level through the two 'higher' words.

Step 4: To add extra power, we duplicate the chorus vocal channel and copy the audio file down to it, copying automation at the same time. Then we pan the duplicate vocal left (-35) and EQ it to bring extra bass and low-mid frequencies into it. Finally we compress it hard, with a Ratio of 6:1.

Step 5: We copy this duplicate track a second time but, keeping exactly the same settings, we pan this new track the same amount to the right (+35). We drop the levels of these duplicates substantially as we don't want them to take over, but they add richness nonetheless.

Step 6: The final change is a subtle one. As the word 'higher' sustains each time, its volume slightly dips, which lowers its energy level. We counter this with a volume automation ride that boosts through this note each time, making the vocal more insistent and powerful.
This feature is taken from the Computer Music Special Recording: The Ultimate Guide, which features 164 pages of pro advice, if you're serious about recording music be sure to check it out.