8 essential tools for mastering
Everything you need to successfully master a track
Monitoring
PRODUCTION EXPO 2013: To master your own tracks, there are a few pieces of kit you need to do a decent job. Let’s have a look at the essential ingredients of a mastering meisterwerk then, starting with monitoring...
Monitoring
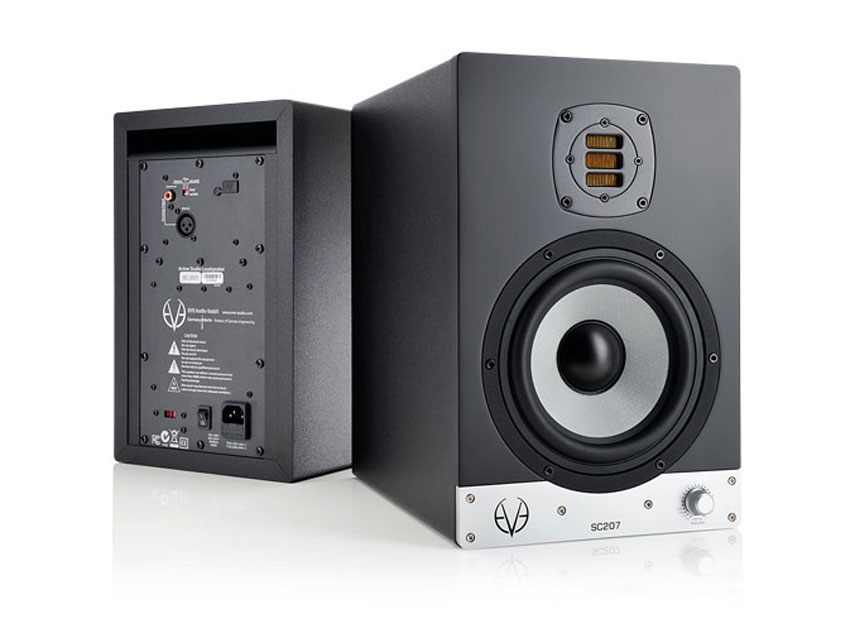
The point of mastering is to create a mix that sounds great anywhere you hear it, and such a feat requires a decent pair of monitors. There’s no point troubleshooting a frequency only to find out that it was your monitors at fault, or to completely miss a problem sound because your speakers didn’t reproduce it properly.
In general, the more you spend on speakers, the better they will be, so this is an area that will demand your cash. And just as important is the room itself, as even the best speakers won’t sound any good in a poor acoustic environment, which can cause poor stereo imaging, a bumpy frequency response, and general lack of detail.
"Even a pro who’s been using an exceptionally well-calibrated system and room for years will still check mixes on midfield speakers"
This is a whole topic in itself, but do take it seriously because without a decent-sounding room, you will struggle to create good mixes and masters. The things to look into are speaker placement and the use of acoustic treatment products such as bass traps and absorption/ diffusion panels.
Assuming that you’ve got all that sorted as best you can, listen to as much different material as possible until you learn the limitations and idiosyncrasies of your environment. When mastering, you should also listen to your tracks on many different systems.
Even a pro who’s been using an exceptionally well-calibrated system and room for years will still check mixes on midfield speakers and even iPhone headphones from time to time. If your master sounds awesome in your room but unbearable on earbuds, then it’s back to the drawing board!
If you’re really stuck, there are plug-ins that claim to compensate for flawed monitoring and poor acoustics, such as IK Multimedia’s ARC. While these work to an extent, they’re not a magic bullet, and you’ll get the best results using them in combination with a well-treated room and great speakers.
EQ
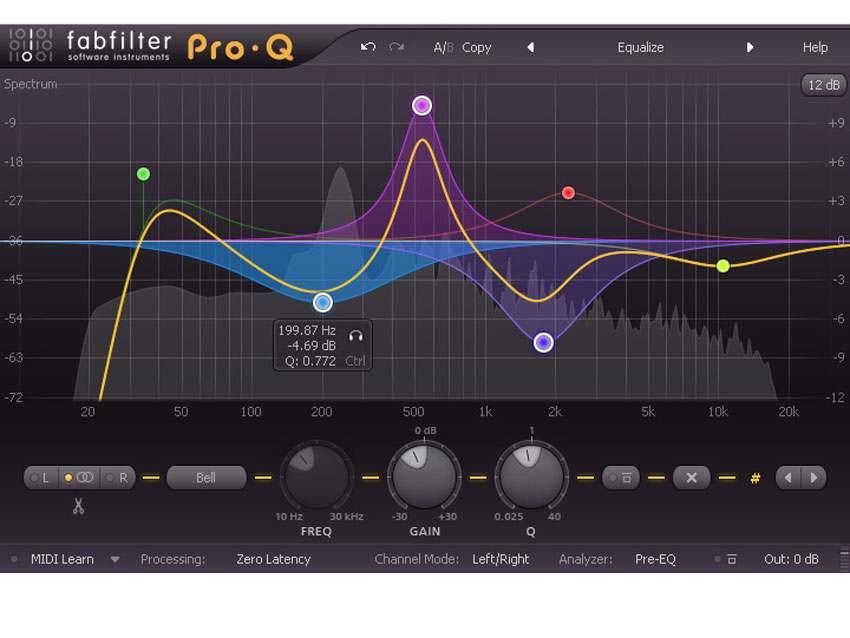
This is one of the most critical processes in mastering. Two main factors affect how we hear a finished mix, and one of these is the frequency spectrum, so a good EQ is essential. It’s also important for setting the general tone of the finished master.
For mastering, you want a fully parametric EQ with shelving filters for the top and bottom end, as well as a high-pass filter. This allows precise work on specific frequency ranges as well as broader top- and bottom-end adjustments.
Another thing often mentioned in association with mastering is linear-phase EQ. Such tools are designed to eliminate phase distortion, which is caused by the tiny time delays introduced at different frequencies.
While this problem is usually extremely subtle and often unnoticeable, it may affect further processing. The idea behind linear-phase EQ is to make the process “transparent” by affecting the level of each frequency but not their phase relationship.
"Linear-phase tools are particularly associated with mastering because the signal chain at this point of the production process contains the full range of frequencies"
Linear-phase tools are particularly associated with mastering because the signal chain at this point of the production process contains the full range of frequencies, meaning that any phase distortion across the spectrum is compounded.
As with any tool, however, linear-phase EQs have their pros and cons. The process preserves the shape of transients and waveforms quite accurately, which is great, but unlike a normal EQ that causes ringing after each sonic event, linear-phase tools spread the ringing before and after. This can be most noticeable in the bass, where it can produce a (subtle) ‘womp’ before bass notes and kick drums.
Pre-ringing is increased by tighter Q values, so linear-phase EQs are better suited to broad, gentle adjustments. They’re also good for left/right or mid/side EQing because they eliminate phasing issues caused by having different EQ settings on each channel.
Compression
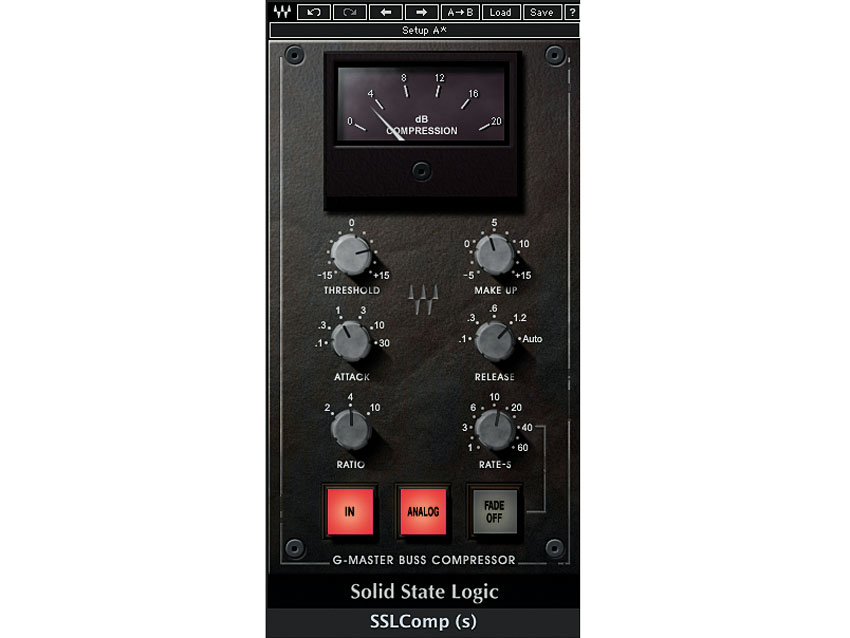
We all know what compression does in general, and it’s no different in mastering. A compressor’s main use is controlling transients and groove. So, the process can be used to accentuate or smooth the punch of your bass and kick, or to add - or even remove - pumping.
It’s important to choose the right compressor, as some are better suited for sounds with fast attacks, while others will shine with smoother grooves. While valve and analogue emulation is all the rage, these models are not always ideal for mastering, where you often need something accurate yet not overly clinical.
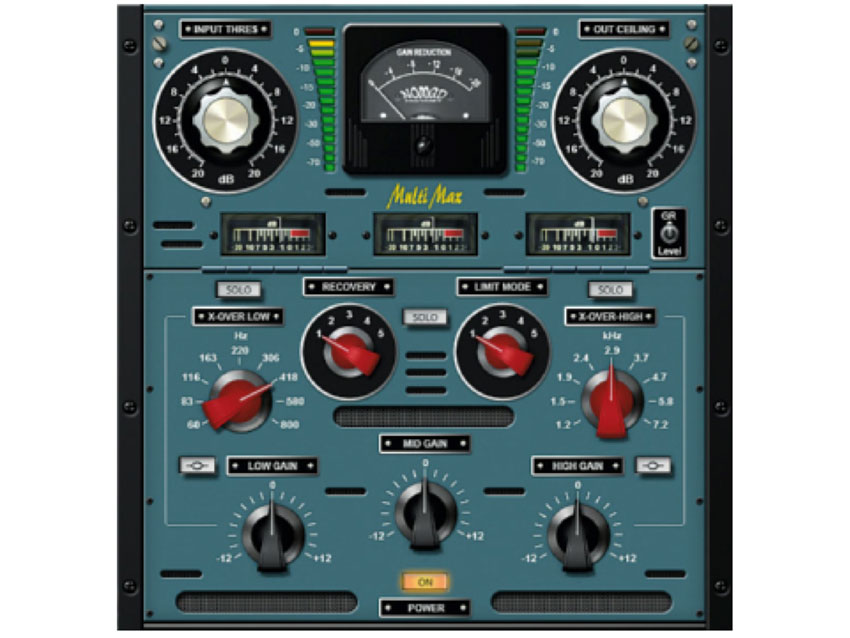
Multiband dynamics
These allow you to compress and limit (and sometimes expand) different parts of the frequency spectrum individually. When it comes to troubleshooting bad mixes, this is an incredible boon, as it allows a huge amount of control over each part of the mix.
This means that these tools can be used to tame bass, bring out vocals, reduce harsh top end and fix a multitude of other issues. It can also be used more subtly to pull together parts of a mix and add some sonic glue.
However, with more bands come more problems. Multiband dynamics is by no means mandatory, and some mastering engineers rarely use it, or perhaps only a band or two. We’d say that if you’re relying on multiband dynamics to get a good sound, you need to work on your mixing skills.
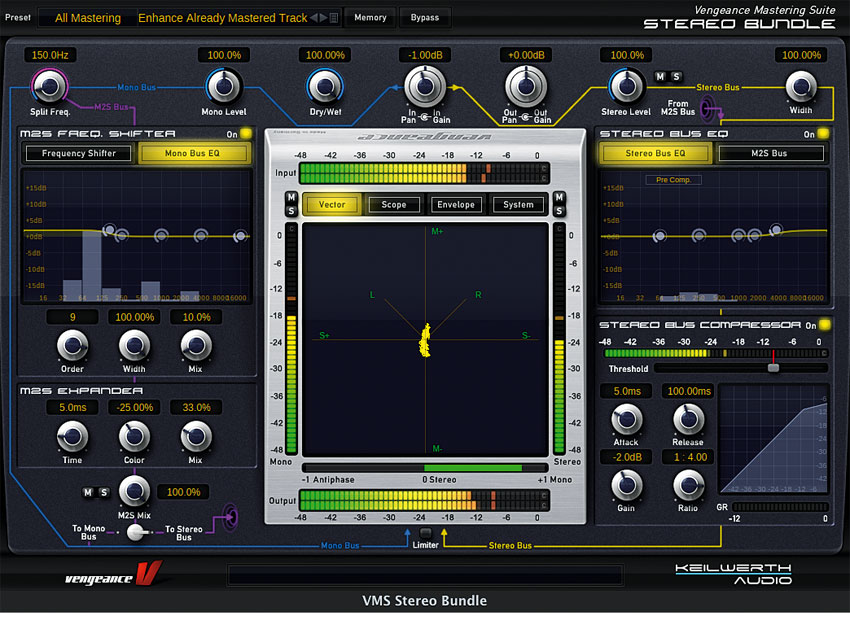
Stereo tools
Stereo processors come in a number of flavours, and these have varied uses in mastering. They are typically used to create a greater sense of space in the stereo mix, but this can have a knock-on effect on the clarity and focus of certain parts. You may also reduce the stereo width to create a more central punch.
The most important things to be aware of when using stereo tools are that bass should usually be mono, and vocals should normally take centre stage. It’s also important to realise that stereo widening often increases the perceived level of high frequencies, so that is something to consider when EQing your mix.
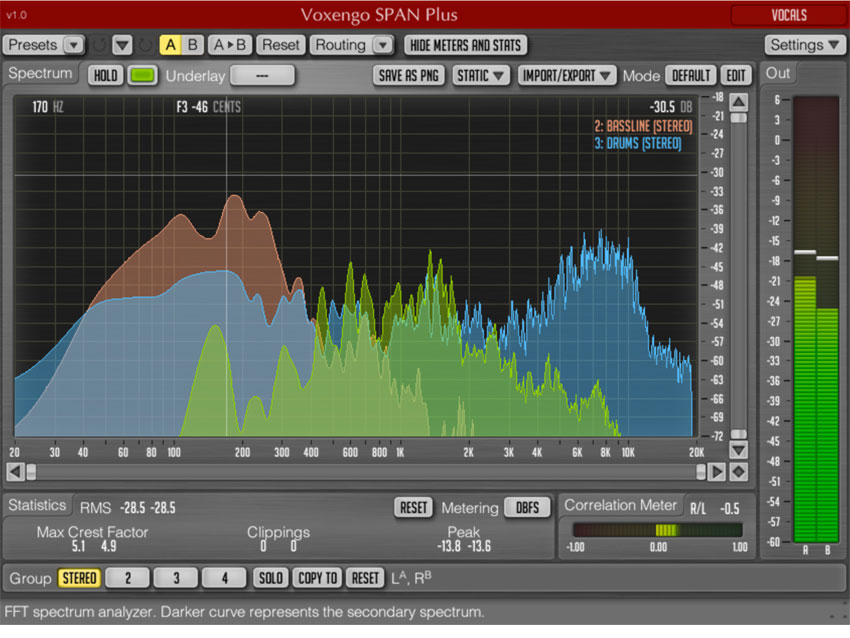
Signal analysers
We often say you should trust your ears above all else, and we stand by that. However, there are a number of reasons why even pro mastering engineers like having a visual meter on hand to guide and confirm their impression.
When you’re mastering your own stuff in your own studio, using a meter is even more important because your monitors may have problems reproducing certain frequencies, particularly in the bass. This way, you can keep an eye out for such ear-evading problems. Stereo correlation meters can also help you to keep an eye on phasing issues (which can be introduced by stereo processors).
So where should you place your metering? As you’d imagine, stereo analysers should be placed after any stereo field processors in the signal chain (any decent stereo mastering plug should include one).
"If you aren’t sure what a good mix looks like, this is where playing back professionally mastered material in the same genre comes in handy"
Frequency analysers should be applied at least after your EQ, though ideally you want to be able to check what’s going on before and after the equaliser to see the effects, and so we recommend you place two into the chain. Many modern EQ plug-ins feature built-in frequency analysis anyway.
Dynamics processing can have an impact on the frequency content too, so we like to have an analyser right at the end of our chain, to check the final product.
Try different analysis modes too, eg, some analysers feature an RMS/hold mode that gives an average of the signal’s frequency content, rather than a constant update.
If you aren’t sure what a good mix looks like, this is where playing back professionally mastered material in the same genre comes in handy. Play your favourite mastered tracks through the analyser and have a look how the meters behave, then compare it to your own stuff. You shouldn’t become too obsessed with this, but if there are obvious differences between your tracks and theirs, this will give you some pointers on what to fix.
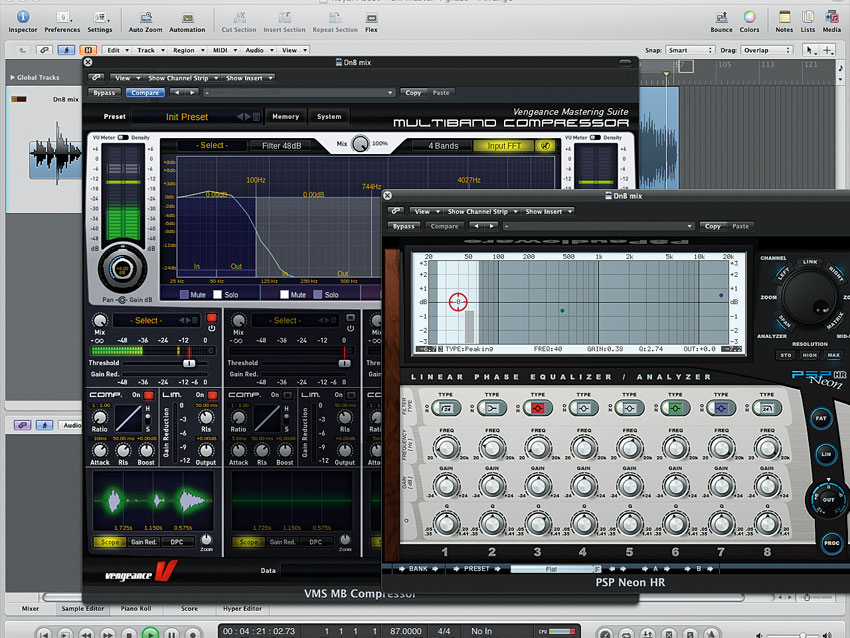
Processor order and gain structure
Finally, as we’ve already explained, you might use some or all of these tools on any given track. However, it’s no use applying the appropriate processors if you’re not using them in the right order. It’s vital to have an understanding of the signal path and how this affects your finished master.
There are two considerations to think about here: processor order and gain structure. Let’s have a think about processor order first. Some tools will affect the quality of results further down the line. EQ, for example, affects the level of frequencies within the signal. This means that it will impact on the results of any subsequent dynamics processors (since these react to signal level), particularly on heavy bass frequencies. For this reason, it is often a good idea to place your EQ before the compressor to ensure that it’s working on a well-balanced mix.
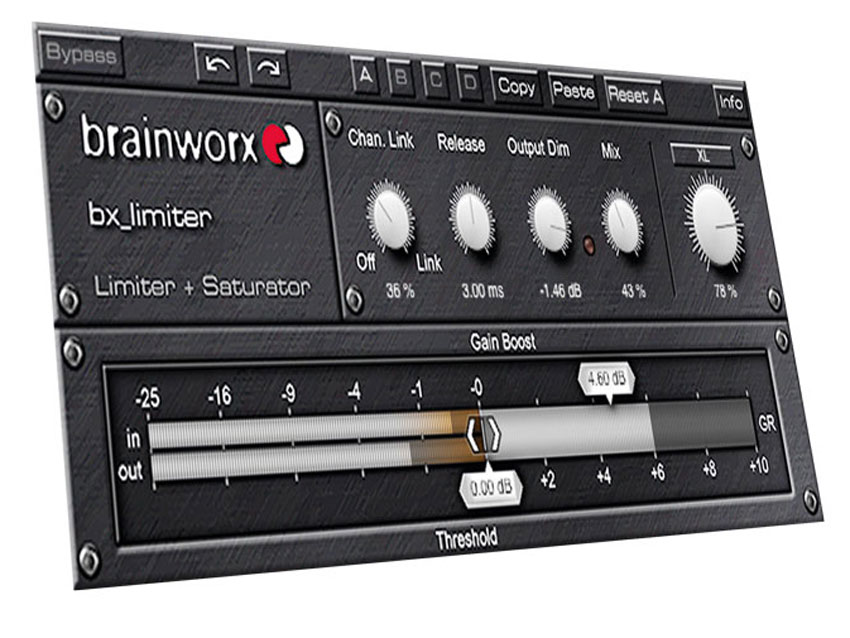
The limiter should always come last in the chain. This is because it doesn’t just create loudness but is also a functional device for preventing clipping and overloaded signals.
"Each processor will affect the level a little, especially compressors and limiters"
Gain structure is the other consideration. Each processor will affect the level a little, especially compressors and limiters, so be careful that none of them cause any overloading or add unwanted distortion.
Any decent mastering processor will feature an input and output meter so you can be sure it’s getting enough signal and not overloading internally. Most modern plug-ins are tolerant of overly hot levels, but many still do work best with a sensible signal level.
Computer Music magazine is the world’s best selling publication dedicated solely to making great music with your Mac or PC computer. Each issue it brings its lucky readers the best in cutting-edge tutorials, need-to-know, expert software reviews and even all the tools you actually need to make great music today, courtesy of our legendary CM Plugin Suite.
