14 extra-juicy FL Studio 10 tips

It's hard to believe, but Image-Line's massively popular FL Studio (originally called FruityLoops) has been around for 12 years now. This unique and highly evolved DAW has always trodden its own path, and version 10 sees the addition of plenty of new toys and features.
You can find out what they are in our FL Studio 10 review, but if it's advice on getting the best out of them that you're looking for, the following 14 tips are essential reading.
Full a full guide to FL Studio 10, check out issue 165 of Computer Music magazine (CM165) which is on sale now.
More memory
The Bridged mode for 32- or 64-bit VST plug-ins enables them to be allocated RAM independently of FL Studio itself. This means that large multisampled instruments - either in the included Directwave multisampler or those of third party plug-ins like Kontakt - can use more than the 4GB available to FL Studio, facilitating larger projects.
Additional RAM
The improved Keep on Disk feature for sampler and audio clip channels enables FL Studio to use all of your available RAM beyond the previous maximum of 4GB. This is automatically activated for long audio clips via an option in Settings. Note that the samples must be 16- or 32-bit for this to work.
Already there
The Auto Backup setting automatically creates backups of your project at definable time intervals, in case of emergency. You can set it to autosave every five, ten or 15 minutes, or just to remind you to save manually. The backup song files are saved in the new Backup folder in the browser.
New audio options
Additional audio system options, such as playback tracking and triple buffer mode, help to remedy audio interface-related issues like early note placement. The Play truncated notes option triggers long notes at the playback cursor position when it falls after the note start - useful for long pad sounds, for example.
Want all the hottest music and gear news, reviews, deals, features and more, direct to your inbox? Sign up here.

Create in-sync visuals
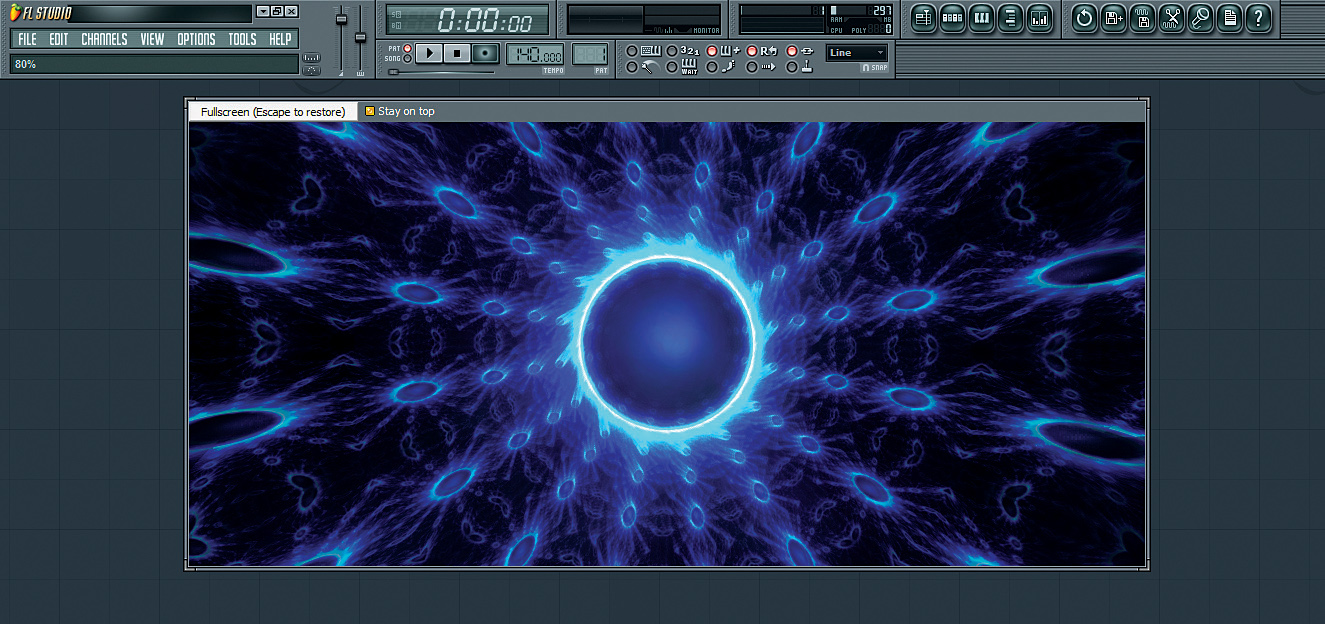
The ZGameEditor Visualizer is a real-time 3D visual effects Generator that responds to the peaks and frequencies of incoming audio and automation. Using it, you can export YouTube videos to accompany your tracks, with visuals responding in sync to the sound. Many preset scenes are included and you can delve deeper by creating your own scripts.
Position memory
Right-click the Stop button for the option to activate/deactivate the Remember seek time option. This determines whether the playback cursor goes back to the song start or the last place you located when you stop playback. However, pressing Stop twice goes back to the start of the song no matter what you've specified for this setting.
Song playback relocation
Clicking the timeline in the Piano Roll of a pattern in the Playlist now relocates the song position marker in the Playlist to that point while in Song mode. This means you can be working directly in a Piano Roll but still click on the corresponding part of the timeline to hear it in the context of the song, without having to go back to the Playlist window.
Pattern management
The Current project/Patterns folder in the Browser lists all used patterns. Here you can view the Piano Roll or edit event automation related to any pattern directly. Right-click to access various pattern commands, such as Split by channel.
Smart zooming
You can now zoom in on breakpoint envelopes in Slicex, Sytrus and Love Philter. Hold Shift and roll the mouse wheel to zoom in, or drag to move the field of view. Hold the Alt key down to zoom only vertically while preserving the current horizontal zoom level.
Automation clip range
The automation clips for master tempo and channel pitch now default to more useful min/max ranges. The master tempo default is 60-180bpm, while default pitchbend will match the range set in the Settings. Set it to 2 semitones, say, and your new automation clip will only cover a range of 2 semitones, giving you better control over your curves.
Score export
The Piano Roll's File menu now features the option to export a PDF score file of your MIDI part for printing as sheet music. Very useful when you're collaborating with trained instrumentalists.

Waveform view
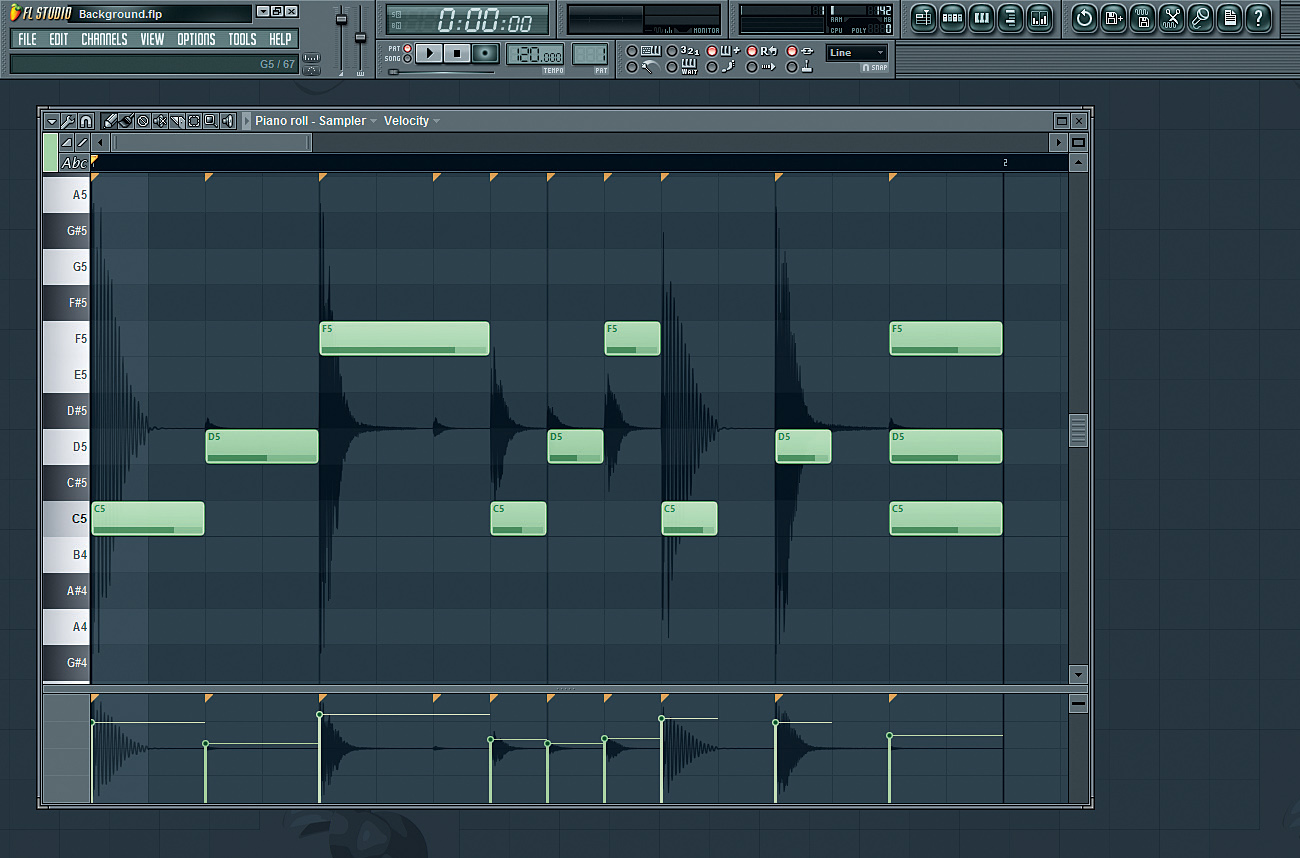
Drag a sample directly into the Piano Roll to load its waveform and slice markers as a background image. This can be used as a guide to manually place notes that correspond to the transients of an audio part, for example. Press Alt+N to toggle the view on and off.
Keyboard shortcuts
There are a couple of new keyboard shortcuts in FL Studio 10. Hitting Ctrl+B in the Piano Roll or Playlist duplicates the current items, current selection or currently highlighted area of the timeline. Pressing Shift+Q invokes a new quick quantise that only applies to note start (use Ctrl+Q for the full groove quantiser).
Mouse functions
There are a few new mouse shortcuts, too. Middle-click the Preset Selector in any plug-in window to show the last selected preset in the Browser. Hold Shift and roll the mouse wheel to quickly move Playlist tracks as well as channels in the Step Sequencer window, or tracks in the Mixer. Right-click a Playlist track and select Current clip source to view a list of all pattern clips used in that track.
Liked this? Now read: 11 secret FL Studio tips
Computer Music magazine is the world’s best selling publication dedicated solely to making great music with your Mac or PC computer. Each issue it brings its lucky readers the best in cutting-edge tutorials, need-to-know, expert software reviews and even all the tools you actually need to make great music today, courtesy of our legendary CM Plugin Suite.

