MASTERING WEEK: You could write a book on the mastering process - in fact, many people have. It's a complex and subtle art that takes years to, er, master.
That doesn't mean that there aren't some things we can tell you right now, though. Read on to discover a dozen pieces of wisdom that you can take with you on your personal mastering journey.
1. Don't limit yourself
It's common practice for many producers to mix into a limiter from the start of the production process. This should be done with caution, since when your master processing is removed, the mix balance will typically fall apart.
A better idea is to not worry about limiting until you're 80% of the way through mixing your track. Once you're at this stage, apply a limiter to see how the mix responds to master processing.
2. So damn fresh
Leaving some time between finishing your mix and doing the mastering will keep your ears fresh, helping you to be more objective about the job at hand, avoiding over- familiarity with the raw mix.
3. Oversampling
Many high-end EQ and dynamics plugins now offer an oversampling mode - switching this in will make the plugin upsample the incoming signal to two, four or eight times the original sample rate before processing before downsampling again on output. In theory, this can give you cleaner results, with the actual processing done at a higher sampling rate, which should reduce the appearance of artefacts.

4. Stereo bass
Mastering a track for playback in a club or for vinyl? Watch out for excessive stereo bass frequencies - not only could these go missing on a mono PA system, but they will also make a vinyl cut unplayable. Using a high-pass filter on your track's side (stereo-only) signal at around 200-300Hz will sort this while making your mono low frequencies sound more focused.
5. Mid/side in mastering
Whilst stereo processing can often provide the results we're after, mid/side-enabled processors allow us to alter the mono and stereo parts of the signal individually - great for enhancing stereo width with a high frequency EQ shelf or adding low frequency beef to the signal's mono component.
6. Red light district
Ever wondered why your pristine 24-bit WAV masters end up sounding clipped when converting to lower-quality MP3? This is down to distortion introduced by inter-sample peaks - setting your peak output level to around -1dB before exporting will leave room for ISPs without sending the final peak level over 0db.
7. Out of phase
An easy way to hear what your processing is doing to the overall sound is to line up a dry copy of your original alongside the final processed master in your DAW and hitting the phase invert button on one of the channels. This will cancel out the information present in the original mix, leaving you hearing only the difference introduced by your processing.
8. Fit it in the mix
If there's a specific issue with your mix that's holding up the mastering process, don't hesitate to go back to the mix and sort it. An overly loud snare or harsh hi-hat can be a real pain to fix when mastering, but can take mere seconds to sort in the mix.
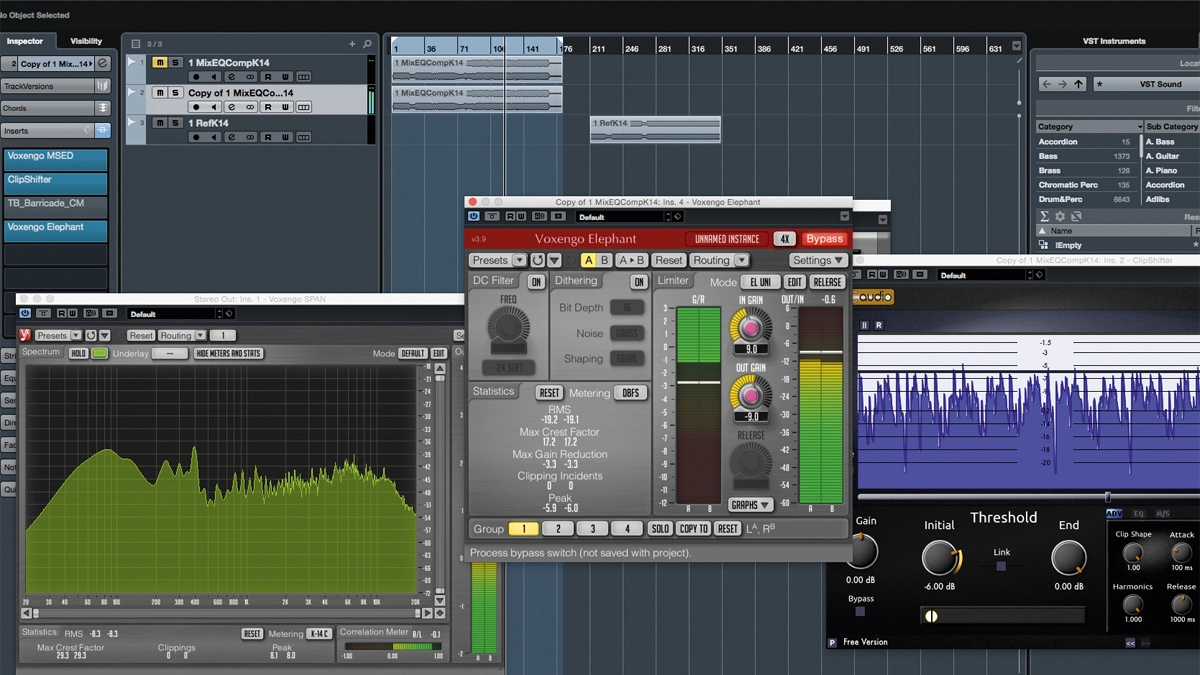
9. Spread the load
Nothing can ruin the sound of an in-the-box master more quickly than an overloaded plugin - taking care to keep the gain levels coming into and leaving a plugin within sensible parameters (avoiding clipping) will give cleaner, less fatiguing results.
10. Do it yourself
Presets can be a great starting point for sound design or effects processing, but they're a big no-no when mastering. Creating your own processing chain that's well suited to the track in question will typically give a better, cleaner result.
11. Parallel processing
If you're struggling to add enough density to a master through normal compression, why not try adding parallel compression on an FX send instead? Using a ratio of 4:1, a fast attack and medium release alongside around 10dB of gain reduction will create a hyper-compressed version of the dry signal that can be mixed in to add weight and depth.
12. De-ess with the best
If you're mastering a mix with overly harsh high frequencies, try using a de-esser to keep the highs in check. Unlike a static EQ cut, de-essing is a dynamic process that'll only remove high frequencies according to the threshold you set - great for dealing with harsh drums or vocals in a full mix without making the whole thing sound overly dull.
