
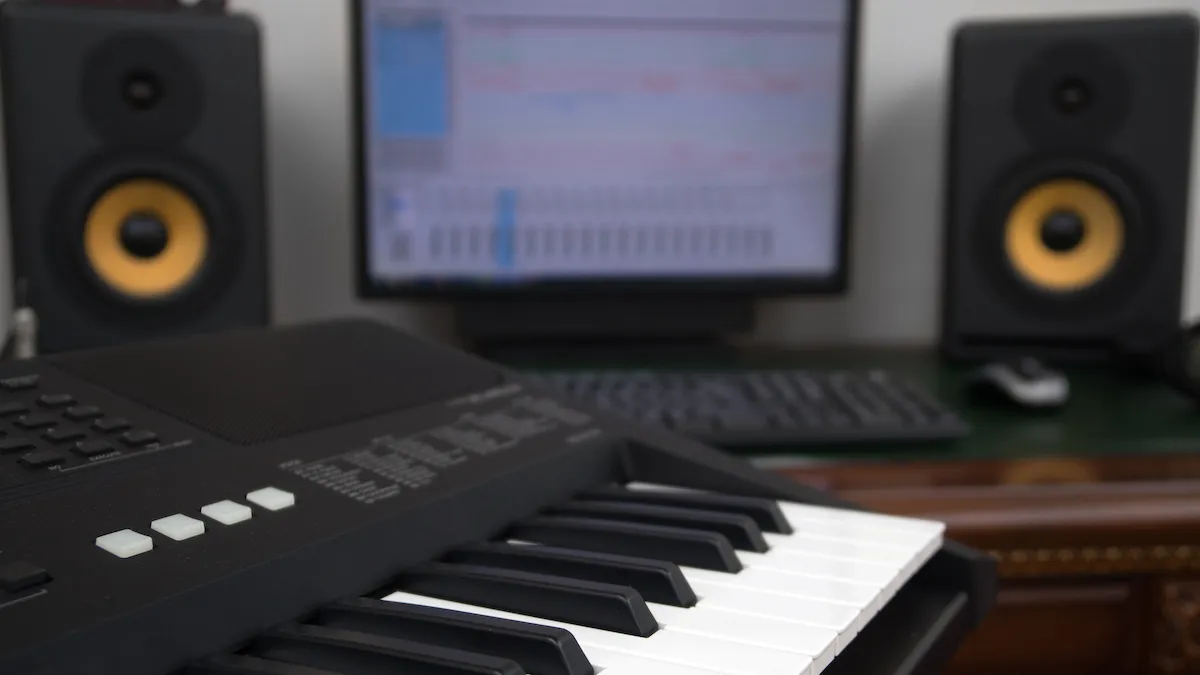
The modern array of setup choice is a great thing. There is a problem though. As brilliant as all of these worlds are in their own rights, they do tend to exist in bunkers, happily doing their thing, their way, without talking with ease to one another.
In this feature, we’ll detail how to mix these setups so you can enjoy the best of all of them: to experience the pure ‘analogue-ness’ of Eurorack alongside your digital DAW, to record and control all-in one synths with your DAW, to use your iPad as a gear hub, and to master a rack of MIDI gear alongside modular and keep it all in sync. In short, we’re getting our hardware and software worlds to collide and make beautiful music together.
Before we start, we’ll assume you have some kind of audio interface. Every scenario we look at requires at least a basic model, and going on you also may require MIDI, MIDI to CV and even a DC-coupled type – more on these later. This is because every example we look at when you are controlling a piece of audio hardware with a DAW will require that audio to be recorded back into the DAW. Then we come to the two main communication standards…
MIDI vs Control Voltage/Gate
The older control voltage (CV)/gate technology was initially employed in the 1970s for analogue synths, in order to communicate by way of voltage changes. The level of the analogue voltage simply determines the level of the data or parameter changed by it. Think of it like turning a knob on a synth up and down; in fact, many knobs on synths actually use that same CV process.
Voltage variations can be measured both positively and negatively over different standards (typically +/- 5v, 0 to +8v, or 0 to +5v). But they all use the same essential theory: that being that the CV part typically creates different values (so it can play different notes, for example) and the gate part switches the process on or off (via note length, for example).
In a CV/Gate setup you have two types of signal, the control (CV) and audio, but these can be interchangeable so audio signals can control parameters and control signals can become audible – an LFO that falls between the audible range of human hearing, for example.
Synth wars: The story of MIDI, the one interface that ruled them all
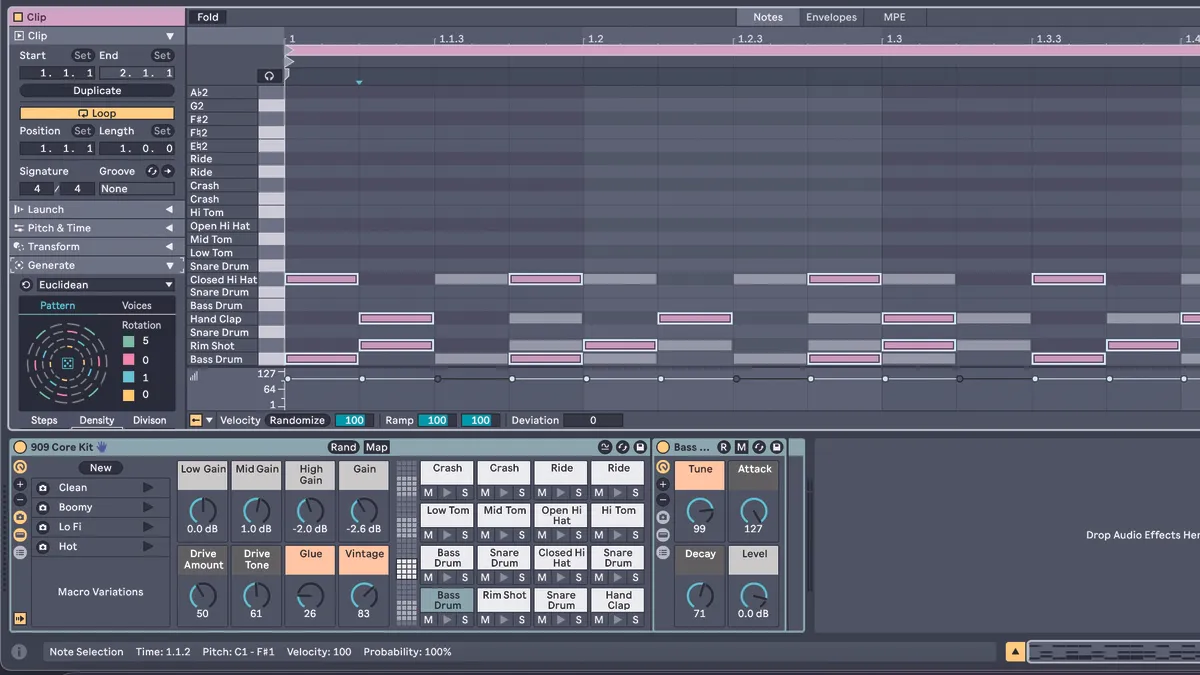
MIDI was essentially devised to bring a standard communication method between instruments and is a digital process that breaks everything down into 128 steps (0 to 127) and across 16 different channels. On a basic level, a typical use could be playing notes on different synths or sound modules via different MIDI channels. By assigning MIDI CC (control change or continuous controller) information, again from 128 values, you can send and receive information from different knobs, sliders, mod wheels etc, so control and record pretty much any parameter in a synth or effect.
Very broadly speaking, MIDI is great for polyphonic, digitally controlled and standard tuned compositions. CV is its more unruly but slightly cooler younger (and older) brother: it’s pure analogue and not made of 128 steps; it’s as fast as electricity and more likely to result in something unexpected; it’s more experimental, differently tuned (if you like) and most definitely waveform-like.
CV has made a comeback in recent decades thanks to it becoming the standard for Eurorack modular synthesis. MIDI is the standard used in DAWs for recording information played on softsynths, and also fitted to most all-in-one hardware synths and sound modules.
This, then, is how MIDI and CV can work together (and separately) in your studio setups. The following are general hardware and software studio scenarios and setup solutions. There are many (many!) more that might be caused by (or solved by) more specific pieces of gear; indeed, whatever modular compatibility issue you have, someone will have designed a modular solution for it.
The basic MIDI setup
We’ll assume that you are first and foremost a DAW user for the purposes of this scenario, and this first setup allows you to tentatively reach out into the physical hardware world and marry up your softsynths and effects with perhaps an analogue or digital synth or two, each with physical audio outputs.
Ideally you’ll be needing an audio interface with MIDI, and you’ll simply connect up the MIDI out of the interface with the MIDI-in on the hardware synth, and then the MIDI-out from the synth to the MIDI-in on the interface. Then connect the one mono or two stereo audio outputs of the synth to the audio inputs of the interface.
Now make sure the DAW is set to a particular MIDI channel and that the hardware is set to the same channel (or all). You then create an input audio channel in your DAW, which is set to the audio inputs of the interface, so triggering notes in your DAW (or on the synth keyboard) should result in audio streaming into your DAW from the synth. You now have external synth audio which can be treated with plugin effects and edited just like any other DAW audio.
The USB MIDI setup
If your synth has a USB connection you could connect it directly to your computer if it has a spare USB slot (on top of the one probably used for your interface). This cuts down the need for two MIDI cables as MIDI will be transmitted via USB. However, audio often won’t be transmitted, so you’ll still need the audio connections described above.
If either of these MIDI situations results in latency – that is an audible (above 10ms) delay – then you will need to tweak settings in your audio preferences, either increasing the sample rate or decreasing the buffer size (usually from 512 to 256 samples), both of which will increase CPU usage. Recording as an External Instrument in Ableton Live, for example, rather than an individual audio interface input, can also reduce latency.
In some DAWs, again like Ableton, you can compensate for delay by measuring the existing delay and putting it in as a negative value in the MIDI Clock Sync Delay box of its output in Preferences, the negative number acting in a delay compensation capacity.
Three of the best CV controllers
Increase your setup’s musical flexibility with these options...

Features a 64-step sequencer, USB, MIDI, gate and CV pitch connections for modular gear and analogue sync.

Full on-board sequencing, two sets of CV/Gate outs, USB, MIDI, and full control over many DAWs.

A great budget option with an on-board sequencer/arpeggiator, plus chord and scale modes.
Master Eurorack with a MIDI-to-CV converter
Most Eurorack modules adhere to the CV standard and not MIDI (although some, of course, have MIDI connectivity). This means that in order to access that world, you will require some kind of CV ‘in’, and by far the easiest is to purchase a MIDI-to-CV interface (see our box for three recommendations) which takes the MIDI information you are streaming out of your DAW and converts it into control voltage information that your modular system will be more friendly with.
Typically you can connect up a MIDI-to-CV via USB and then take standard 3.5mm patch cables from it to your modular setup. The MIDI information – which can include note length, pitch, clock information, stop/start and more – is converted to CV.
As with both scenarios above, the resulting audio will need to come back into your audio interface. Depending on how many modules you are triggering, you might need to either up the input channel count on your interface, or buy a separate mixer (which can be a Eurorack module, separate analogue mixer or an audio interface with built-in mixer). You may have to deal with latency when recording audio back in, with methods seen in Tip 2 above.
Three of the best MIDI-to-CV converters
Convert MIDI from your DAW to CV signals your modular setup will love...

Up to 16-note polyphonic, 16 simultaneous touches with MPE and 64 outs with a MIDI controller (to map 64 physical controls to CV).

Highly flexible convertor with 16 outputs (4CV, 12 gate) each with a different MIDI channel.

The master of interfacing Kenton’s Pro Solo Mk 3 is an excellent choice, but for a modular version try the Kenton Modular Solo.
MIDI controller with CV connectivity
One great solution to connecting all of these worlds together is to get one of the increasingly common MIDI controllers with CV connections built in. Arturia was one of the first companies to do this, and products like its excellent Keystep let you simply connect a Pitch CV out into a modular synth device’s 1V/Oct input and the gate out into an envelope in.
With a Mod output for modulation, a complement of MIDI connectors and even Sync In and Out connectors to lock external sequencers in time, products like Keystep can be the ideal central hardware device for playing modular gear via ‘standard’ MIDI keyboards and sequencing and arpeggiating to your heart’s content via the hardware.
A word of warning: a CV-enabled controller like this does not necessarily act like a full MIDI to CV convertor for a connected DAW, so a full MIDI-to-CV convertor may be required (see example 3 above).
Your DAW with a DC-coupled interface
Ableton Live v10.1 onwards came with a new set of Max tools called CV Tools (which you can now download for free). These excellent tools allow you to create CV signals that can be sent to a DC-coupled interface, which is effectively an audio interface that reads and outputs control voltage data.
The CV Tools let you set up notes and durations easily, though you may need to lock notes into correct pitch positions (also easy). There are also editable LFOs which you can use to modulate your Eurorack modules.
Other DAWs like Bitwig Studio also come packed with CV options, but if your DAW doesn’t have CV-style tools, then there are a couple of options. You can get third-party CV tools like CV Toolkit 3 ($19.99 to $49.99 from spektroaudio.com) which contain clocks, sequencer, LFOs and so on, but run standalone so you can still control and sequence your modular gear from your Mac or PC.
Again you will still require a DC-coupled interface. Otherwise if your DAW doesn’t output CV-style signals, go for the MIDI-to-CV option above for a more limited solution, again requiring extra hardware.
What’s really great with this method, and in fact any DAW or third-party app that uses these kinds of CV tools, is that they can also send out clock information so that your modular gear will be sync’d to your computer. You may have to deal with latency when recording audio back in with the methods we used in Tip 2 above.
Three of the best DC-coupled interfaces
These devices are designed with modular synthesis in mind...

A 4-in/4-out USB-C interface, it has a fantastic software bundle and four DC-coupled 1/4-inch outputs that double as audio and CV.

Eurorack 16-in/16-out USB interface, with both DC-coupled ins and outs. A top end and widely used option.

6-in 6-out cheap option with four of the outputs being DC-coupled. Great bundle of software too.
Ableton Link and iOS devices
Ableton Link is a fantastic way of connecting, and more importantly syncing devices together so that they can all play in time. A typical example would be an Ableton-Live-hosted computer syncing with an external iOS app. If the app is Link-compatible – and Ableton lists hundreds that are – you simply enable the Link option and the app’s Link feature will connect to a local network. You then enable the Link option in Live and it will detect the app connected in the same network and the two will play in sync.
“A generous update stuffed with ideas and real potential”: Ableton Live 12 Suite review
It’s a great system for syncing mobile and desktop worlds but not necessarily your modular one. If you do want your iPad or other mobile device controlling and sequencing your modular world, that might mean using elements of all of the above scenarios. On a simple level you could use a DC-coupled audio interface like the ES9 and apps that output modulation data like Audulus, Drambo and MiRack, so use your iPad like we used a DAW in Tip 5.
However, there are many more complex setups that we’ve seen attempting to use a tablet as a central modular controller and sequencer. These may require hardware sequencers rather than the iOS device doing the work, or else use hardware MIDI-to-CV convertors as we’ve already talked about.
Other solutions are MIDI to CV apps like CoVariant or CV generating apps like Silent Way that both spit out control voltage data to DC-coupled interfaces. There are also hub apps like AUM, MIDI Link Sync, Audiobus and Ableton Link attempting to keep things in check.
Basically, the more you grow, so the complexity can too. Our advice, then, as with any form of communication, is to keep it simple (at least initially) and all your worlds – DAW, MIDI hardware, CV modular and even iOS – will get along fine. Mostly anyway.
Three of the best apps to connect your hardware and iOS worlds
Head no further than the App Store to find these solutions...

Mixer that can unite audio from apps and hardware (via an interface) and also act as a great overview and connection hub for more complex setups.

Possibly the app that can unite all of our examples, with Mac, iOS, VST, Ableton Link compatibility, MIDI and support for Expert Sleeper interfaces (ie CV output).

Can be used as a standalone groove sequencer or to generate MIDI and CV so, as ever, a DC-coupled interface is required. Beware issues with the latest Silicon Macs.
