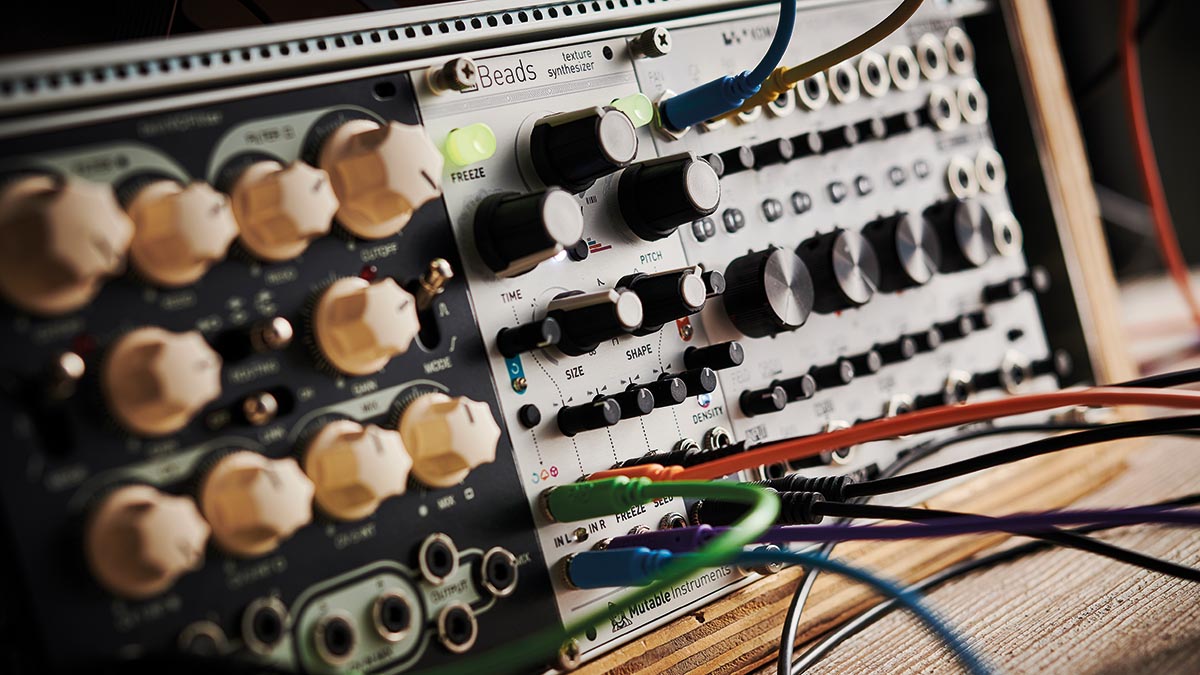
How to design your perfect modular system
The beauty of modular synthesis is that you can take it in any direction you like. Design your dream setup with our end-to-end guide

The appeal of modular synthesis is, above all else, its flexibility. By allowing users to mix and match the core building blocks of electronic instruments at will, a modular setup can be pretty much anything.
Want to recreate the signal path of a classic analogue synth? Create a self-generating ambient patch? Focus just on drums, sequencing or effects processing? Modular does all of this and more.
If you’re new to the modular world, it’s difficult to know where to begin. Sure, some users go for the maximalist approach: buying every module they can lay their hands on, plus a bucketload of extra long patch leads, and creating a behemoth system that can do anything and everything. We wouldn’t necessarily recommend this though: the strain on your finances and living space can lead to divorces and destitution.
A better tactic is to establish what you’d like your system to specialise in and start with the bare minimum modules needed to achieve it. Not only is this a far more cost-effective approach, it will also encourage you to really experiment with that core group of modules before moving on. Once you’ve established the limits of that basic setup, you can work out precisely where you need to expand and what tools will help you do so.
Start by asking yourself what you have in mind. Do you want to create sound or simply process it (or both?). If you’re building a synth, what kinds of sonic textures do you want? Analogue sounds, complex wavetables, or samples and granular synthesis? Do you want to sequence from within your modular or are you happy to trigger from an existing controller, sequencer or DAW?
A great way to start is to plan your setup virtually first. ModularGrid is a widely-used site for experimenting with layouts, allowing you to establish how different modules will fit into a case and work out power consumption.
As for testing the sonic possibilities of a setup, VCV Rack is a free application that will allow you to put together a virtual modular rig using a host of emulated modules (both free and paid-for), and can be a great way to get your head around modular concepts before diving in. Software such as NI’s Reaktor Blocks, Softube Modular or Bitwig Studio’s The Grid are great too.
Want all the hottest music and gear news, reviews, deals, features and more, direct to your inbox? Sign up here.
Let’s dive into the nuts and bolts of this excellent art…
Why Eurorack?
In this guide, we’re focusing on the Eurorack modular format. Synth modules come in all shapes and sizes and not all are compatible in terms of the cases they fit and power used.
Eurorack is the closest thing we have to a unifying standard though, and over the past few decades since it was first introduced – by Doepfer in 1996 – it’s rapidly expanded in popularity. In modern terms, Eurorack is the most accessible, broadly available and compatible form of modular synthesis, so it’s the most sensible place to start.
Cases
Modules can’t be used alone and need to be housed in ‘something’. There’s no end of Eurorack cases available these days, from simple desktop ‘skiff’ cases to those from the likes of Arturia or Moog that are designed to expand those brands’ existing synths. You can even take the DIY route and build your own.
When considering what case you need, the most important consideration is size, expressed in U for height and HP for width. Physically, the height of Eurorack modules is equivalent to 3U of studio rack height, with module widths measured in horizontal pitch units (HP). Most functionally useful modules (non-blank panels) require at least 2HP of space, and cases come in a plethora of widths.
Be aware too, that some desktop cases might lack the depth needed to house and power larger modules, so be sure to take this into account.
Power
Eurorack uses a common power supply system based on a dual rail (+12V/-12V/GND) design, with modules connecting to it via a ribbon cable. However, these come in both 10 or 16-pin variants, with the 16-pin version capable of sharing a CV and gate bus, as well as delivering an additional 5V DC supply. Some modules specifically need this 5V line, so ensure that your case/PSU can deliver this via 16-pin sockets.
Power supplies may come built into the case, with rigid enclosure- mounted sockets, or as a loose ribbon cable connected to an external power supply, although in both cases you will need to ensure that the total current requirements of all modules can be met.
Everything else...
How to design your perfect modular system: oscillators
How to design your perfect modular system: filters
How to design your perfect modular system: sequencers
How to design your perfect modular system: effects
How to design your perfect modular system: LFOs and modulators
How to design your perfect modular system: utilities


Future Music is the number one magazine for today's producers. Packed with technique and technology we'll help you make great new music. All-access artist interviews, in-depth gear reviews, essential production tutorials and much more. Every marvellous monthly edition features reliable reviews of the latest and greatest hardware and software technology and techniques, unparalleled advice, in-depth interviews, sensational free samples and so much more to improve the experience and outcome of your music-making.

