The best new effects in Native Instruments Guitar Rig 6
Discover the power of multi-effects processing in Native Instruments’ amp and pedal simulator
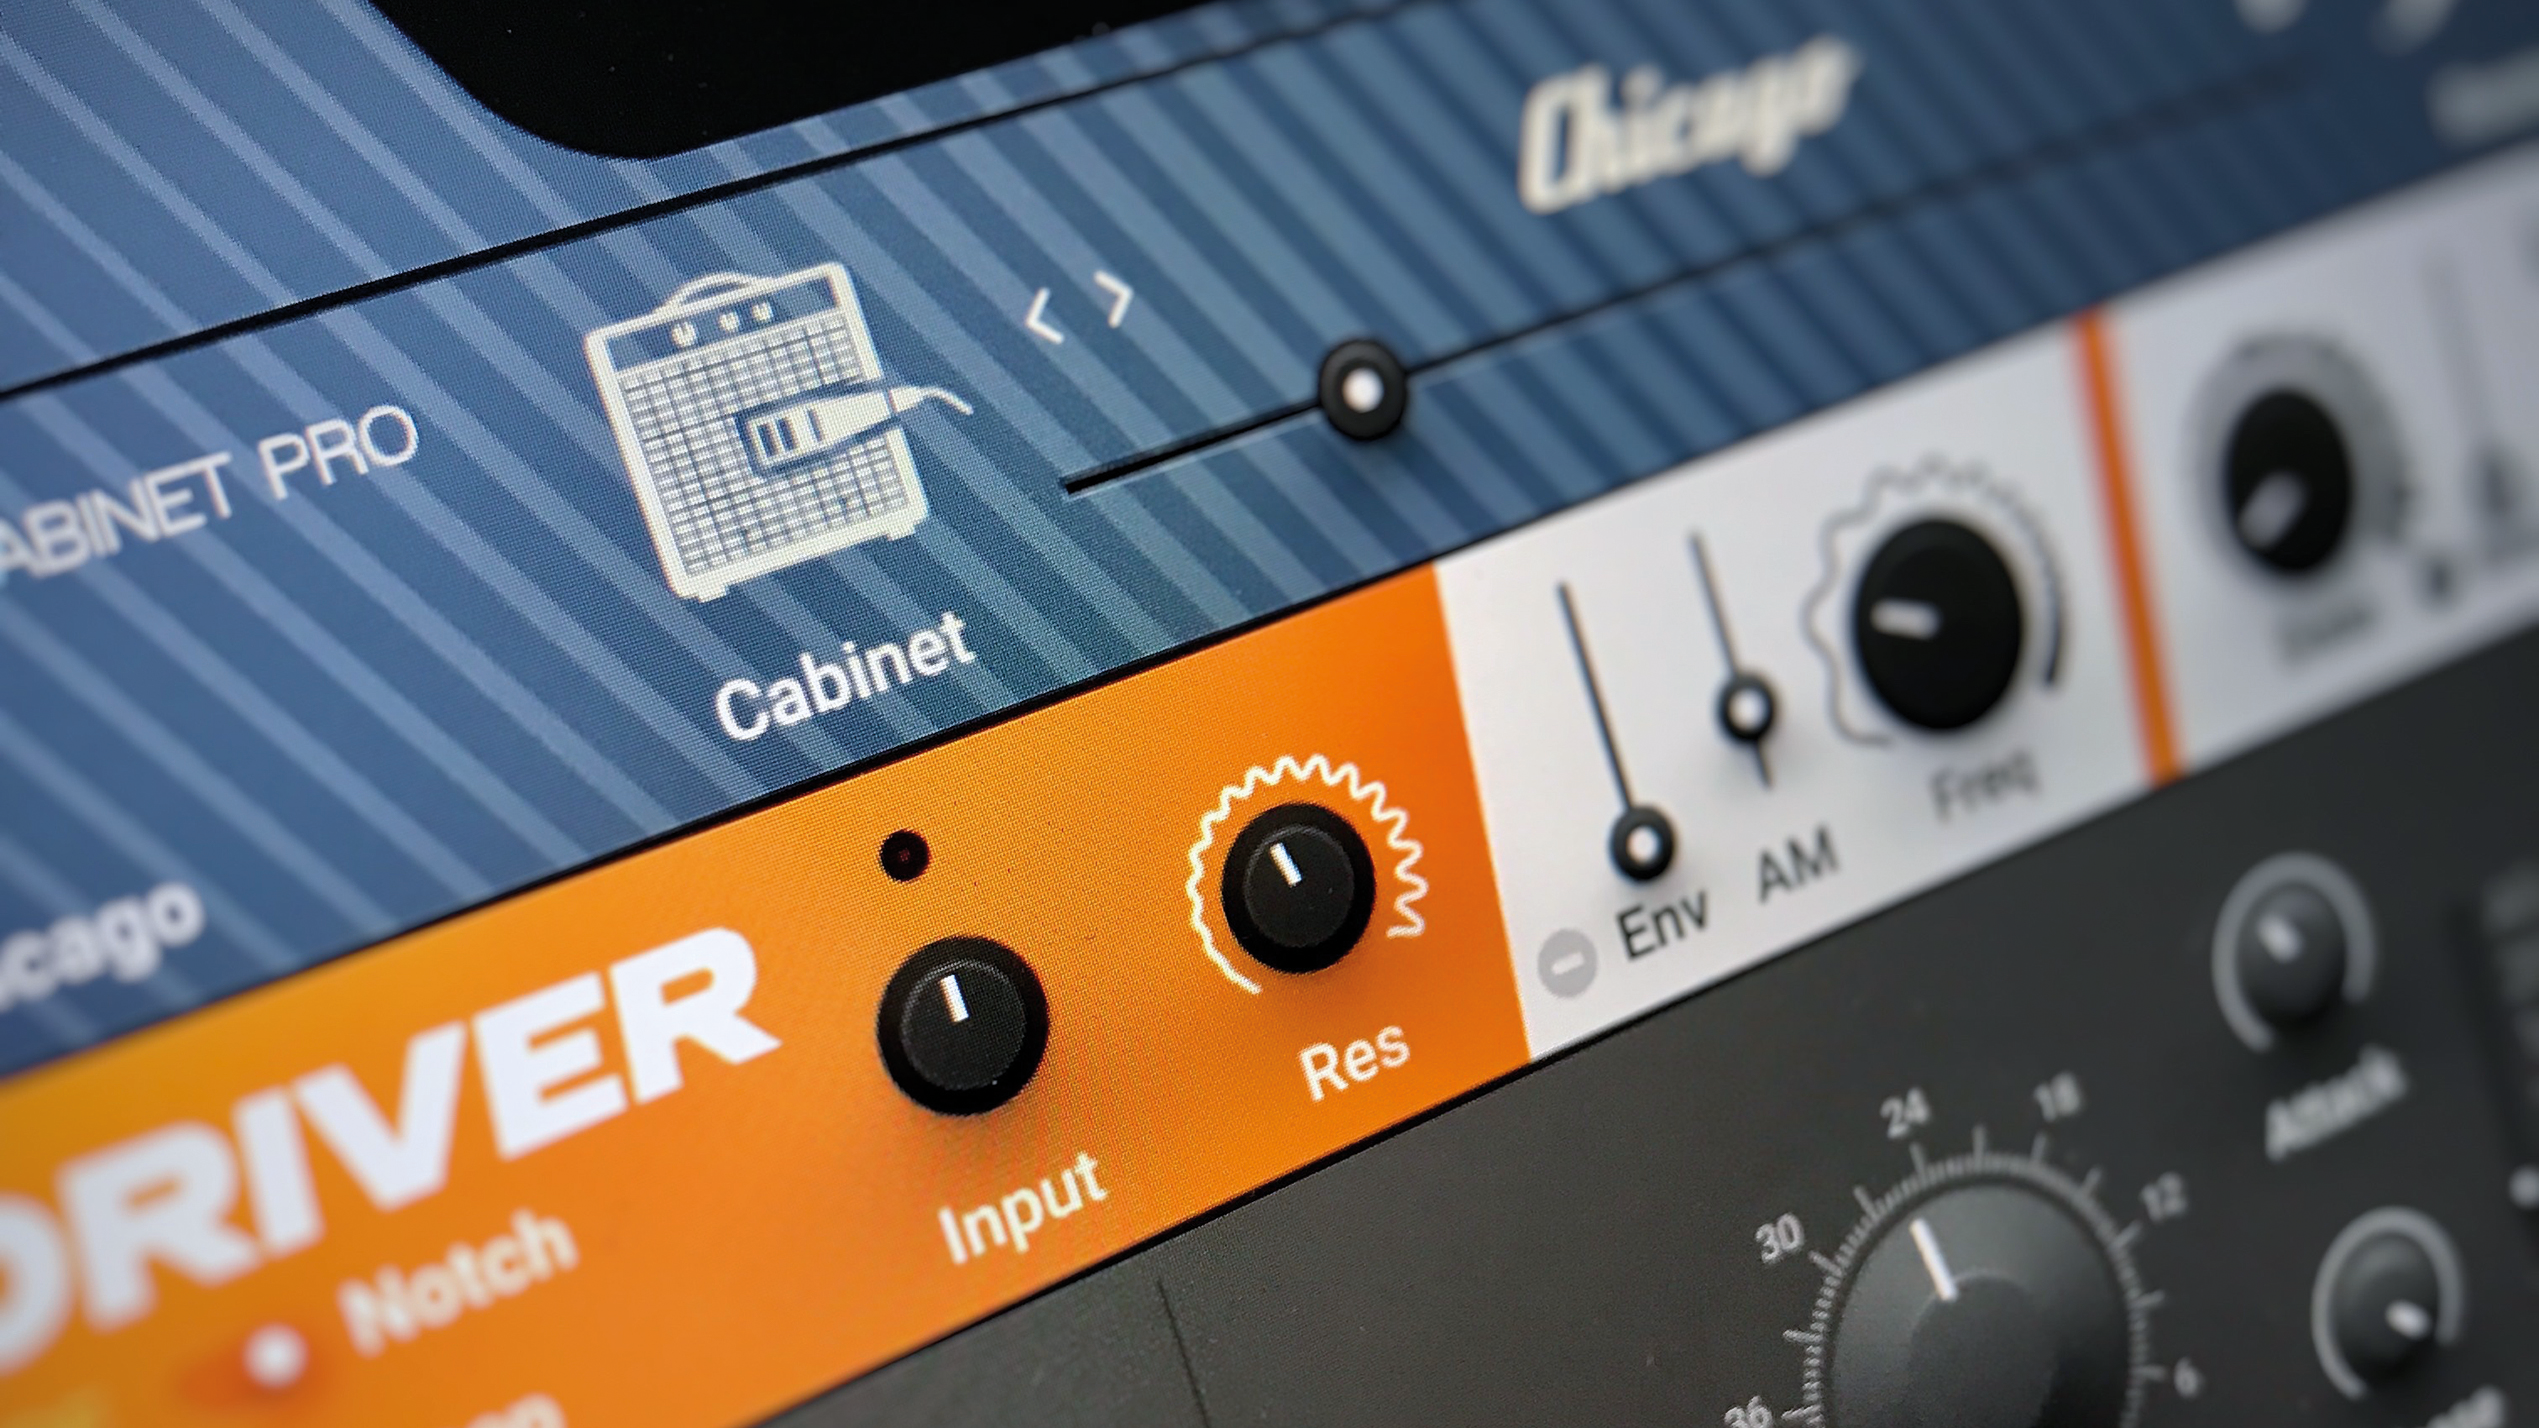
Guitar Rig 6 is a powerful multieffects processor. Along with traditional guitar-focused components there are a wealth of studio effects to shape and characterise your sound.
The 54 original effects from Guitar Rig 5 have all remained, including Tape Echo, Spring Reverb and PsycheDelay, plus classic stompboxes, filters and a host of intriguing new effects.
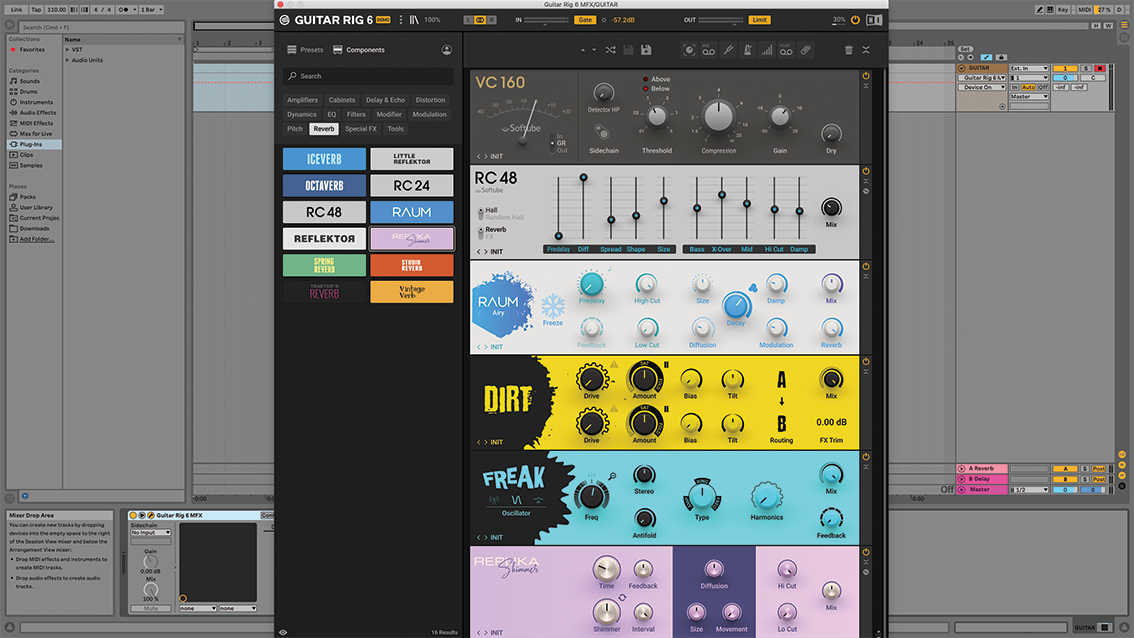
Some new effects are technically only new to Guitar Rig, and you may recognise them from elsewhere in Native Instruments’ armoury. A set of compressors from the Komplete package has been added, the VC 160, VC 2A and VC 76, which are based on classic hardware models. There’s further vintage hardware emulation with the RC 24 and RC 48 reverbs. Raum, NI’s high-fidelity utility reverb plugin is also present.
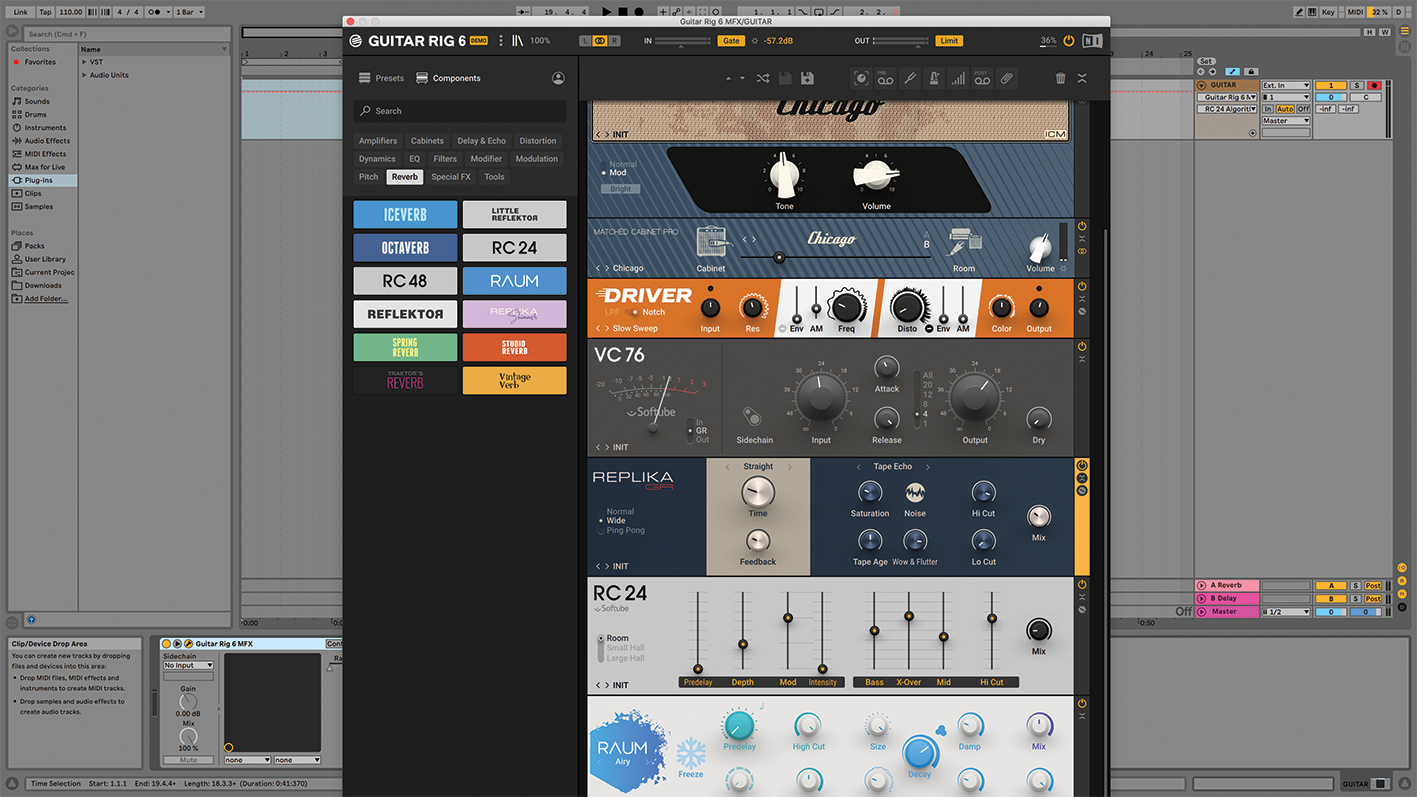
Other effects that are new to Guitar Rig 6 include the Crush Pack (Bit Crusher, Frequency Shifter and Distortion), and Mod Pack (Chorus, Phaser and Flanger). We also get the Solid Mix Series including a 6-band EQ, a stereo compressor with a gate/expander module, and a transparent, versatile glue compressor.
Transient shaping can be carried out with Transient Master, and there’s Driver, a distortion and filtering effect from the creators of Massive. Rounding off the new effects are Replika Shimmer (pitch-shifted reverb) and Replika GR (a delay effect with Tape Echo, Analog, Vintage Digital, Diffusion and modern modes) plus 12 DJ-inspired effects converted from Traktor.
Changing the strength of an effect based on an input level
For rip-roaring solos that Clapton himself would be proud of, it can be helpful to know when to step on the gas and when to back off. A technique you can employ in Guitar Rig 6 to help add expression at the right time is syncing an effect to your guitar volume using the Input Level modifier.
The Input Level modifier uses the input level to generate a control signal that can modulate any parameter in your rack. You could drag the Input Level modifier onto a Cry Wah effect to create an auto-wah, or onto a Fuzz effect to add bite when you’re really digging into notes in a wailing solo.
Want all the hottest music and gear news, reviews, deals, features and more, direct to your inbox? Sign up here.
You can fiddle with the Attack and Decay knobs on the Input Level modifier to adjust how quickly the modulation hits and comes back, or use the Offset control to set whether it starts in the low or high register.
Three great new FX
Freak
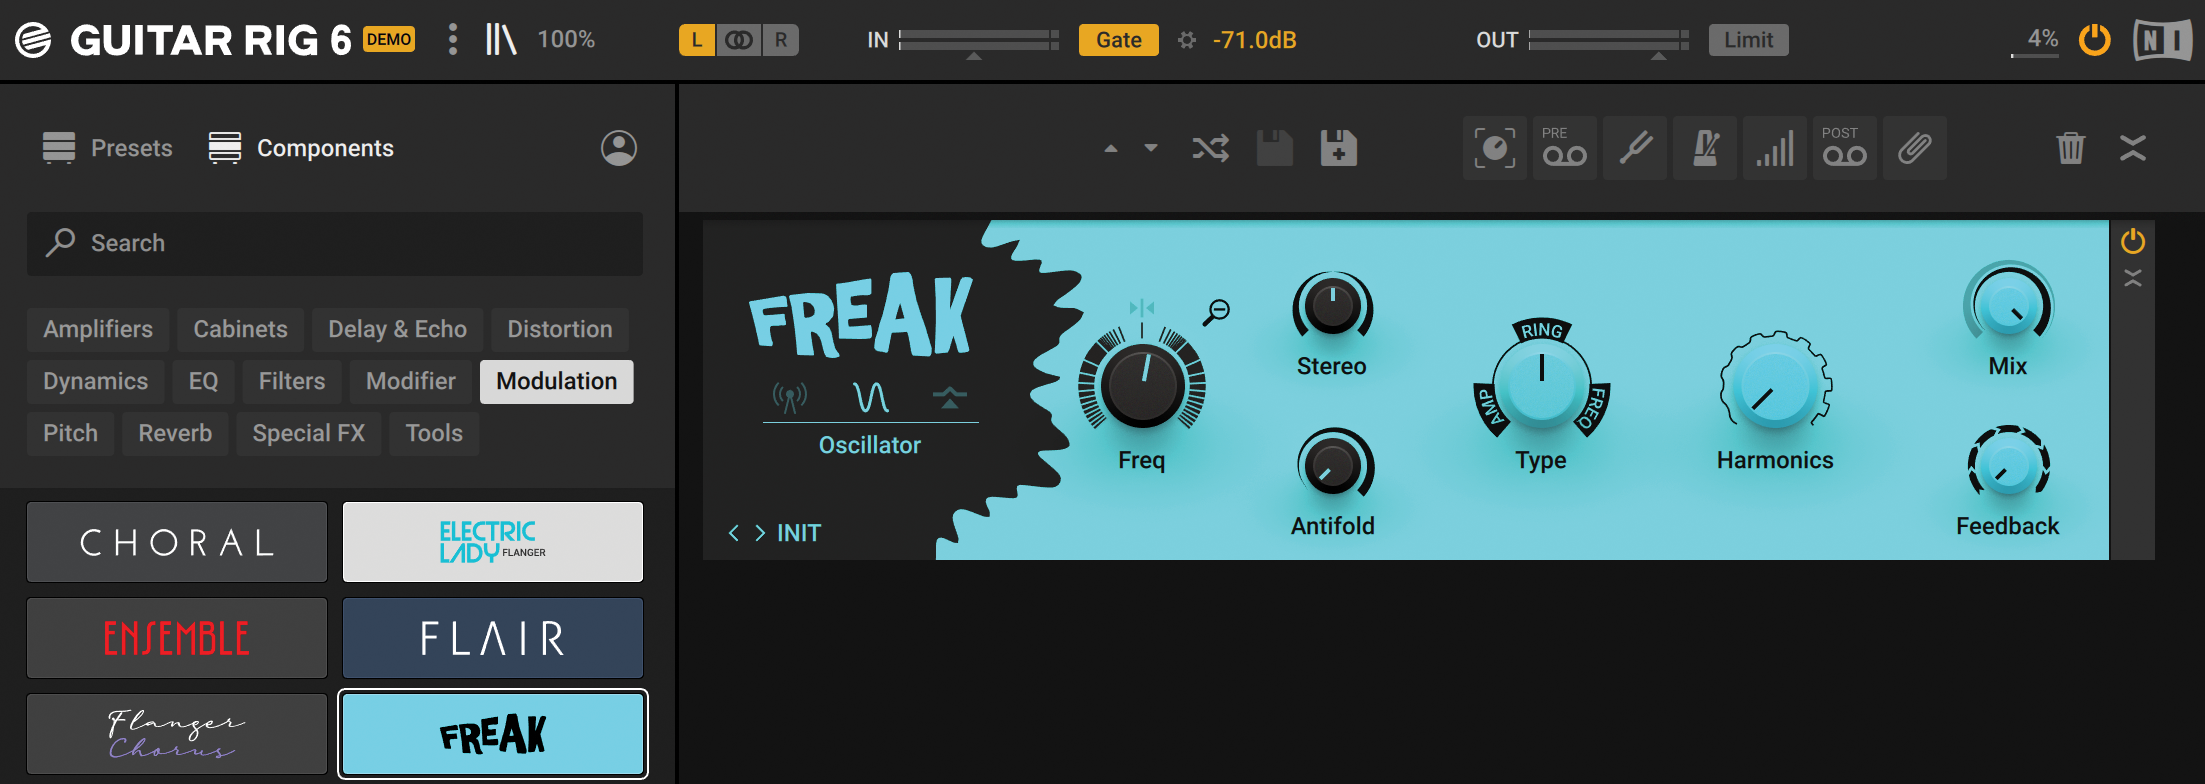
Frequency shifting, ring modulation and radio modulation techniques all in one. Three distinct effect modes – Radio, Oscillator and Sidechain – allow you to completely transform your sound. Emulate the noisy tones of AM radios, get classic modulation sounds using an internal sine oscillator or use a sidechain input signal in order to create inharmonic ring modulation.
Replika Shimmer
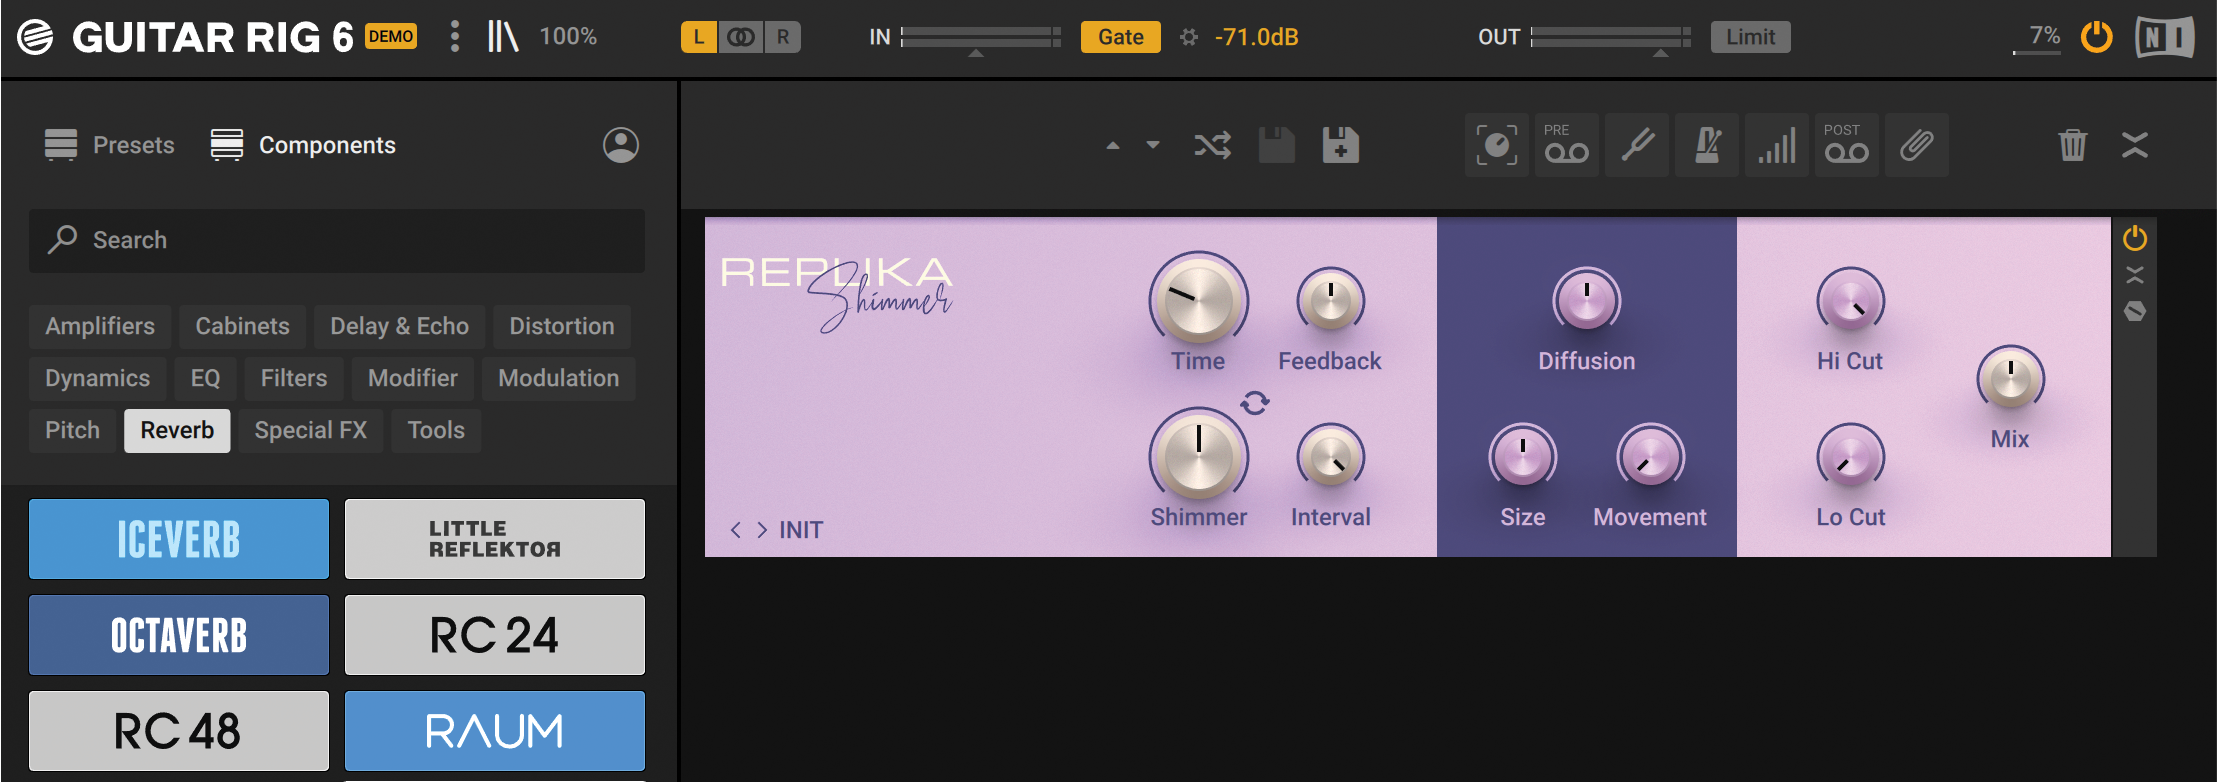
This sparkling, pitch-shifting reverb is an amalgamation of Native Instruments’ other Replika delay models. Layer an ethereal reverb tail on top of your dry signal by adding Shimmer to your sound at pitch intervals from -12 to +12 semitones, and exercise tight control over Time and Feedback. Classic reverb controls such as Diffusion and Size are also included.
Flair
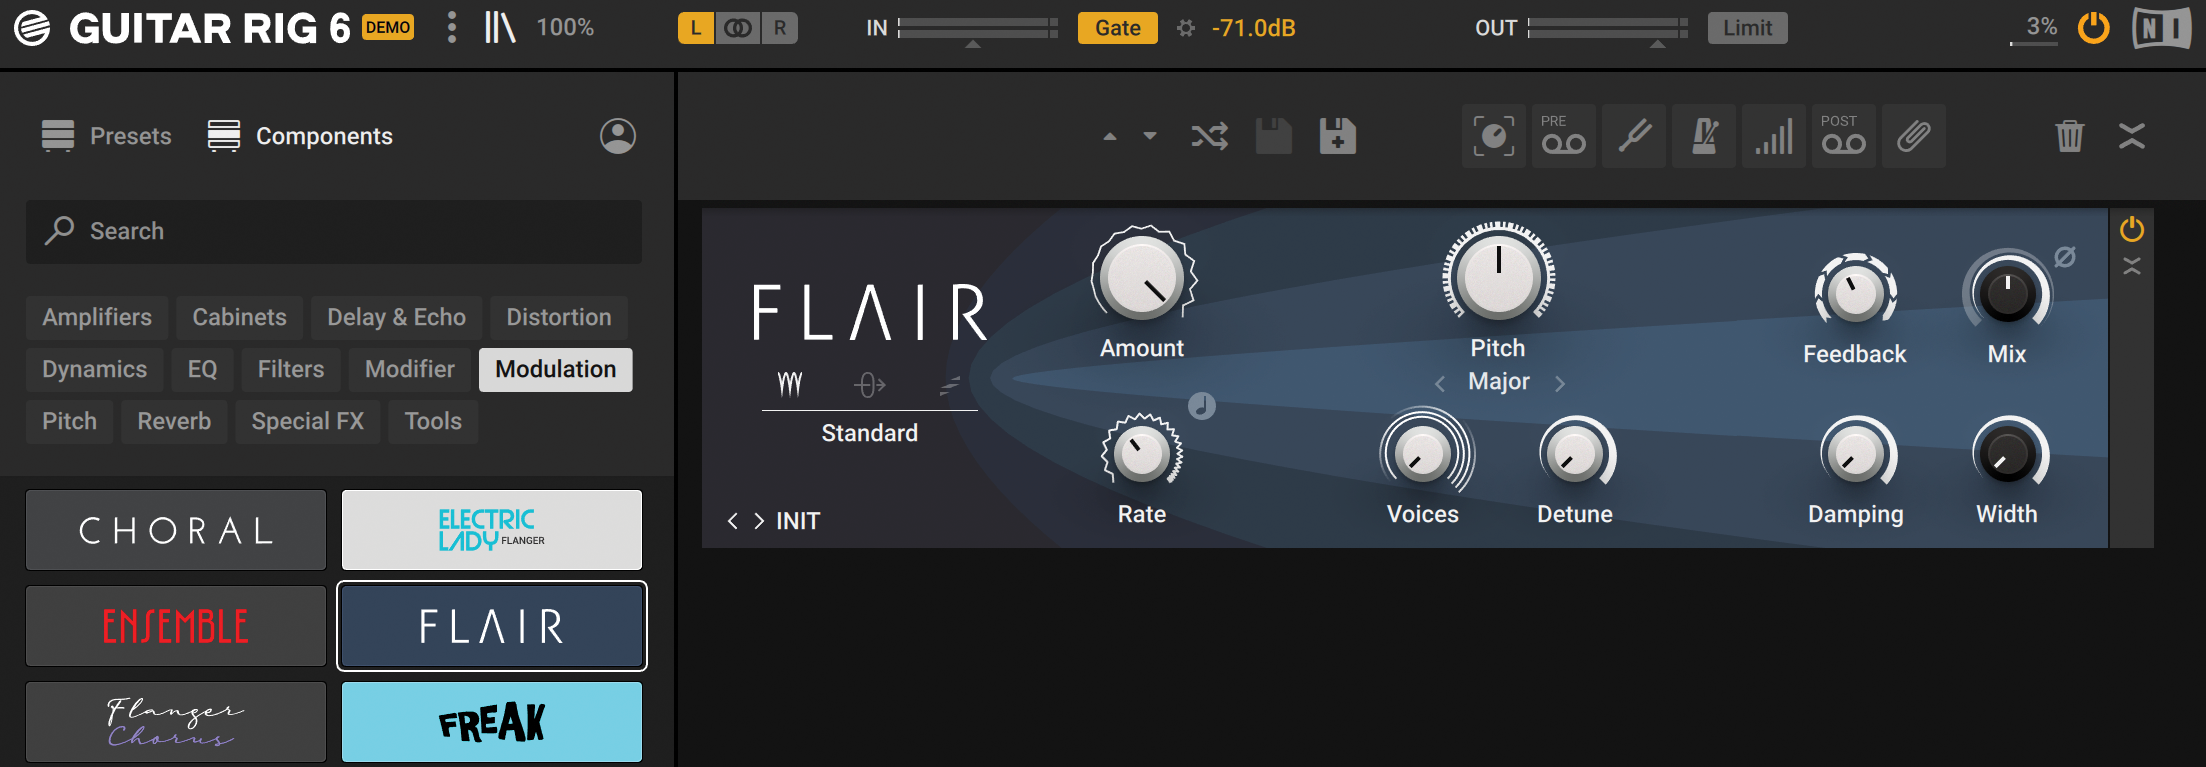
For vintage-style or futuristic flanging. Flair’s Voices mode uses multiple delay lines to create harmonically tuned flanging layers. Thru Zero mode duplicates voices at their respective pitch, and Scan mode plays them one after another (instead of stacked into chords), with the order set by a chosen waveform. There’s also the option of classic analogue and pedal flanging effects.
Creating a phasey, modulating effects rack
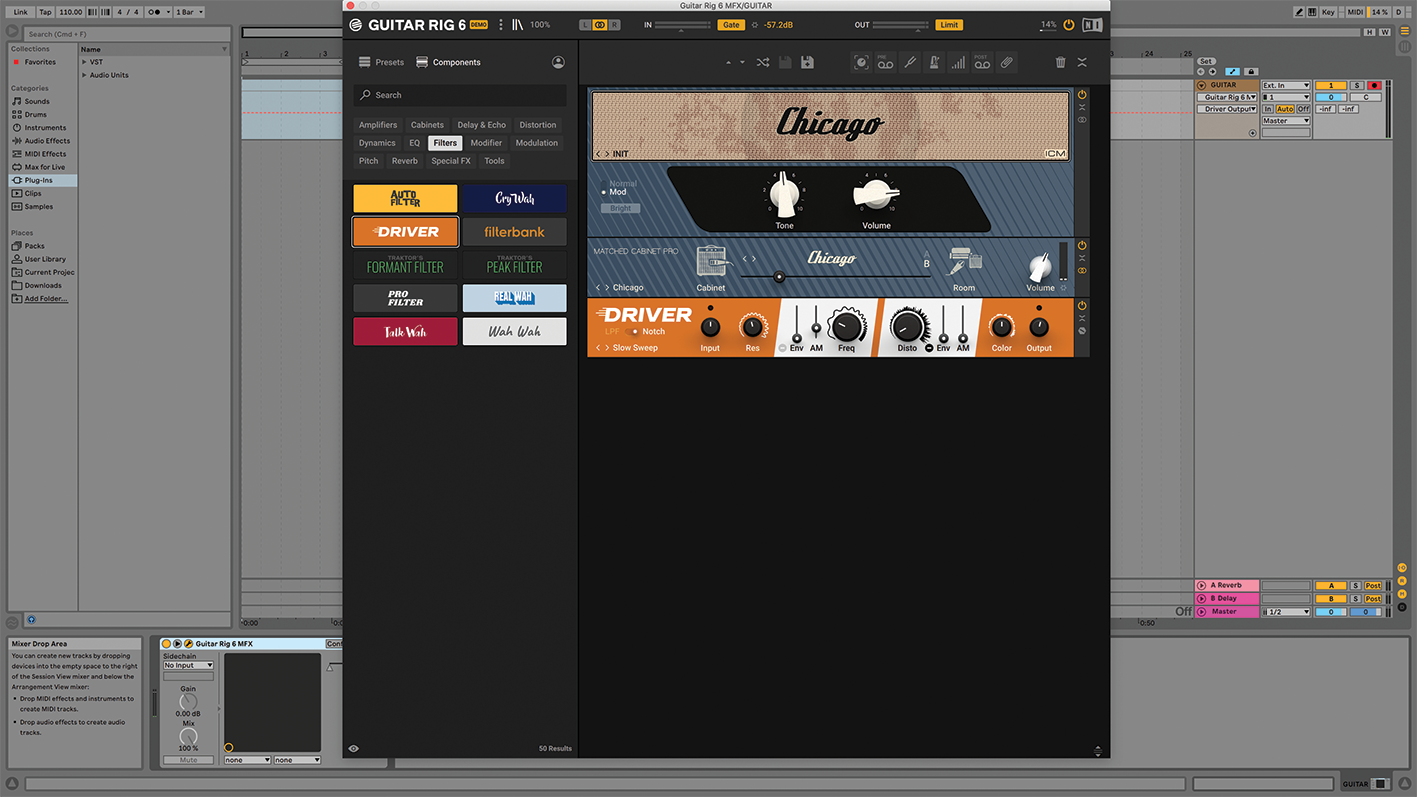
Step 1: Load Guitar Rig 6 onto an audio track in your DAW. At the top, choose either left, right or stereo as your input, and check your gain. There’s a Gate that can eliminate any noise below a threshold you set. The output level is shown to the right, alongside a Limiter.
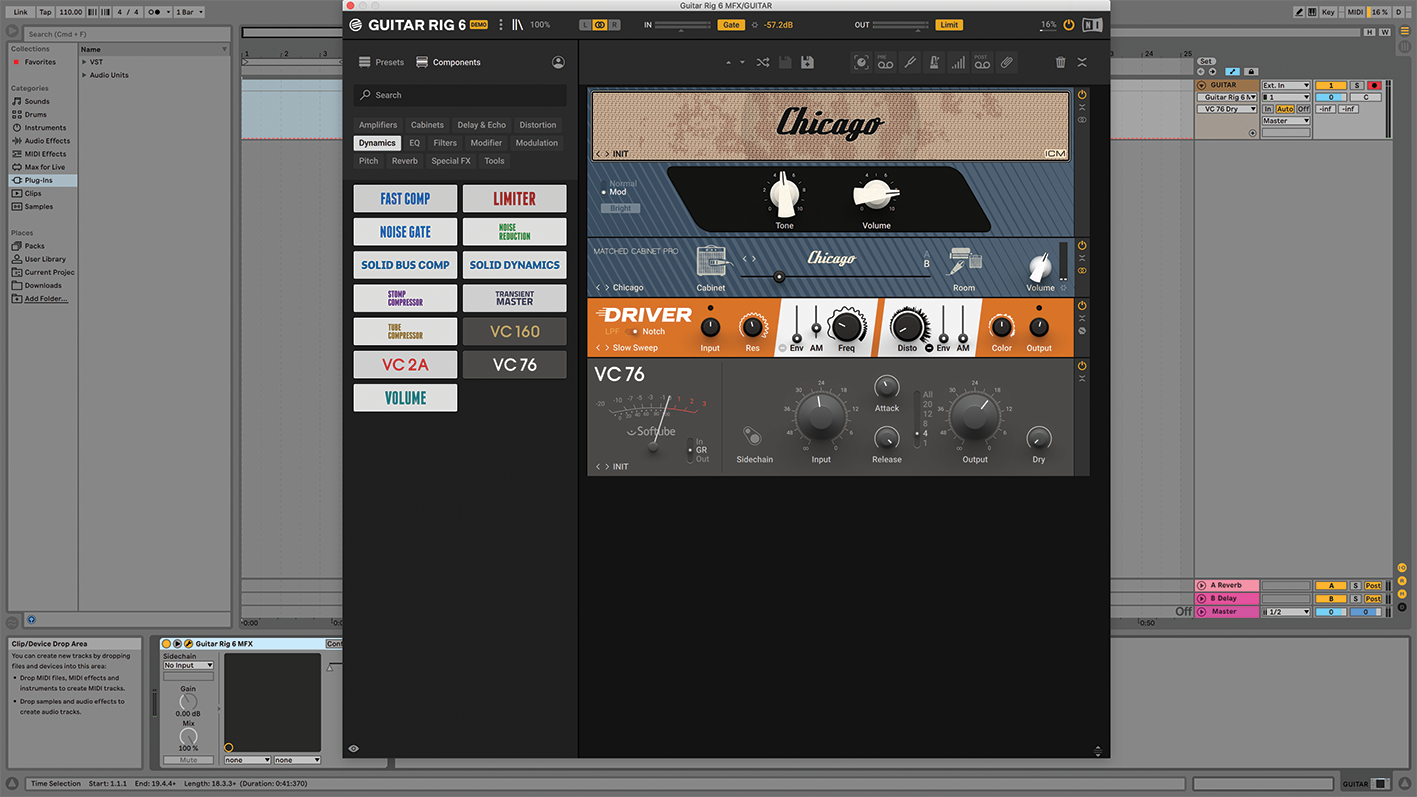
Step 2: Select an input source in the menu on the left of the display – we’re using a guitar – and browse through the Curated presets to hear a selection of sounds. Presets can be filtered by genre, character, effect type and more.
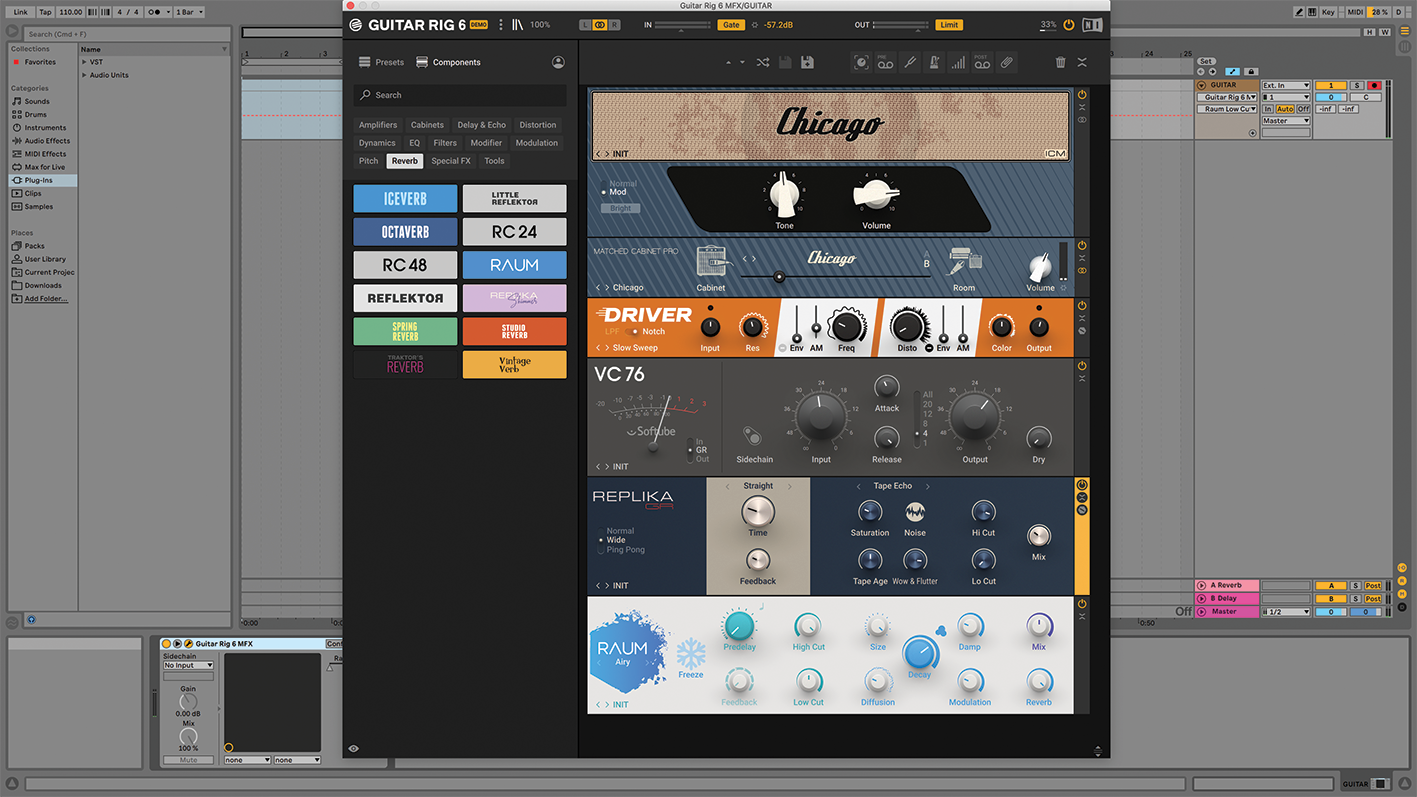
Step 3: Let’s build our own virtual rig. Switch to the Components menu and click Amplifiers. We’ll build a basic amp/cab setup using Chicago, a mid-’50s combo amp, new in v6. The amp is automatically matched with a cab, but can be changed.
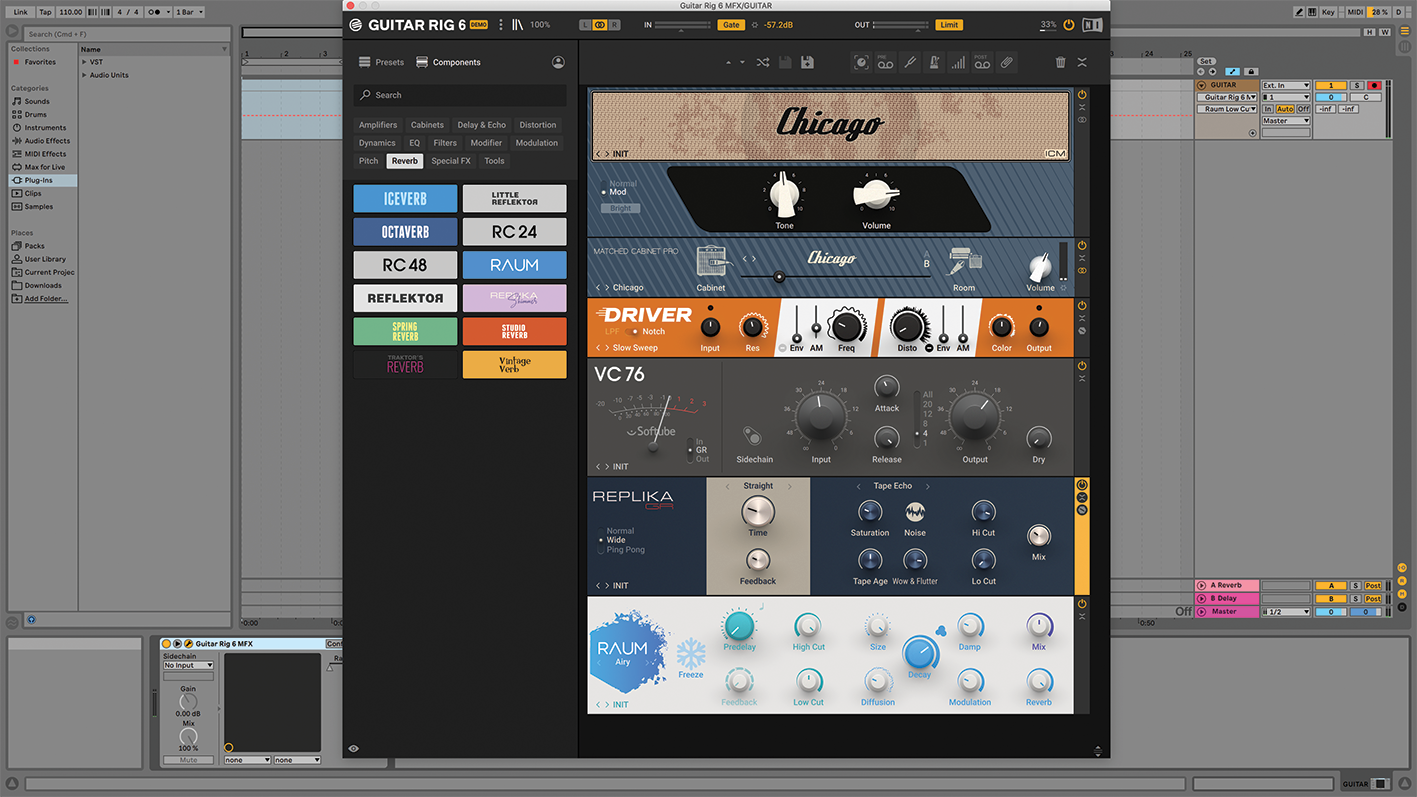
Step 4: Next, we can build an effects chain on our preset. Selecting any of the effects types displays a list of choices below. We’ll add Twin Delay and RC 48 Reverb. You may recognise the ‘48 from another NI plugin.

Step 5: The position of the components in the rack can be moved to change your signal flow (top to bottom). The order of the effects makes a big impact on the sound, and effects like delay and reverb are typically added after the amp in simulated rigs.

Step 6: In the toolbar you find rack tools, including macro controls. Macros provide global instructions that can be assigned to any parameter in the rack by dragging. This lets you automate multiple things at once, using a single knob.


Computer Music magazine is the world’s best selling publication dedicated solely to making great music with your Mac or PC computer. Each issue it brings its lucky readers the best in cutting-edge tutorials, need-to-know, expert software reviews and even all the tools you actually need to make great music today, courtesy of our legendary CM Plugin Suite.
