
Regardless of how tightly in-tune your lead vocals, or how bizarre and idiosyncratic the treatment you apply to it, if a colossal synth lead is daubed all over it, or if pounding sub-bass renders it a mere distant echo in your mix, all that hard work will ultimately still lead to a disappointing, ineffective vocal.
Therefore, it’s critical we take the time to listen to our vocal within the overall sound of our mix, and shape the vocal carefully and precisely with the track's other elements in mind.
Roll deep
By the mixing stage, you should have already comped the best performances into your final mix element, and used the appropriate amount of pitch-correction. Whether you’ve run the vocal through a vocoding or effects plugin chain isn’t massively pertinent at this time. What is fundamental to take into account, is whether your vocal is rubbing up alongside other instruments within the mix.

As we explained in the previous section, using a high-pass filter on frequencies sitting between the 80Hz to 150Hz range will eliminate the rumble of extreme low end, as well as that all-too-common vibration that comes from things such as passing traffic when recording. Though we emphasised that some aggressive high pass filtering can concoct odd vocal characteristics, in a general mix context you should apply caution at every turn.
Low-end roll off is fairly easy to apply even before you get to your DAW – most microphones have a low-end roll-off switch that physically eliminates those intrusive low end sounds. Though this can be instantly helpful, be mindful of how your vocal sounds with this more extreme barrier applied. You don’t want your vocal to sound too unnatural, so more selective low-end notching in software may be preferable.
Breathing room
With your vocal now a punchy mid-frequency range aspect of your mix, you’re going to need to be very mindful of your stereo image, and the instruments that compete with your vocal for attention in the same frequency space. Guitar, piano, violins and synths are particular culprits here.
While the high-pass filter serves to build a great barrier which keeps the low frequencies out, more surgical subtractive EQing is required when dealing with extremes in the mid-high frequencies. In fact, it’s often an idea to apply a frequency sweep to your vocal.
Compression is another major factor to consider when mixing vocals
Using a parametric EQ such as FabFilter Pro Q 3 or iZotope’s Neutron, we can sweep across the frequencies and spotlight serious problems. We set the band frequency to somewhere around 30Hz, with around 10dB of gain. Once you play back your track, gradually raise the peaking filter frequency across all the frequencies of the track. When you notice the particular problems getting better (or worse) then stop and zoom in – you’ve found the area which you need to either reduce or boost.
Compression is another major factor to consider when mixing vocals. Though typically used as a means of reducing or enhancing gain, apt use of a compressor on a vocal can also impart space and depth to the sound. Though there are all manner of ways to approach your vocal’s compression level, consistency is the general rule of thumb – you don’t want extreme dips or peaks in gain levels, and they need to find a place somehow above the mix.
Taming transients is a little different with vocals, as – unlike drums – there’s no ‘hit’ to tackle
Taming transients is a little different with vocals, as – unlike drums – there’s no ‘hit’ to tackle; instead, we’re mainly dealing with plosives, consonants and other lip-smacking sounds. More delicate use of EQing, compression and de-essing plugins such as Waves Sibilance and Sonnox Oxford SuperEsser can eradicate those unexpected vocal tics and lingering ‘s’ sibilant sounds. Careful use of all of the above is key to moulding a vocal that has both clarity and punch.
Choirmaster
While lead vocals and supplemental vocal chops and stabs are to be treated as individual mix components when marking out your frequency space, when it comes to larger-scale vocals within a track, such as when you’re juggling several backing vocals to craft something akin to a choir, then you’re going to need to be extra careful that your voices coalesce, and don’t sound disjointed, or have wayward tracks spinning off into busy areas of your mix.

Typically, backing vocals will always need to be quieter than your lead vocal take, particularly if they’re seeking to bolster or enhance the mood of your song. With this lower volume comes a more broad brush approach to spatial effects such as reverb. Hall or chamber reverbs on multiple background vocals present a quick means to mesh them together within the same (virtual) space.
It helps to use a different type of reverb, and different vocal treatment altogether for that matter, than the lead vocal. Placing your backing vocal tracks in one specific area of the mix (as opposed to panning them around) aids the perception that you’ve actually recorded a small group of human beings for real. If reality is your aim then, don’t over-do the pitch-correction; it sounds more organic.
Chopscotch
Aside from the lead vocal, backing vocals or vocal stabs/chops need to be approached with a very different, more mix-considered mindset. Chops in particular, are essentially sliced-up samples of vowels, typically played back in new rhythmic shapes.
Therefore, they generally need to be considered not so much as standout mix components that battle with your lead vocal, but supplement it by being placed at less conspicuous corners of the stereo field. Often, vocal chops can be emphasised by either extreme pitch-correction and warping (to make them sound robotic) or daubed in reverb (to give them more natural sounding space).
In recent weeks, we've explored how pitch-correction, effects processing and mixing can enhance even the most amateur of vocalists’ takes. Ultimately, with the gamut of software solutions available, lacking natural ability is no reason to feel a lack of confidence about working with your voice. Now we’ll explore some vocal mixing plugins and get hands-on with a focused tutorial.
6 of the best vocal mixing plugins
1. Oeksound soothe2

Formats: Mac/PC | Price: £119 | Buy
Oeksound’s smart dynamic resonance suppressor is one of the finest plugins of the last decade. Fact. Using astoundingly programmed clever algorithms, Soothe 2 can isolate problematic frequencies and warring resonances on the fly, and trim them out before you even notice they’re there. It can also take away the harshness of a close-miked vocal with ease.
2. Universal Audio 1176 Classic Limiter Collection

Formats: Mac/PC | Price: £175 | Buy
Now a decade old, Universal Audio’s 1176 emulation was among the first examples of the startling faithfulness of UAD software’s design. Recreating a true studio legend, the 1176 collection lets you track and mix with the same gain, distortion and compression as that one-time staple of hardware.
3. Sonnox VoxDoubler

Formats: Mac/PC | Price: £119 | Buy
VoxDoubler is focused on one of the most recurrent vocal mixing issues: enhancing a weedy vocal take. Doubling the vocal to make it sound either more thickened or spread out wider in the stereo image is the dual-pronged route that VoxDoubler takes. It’s an extremely slick way to get impactful vocals quickly.
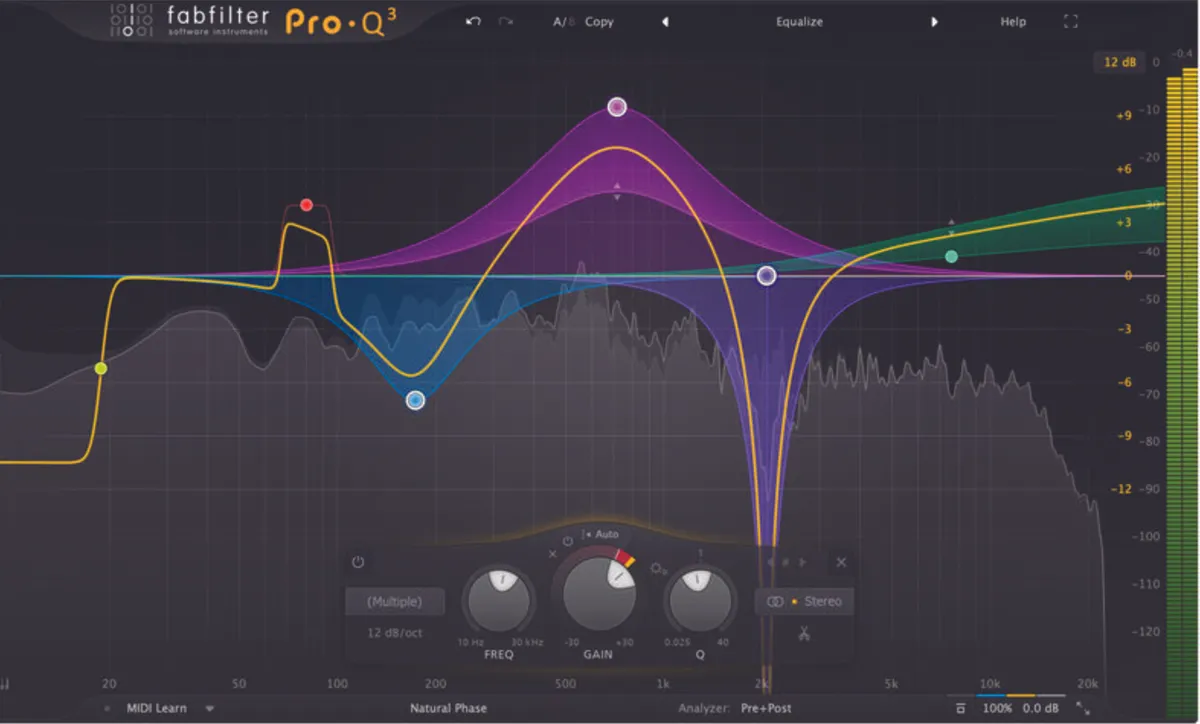
4. FabFilter Pro Q 3
Formats: Mac/PC | Price: £130 | Buy
One of the most beloved mixing tools around today. FabFilter’s Pro Q 3 is the last word in pro equalisation, and is an effective sculptor of tonally sublime vocals. Its GUI isn’t just pretty, its deep spectrum analysis allows you to easily apply notching, transient taming, and dynamic band EQing to your mix.
5. Soundtoys Decapitator

Formats: Mac/PC | Price: £159 | Buy
Another entry for Soundtoys, Decapitator can apply some sumptuous and authentic hardware-modelled saturation to your vocal. Once the secret sauce behind truly legendary vocal takes, Decapitator makes it easy to mould a classic-sounding top-line, or can be cranked up to unleash some fiery overdriven textures.
6. Valhalla Vintage Verb

Formats: Mac/PC | Price: £40 | Buy
To work with Vintage Verb’s epic room, ambience and concert hall reverb can make you feel like you’re delivering the hefty top-line to a massive power ballad. Taking its cues from the hardware digital reverbs of the 1970s and 80s, Vintage Verb’s incredible range of spatial tones can lift even the flattest of vocal takes up directly into the stratosphere.
Vocal mixing tips

Step 1: Getting our vocal to sit well in a mix often requires some delicate wrangling. Firstly let’s take a look at compression. Our vocal take is bolstered by a 5:1 compression ratio, but the lower the ratio, the more we hear the natural vocal dynamics.

Step 2: For certain sections, we want to bolster our vocal in the mix, while other parts we need it quieter. This is where gain automation comes in. Every DAW will enable you to do this. In Logic we can raise our gain at these key points

Step 3: EQing our vocals requires us to listen to our vocal in context – how well is it playing with other instruments in the mix? Cut and boost frequencies accordingly. You’ll want to scoop out some low end to eradicate rumble, but be careful you don’t lose character!

Step 4: Trim out unnecessary gaps in your vocal stem, and use a De-Esser to get shot of plosives and lip-smacking. Loop a small section and isolate what frequency area is the most troublesome before applying to your whole mix.

Step 5: Unless you’re being super surgical for a specific reason, never mix vocals in isolation. You should always find the correct gain balance and compression settings by playing all your mix elements together, avoid the solo button and hear how your track is working as a whole.

Step 6: Adding new effects can be dangerous if you’ve already painstakingly sculpted your mix. So make sure you add any extra treatment as an auxiliary channel so you can dial them in as needed and not disrupt your vocal equilibrium!
