5 tried-and-tested mixing chains for vocals, drums, the master bus and more
Everyone loves an efficiency hack, so if you’re looking for ways to cut valuable time from your mixing process, then it’s time to join the chain gang…

Want all the hottest music and gear news, reviews, deals, features and more, direct to your inbox? Sign up here.
You are now subscribed
Your newsletter sign-up was successful
When we mix, it would be ideal if we could load up a simple one-knob-style plugin, choose a preset, set an amount and simply move onto the next sound. But although you might get lucky on a few occasions, mixing usually requires a more nuanced and delicate balance of level, panning and processing.
That being said, the more you mix, the more you’ll find the same approaches seem to work for similar circumstances. So, when you find something that works, being able to recreate that approach quickly is both efficient and satisfying. That’s what we can achieve with a tried-and-tested mixing chain or two.
Thankfully, the DAW domain provides the perfect environment for saving and recalling presets, and you’re probably already familiar with factory or self-created session templates, synth presets and individual plugin presets. So, taking that one step further with complete channel strip mixing chains is a natural progression.
Article continues belowWe’ll show you how to create your own mixing chains from scratch. Each chain will target a specific instrument, such as drums, vocals, basses and keys, but we’ll also look at chains for other mixing tasks such as the master bus.
Although mixing chains offer a flexible approach and for the most part don’t require any additional plugins, plugin developers spotted the demand, and there are now many task-specific multi-stage plugins available to buy.
One of the best is LOLCOMP from Mixing Night Audio; you can grab a free copy of this plugin with this month's issue of our sister magazine, Computer Music.
1. Basic chain setup
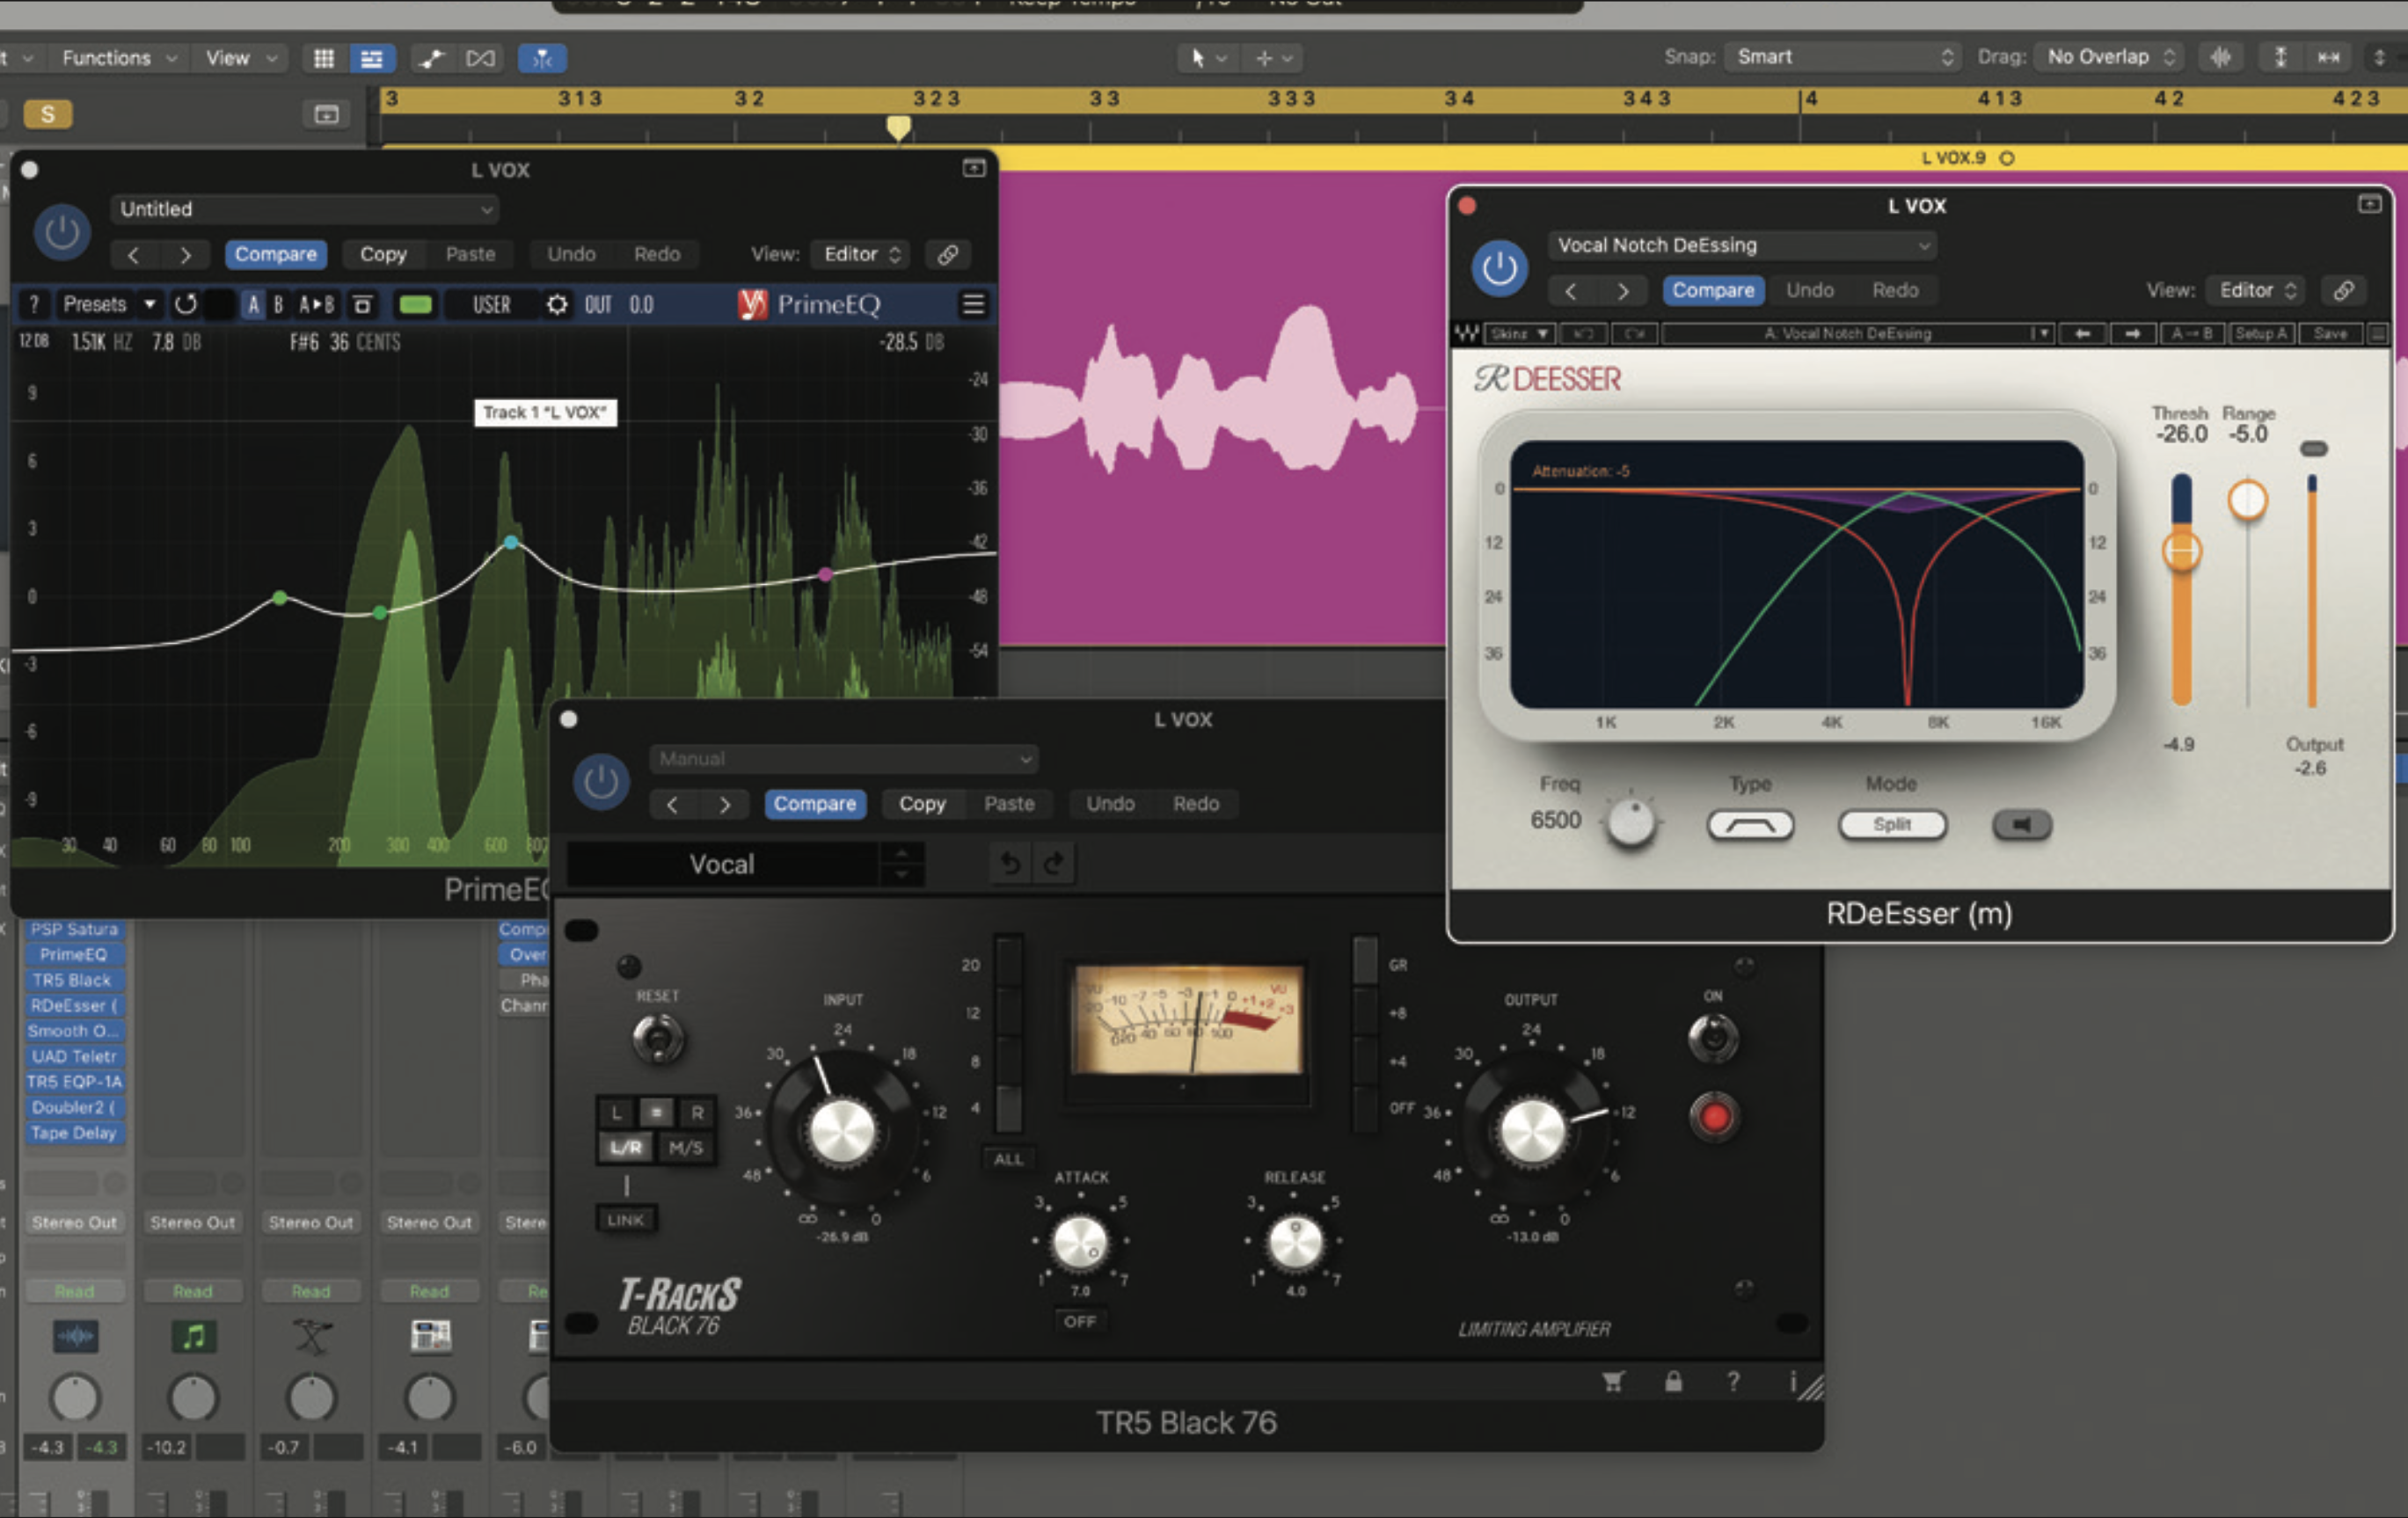
Setting up mixing chains provides a powerful way to streamline your mixing process, leading to more predictable results, improving your finesse and saving you time. All you need to do to get started is chain together the right plugins with the right settings, and that’s what we’ll show you.
Want all the hottest music and gear news, reviews, deals, features and more, direct to your inbox? Sign up here.
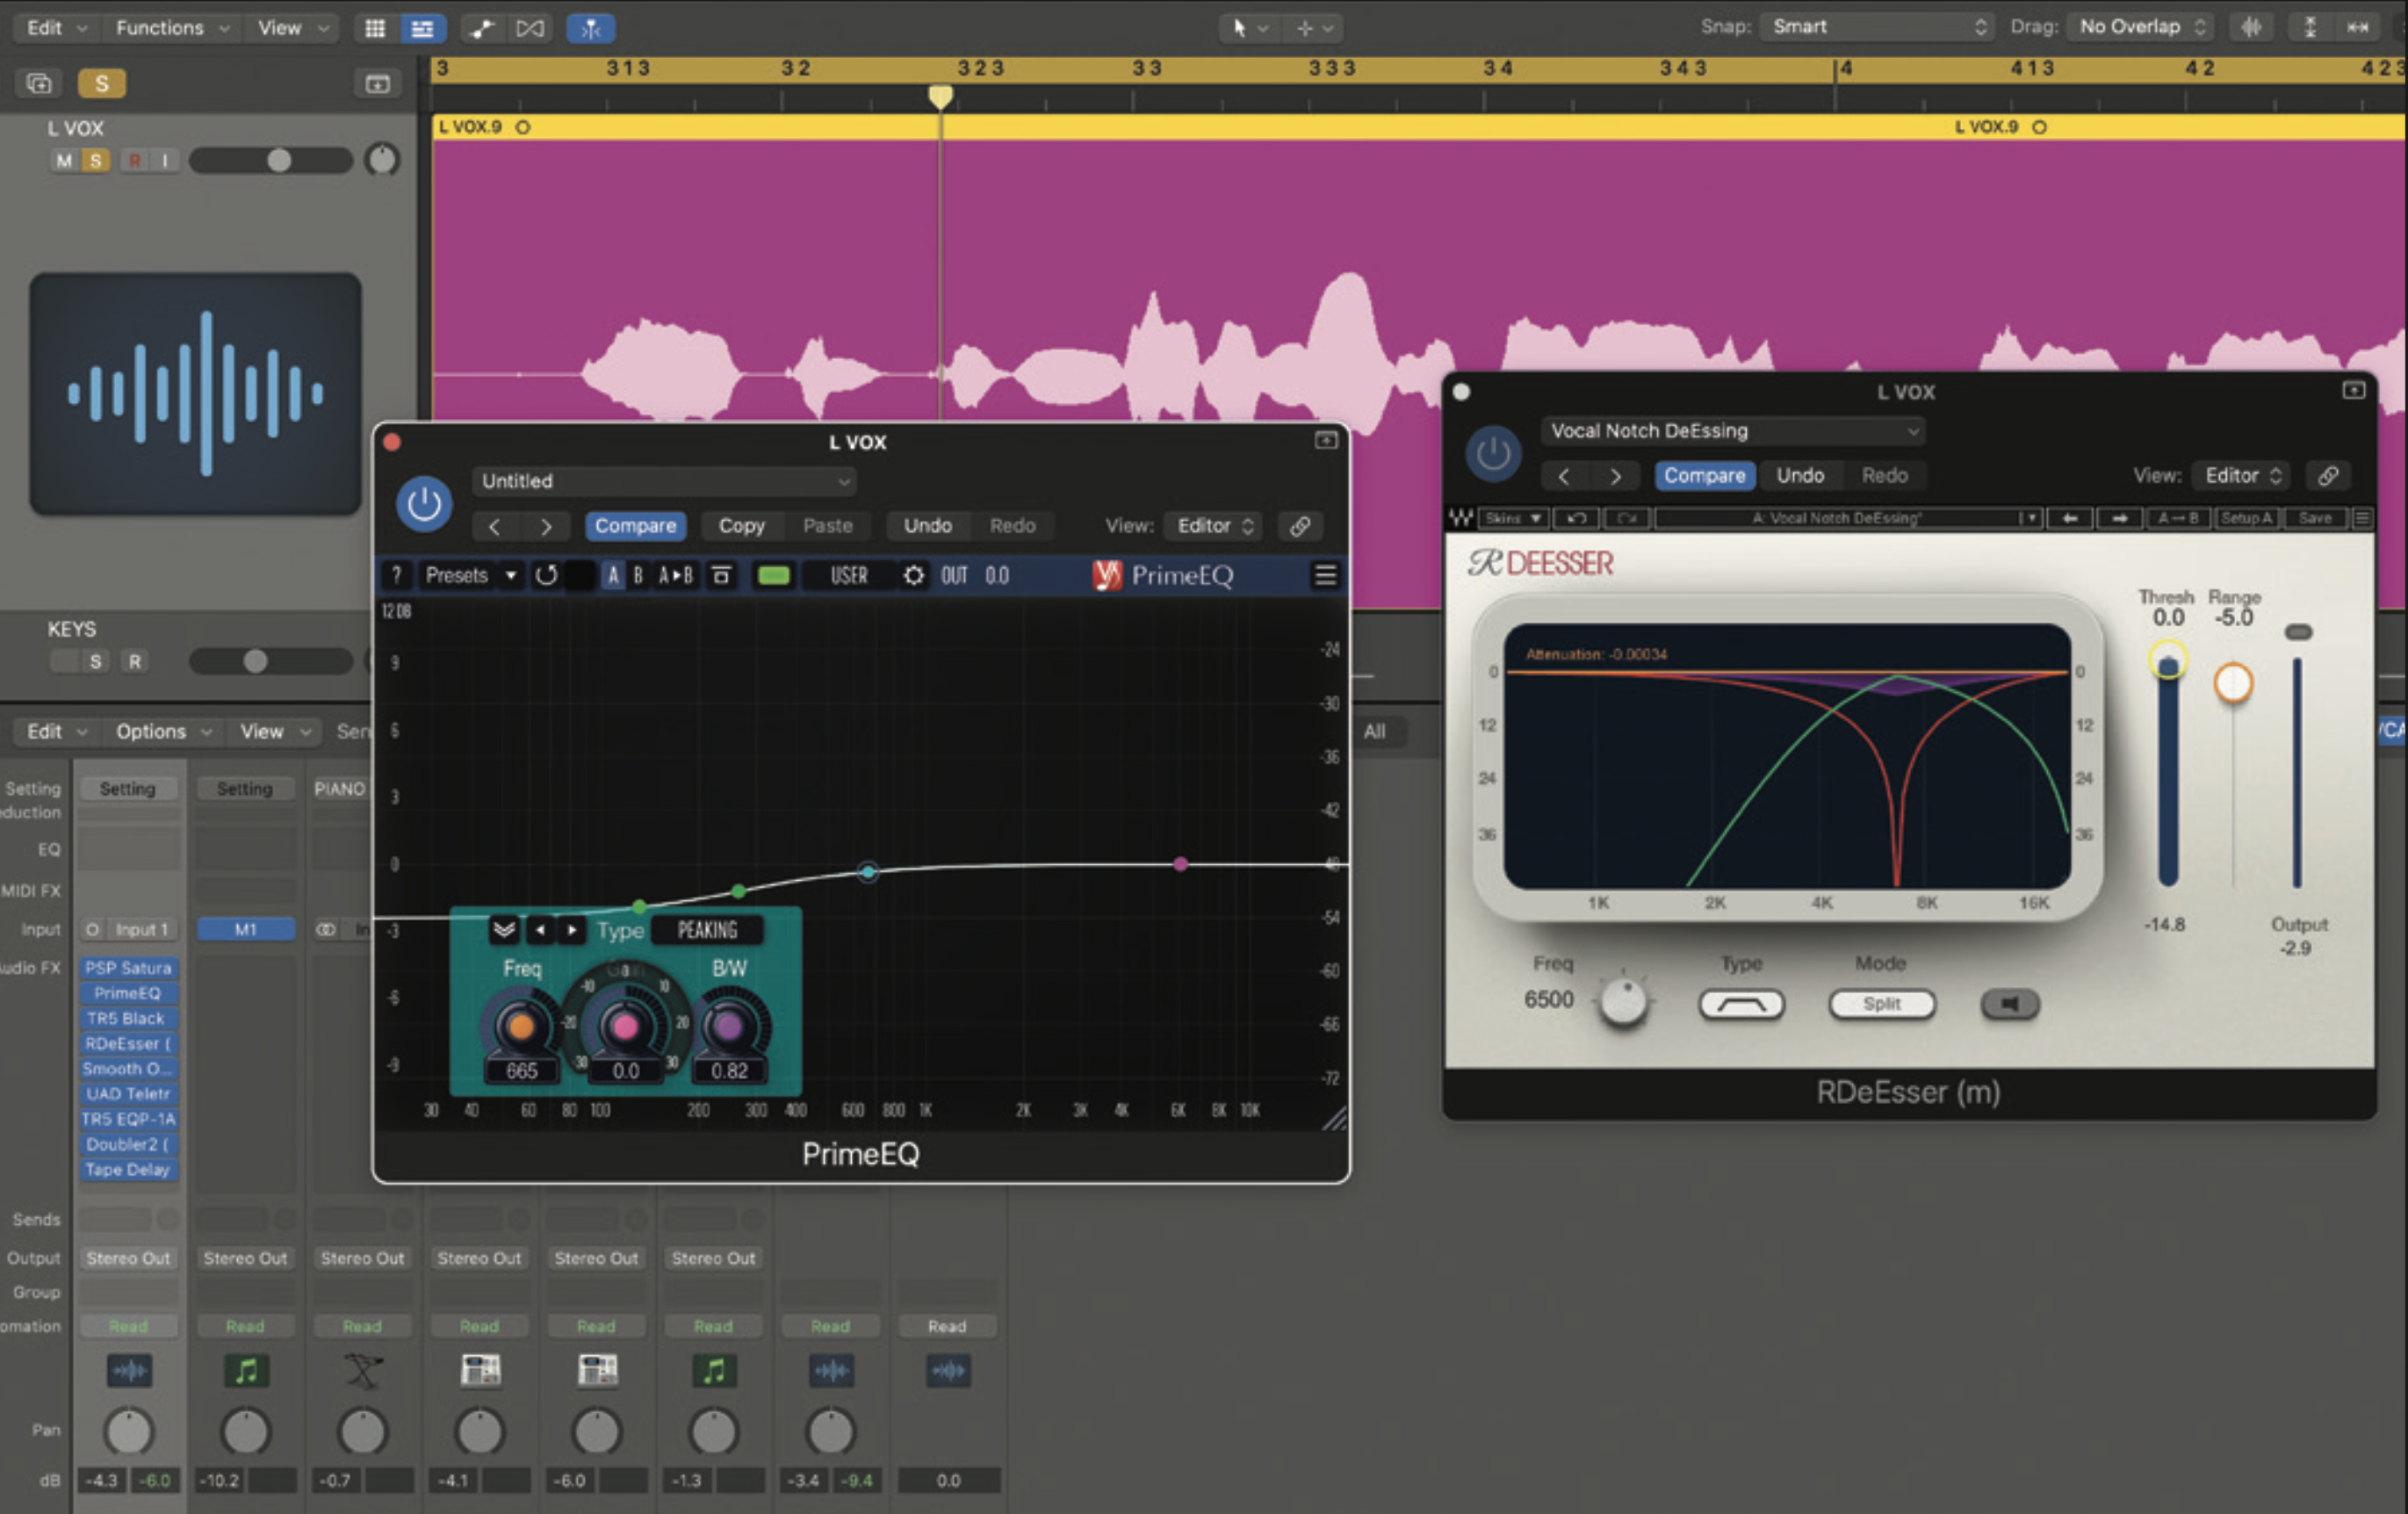
In the following walkthroughs we look at various different task-specific mixing chains and many contain EQ and compression. Part of setting up these chains is selecting the right EQ frequencies and shapes as well as compressor types and settings. That said, you may want to save the chains with more neutral gains or thresholds, which you then adjust in use.
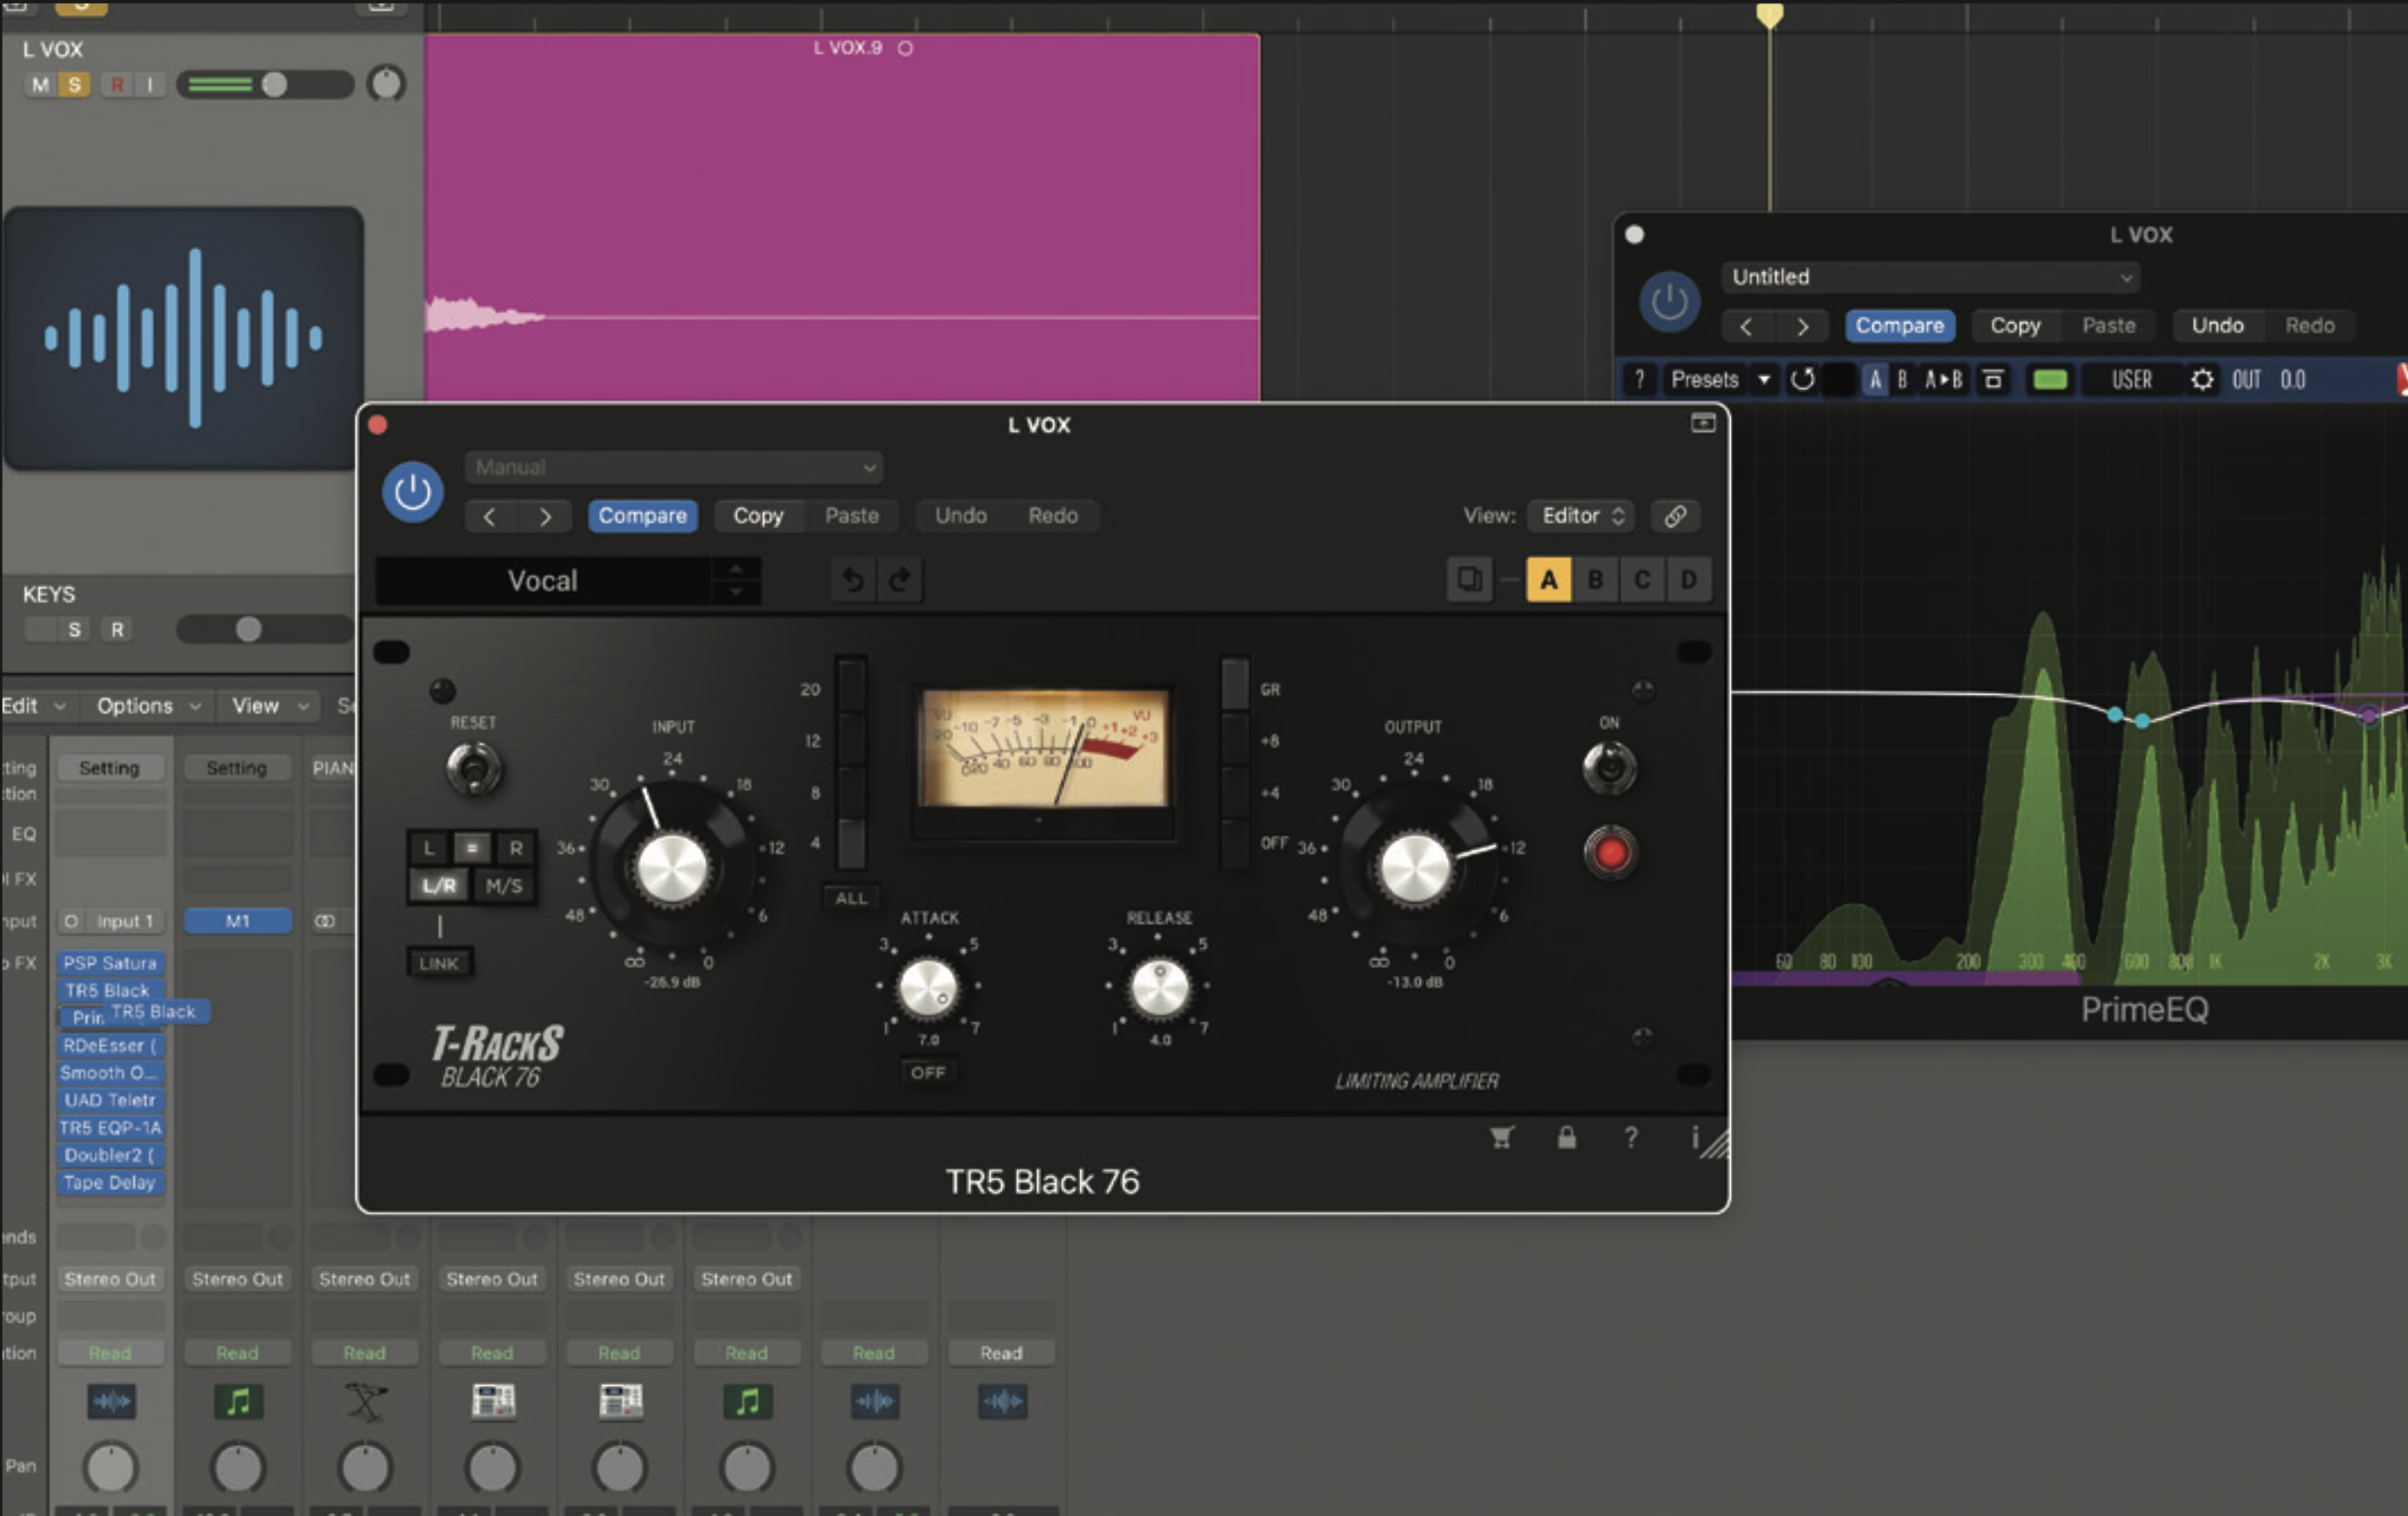
Mixing chains contain plugins in a certain order, and in each of the walkthroughs we build the chains in this way, with an intended signal flow. That said, sometimes you’ll want to swap things around a bit. So, if circumstances dictate that an EQ needs to go after rather than before a compressor, then please do follow your instincts.
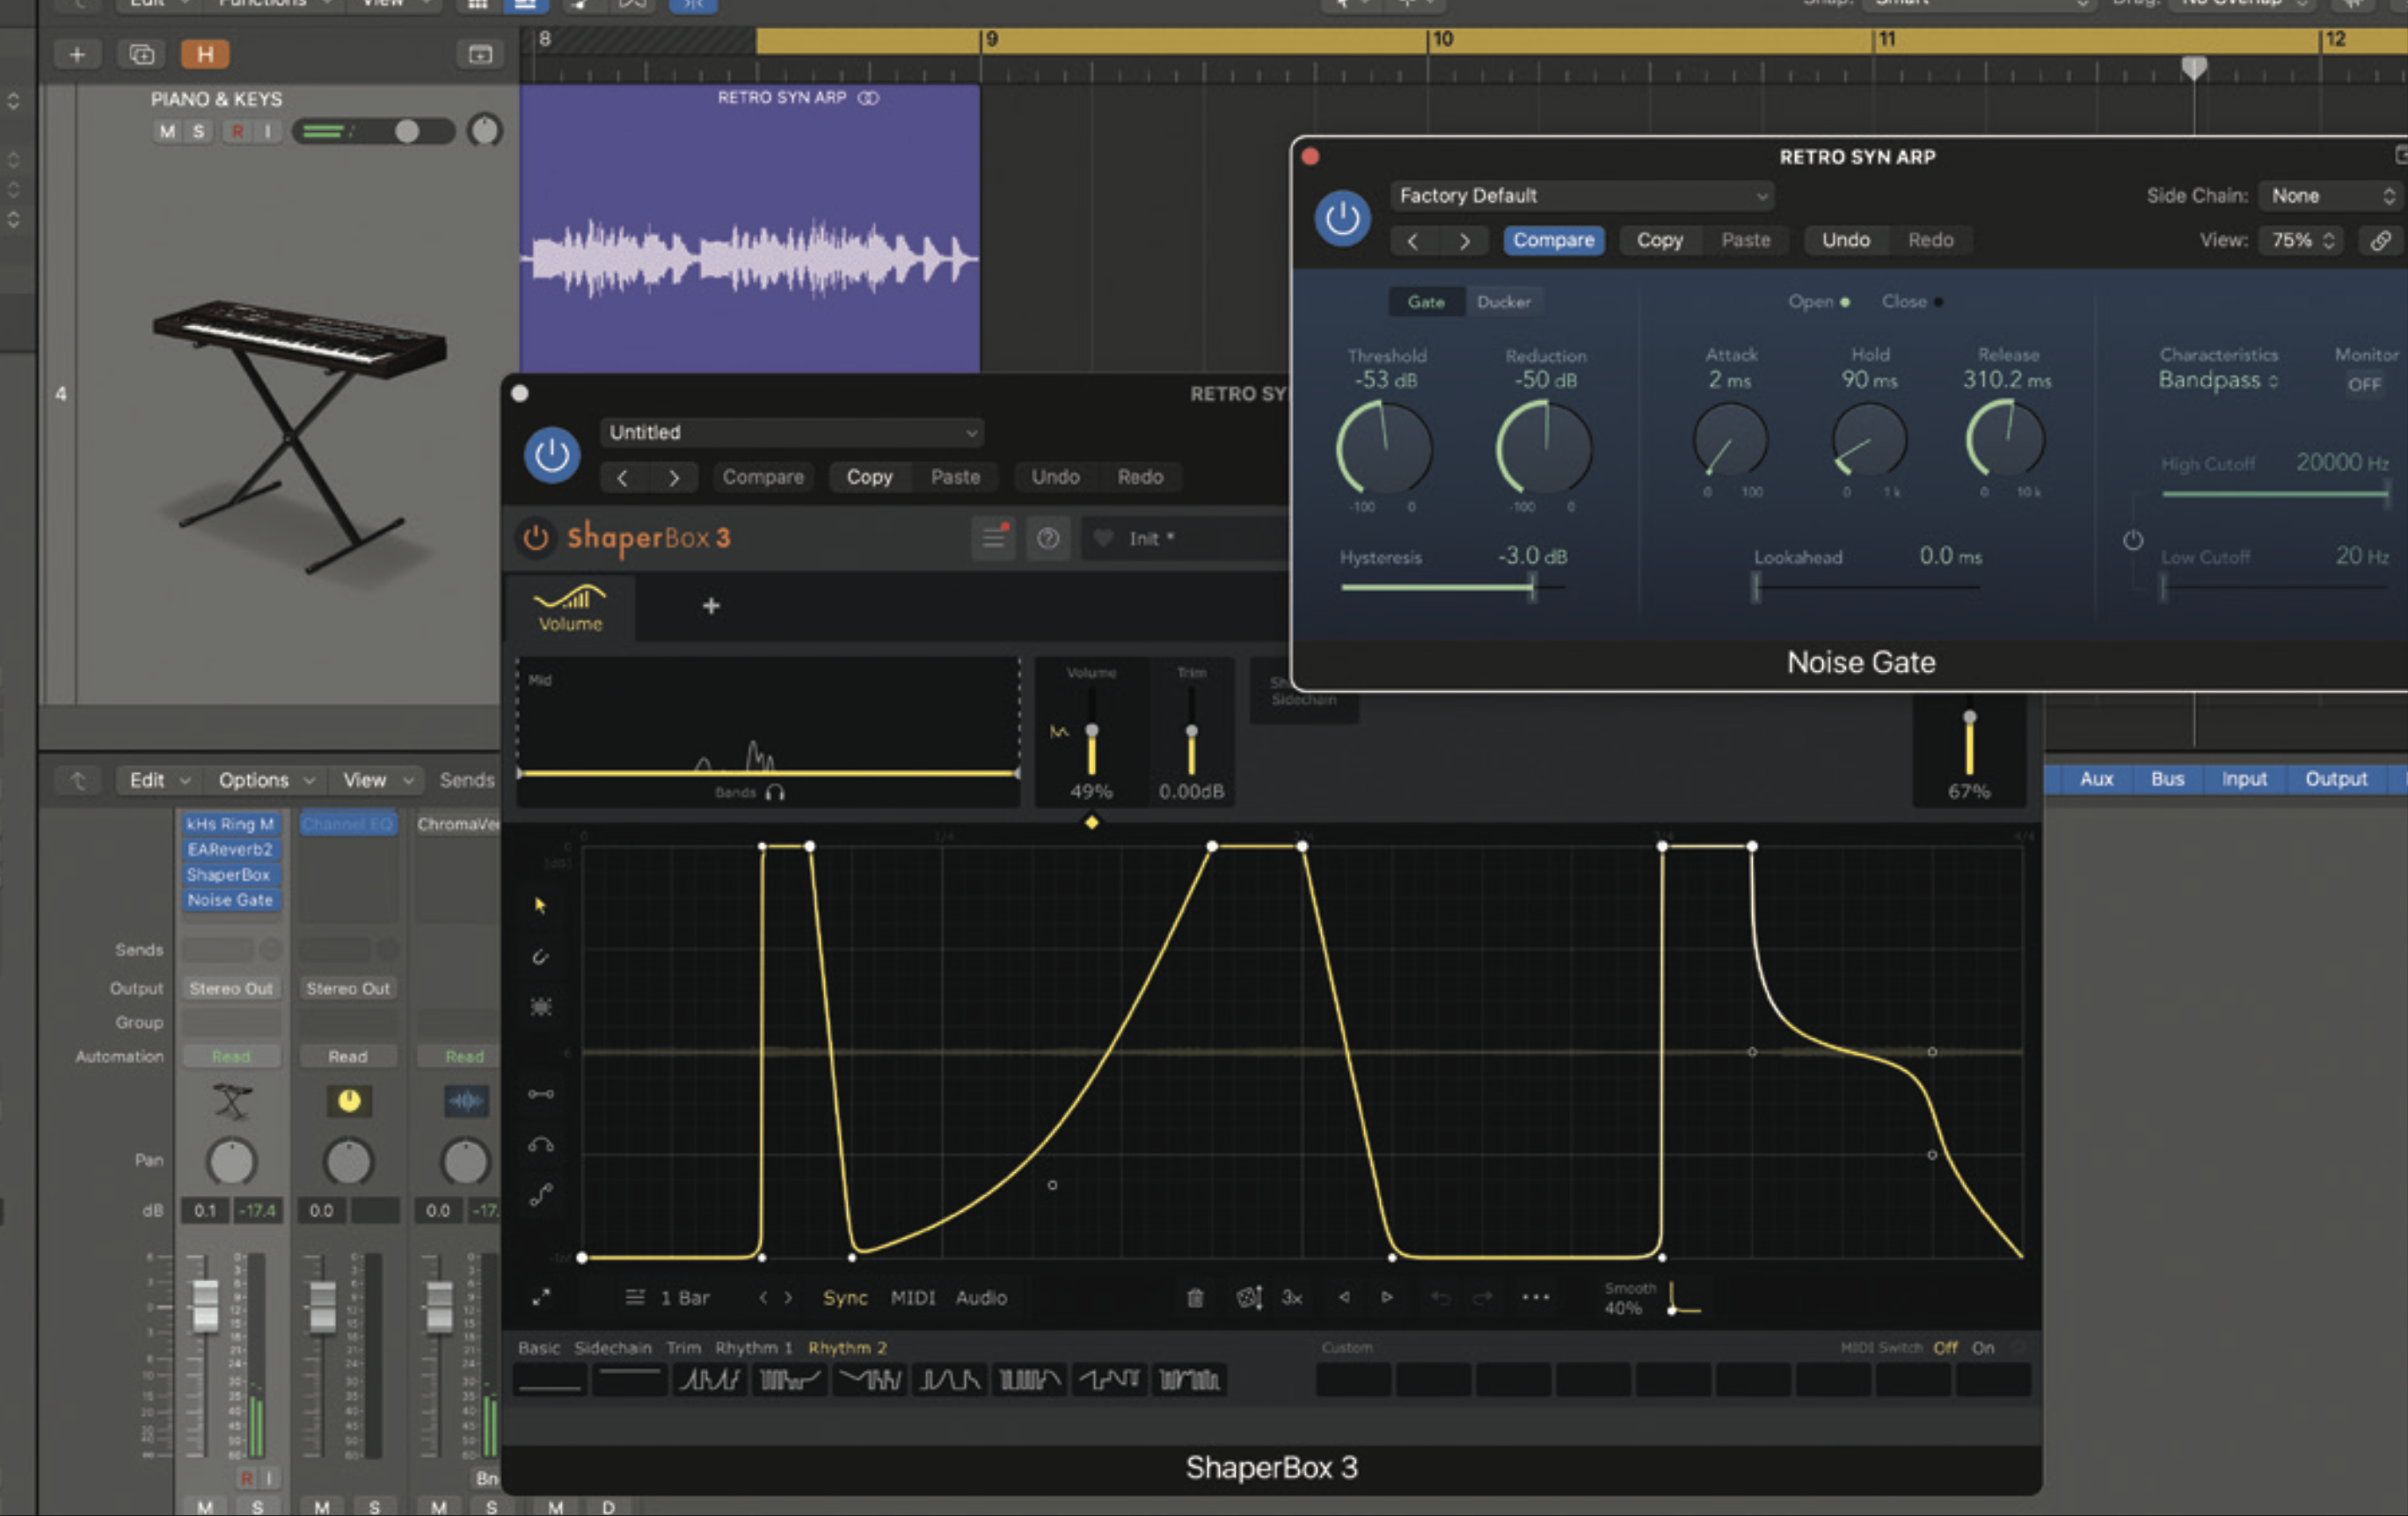
DAW production allows us to tidy up recorded audio in quite specific ways, and for this reason we have not included gates on our mixing chains. That said, there may be situations where a gate at the end of your mixing chain may curtail noise. Add these as required.
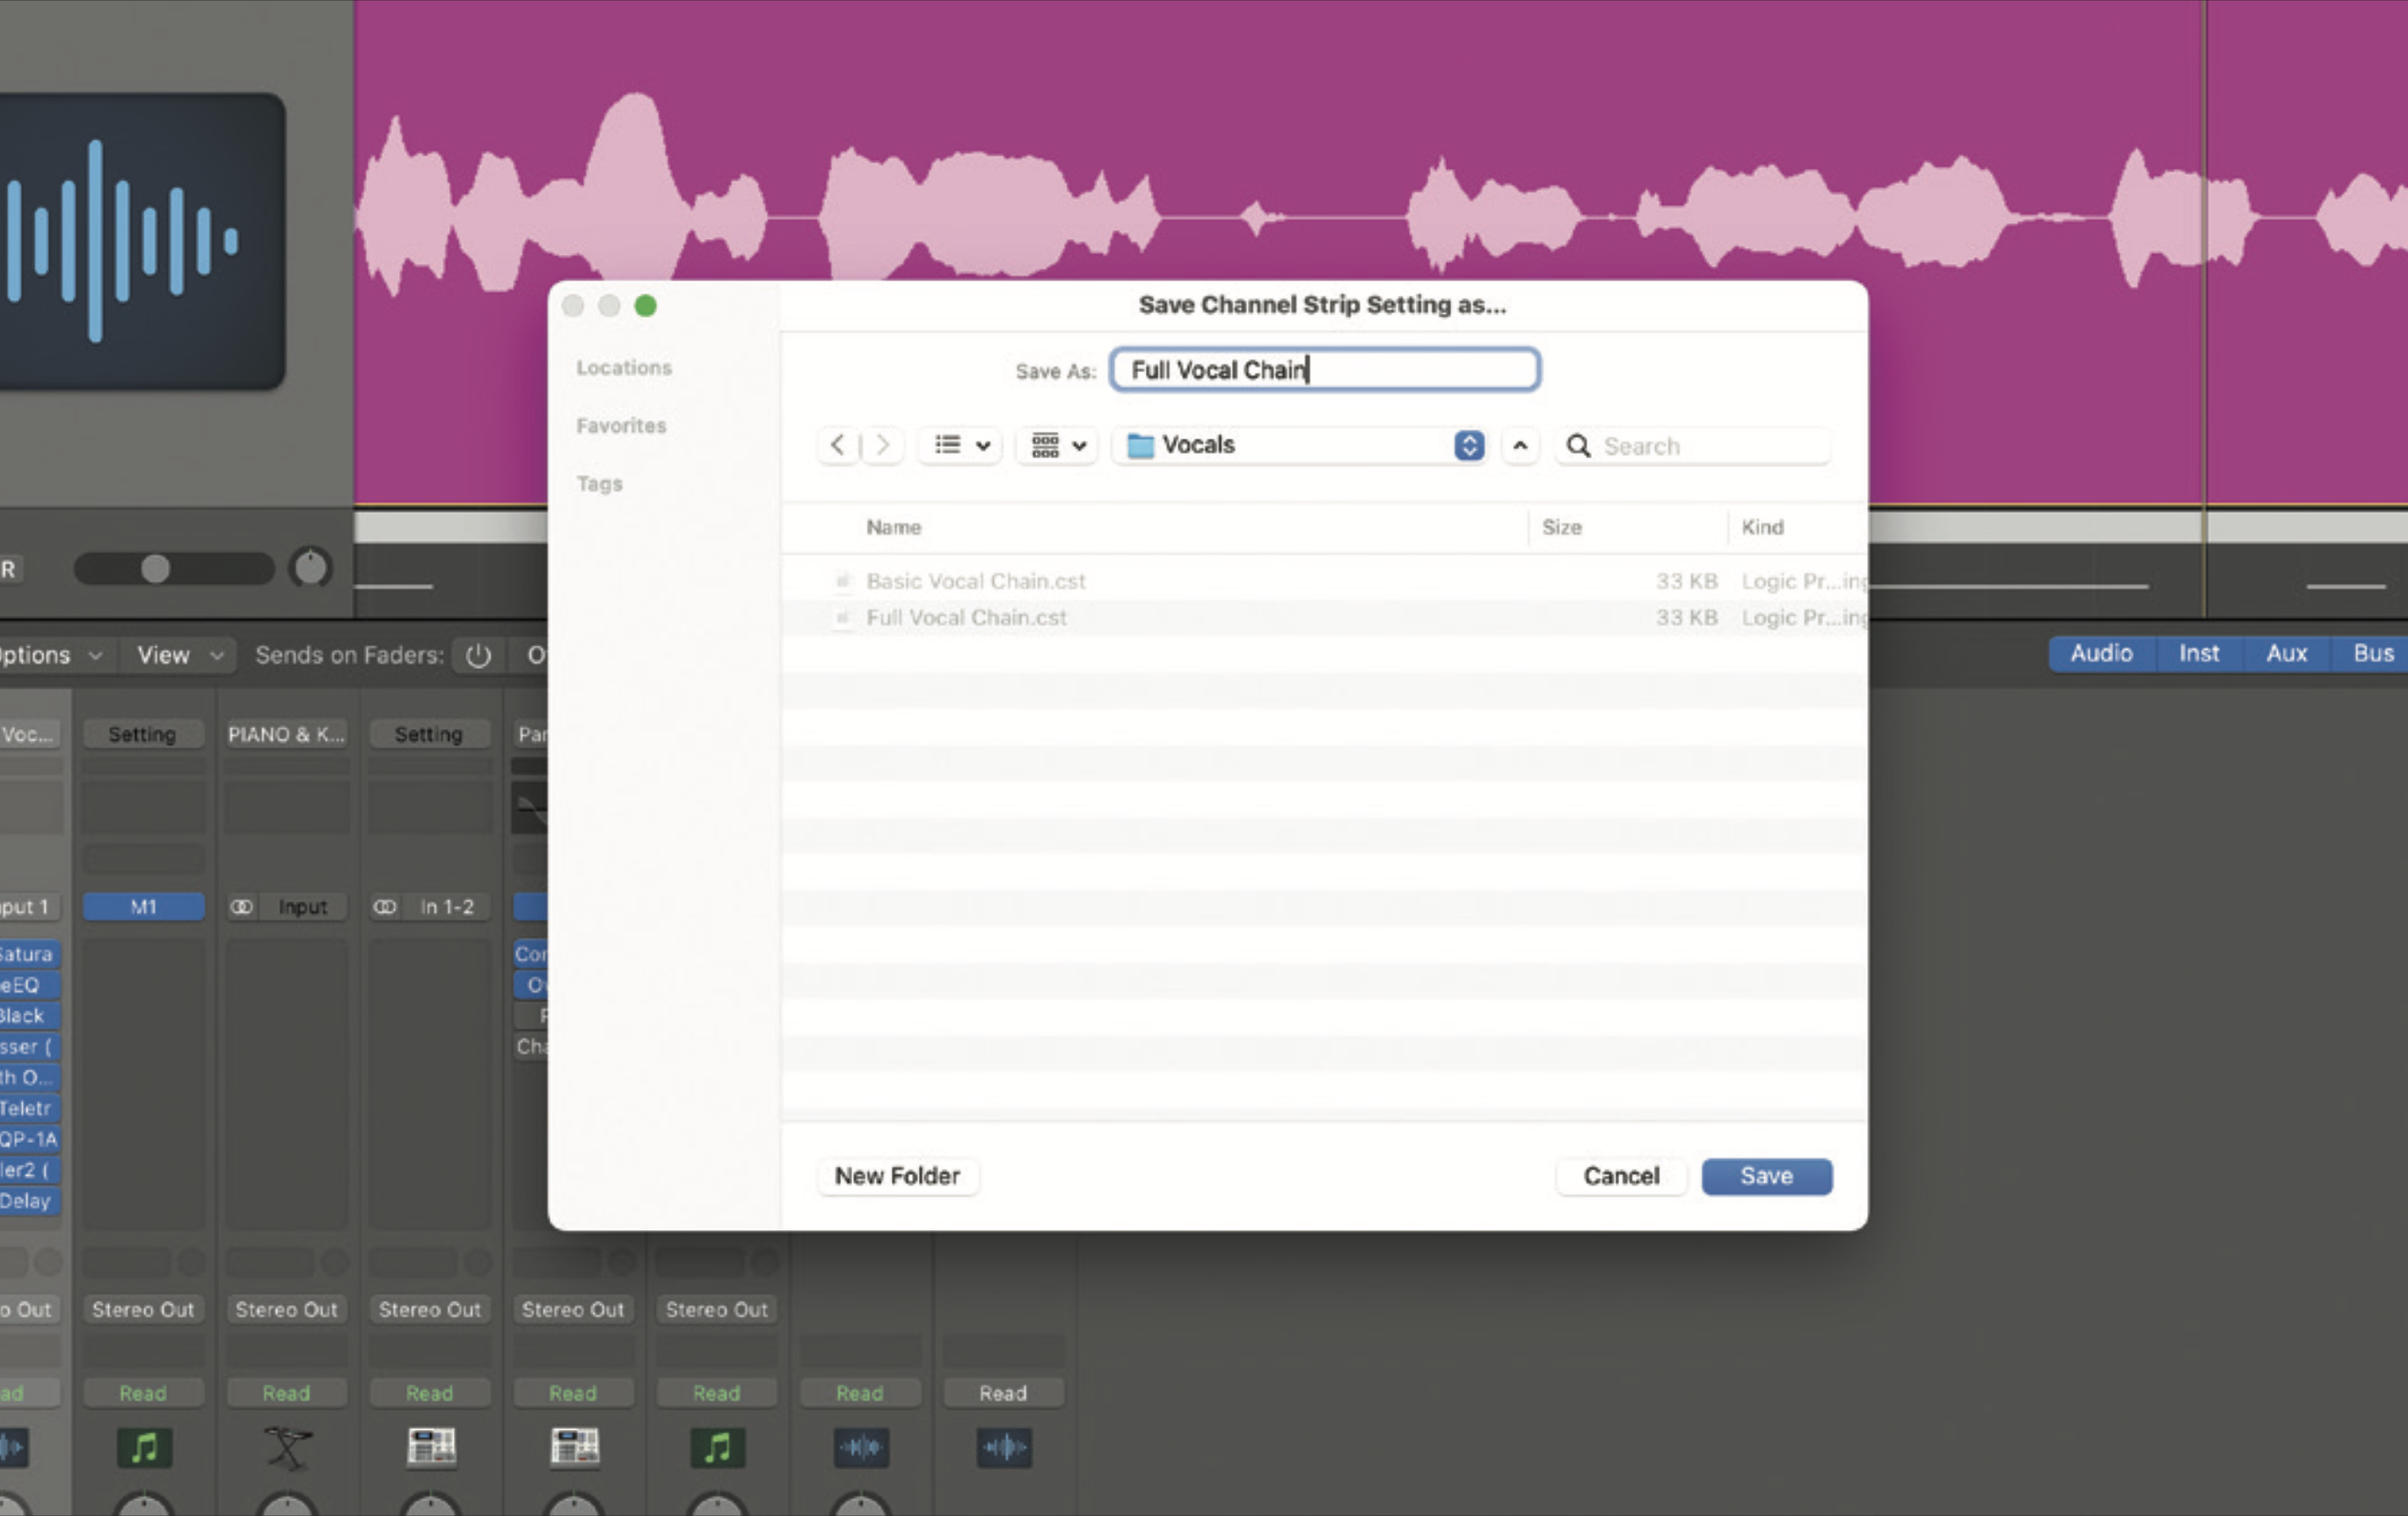
Once you have a channel strip that you’re happy with, you’ll need to save it. How you do this will be DAW-specific, so check out how things work in your DAW. Use a naming scheme that makes sense and if possible group your chain presets by type. This will aid with finding and loading them in the future.
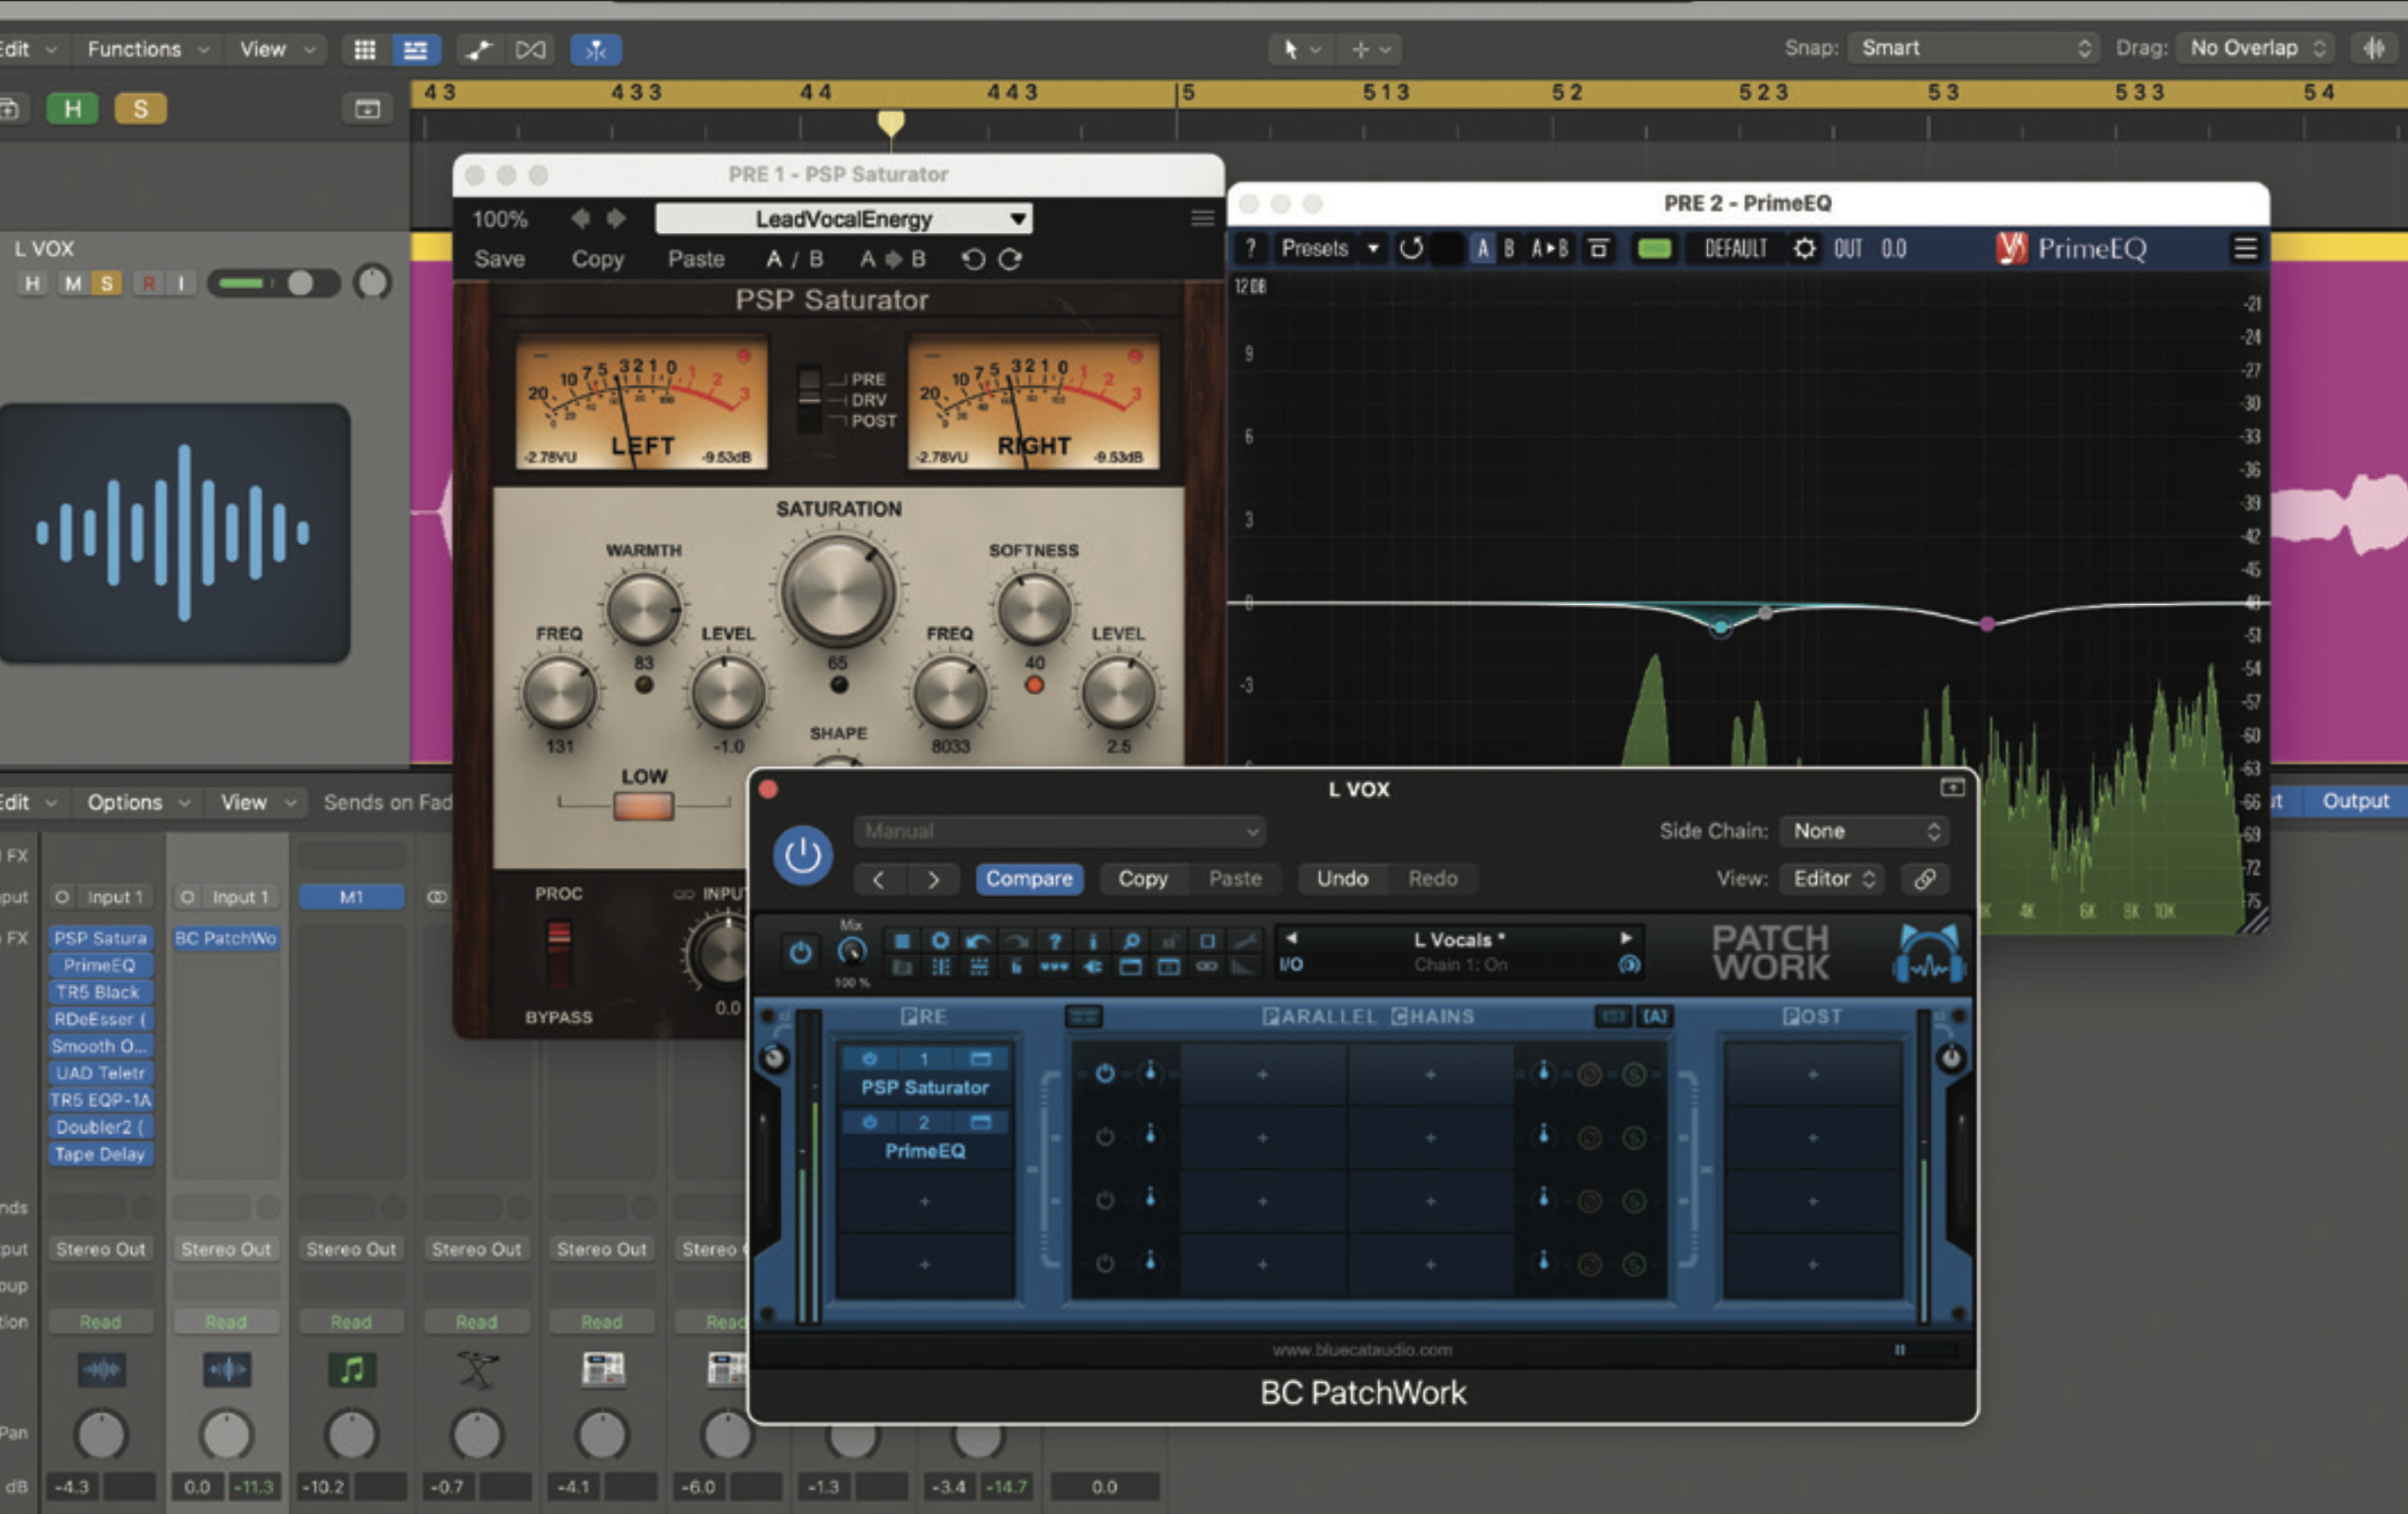
If your DAW does not have an acceptable system for saving mixing chains, then you may have to employ a chainer plugin. These use a single insert slot to host multiple plugins.
2. Vocal chains
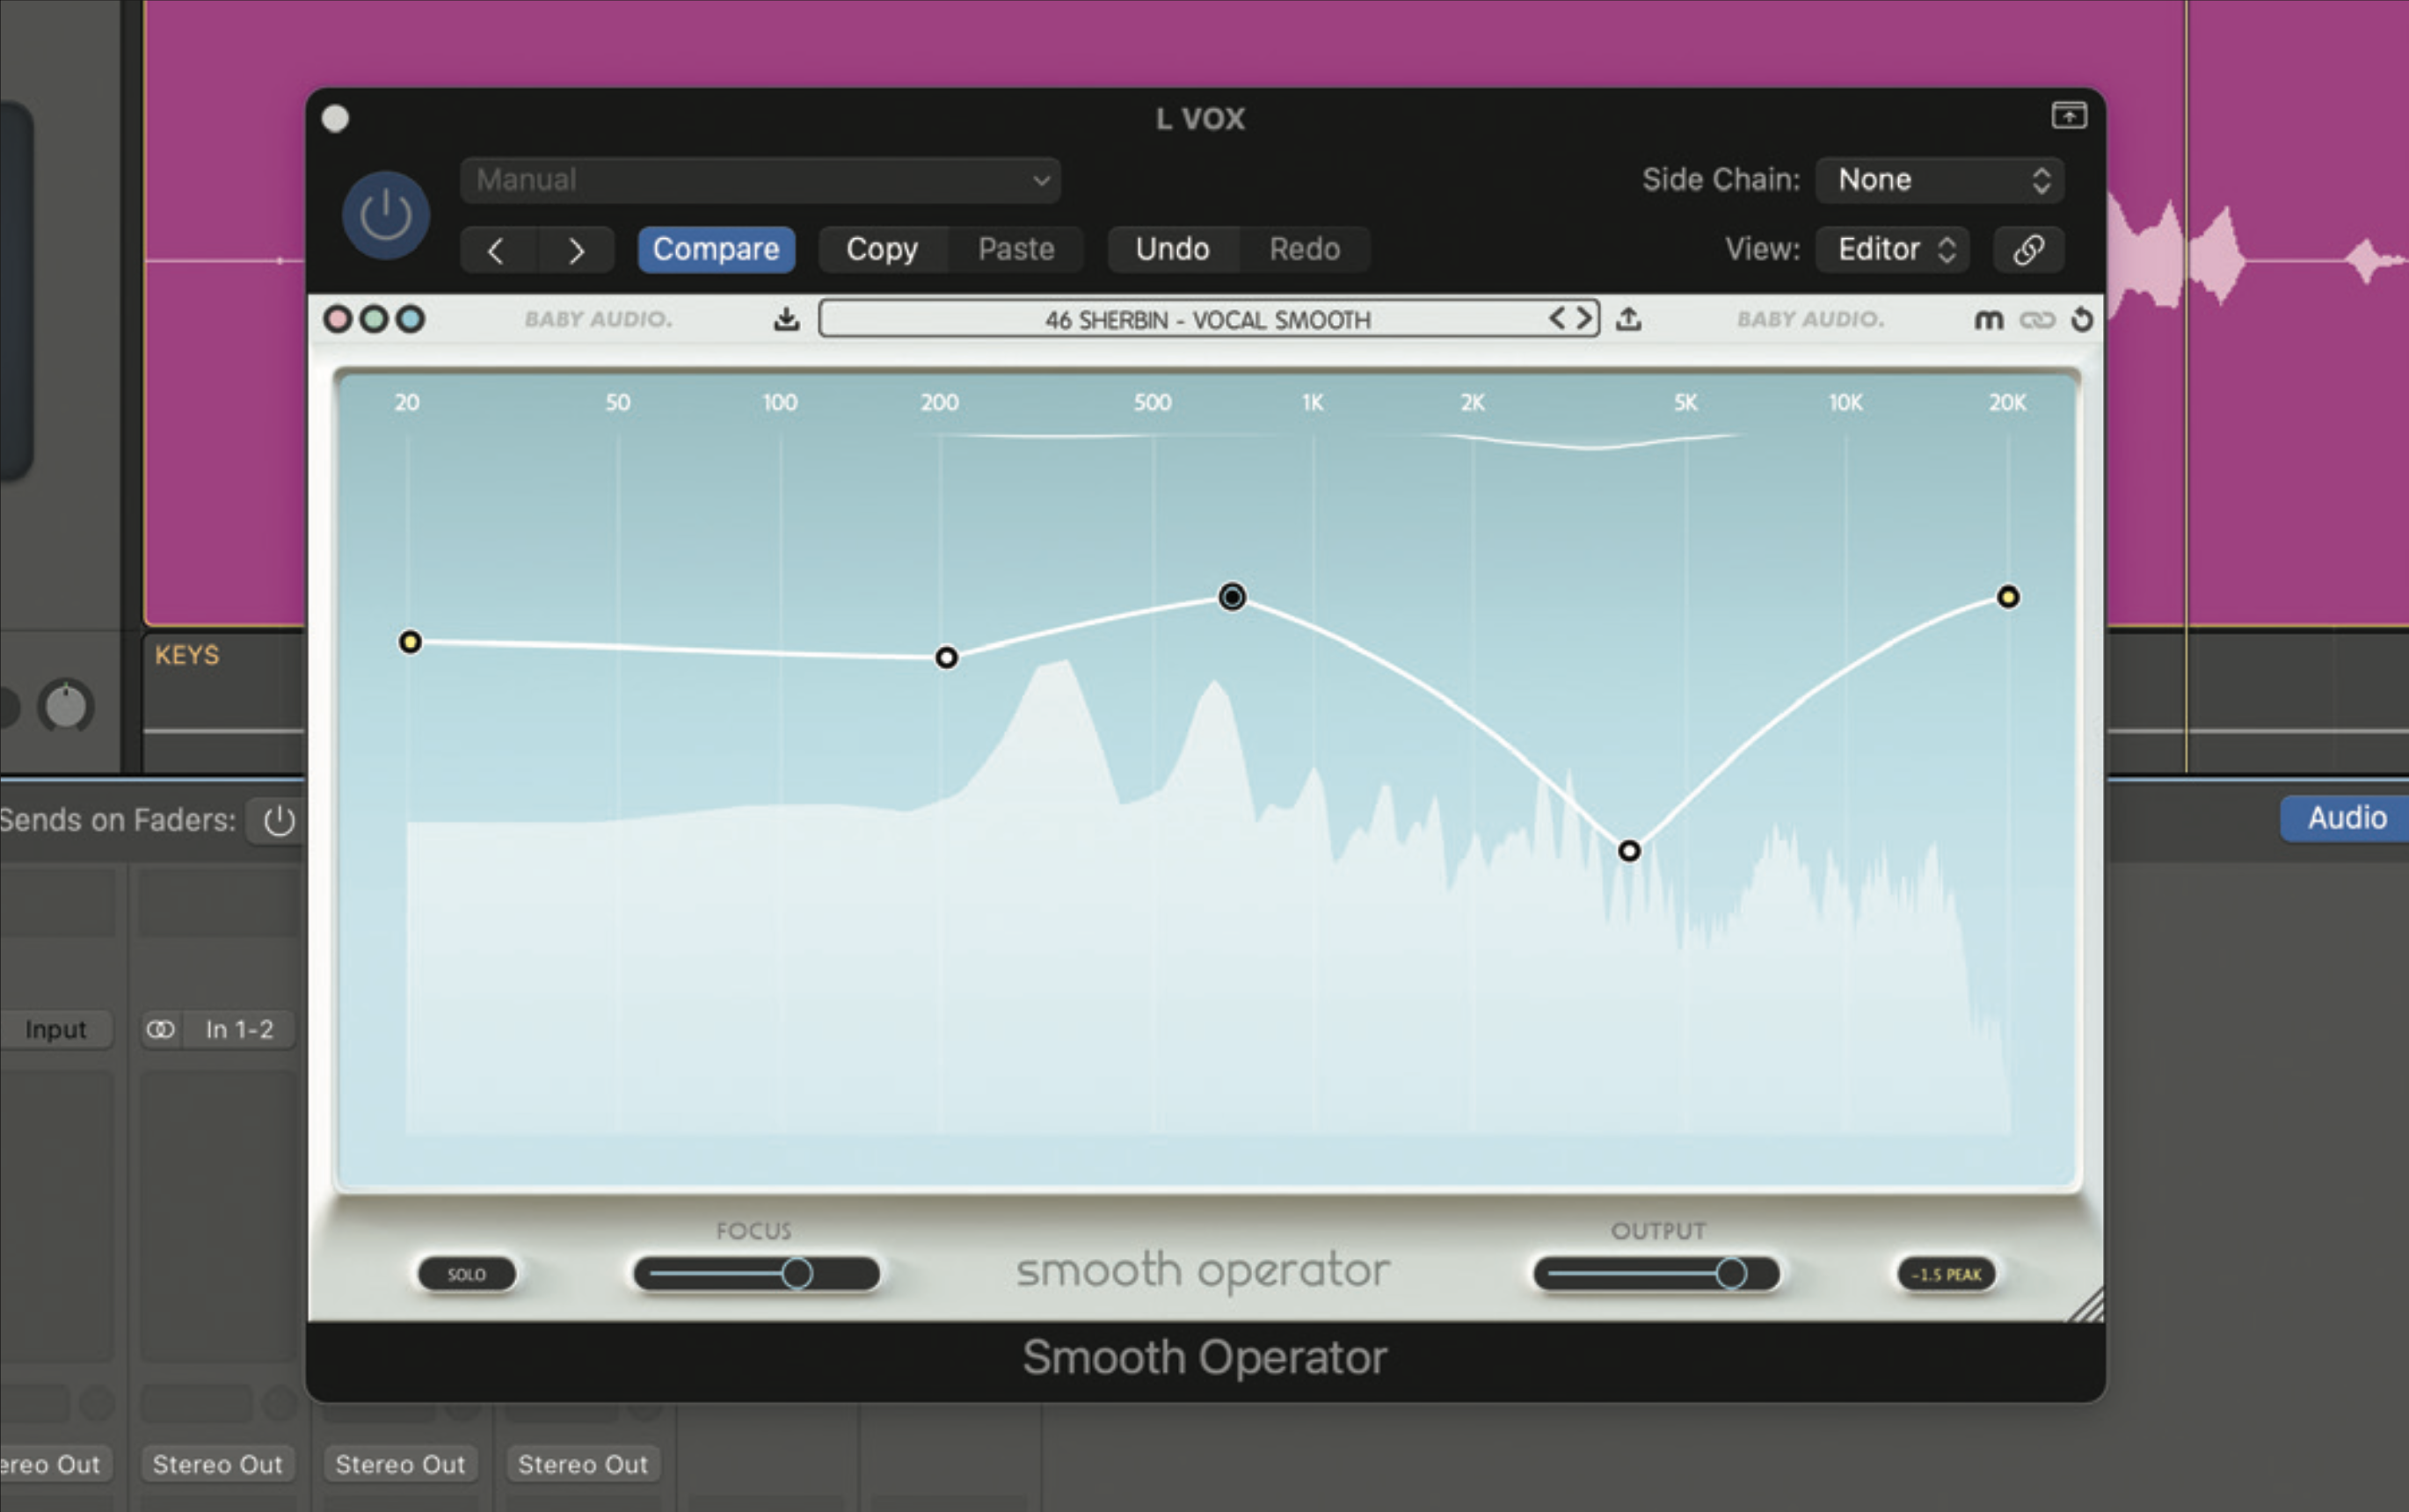
Our vocal chain will include an EQ, compressor and de-esser, in that order. That said, with plenty of plugin flexibility and options, we can be a bit more indulgent even in a basic chain (see step 6). Our first EQ is corrective so load up a flexible parametric design with high and low-pass filters.
Read more: How to design a mixing chain that'll work on any vocal
3. Bass chain
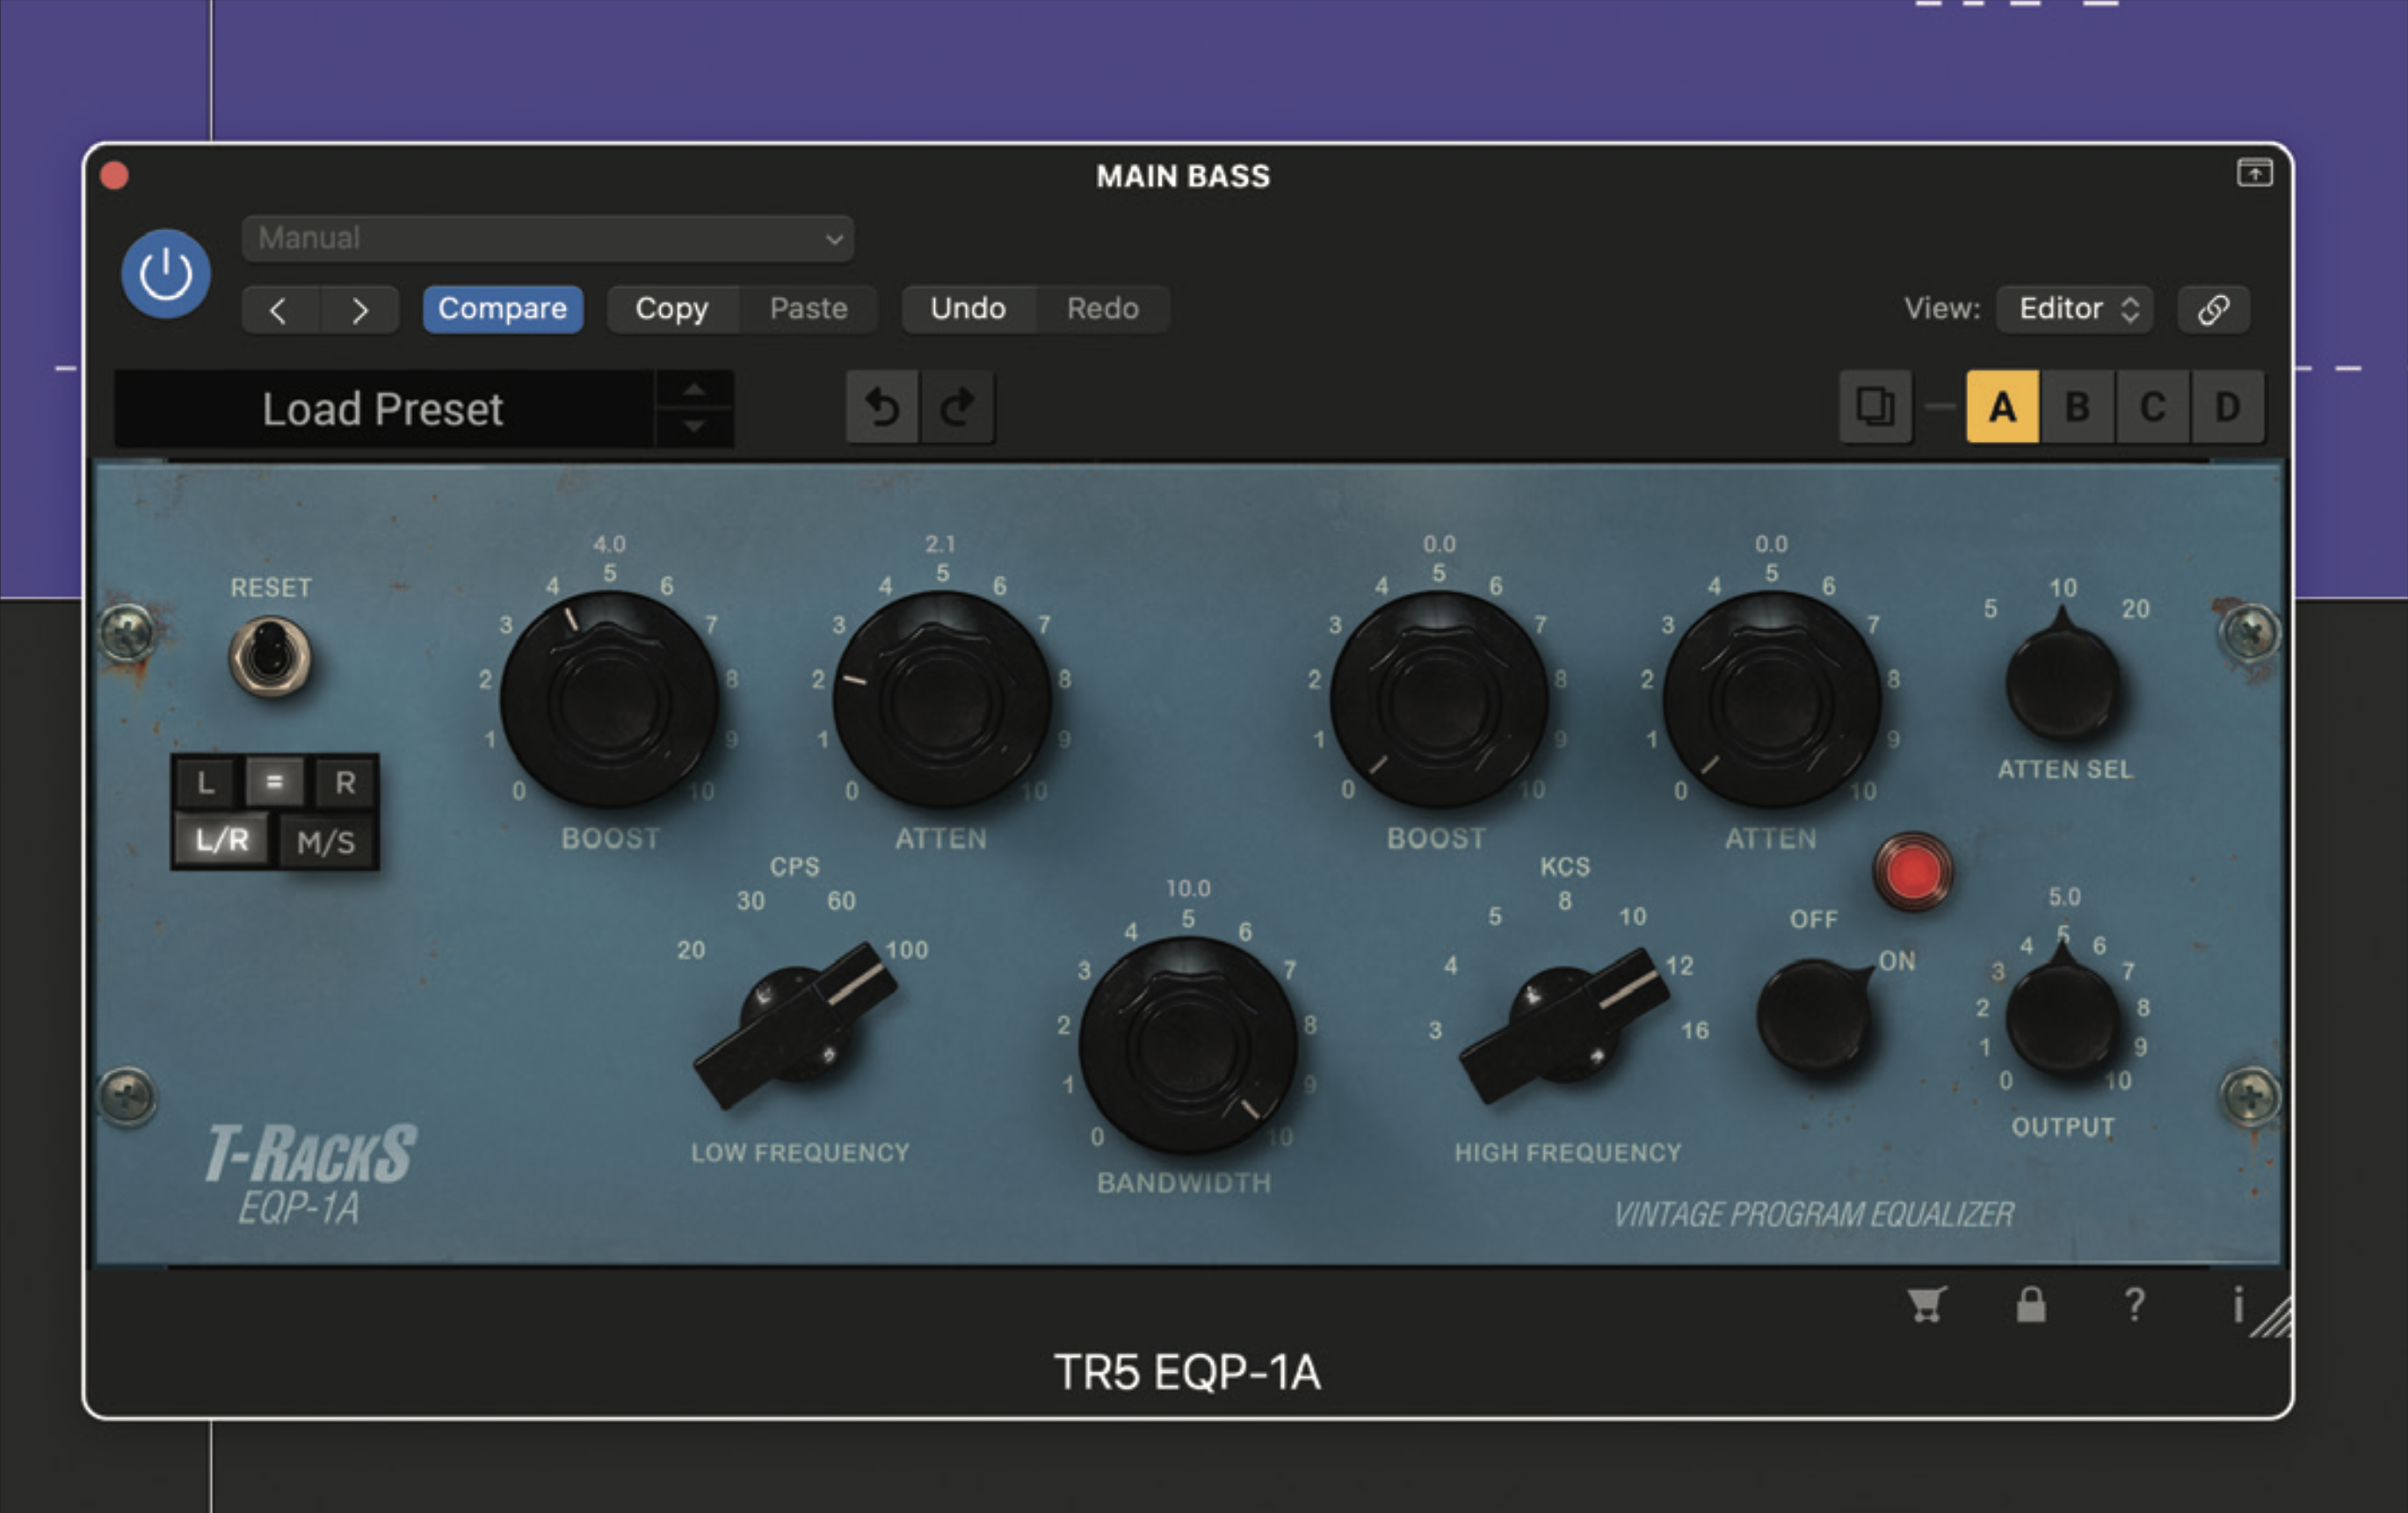
With bass, we’re usually trying to create a solid and more uniform outcome and a multistage approach works best.
Achieving consistency starts with adjusting any notes or frequencies that jump out and making sure the sub-frequencies aren’t too dominant. So the first plugin in the chain needs to be a flexible parametric EQ with frequency analyser.
Read more: How to build a killer bass chain
4. Drums and beats
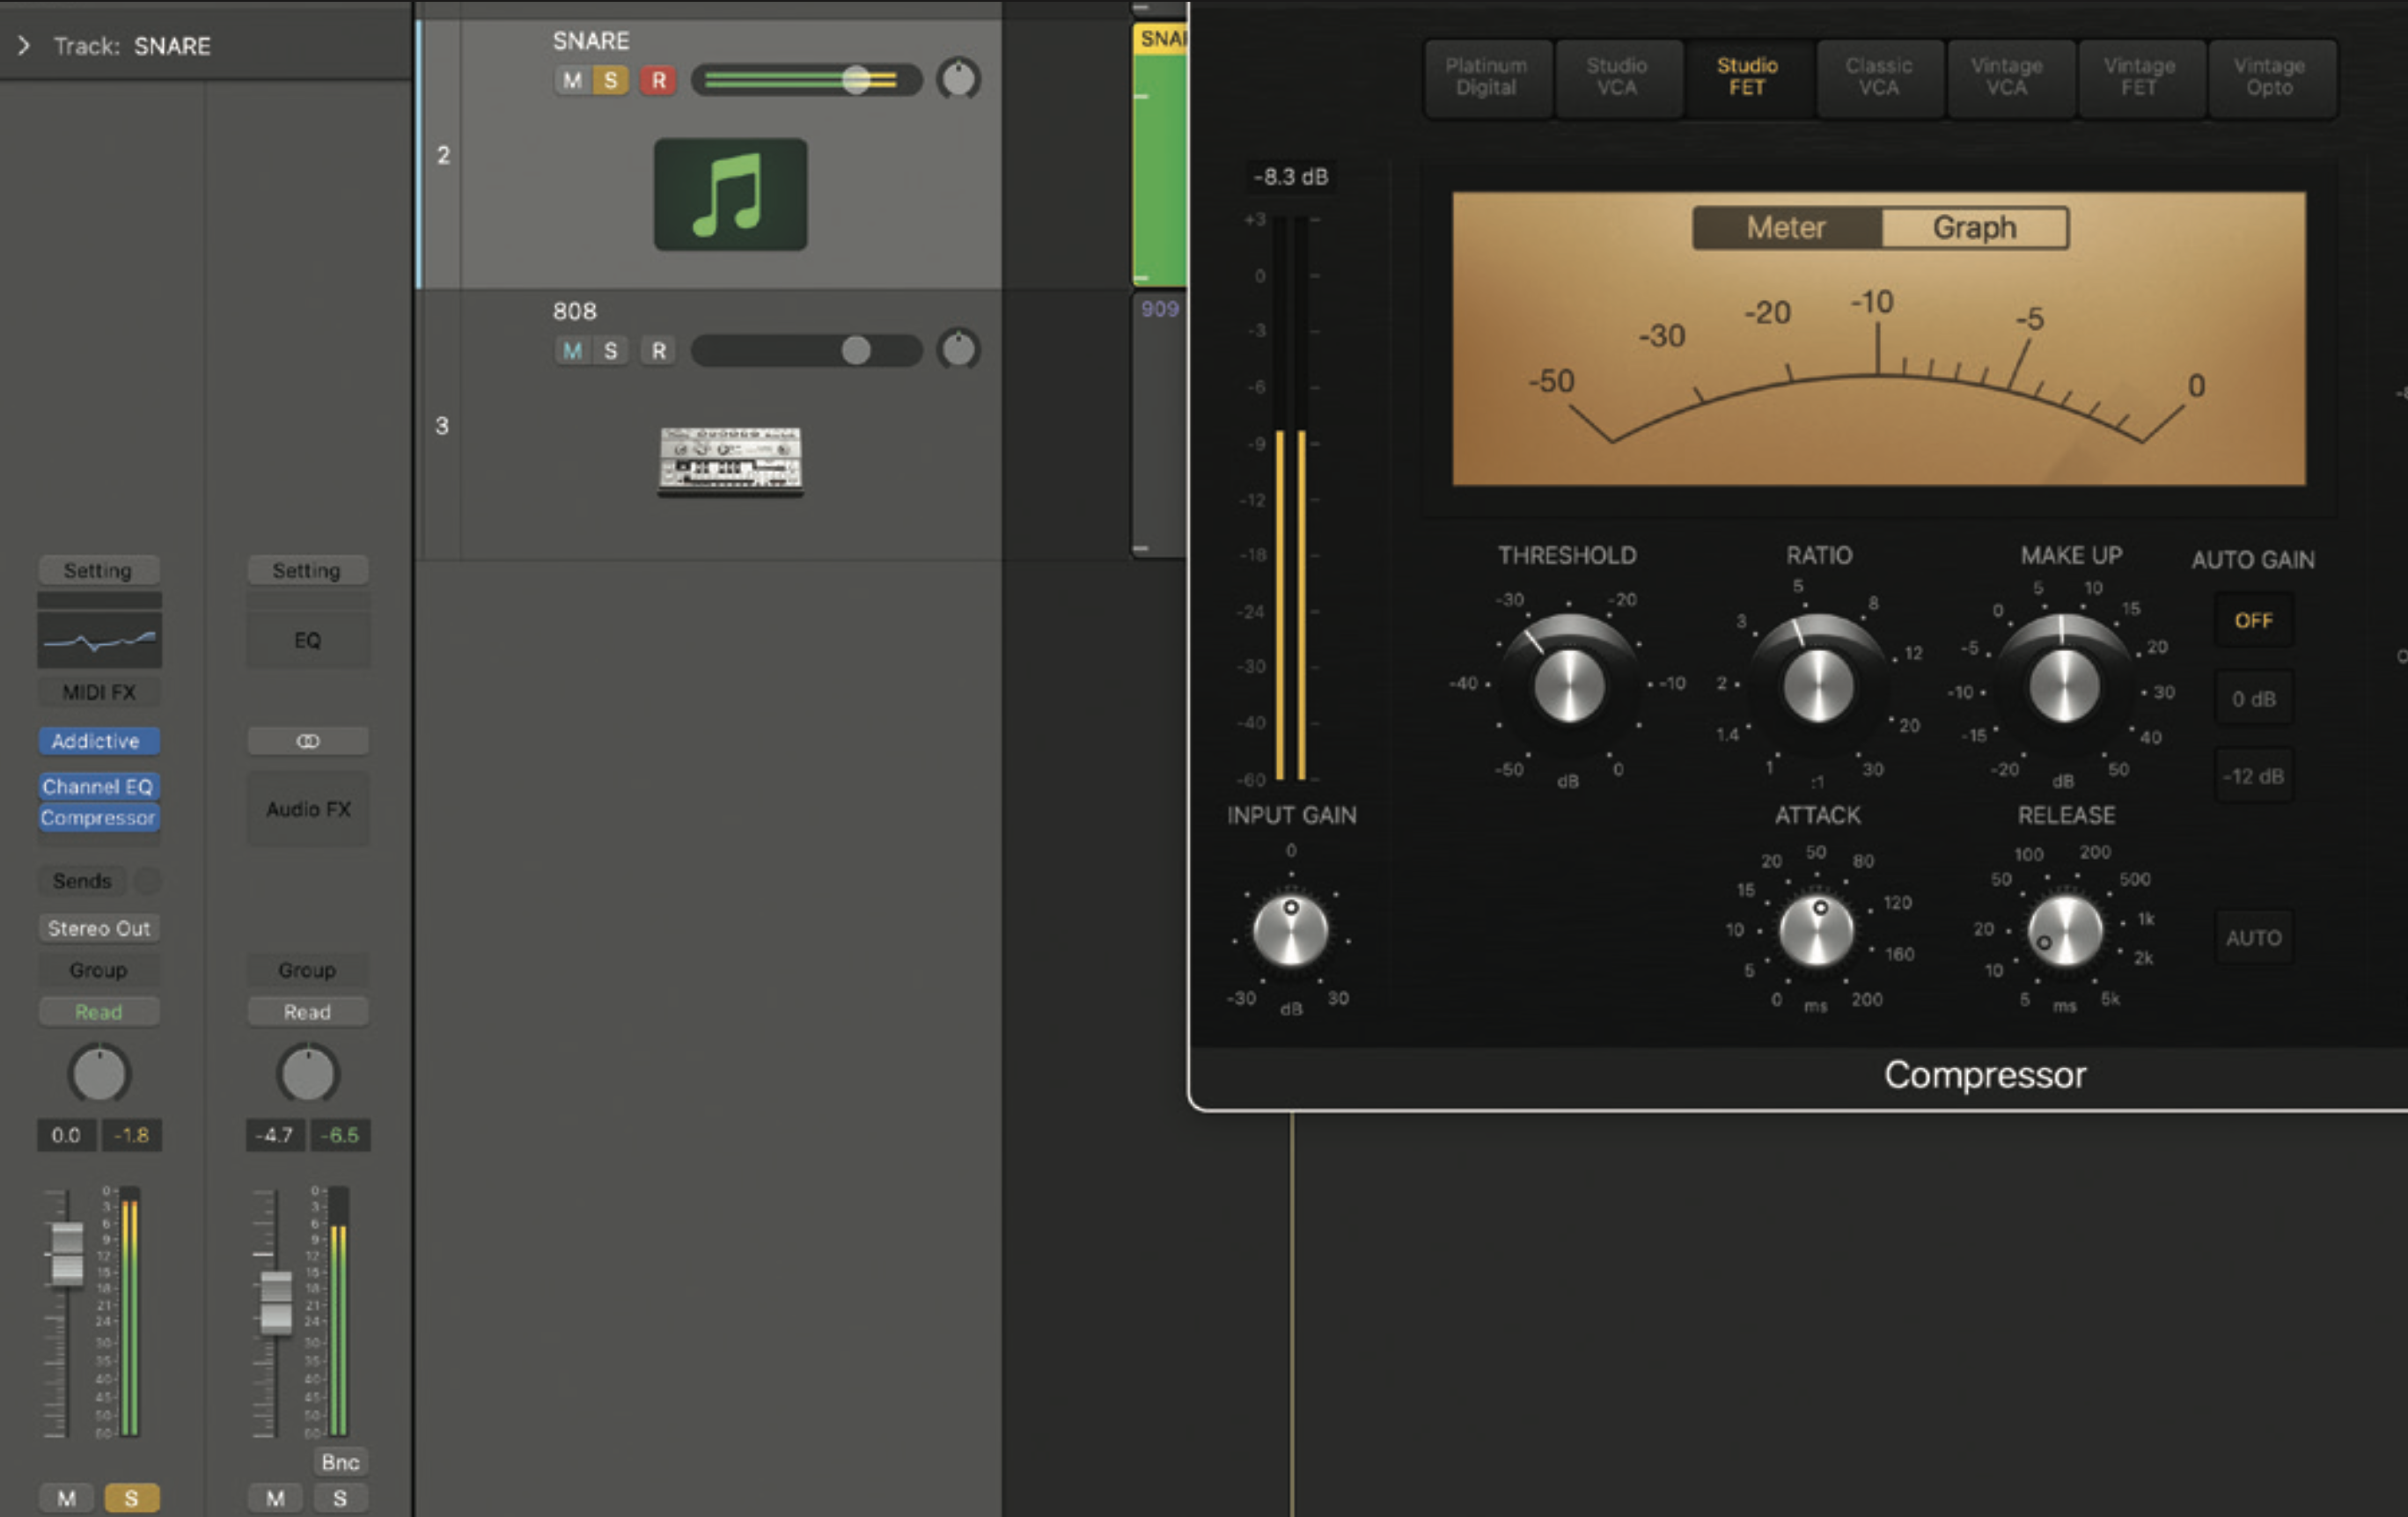
Raw drum hits, whether live or drum-machine-generated, can be annoyingly lacklustre, and they often benefit from some pretty aggressive shaping. Here's how to kick them into shape...
Read more: How to build a banging drums and beats chain
5. Piano and keys
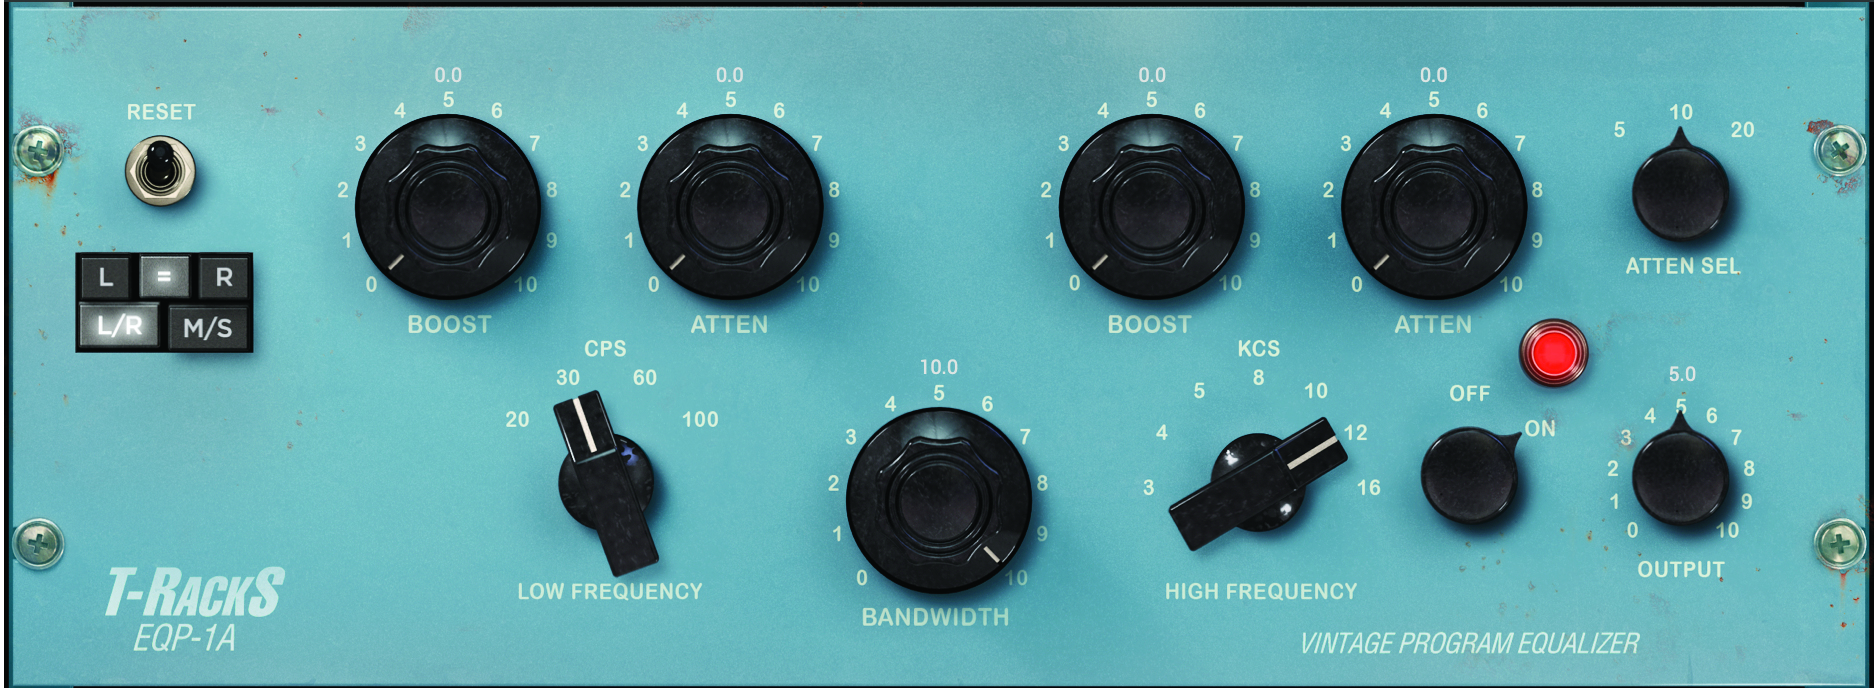
With piano, synth and keyboard chains, we can be a bit more ambitious with the creative effects. That said, our mixing chain still needs core EQ and compression plugins. Typically, these play a sweetening role, and to that end we’re using a hardware emulation EQ to add glossy air to the high frequencies...
Read more: How to build a solid piano and keys mixing chain
6. Master bus
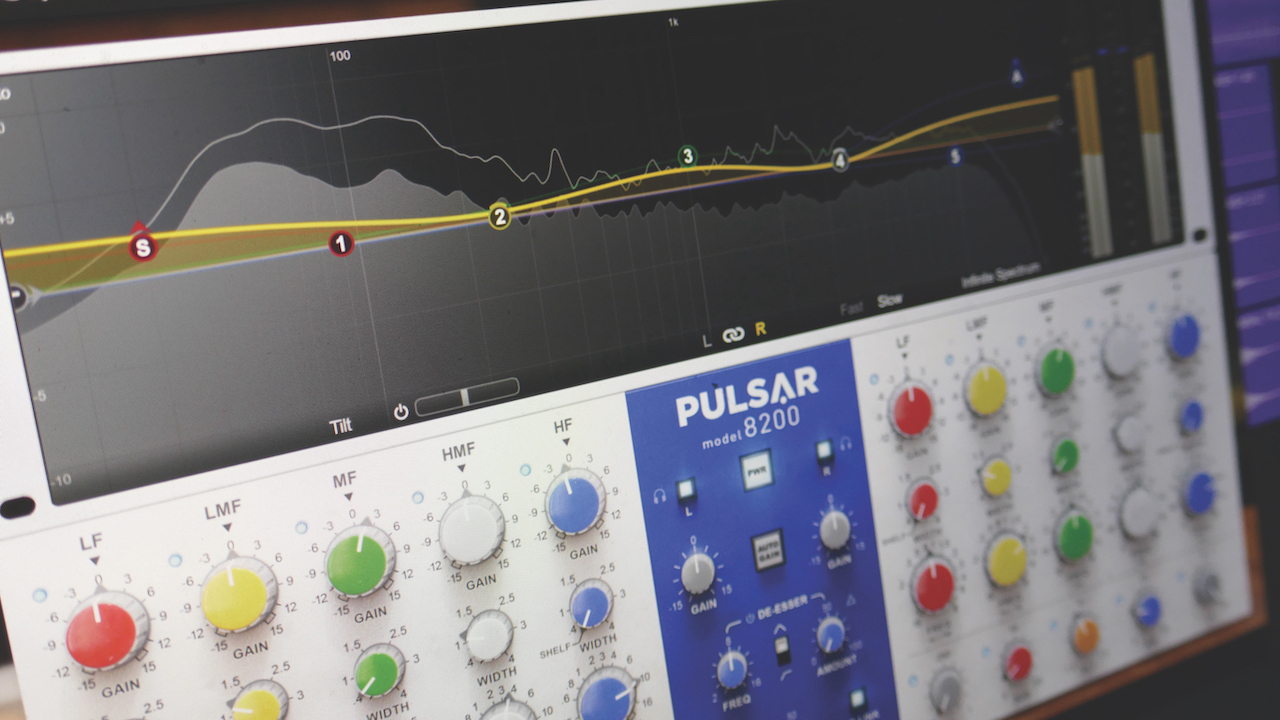
It’s pretty common to EQ and sometimes compress the master bus, but the first plugin in our master bus chain should be a gain. This isn’t to compensate for poor gain management earlier in your mix, so if you’re wanting to make major changes revisit your channel faders. However, it does help manage levels through the master bus plugins...
Read more: Here’s your set-and-forget master bus chain
Jon is a London based platinum award winning mixer, producer, composer and club remixer with a diverse CV that spans dance, pop, rock and music for media. He’s also a long term contributor to MusicRadar's music technology tutorials and reviews. Whether working alone or collaborating he usually handles final mixdowns, so you’ll also find MusicRadar peppered with his handy mixing tips.
