5 pro compression techniques to take your sound to another level
Once you've mastered the basics, hit up this tutorial on parallel compression and find out how limiting, sidechaining and multiband compression can shape your sound
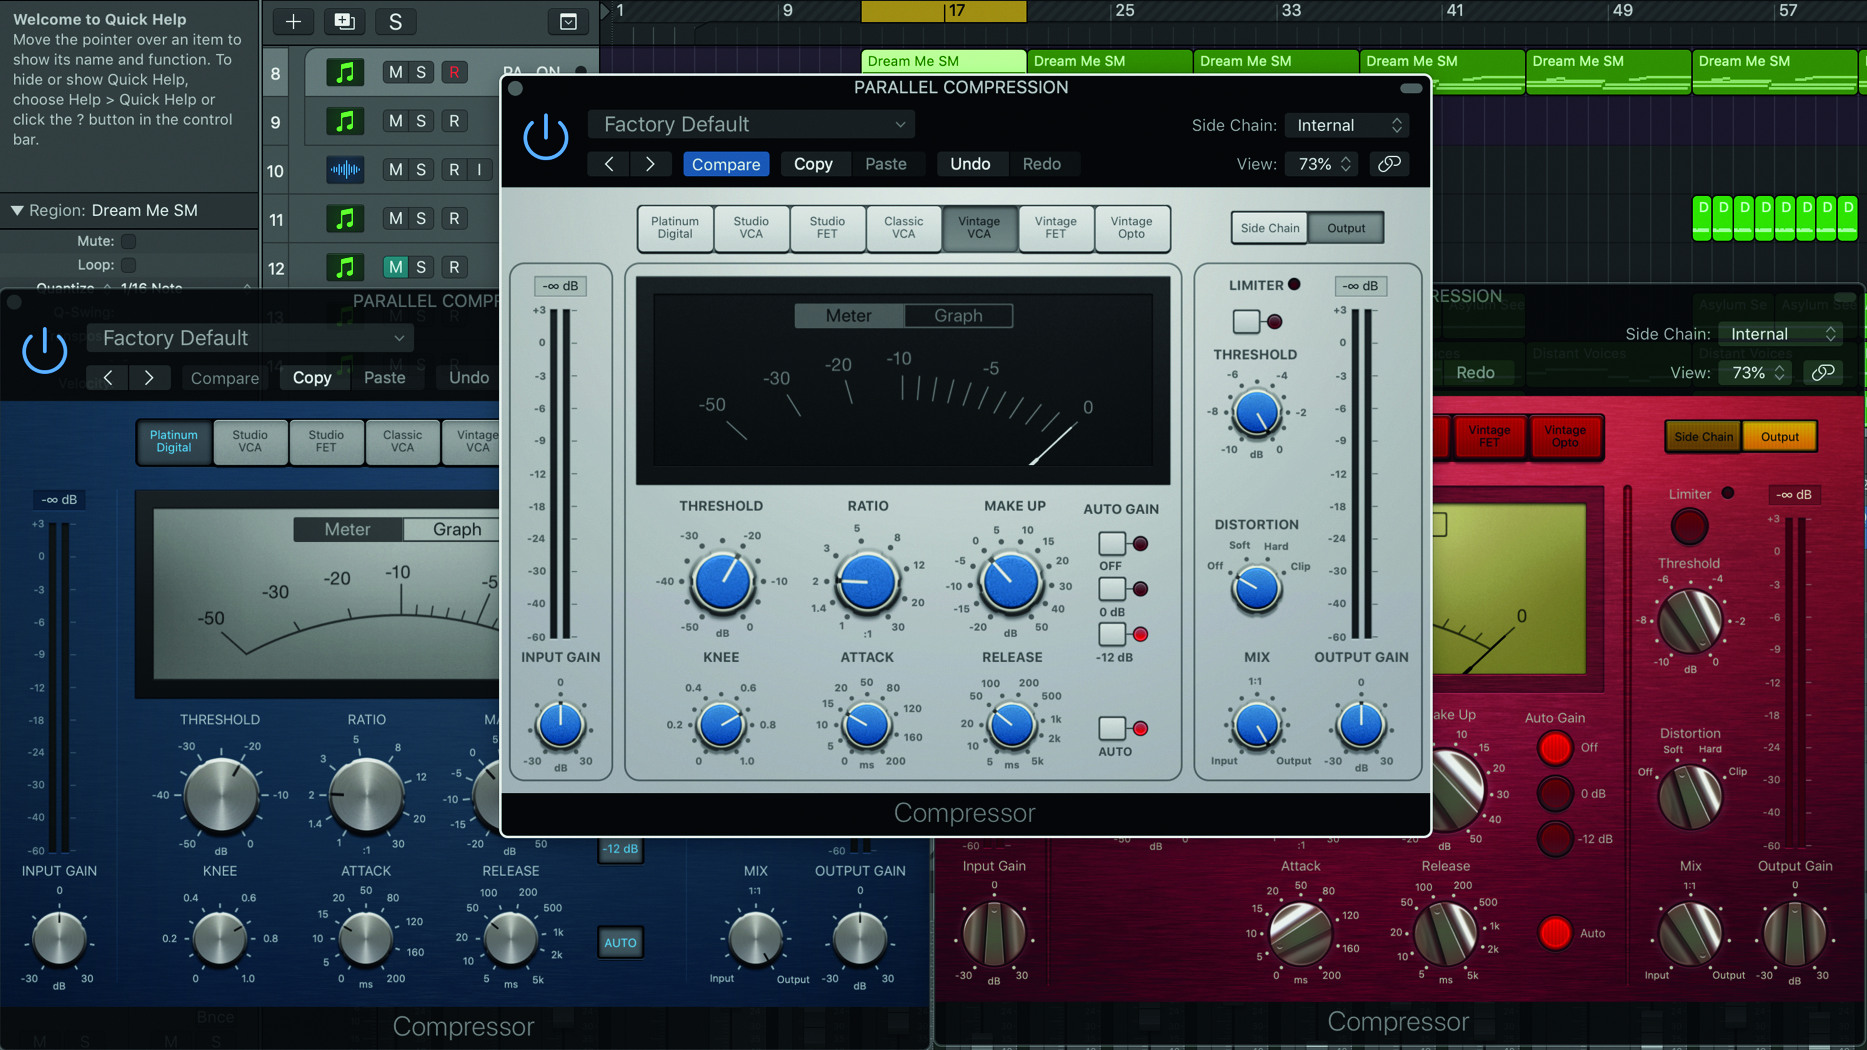
So you know your ratio from your threshold, and on the whole, you've got your dynamics in check. Now you’ve got to grips with the basics of compression, here are a few advanced techniques to add to your repertoire…
Parallel compression
Parallel processing is an excellent way to introduce subtle changes in a mix, and nothing suits it better than parallel compression.
Parallel compression operates from the ‘bottom up’, so it doesn’t crush in the way that ‘top down’ compression does. It’s great for filling out a part, enhancing quieter details and making everything sound fuller and warmer without removing any of the punch. And luckily, with modern computer-based recording, it’s a piece of cake.
Article continues belowParallel compression can work especially well on drums (to bring up room ambience and subtle details without crushing), or across a complete mix.
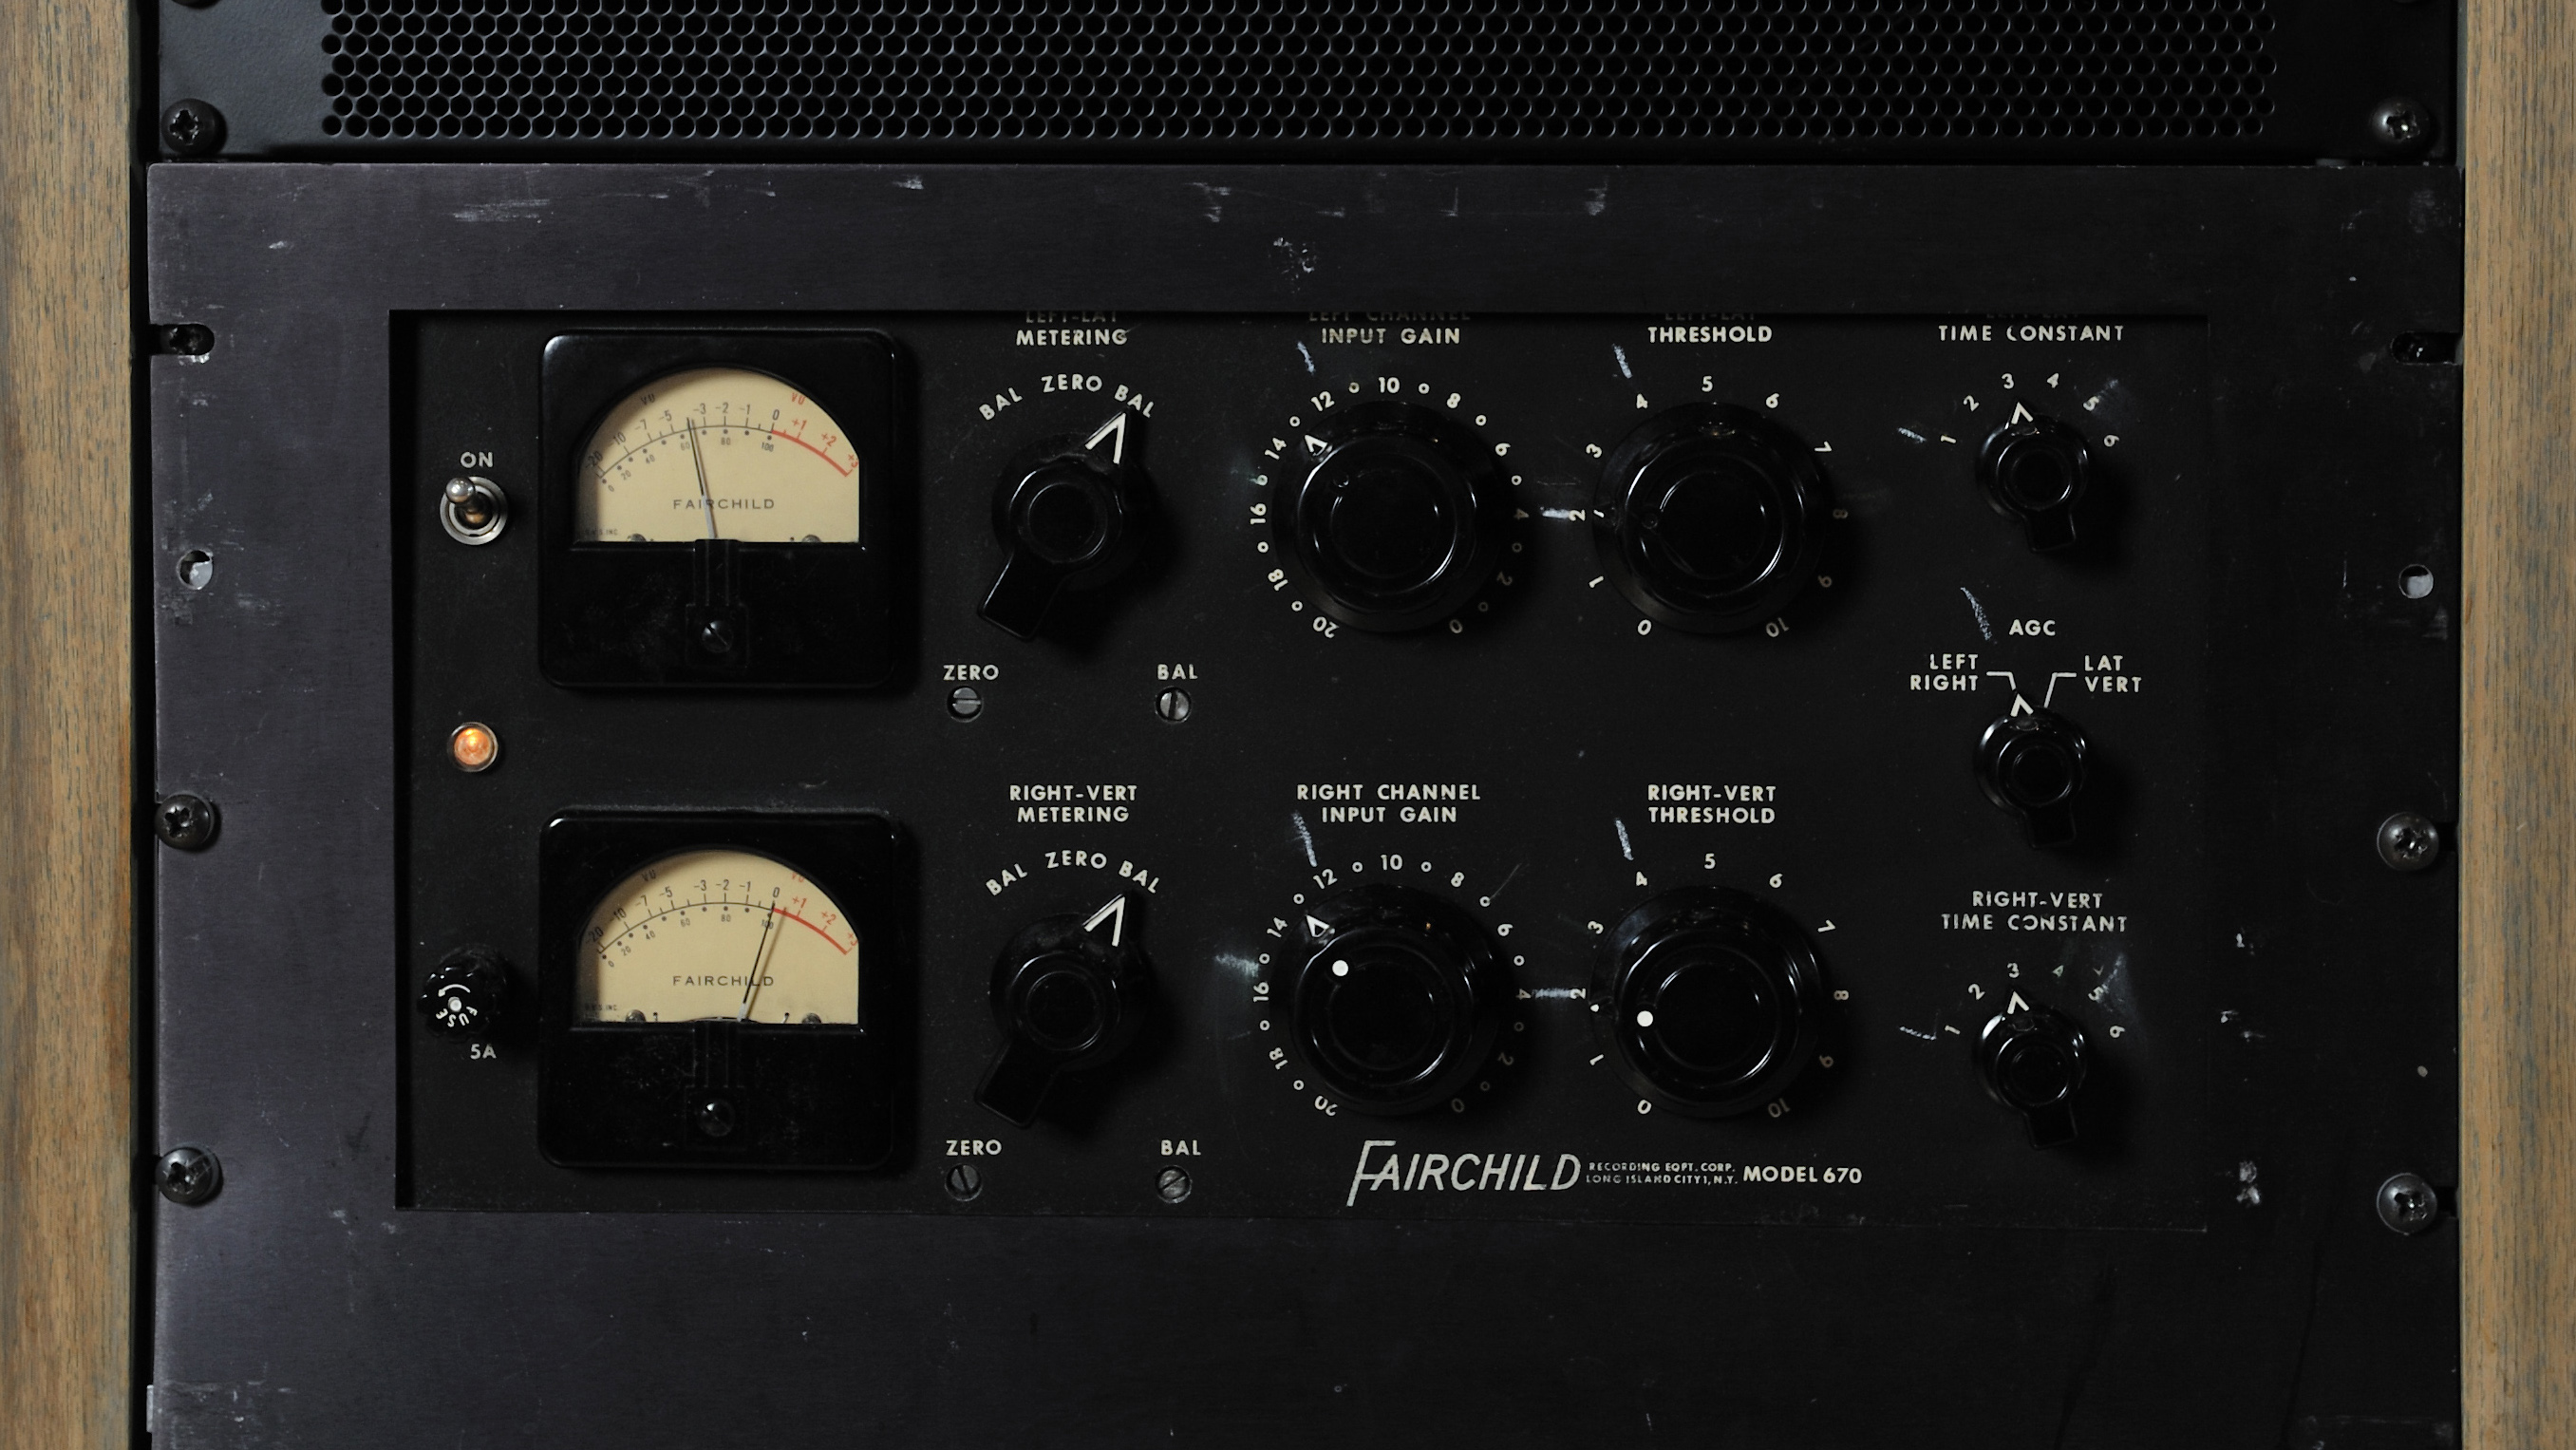
You basically run a heavily compressed version side-by-side with a clean version of the same signal – they are running ‘in parallel’, hence the name. When setting it up, mute and unmute the parallel compressed channel to hear the results clearly.
The advantage of this technique is that you can control exactly how much of the heavily compressed character sound you want in the mix, while keeping all of the impact of the original. See the step-by-step walkthrough below on how to set it up for yourself.
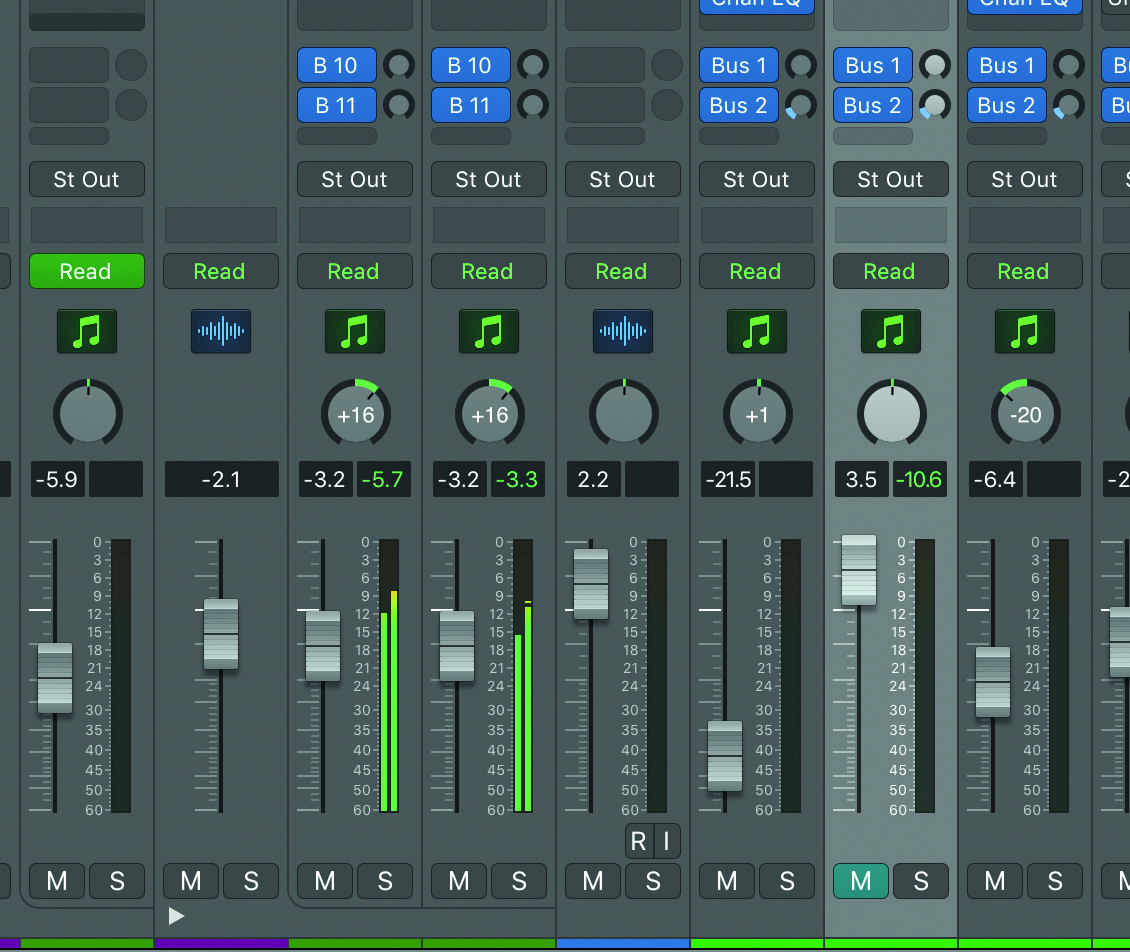
Step 1: Route the signal you want to process to a new buss, so there are two channels sending the same thing to the output, and solo the new buss. Now compress the hell out it!
Want all the hottest music and gear news, reviews, deals, features and more, direct to your inbox? Sign up here.
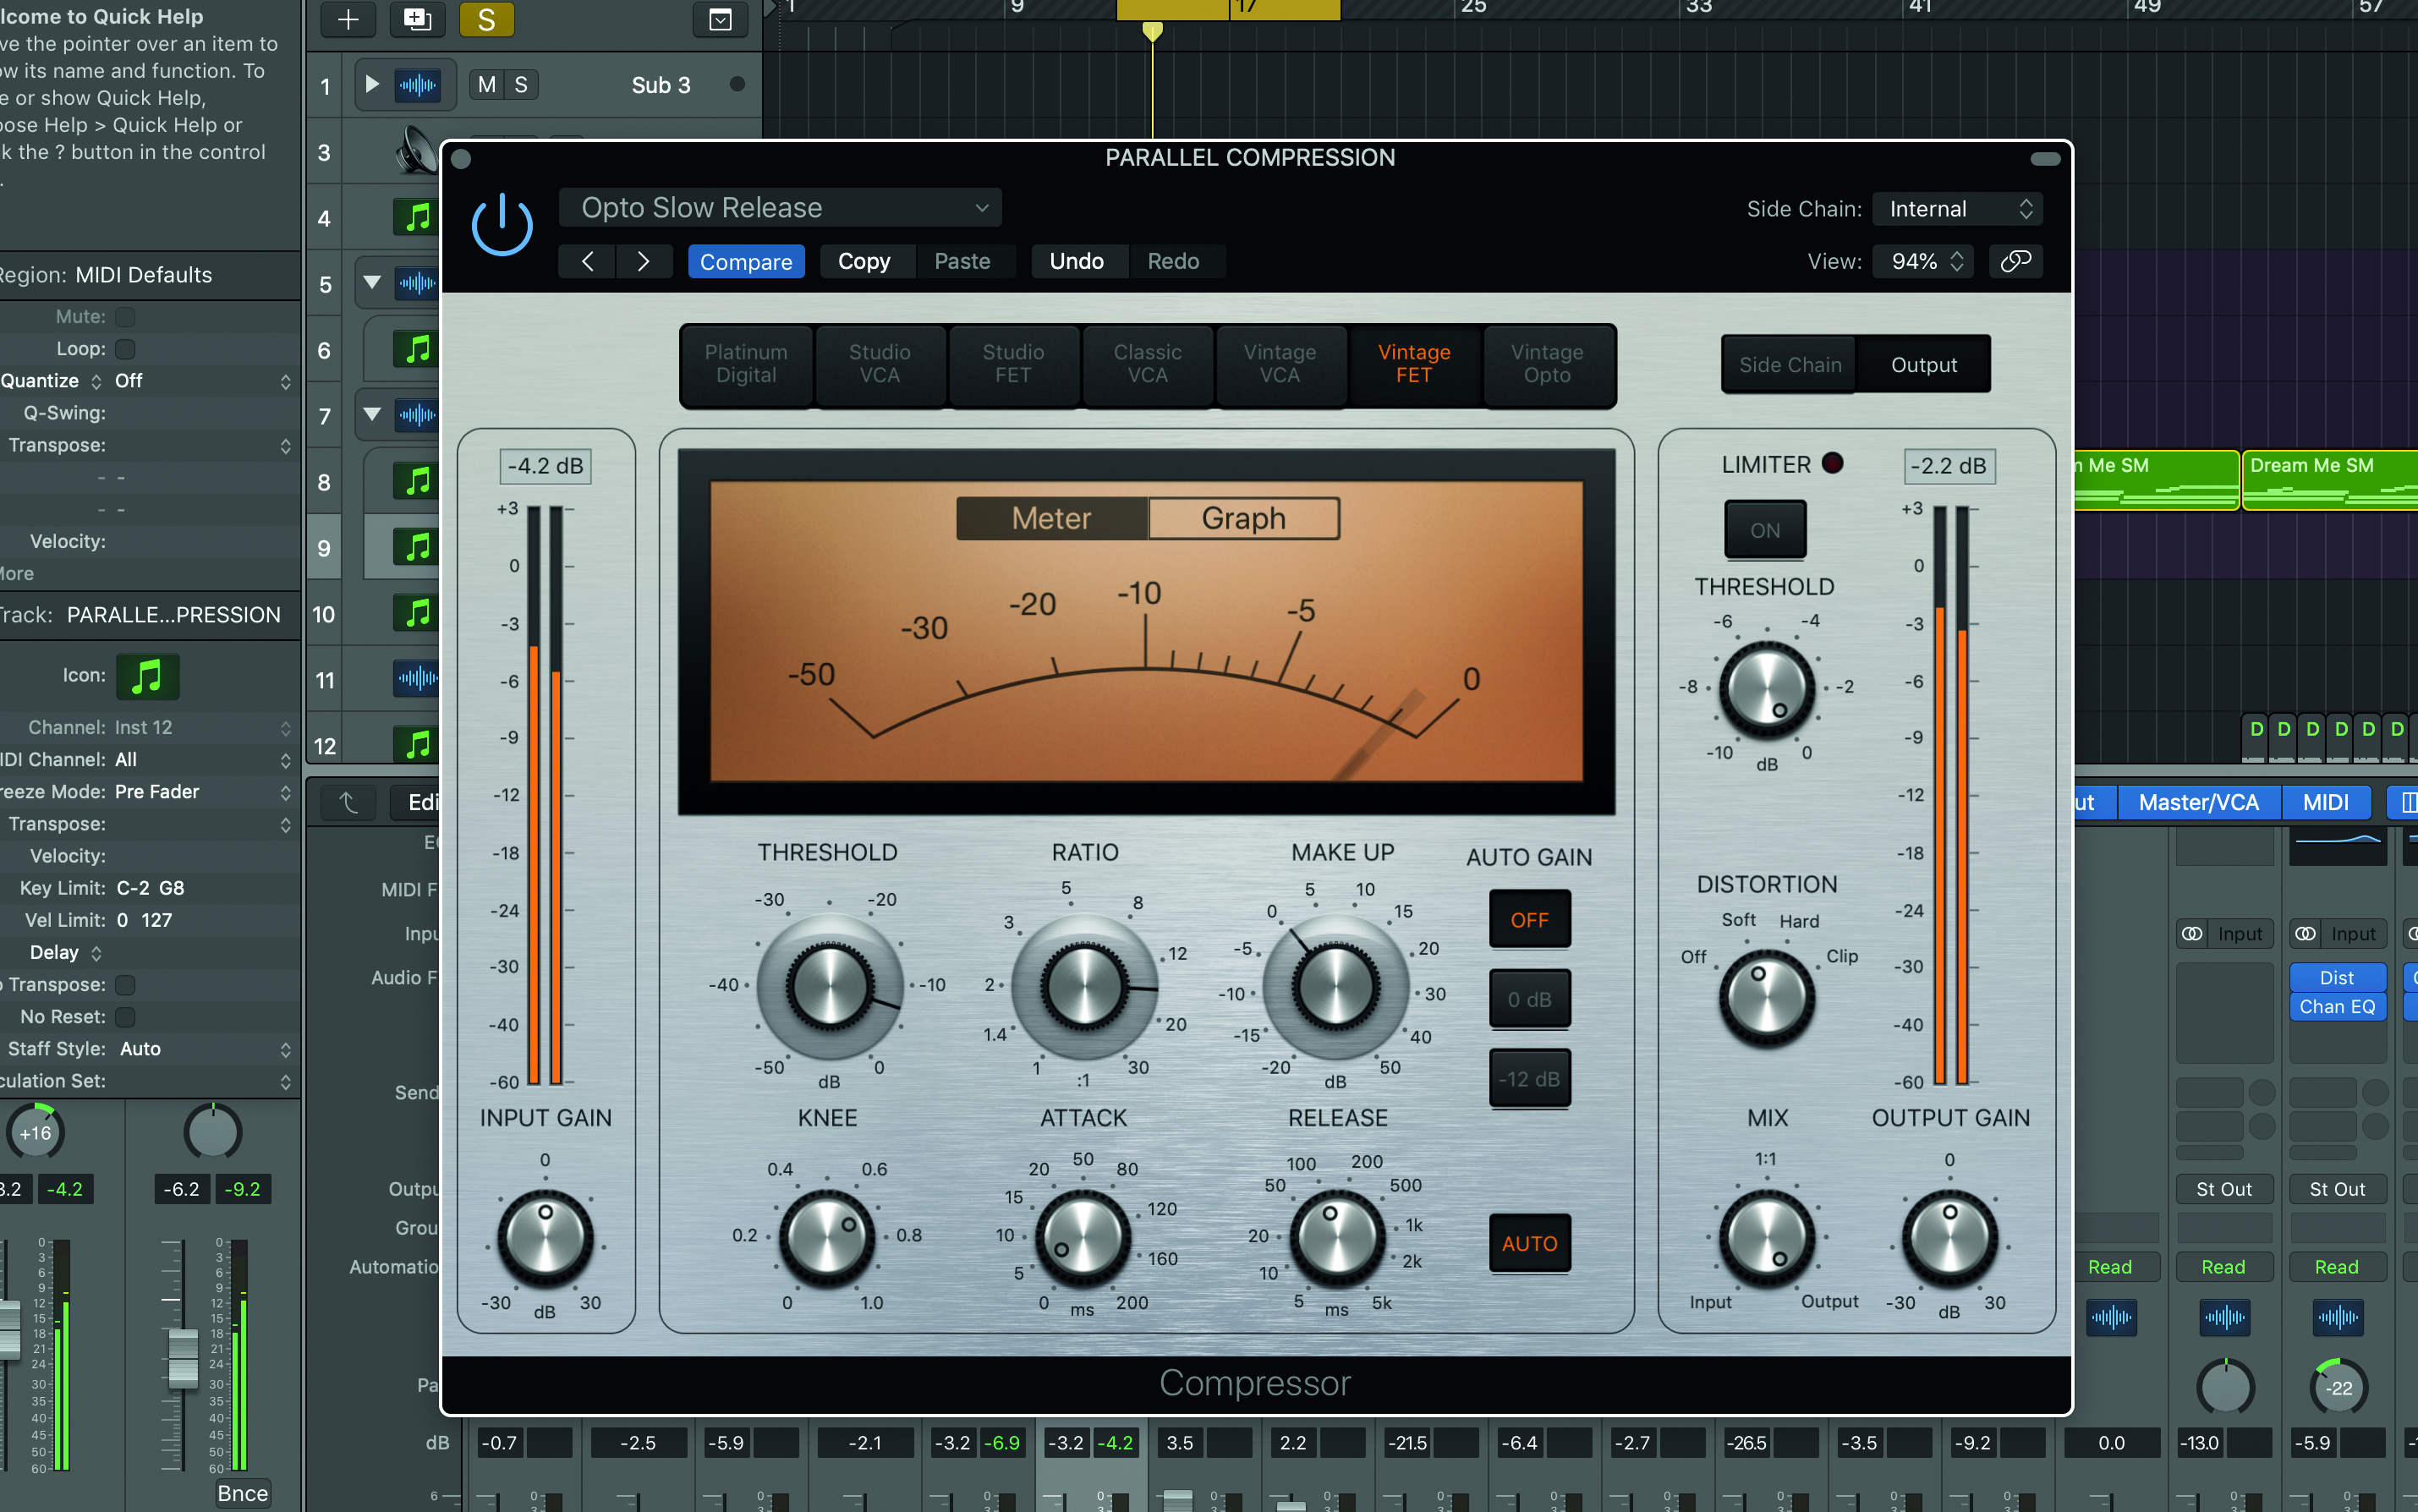
Step 2: Use very fast attack times, high ratios, and a nice low threshold. You’ll end up with something that sounds very flat, very squashed and unnatural – but has lots of compressed character. Look out as vintage emulations may add distortion – or maybe this will sound good!
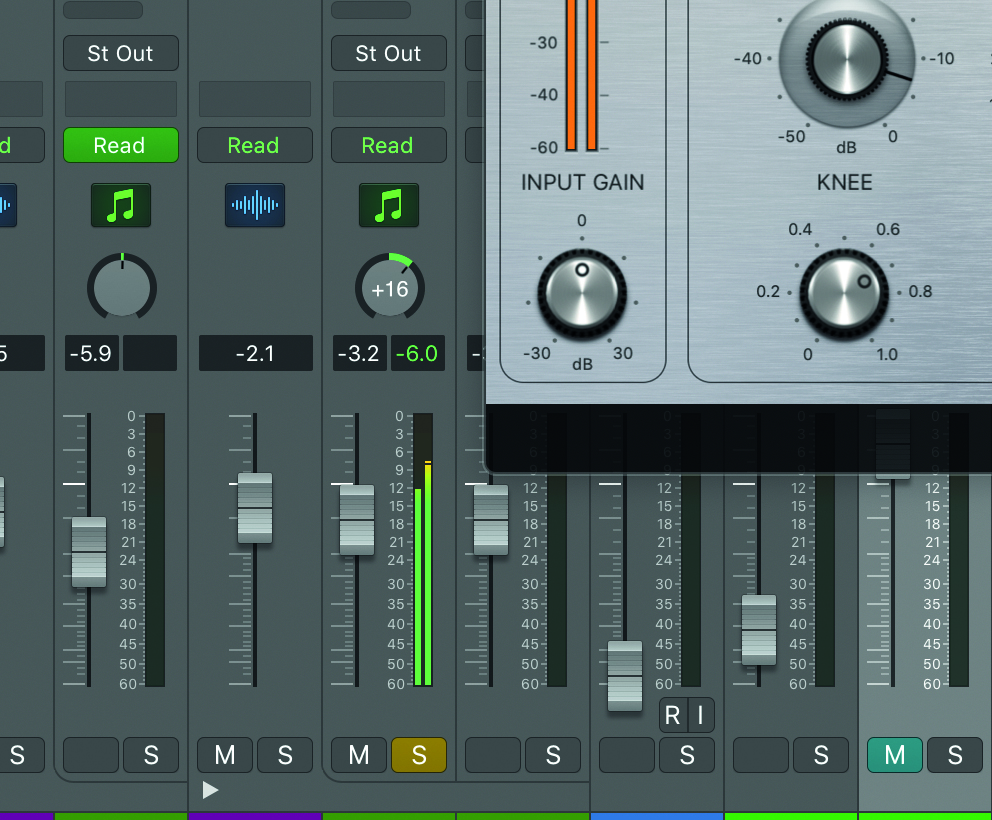
Step 3: Pull the fader right down to 0 and then un-solo it, so you’re listening to the original, uncompressed channel again.
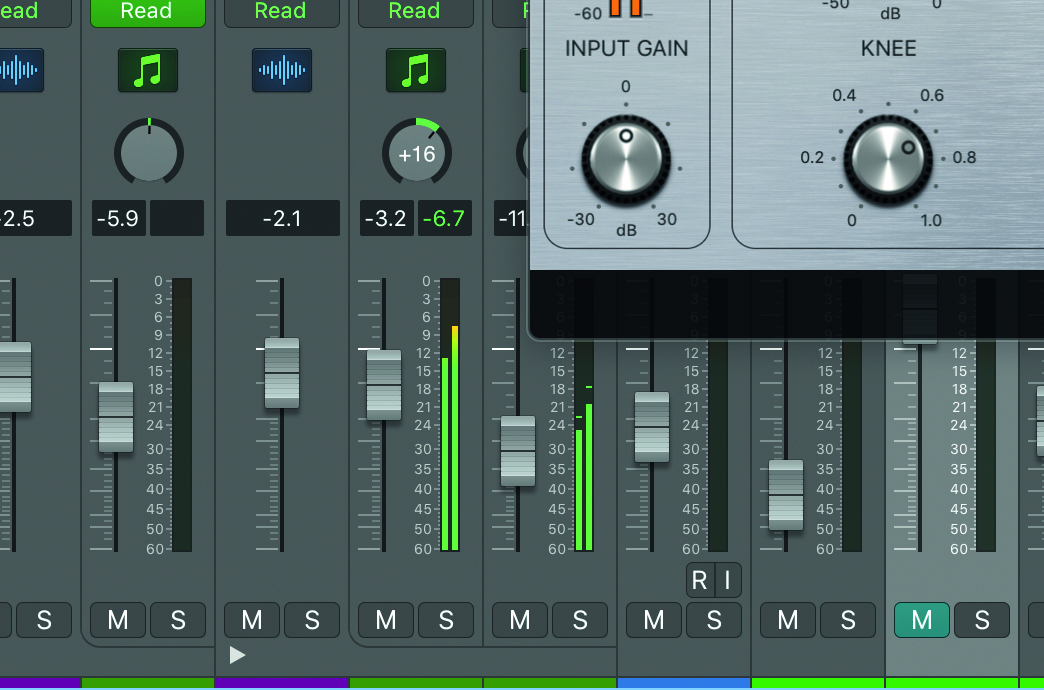
Step 4: Now gradually lift the fader for the heavily over-compressed signal and blend as much as you like of the heavily compressed version back into the mix. Make sure you have plugin delay compensation switched on to avoid any problems with latency.
Chaining compressors
It’s often better to use several compressors in a row, each one only working quite gently, than to push one compressor very hard. This technique is known as ‘chaining’. A Urei 1176 followed by an Teletronix LA-2A is a real power-house of a combination, for example.
This technique was standard in the days when using analogue tape was a much more common practice. It was fairly normal to compress gently when going to tape, to get the best signal-to-noise performance. With tape, it was possible to record quite ‘hot’, allowing a little saturation to compress the sound further. After this, more compression would be used in the mix-down.
Limiting
A limiter is a compressor with a very high ratio – typically more than 20:1 – and very fast attack and release times. Limiters are often used in mastering because they offer a great way to control unwanted peaks and spikes in the sound. This enables you to use slower attack times elsewhere.
- Read more: How to understand the basics of limiting

Multiband compression
Sometimes used on an entire mix during mastering, a multiband compressor splits the signal into several different frequency bands and applies compression to each one separately.
Care needs to be taken if you’re using multiband compression, though. Just the right amount can pull a mix together nicely, but too much can remove internal dynamics leaving you with nothing but a confused, over-compressed mush.
Sidechain compression
Some compressors can be set up to react to the input from another channel – the sidechain – so that this external effect triggers the compressor. Use fast attacks, high ratios and a longer release time – and make sure the effect works in time with the music.
Heavily EQed tracks can also be routed to a sidechain and used as a crude form of multiband compression; one example of this would be as a de-esser on a vocal.
Computer Music magazine is the world’s best selling publication dedicated solely to making great music with your Mac or PC computer. Each issue it brings its lucky readers the best in cutting-edge tutorials, need-to-know, expert software reviews and even all the tools you actually need to make great music today, courtesy of our legendary CM Plugin Suite.
