How to record and enhance a bassline through your audio interface
In this tutorial, we talk recording levels, audio cleanup, EQ, compression and avoiding the muddiness that can plague bass recordings
RECORDING WEEK 2022: Having access to a studio and a selection of mics to use on a bass amp is great but not always possible for home producers or musicians just starting out in electronic production. Fortunately there’s a wealth of tools out there to turn just a plain, clean recording into something incredible.
In this tutorial, we’ll talk recording levels, cleaning up and EQing, compression and sweeteners. We’ll also look at how to tackle muddiness in your mix and how to make your bass slap (pun intended!).
Using your audio interface to record digitally means that you don’t have to worry about your surroundings/recording space as you would with a mic. Sitting in front of your home computer also makes it easy to re-record or punch in anything that isn’t entirely perfect.
Article continues belowAdditionally, there are a number of amp/cab/pedal emulating plugins out there nowadays that make it easier than ever to get the sound you desire without the expense. What an age to live in, hey?
Step 1: Use the input monitor

Every DAW has recording capability so once you’ve loaded up a track that’s ready to record to, use the input monitor button to, in the first instance, check that your bass is sounding right. How it sounds there is exactly how it will sound in your recording.
Step 2: Check the gain level
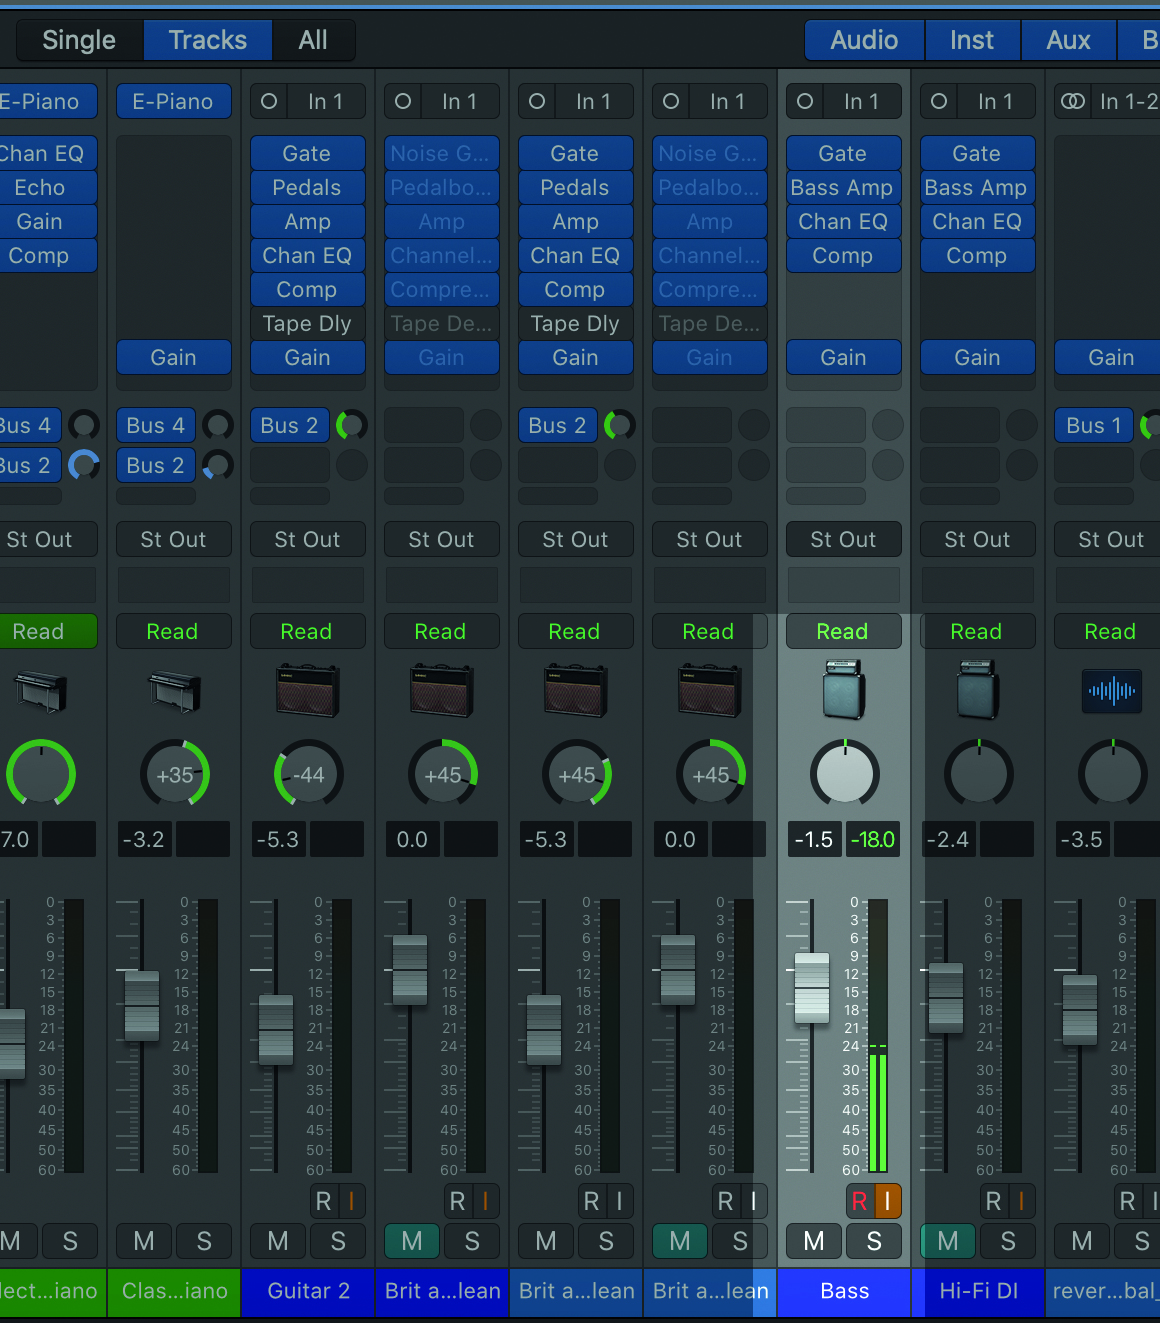
Check the gain level on your audio interface to make sure your signal isn’t distorted. Do a quick test recording to make sure the recording is not too quiet and also not running too hot. You just want a clean sound for your recording. You can add all of your effects afterwards.
Step 3: Record
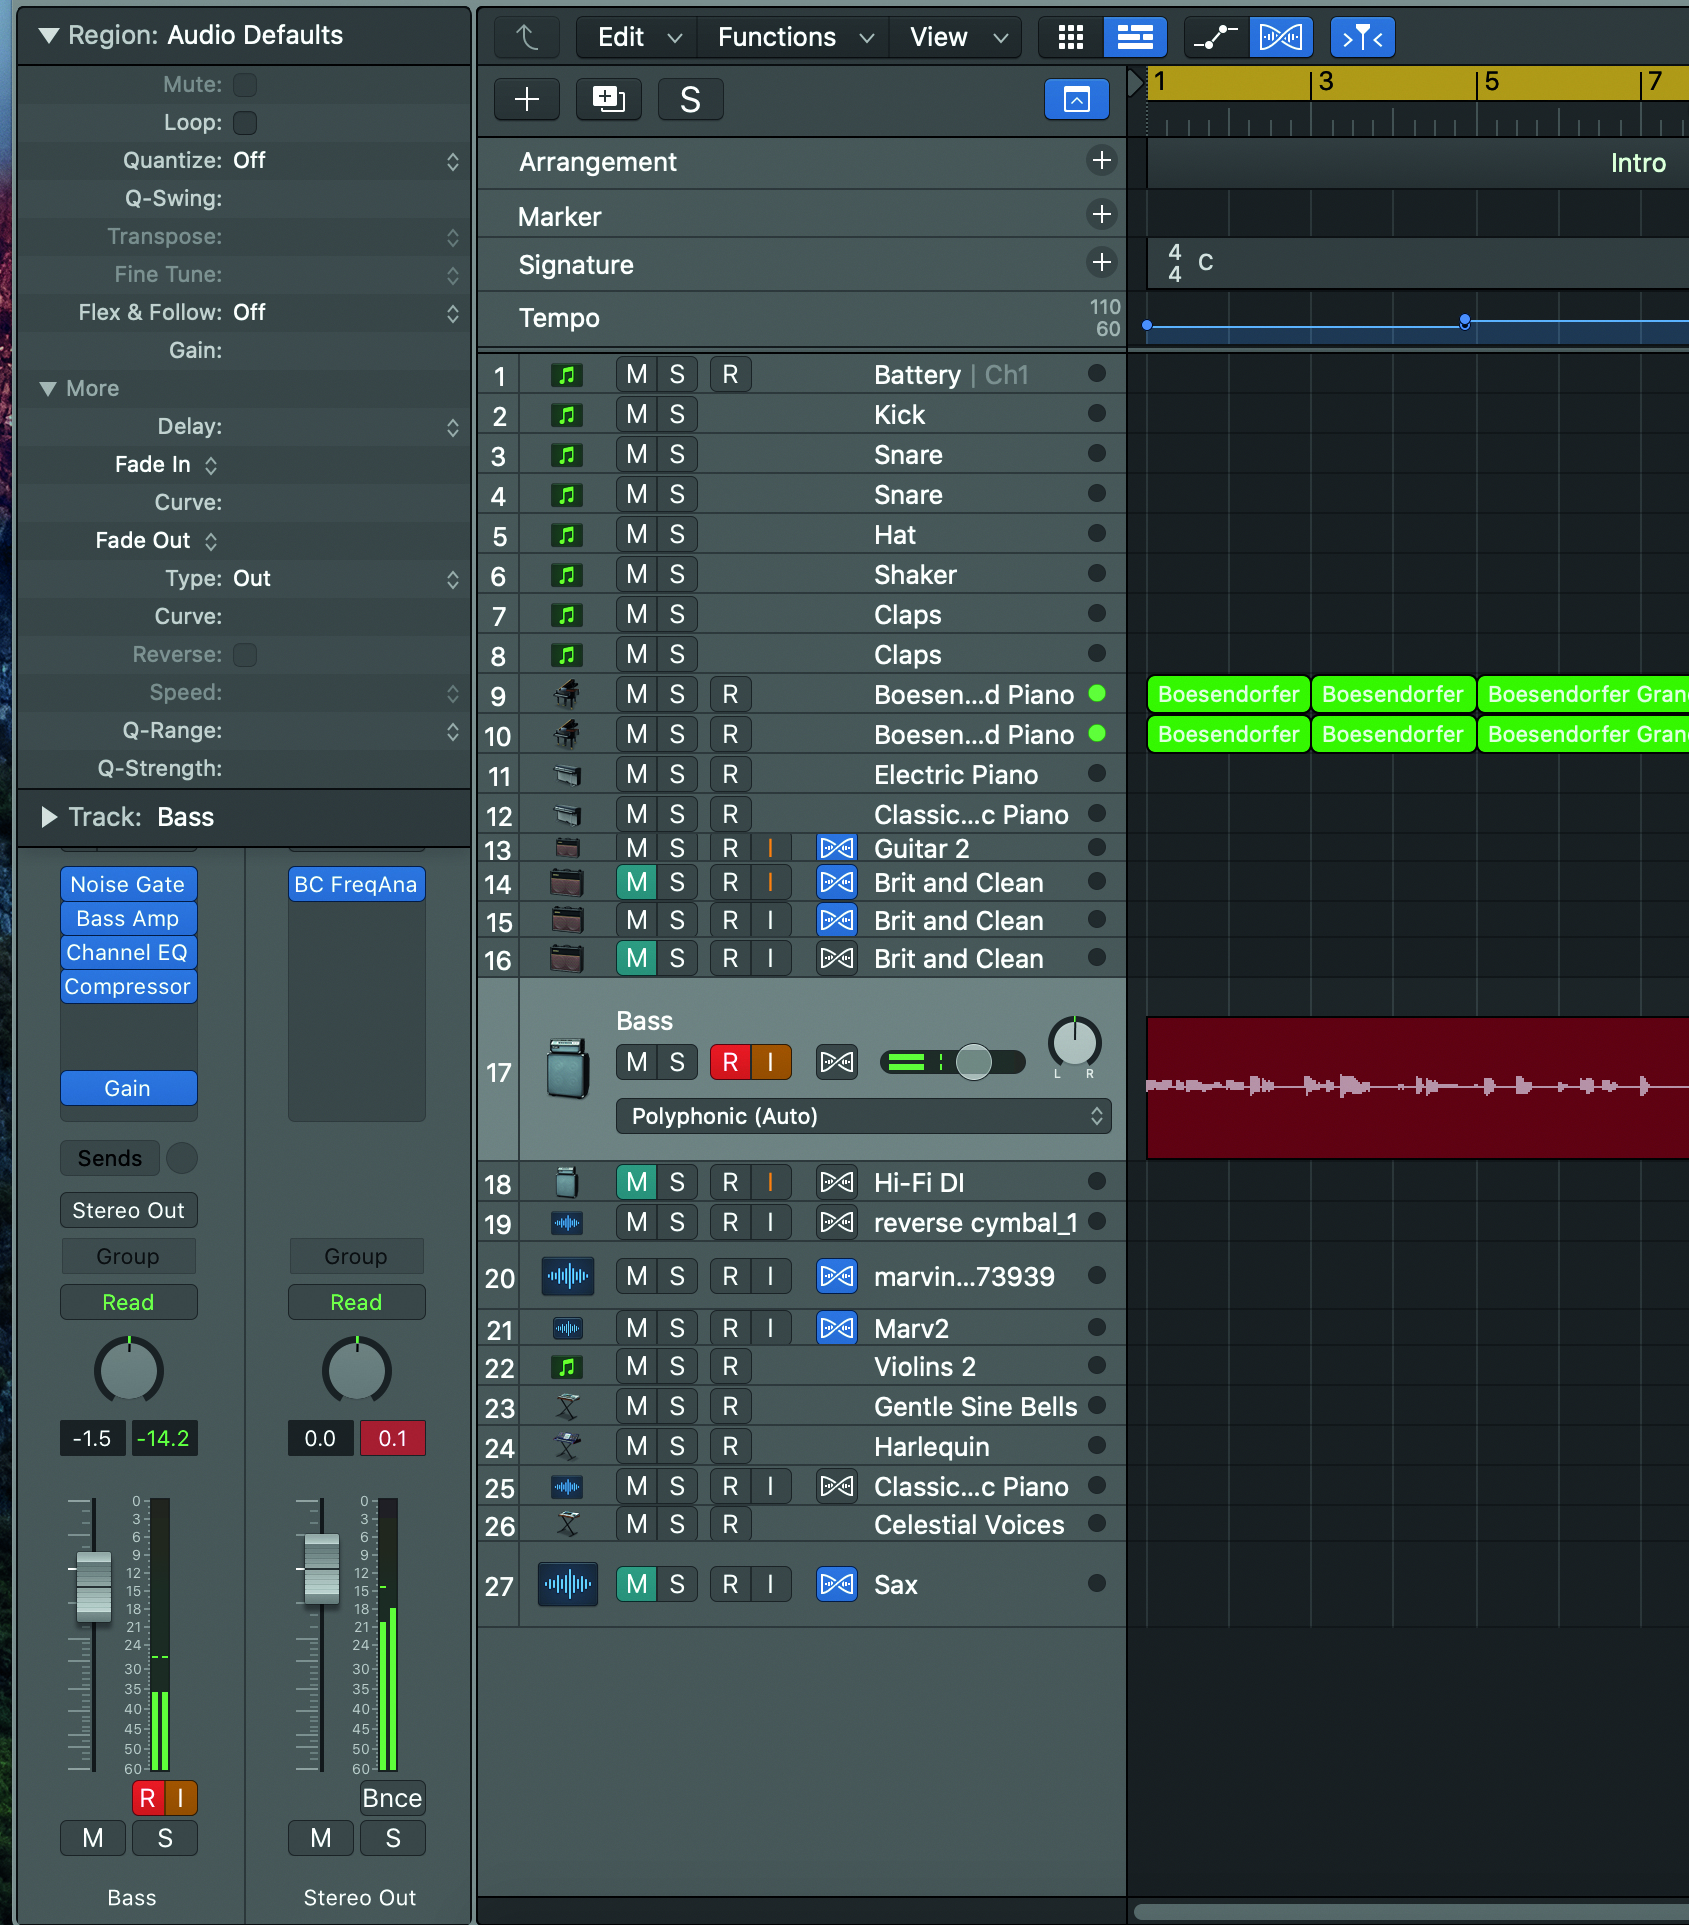
Then you’re ready to put in your performance and record. You’ll most likely want to get a few takes so that you have options. You’ll see the waveforms as you’re recording, and afterwards, to identify if there’ve been any problems with the recordings.
Want all the hottest music and gear news, reviews, deals, features and more, direct to your inbox? Sign up here.
Step 4: Edit

Once you’ve gotten all the takes you want to work with, you can make choices about your favourite or comp different sections together if there were particular strengths in each. Spend time editing, fading where you’ve made cuts, removing any mistakes, and also balancing out the waveform if there are particularly loud or quiet parts.
Step 5: EQ
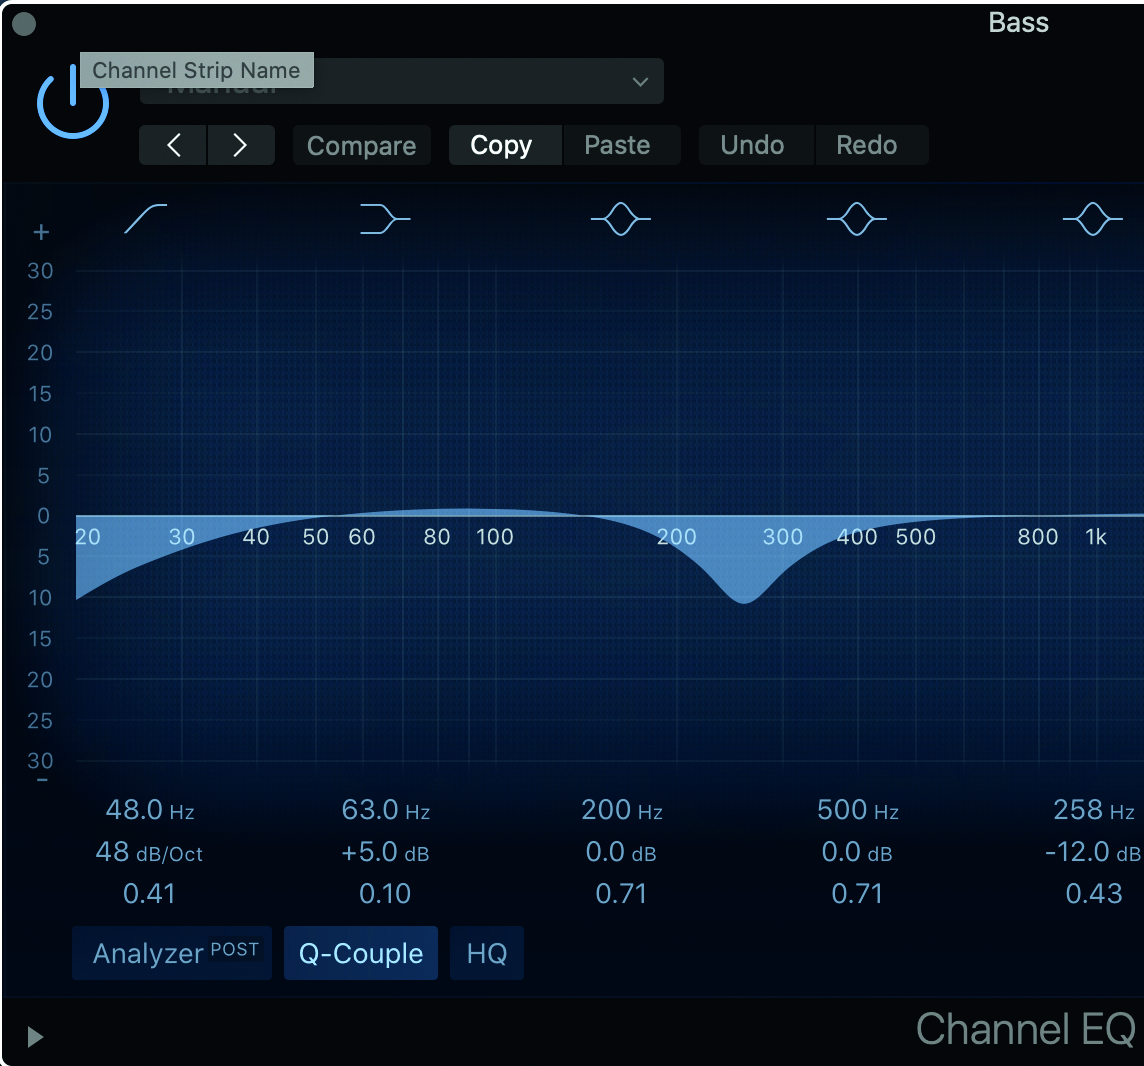
EQ the edited bass audio. The regions you’ll be focusing on are bass (around 60-250Hz) and, depending on the tone of your bass guitar, possibly the lower mids (250-500Hz).
The tweaks you make will be dependent on your style of music. A player as intricate as Thundercat, for example, will have spent time tweaking the lower mid-range as much as the bass.
Step 6: Consider double-tracking
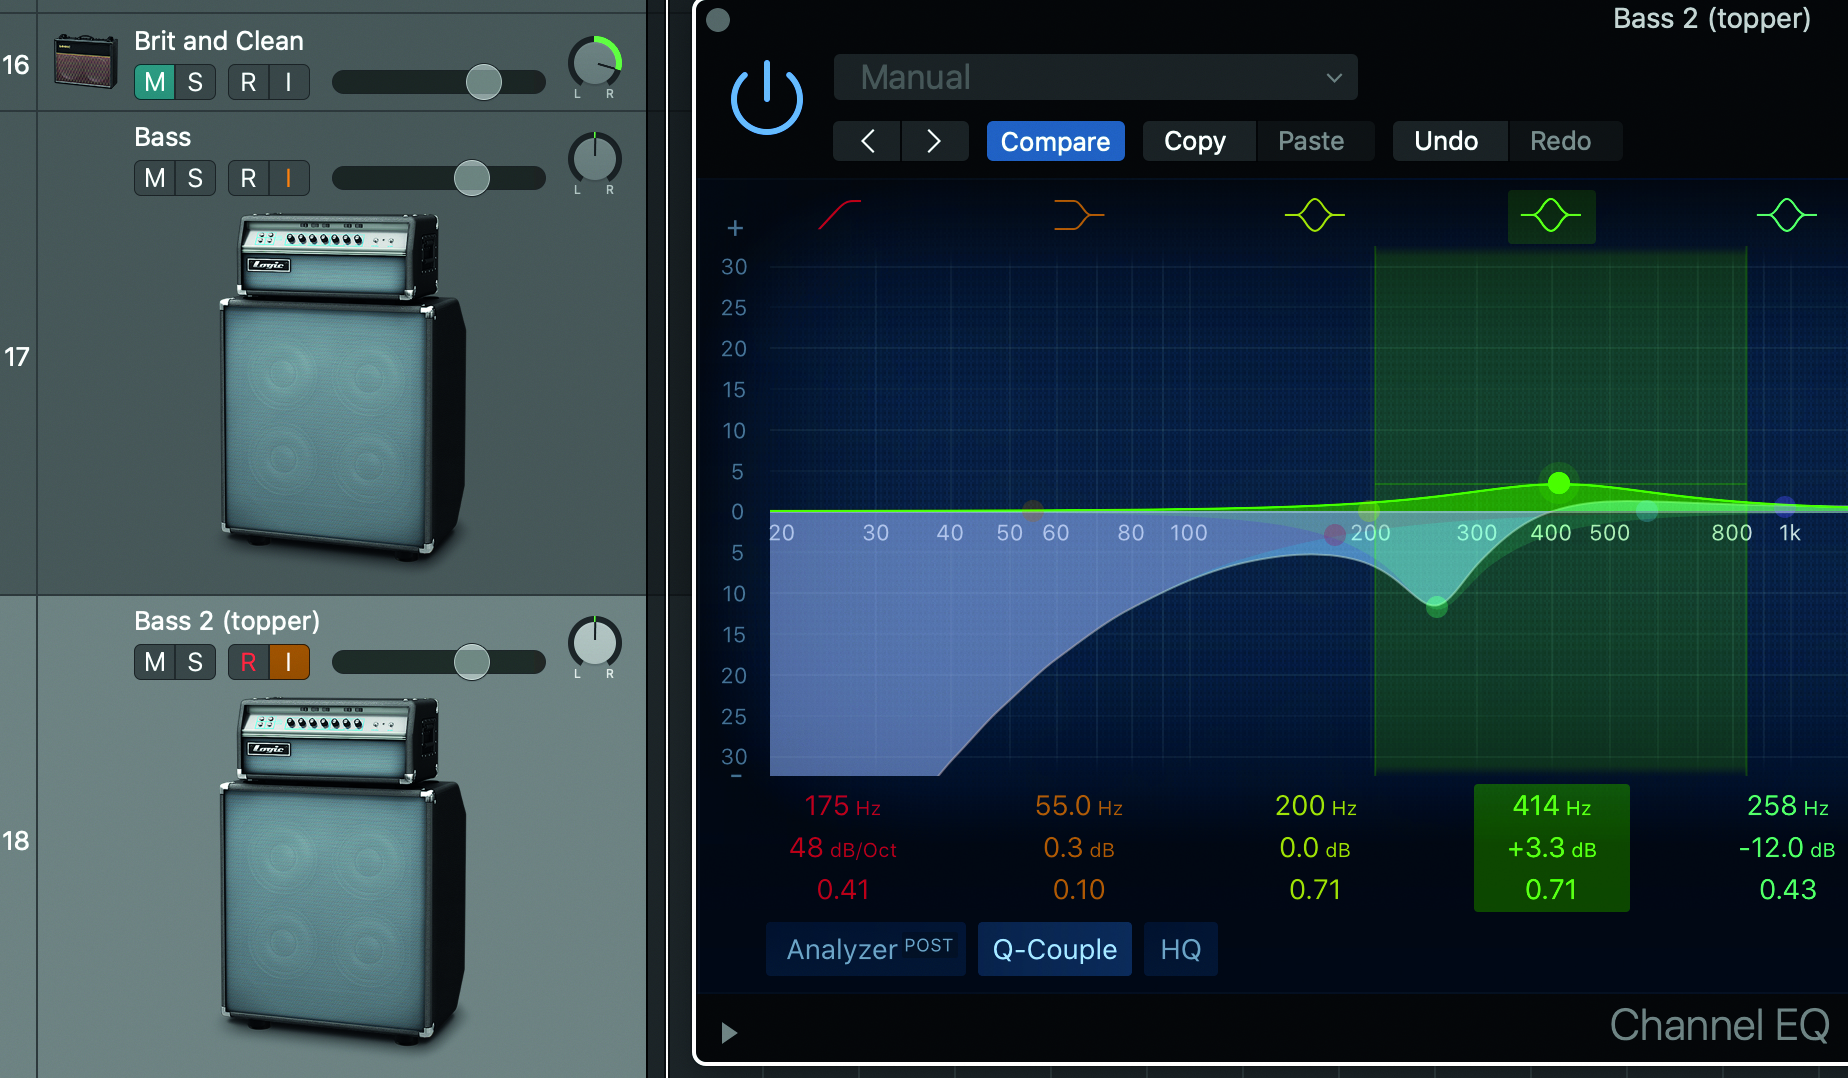
If I was recording in a studio I’d record a clean digital input take from an amp as well as from my microphoned amp. Even in my home studio I like to double track and work specifically on the lower mid-range tone with a copy of the bass audio. So my EQing here would eliminate the bass frequencies.
Step 7: Find your amp
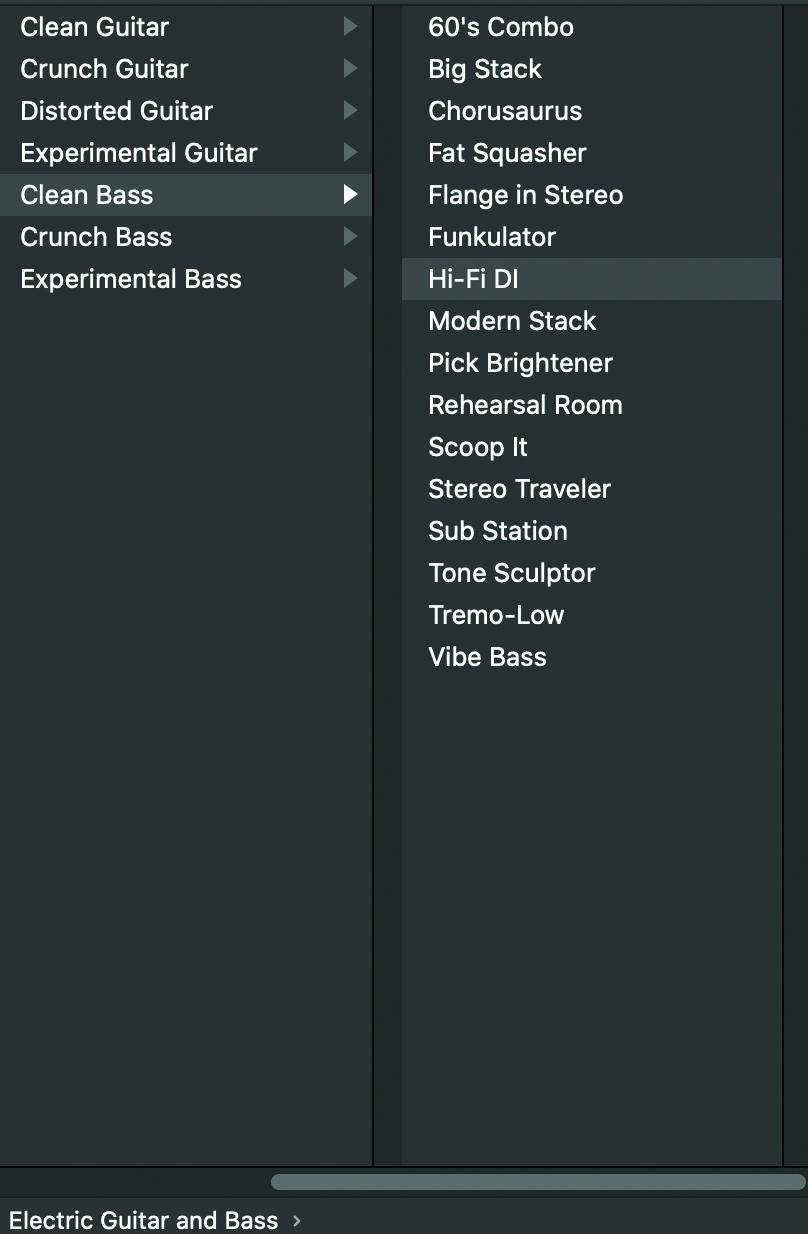
Once the bass audio sounds clean, and EQ’ed correctly against other instruments, you can hunt for the perfect amp sound emulation. I use Logic, which has its own bass/guitar amp emulation. But as a unique product I highly recommend Komplete’s Guitar Rig 6.
Step 8: Tweak your tone

Once you’ve got a bass amp sound/style that fits your song, you can still tweak it. Logic, for example, acts just like a real amplifier, allowing you to tweak dials, effects pedals and even the (figurative) microphone position against the emulated amp. That’s a great amount of detail to make your bass really pop.
Step 9: Balance the mix
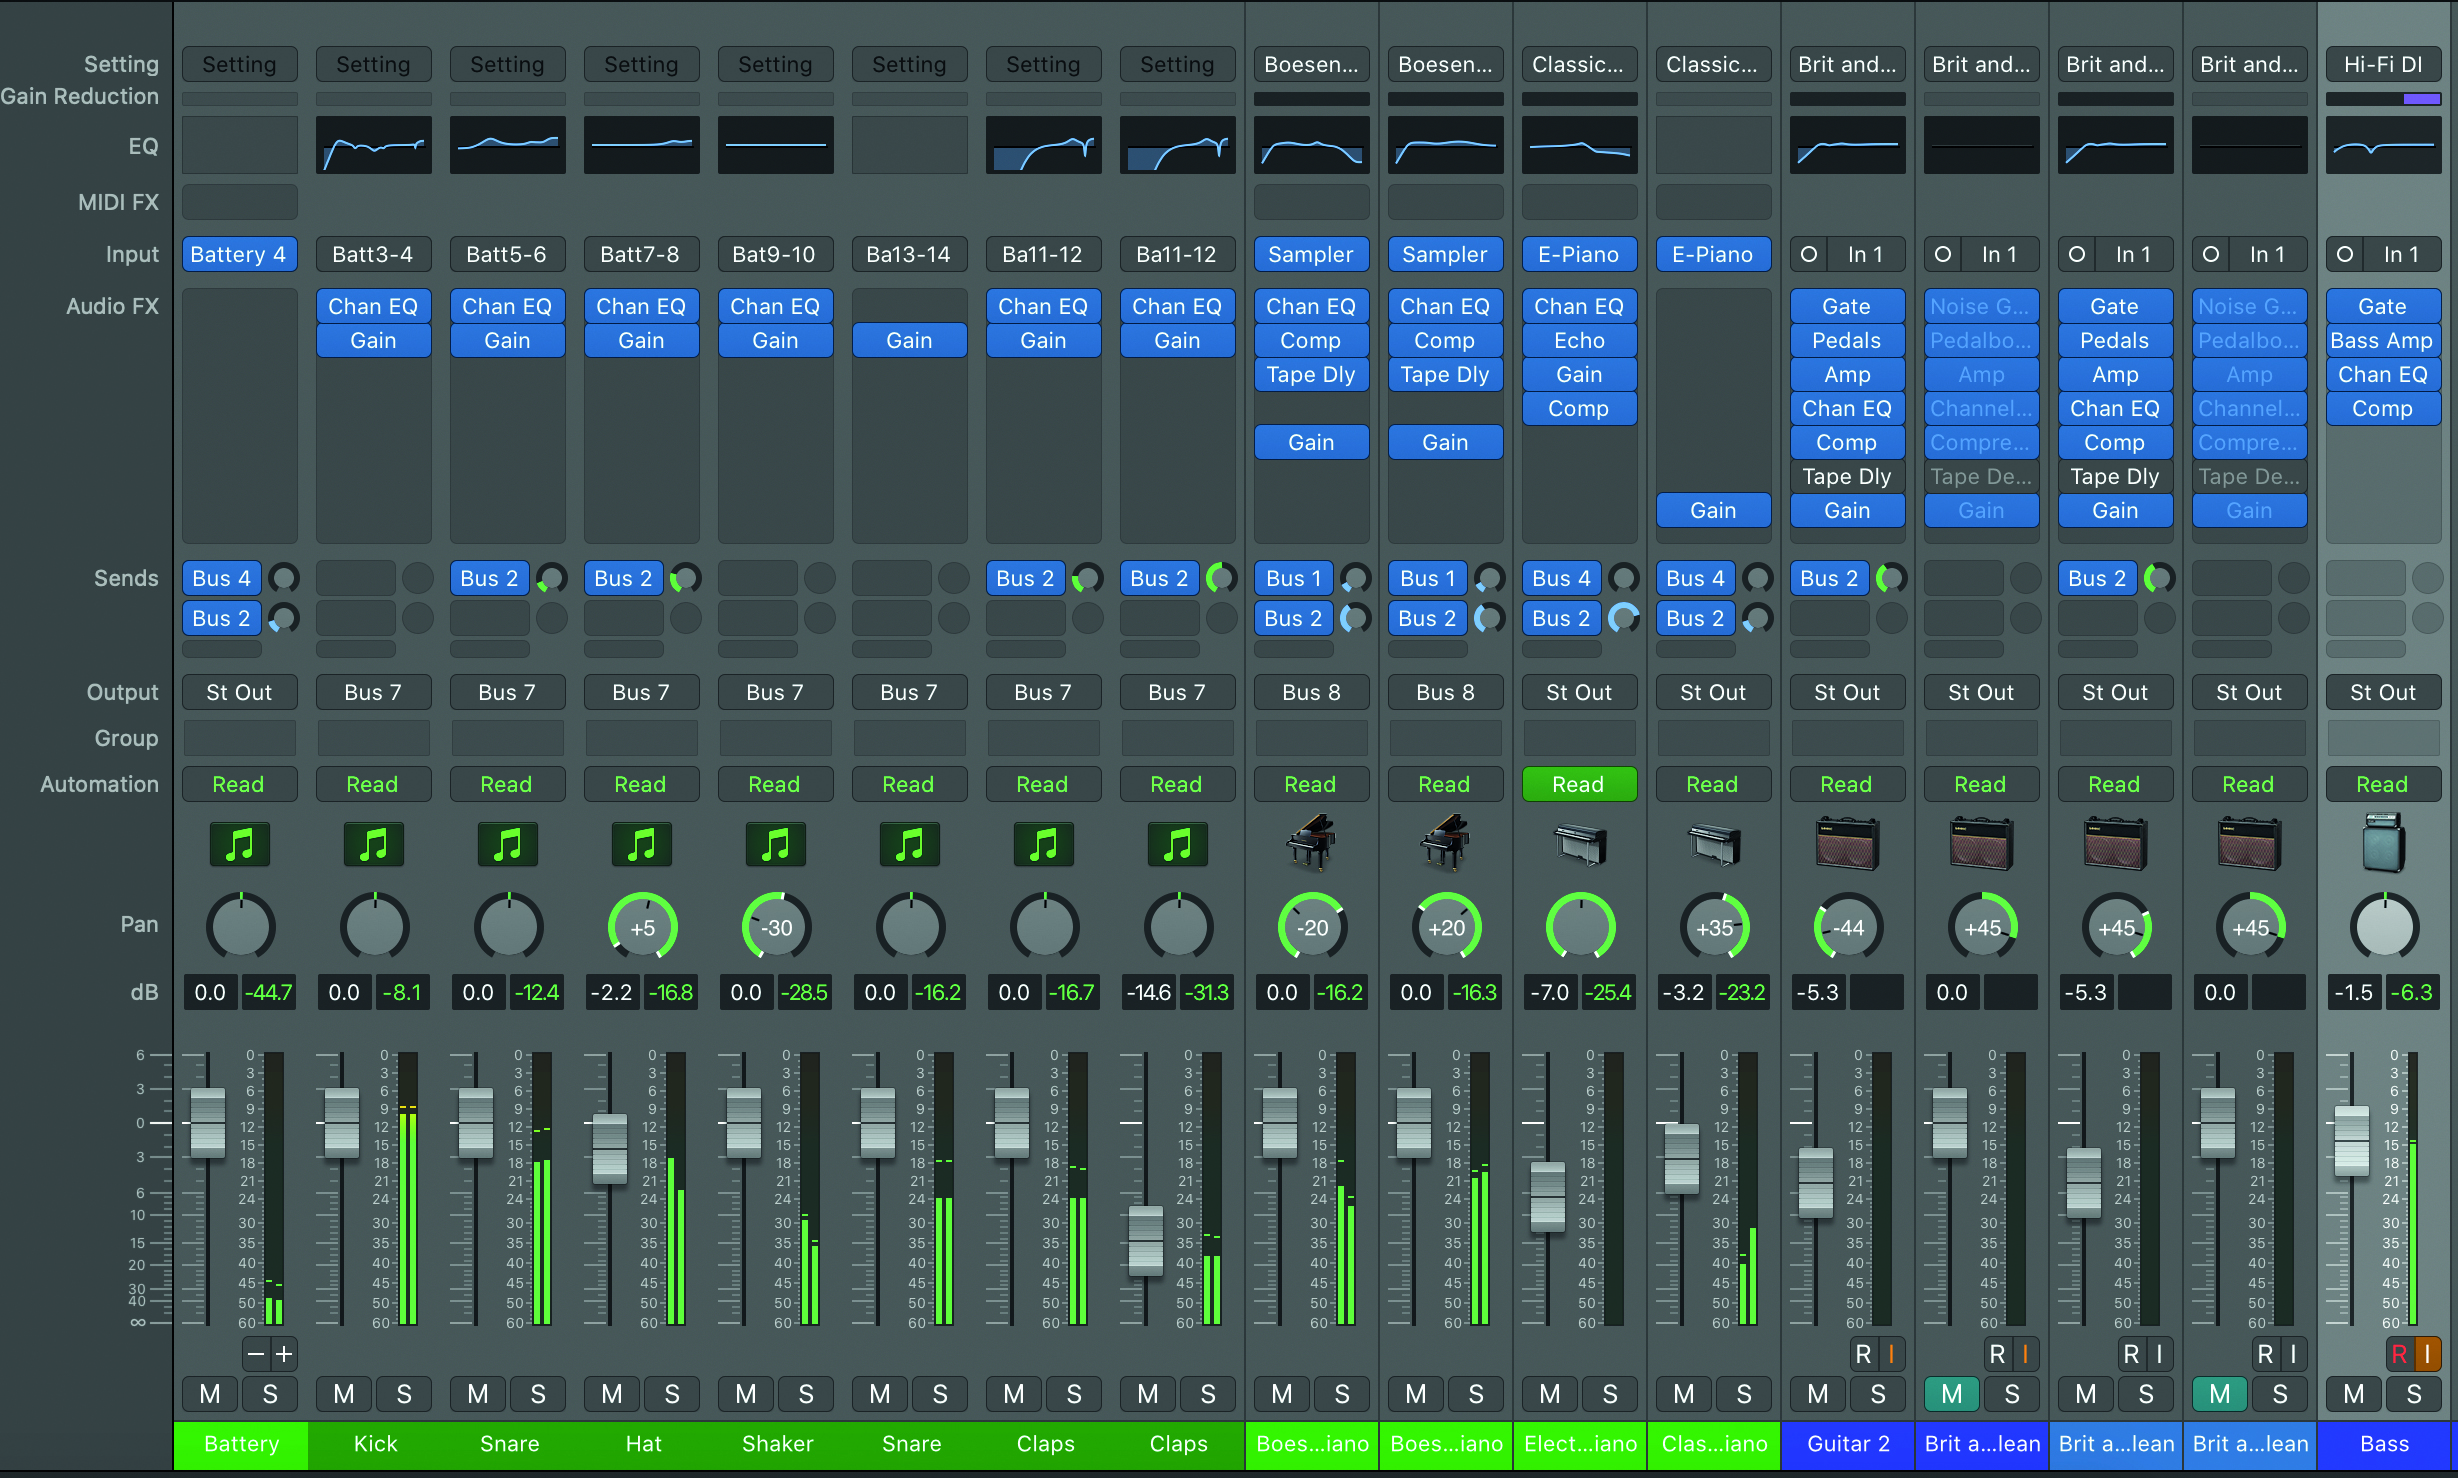
Next, create a rough balance for all of the instruments in your track. Bass is such a fundamental part of your rhythm section, but it’s important not to overpower the other instruments. In many cases it won’t be the lead instrument but an enhancement, so use this as a guide when considering the volume level.
Step 10: Use compression
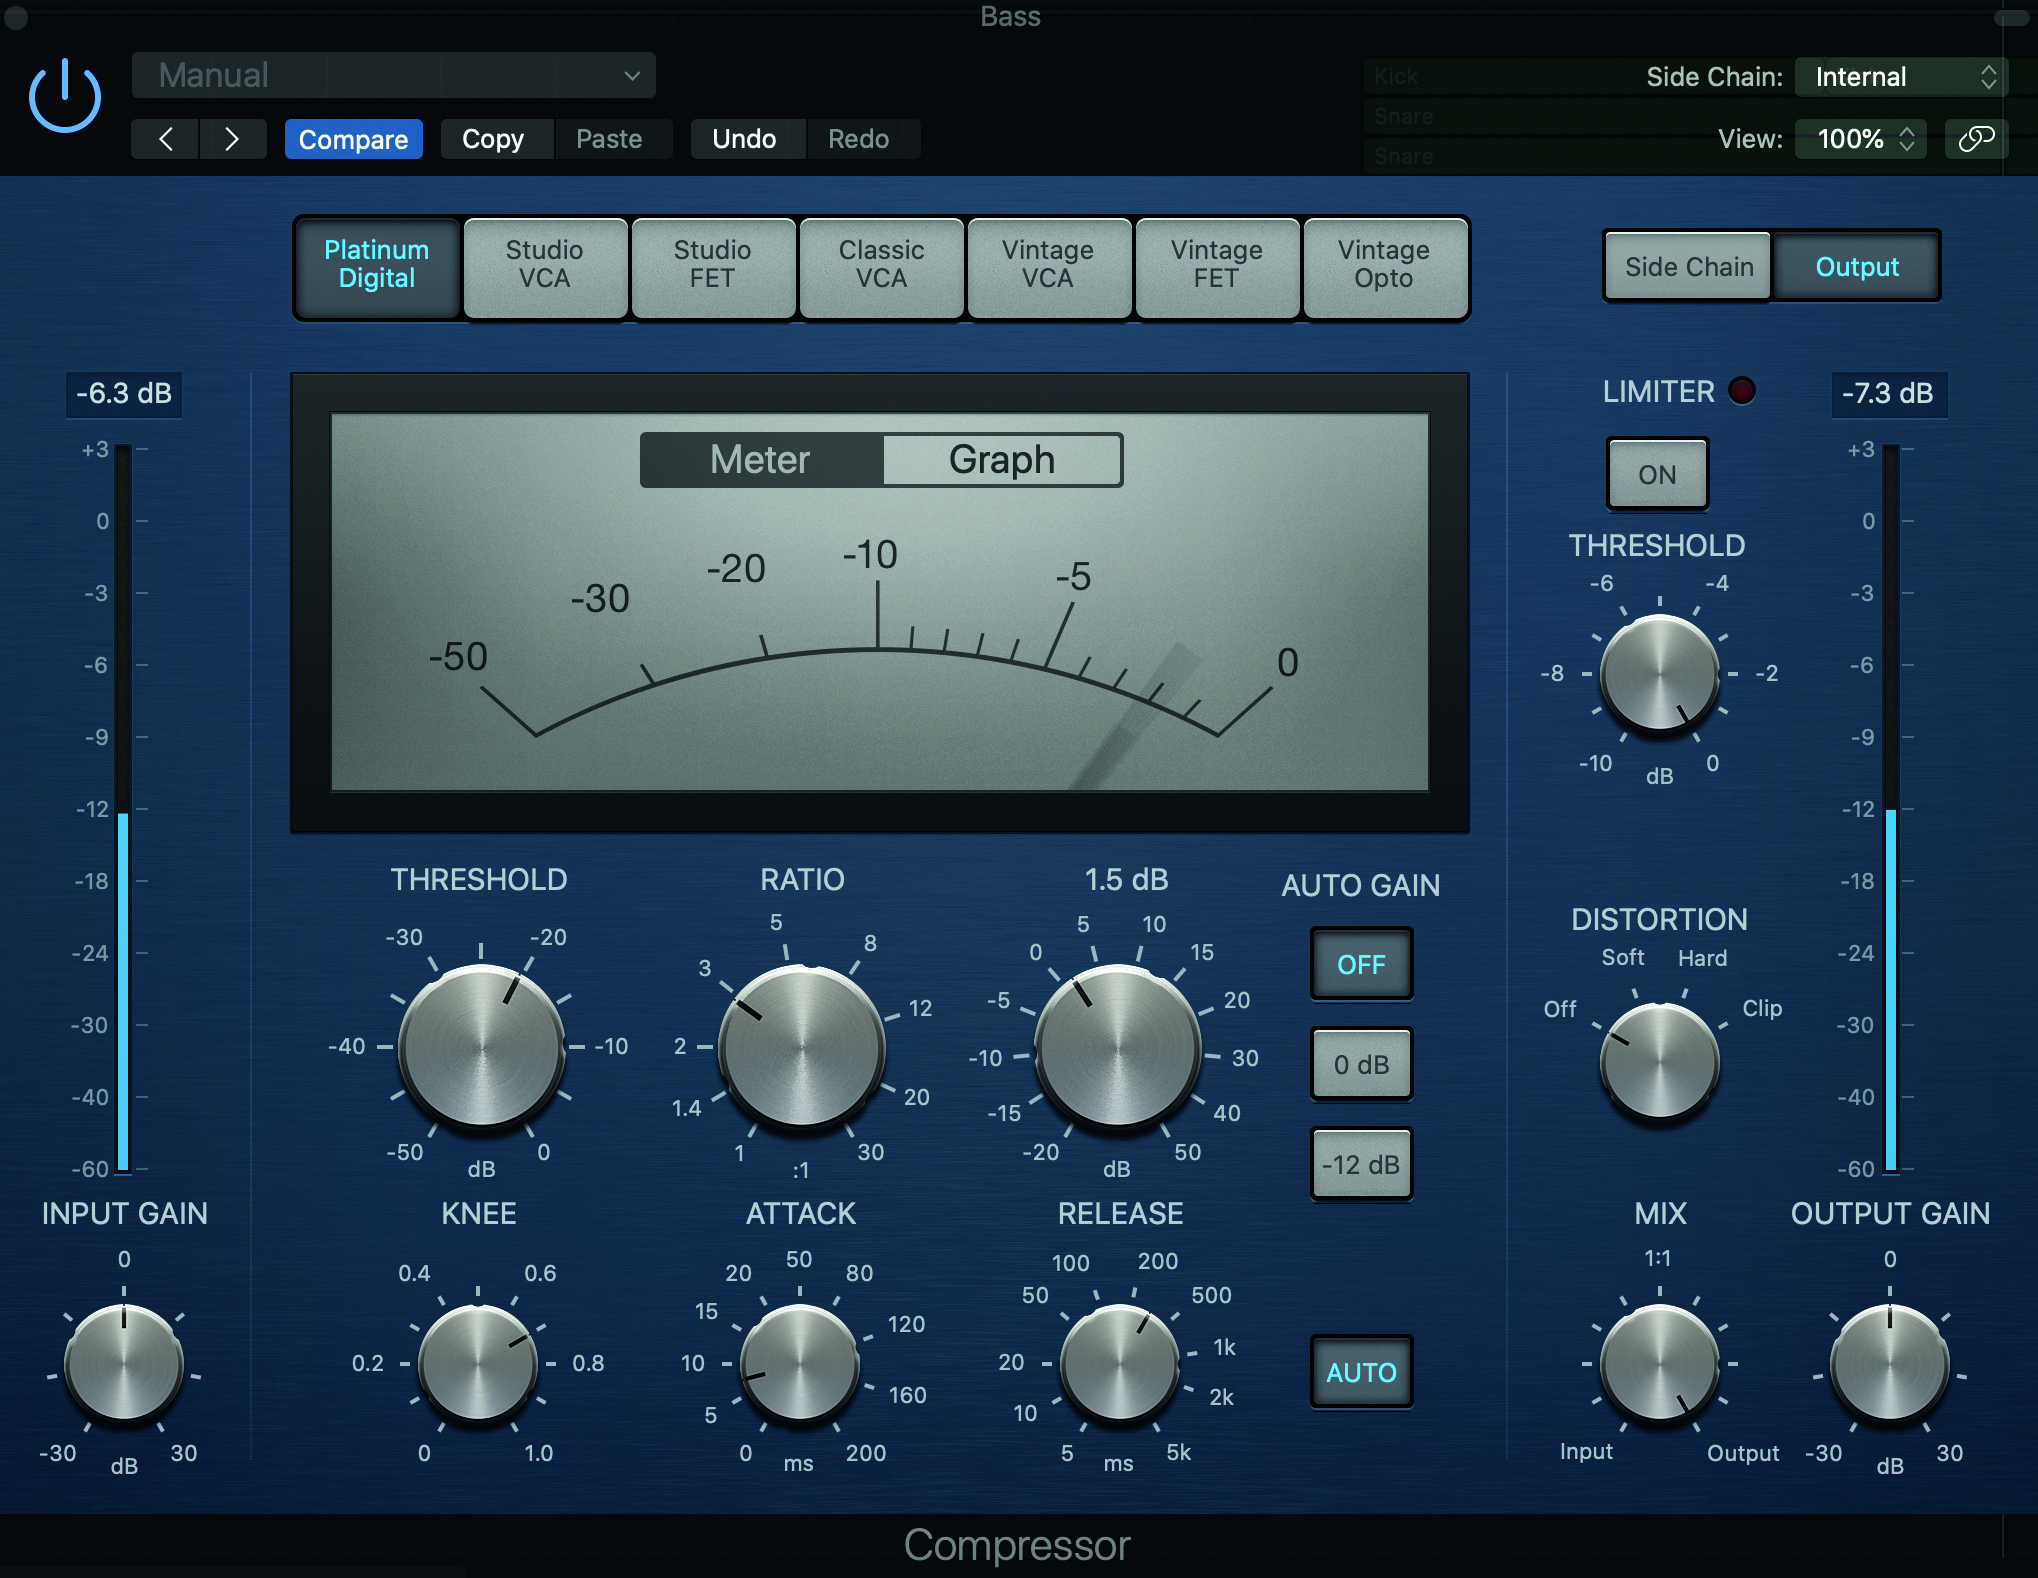
When you have the bass in roughly a good space, use a compressor on the signal to smooth out the signal’s dynamic range. This consistency is important. In my video tutorial you’ll see that I use a lot of attack to make sure the bass comes in strongly, responding to the lead instrument of the piano.
Step 11: Saturate
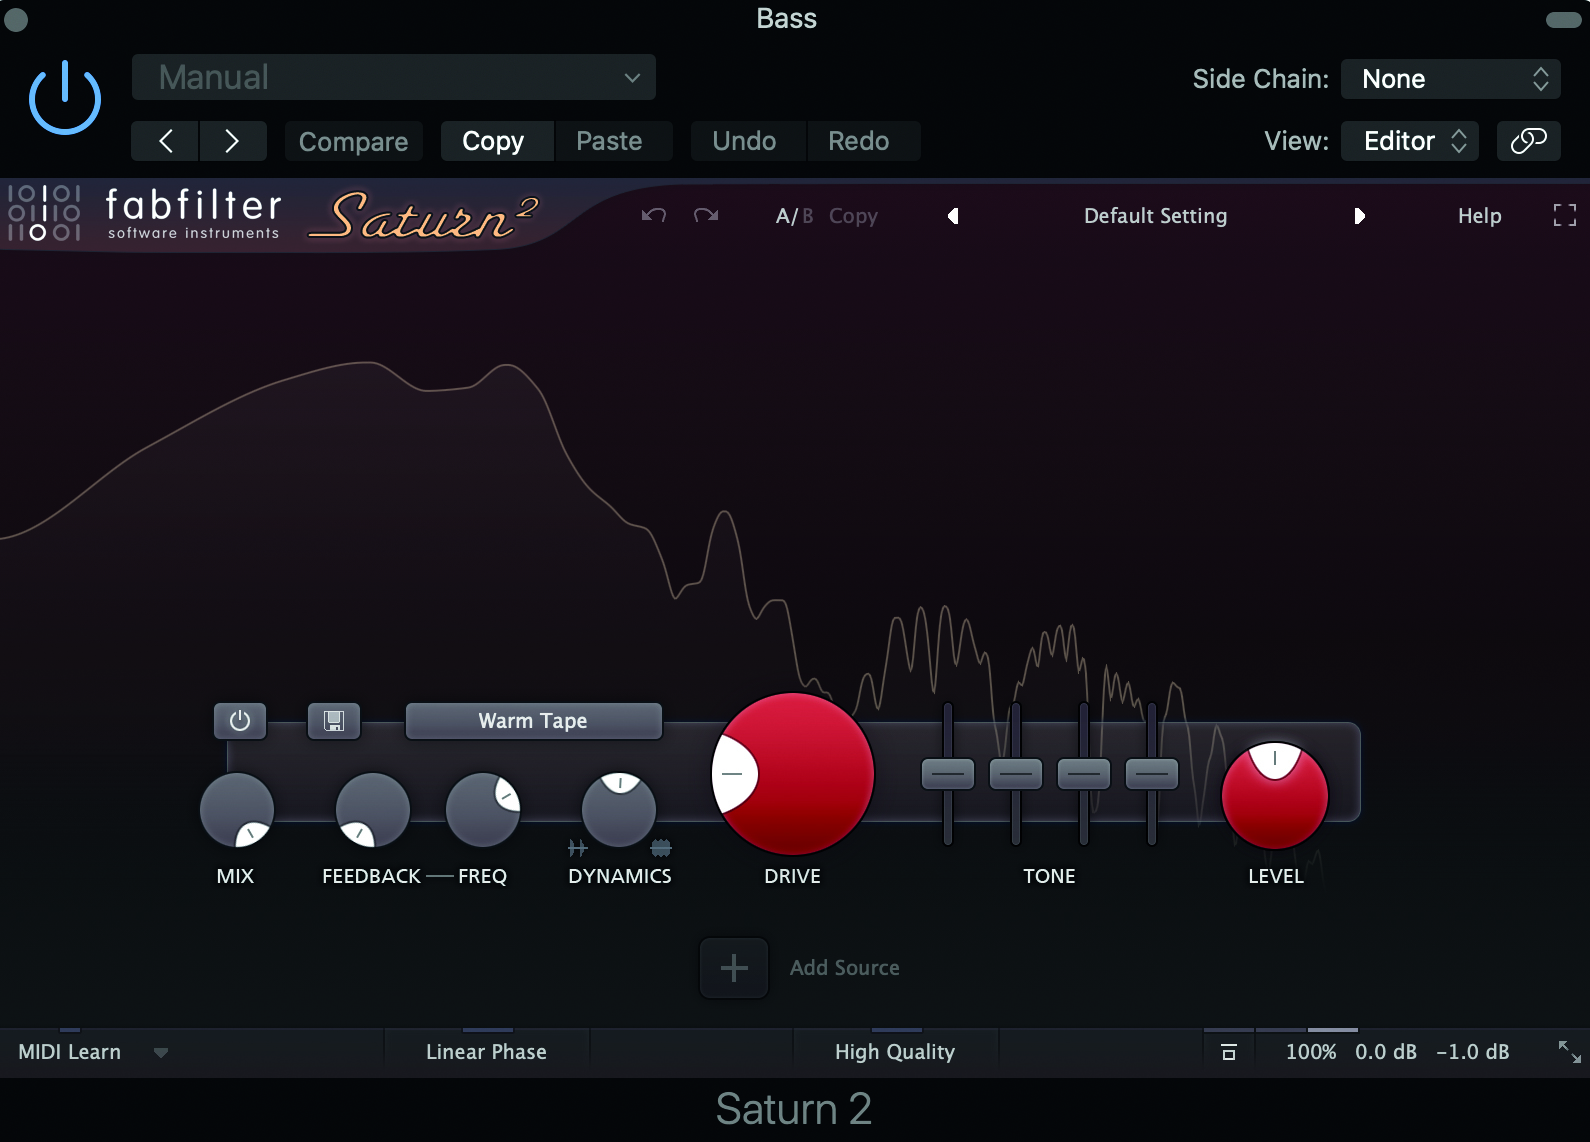
I always use saturation in my bass mix. It thickens the sound, giving each played note a little more weight and warmth. Give it a try – many DAWs have these built in now, but I recommend FabFilter’s Saturn. See my tips section above for more on this tool.
Step 12: Head to the full mix
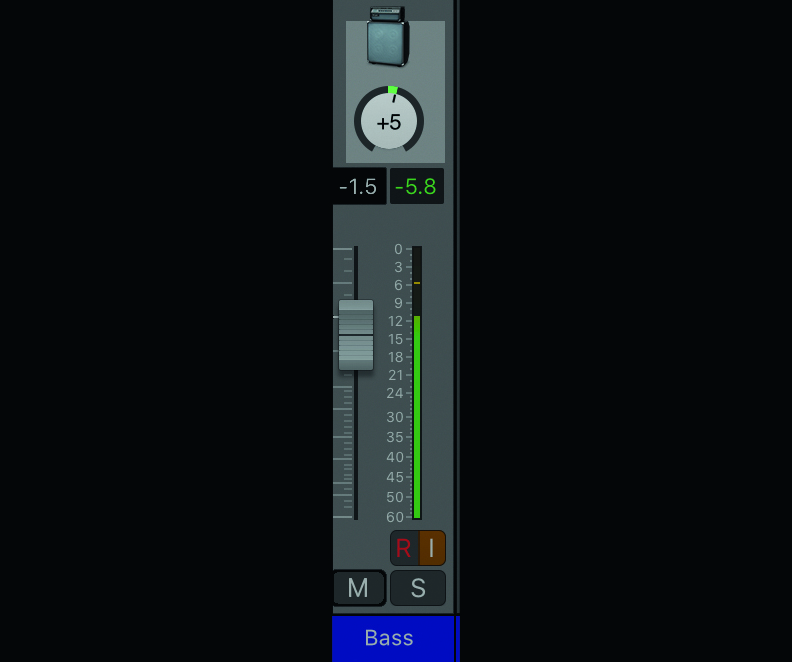
Step 12: Now you’re ready to spend precious hours on your full mix! A little hack that I use, just to help make sure the drums and bass aren’t fighting for space, is to set the panning to 5% right for the bass. It isn’t something that most ears will pick up on too much, but it does help.
- Best DI boxes: a studio and stage staple for acoustic guitar, bass and keyboards
Ashley Thorpe (aka Breezewax) is a producer and musician who has created electronic music for over a decade. He typically uses a
mix of samples, field recordings, synthesis and live instrumentation in his work, which covers a variety of styles including hip-hop, chill-hop, neo-soul and RnB. He also works as a music facilitator and freelance audio engineer.
