How to transform a sample into a synth patch in Native Instruments Form
Find out what this Reaktor-based instrument can do to your audio
Want all the hottest music and gear news, reviews, deals, features and more, direct to your inbox? Sign up here.
You are now subscribed
Your newsletter sign-up was successful
As well as being a virtual instrument in its own right, Reaktor was also used in the creation of other popular NI synths. Instruments like Monark, Form and Rounds aren’t in the usual VST or AU formats - they’re actually extremely complex, custom-coded Reaktor ensembles.
To use them in your DAW, you have two options: either load them up in Reaktor Player (which is bundled free with all NI’s Reaktor- based synths), or load them in the full version of Reaktor 6. While the free Reaktor Player lets you use the synths as the designer intended, loading them in the
full version of Reaktor 6 lets you dive under the hood and make changes to the synth’s inner workings, which is worth bearing in mind if you like the idea of using virtual circuit bending to customise a pre-made synth.
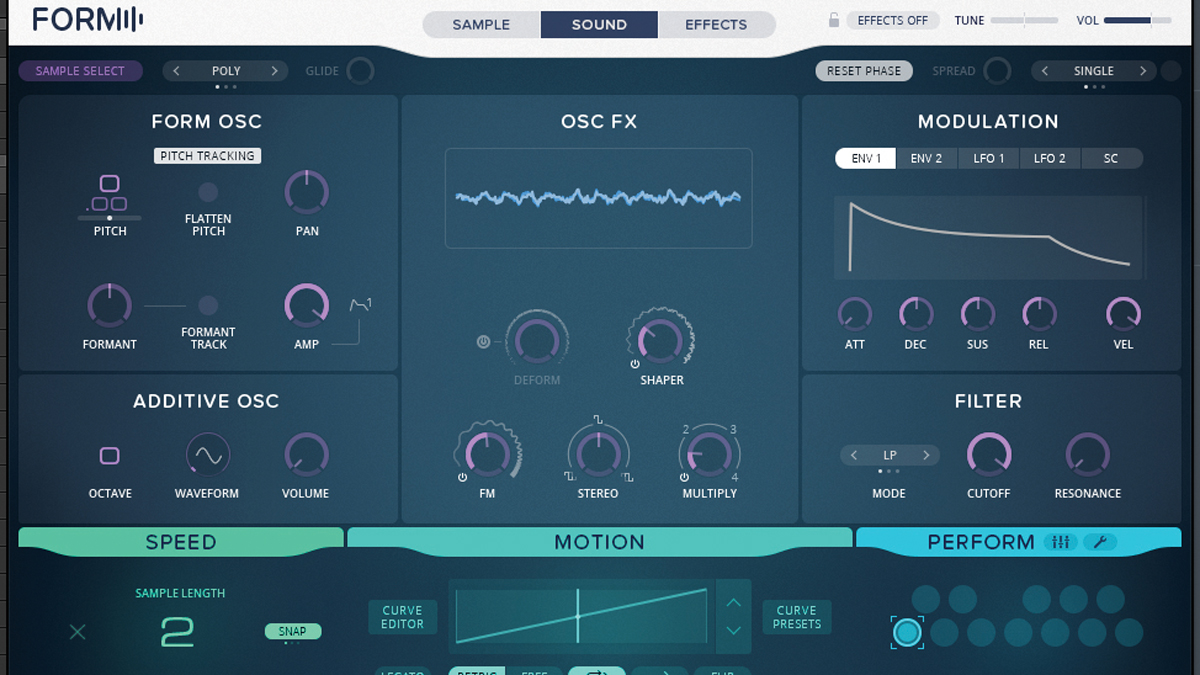
Here, we’re going to use Form to turn a sample into a synth patch. Click here to download the files you need to complete the tutorial.
Article continues below 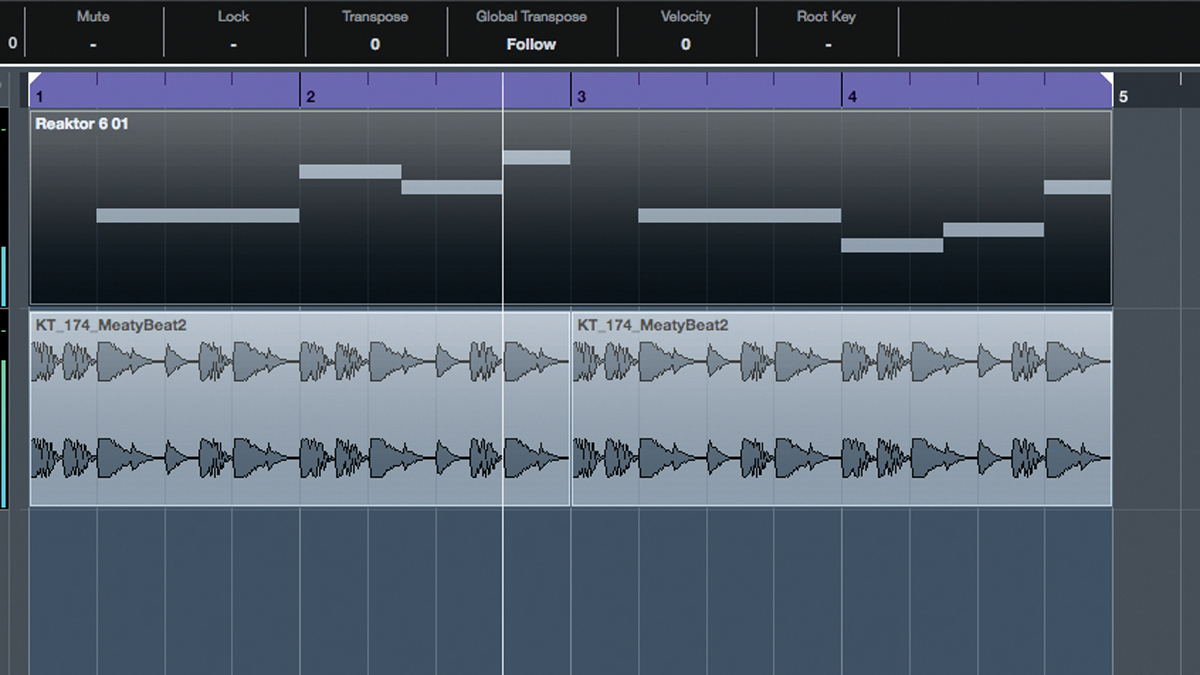
Step 1: Form enables you to transform any audio sample into a complex, dense synth patch. Let’s try it out using a generic vocal line from a sample pack. Set your BPM to 174 and import Backing.wav. Add Reaktor 6 to a fresh MIDI/instrument track, then import Bass.mid onto the timeline to trigger the synth.
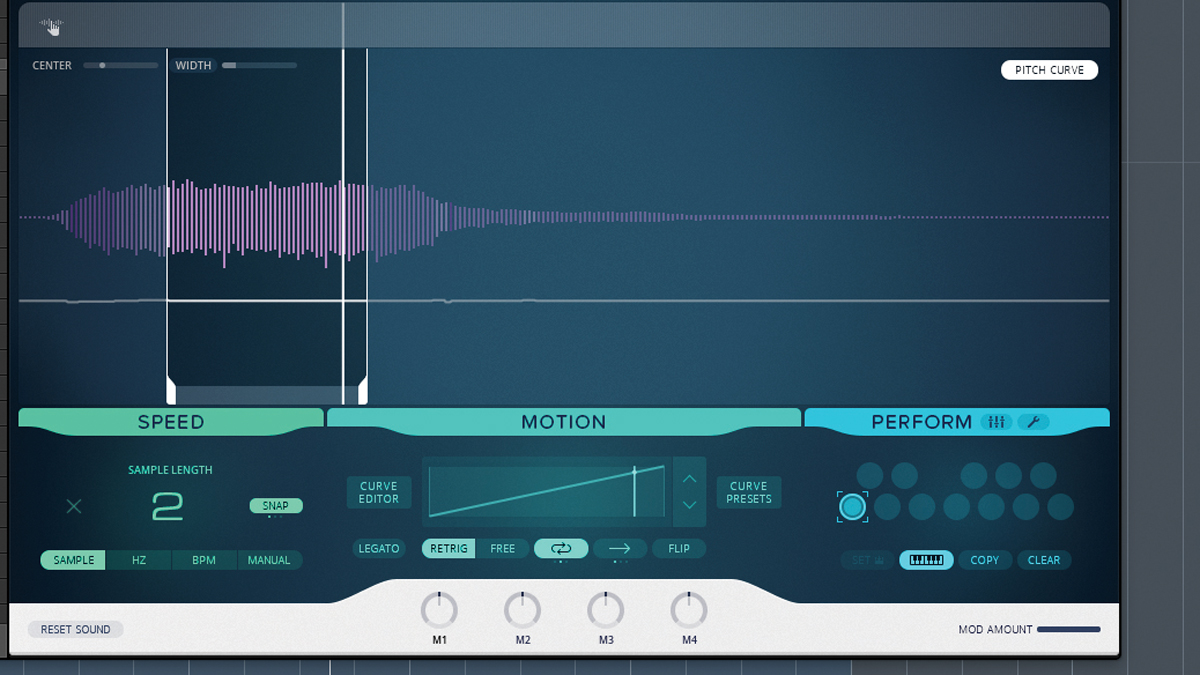
Step 2: Load VocalSnip.nrkt into Reaktor. This is a blank preset with our vocal preloaded. After this, adjust the Sample Center and Width controls to around 15-20% so that a sustained section of the vocal sample is selected for playback. Hit the Loop button in the Motion section to make the sample loop on playback. Adjusting the Sample Length to 2 will double the playback speed.

Step 3: Open Form’s Sound tab and push the Amp volume to 1 to boost our patch’s level. Next, push the FM control in the Osc FX section to around 50Hz - this’ll give the sound a grungy, detuned effect. We’ll set Multiply to around 1.5 to add extra harmonics to our sound, and dial in Shaper at around 0.3 to alter the waveform shape.
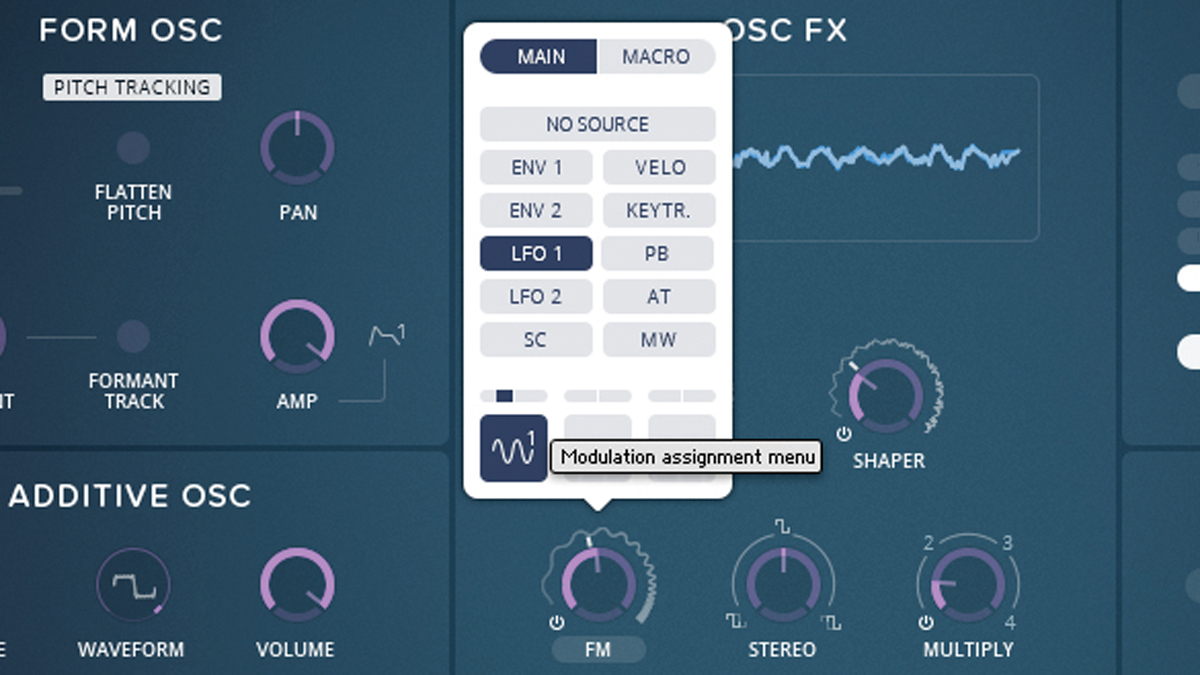
Step 4: We can add another dimension by modulating the Osc FX controls using one of the synth’s two LFOs. First, click on the FM dial’s text label and select LFO1 for the first modulation slot. Increase its modulation amount to around 20%. We’ll also assign LFO1 to the Shaper dial, with its modulation amount set to around 80%.
Want all the hottest music and gear news, reviews, deals, features and more, direct to your inbox? Sign up here.
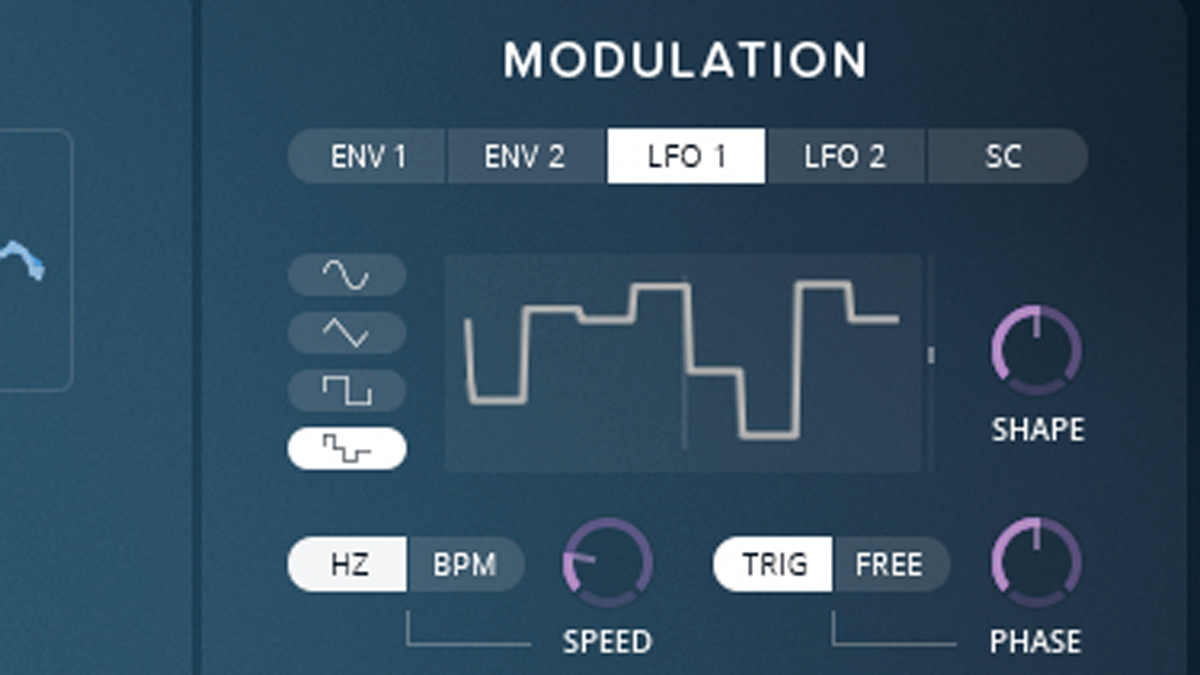
Step 5: Setting LFO1’s waveform to a sample and hold shape will make the LFO randomly generate a new waveform for each cycle, giving the modulation a random feel that’s hard to replicate purposely. To finish, we’ll use the Additive Osc to add some low frequency weight to our patch - dial the Volume in at 1. We can add extra harmonics by adjusting the Waveform dial to 2.
Computer Music magazine is the world’s best selling publication dedicated solely to making great music with your Mac or PC computer. Each issue it brings its lucky readers the best in cutting-edge tutorials, need-to-know, expert software reviews and even all the tools you actually need to make great music today, courtesy of our legendary CM Plugin Suite.
