Armed with a decent pair of studio monitors, the next stage is to set them up to deliver the best possible performance in your studio space.
Doing this inevitably requires the application of a bit of science and some trial and error, but it’s one of the most important aspects of tuning your setup to get the absolute best listening experience.
There are three key aspects to consider: how you position the monitors in relation to the listener; how you mount the monitors on a desk or stands; and how you position that whole configuration within your studio space. Let’s look at each of these in turn.
• The 8 best high-end studio monitors
• The 8 best budget studio monitors
• The 10 best studio monitors
Placement
Monitor speakers work best when set up in an equilateral triangle from the listener, with the two monitors and the listener each taking one corner. The monitors should point directly at the listener and be vertical in both the left/right and forward/back planes, with the listener’s ears roughly at tweeter height.
For nearfields, there should be between 0.9 and 1.5 metres between the monitor centres, which equates to a listening position between 0.78 and 1.3 metres back from the monitor.
This not only provides a listening ‘sweet spot’, but keeping the monitors orientated correctly also ensures you achieve the driver phase coherence that the loudspeaker designer intended.
Keep in mind, though, that this is only a starting point. Tweeter waveguides and cabinet curves both influence the dispersion of frequencies and thus how wide (horizontally and vertically) and how deep (front to back) that sweet spot is. The trick is to set things up and fine-tune positions until you find the most accurate listening position for your room.
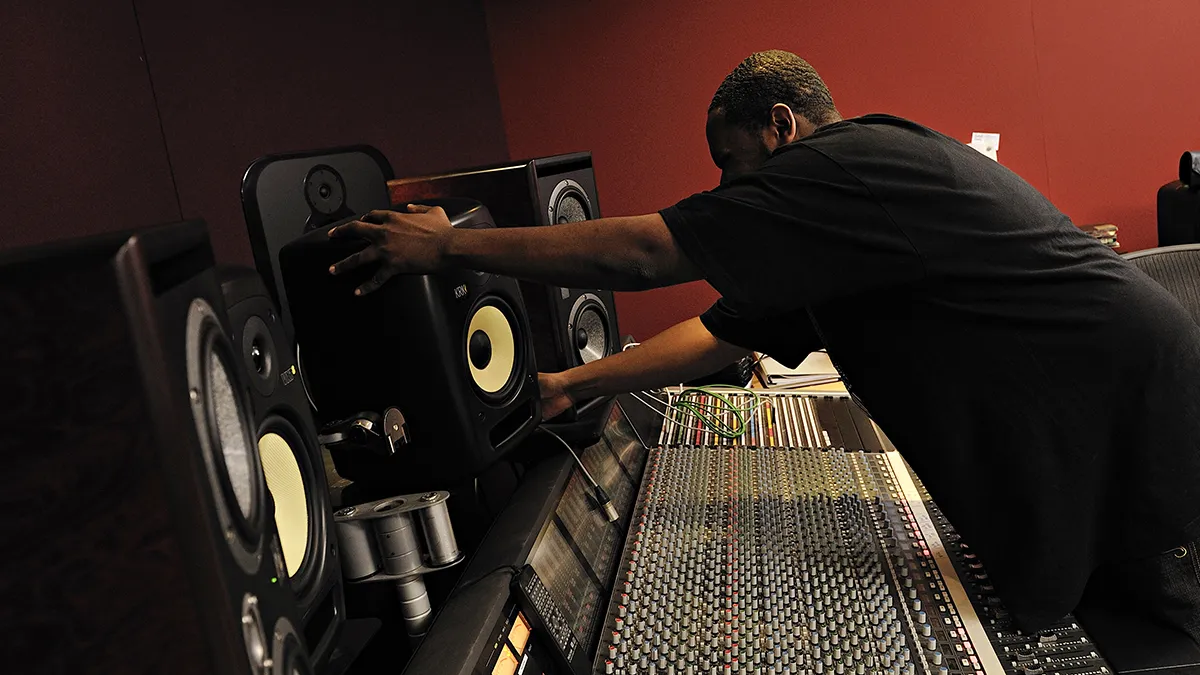
Stands and mounting
Mounting your monitors correctly can significantly improve their performance. Dedicated speaker stands work well, as the monitors are decoupled from surfaces such as your desk, reducing vibrations and resonance.
However, integrating tall stands into a typical table or desk setup can be tricky or impractical - if full stands aren’t an option, try mounting the monitors on your desktop using isolation or decoupling platforms: options include Auralex Mopads, Primacoustic Recoils and Adam Hall Pad Eco; or isolating feet such as IsoAcoustics Iso-Puck and China Cones.
These might seem a little expensive, but can greatly improve the bass response and overall quality of the sound coming out of your monitors.
Work the room
Finally, you need to consider how best to position your monitor configuration within your studio. Unfortunately, all rooms exhibit a set of frequency specific modes based on the room dimensions.
To make things worse, stick a monitor near a wall and you also get the boundary effect - interactions between reflected and direct sound waves. The upshot of both characteristics is that you’ll experience frequency-specific peaks and nulls of varying degrees around your space, and although these occur across the full frequency spectrum, they're most noticeable at lower frequencies, with a significant low frequency null typically right in the middle of a rectangular room.
The best way to minimise these issues is employ the 38% rule – ie, siting the listening position at 38% the length of the room. But to avoid boundary issues, you should also try and keep your monitors away from the wall, particularly if they’re rear-ported (20cm is a good start).
All these aspects can also be improved by using wall-mounted room treatments such as bass traps, broadband absorber panels and diffusers. A few of these, strategically positioned behind, above and either side of your sweet spot, can work wonders.
