How to create glitchy acoustic drums
Push your virtual drum kit to the rhythmic extremes with our MIDI programming guide
When you think of glitchy drums, the first things that probably come to mind are overtly electronic sounds, with bit depths, sample rates and filtering manipulated on the fly, and triggered by rapid runs of notes.
However, with today’s acoustic drum kit ROMplers being so flexible when it comes to sound design, extreme and strange sounds of a decidedly glitchy nature are well within their remit, too. By deactivating round robin sample triggering and other humanising features, individual drum kit components can be made to sound more robotic, and primed for super-fast triggering and modulation of pitch, envelopes and more. Sure, you could just fire up a plugin like Ableton Beat Repeat or Illformed Glitch 2 and have that do all the hard work for you instead, but programming your own glitches, rolls and rips is far more creatively satisfying and delivers an altogether different kind of result.
In this tutorial, then, we’ll show you how to turn a live MIDI drum pattern into a glitched-out groove using the basic sound shaping controls in Toontrack’s Superior Drummer 3, without an effects plugin in sight. Any high-end acoustic drum kit sample library should offer similar functionality, although you might have to automate parameters individually in the final step if yours doesn’t feature macro controls.

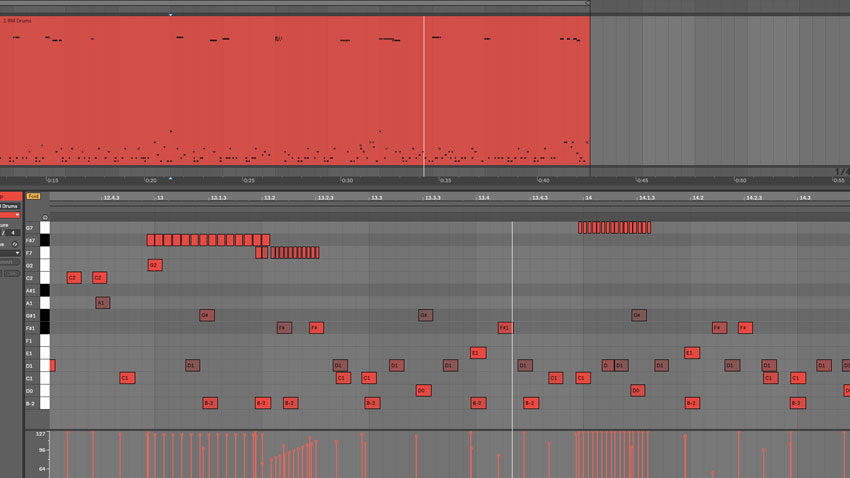
Step 1: Here’s ourmy raw drum pattern. It’s been played in live via edrums and is triggering a modified version of Superior Drummer 3’s Tight and High Plate preset kit. We're going to make copies of the kick, snare and hi-hats for separate triggering and manipulation.

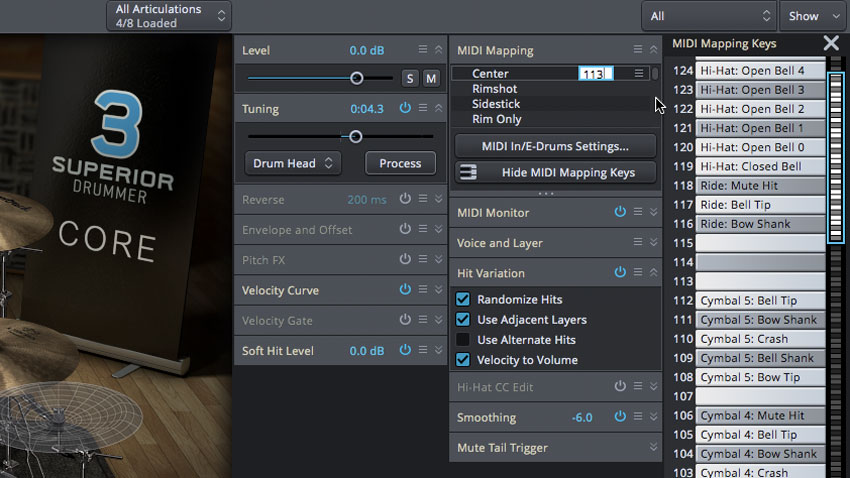
Step 2: We start by saving the edited snare drum out as a User preset for loading into a new Instrument slot - much quicker than copying the settings across from one snare to another. We then load this into the kit using the Add Instrument function, and map its Center articulation to the unused MIDI note 113.

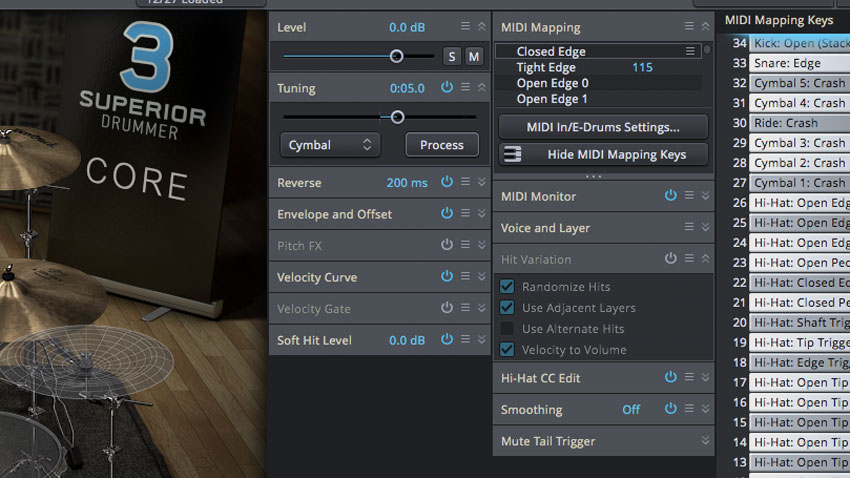
Step 3: Turning off Hit Variation for the copied snare means it will always sound the same when played, with no round robins or randomisation - just what we need for the ‘machine gun’ effect we’re after. We then repeat the process for the kick and hi-hats, mapping the duplicates to notes 114 and 115 respectively.

Step 4: Now we’re ready to draw some notes in. The exact form these take will depend on your drum track, but here, we’ve dragged certain kick, snare and hi-hat hits up to the note lanes of their dehumanised alternatives and used them as the start points for fast, ‘mechanical’ note runs.
Want all the hottest music and gear news, reviews, deals, features and more, direct to your inbox? Sign up here.

Step 5: The next step is to automate the duplicate kit pieces to take any remaining realism out of them, and Superior Drummer 3 makes this easy with its Macro controls, which enable multiple parameters to be mapped to a single knob for grouped tweaking. We start, however, by flipping the hi-hats into reverse.

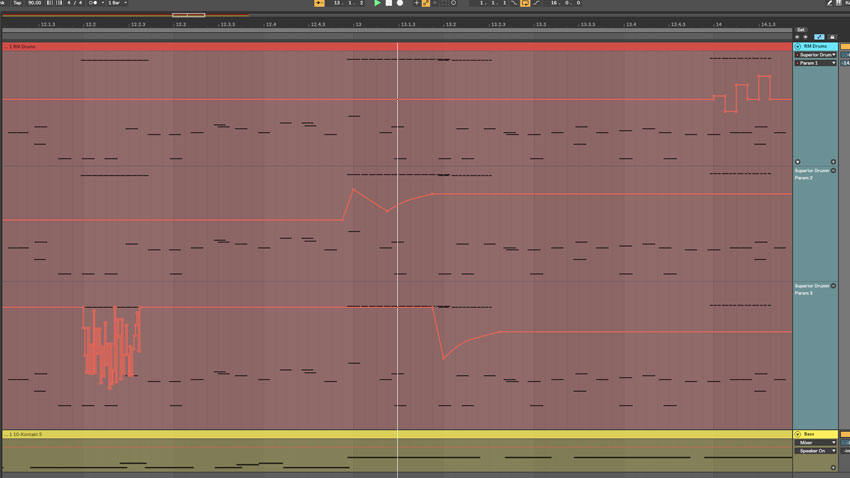
Step 6: Good targets for automation in this particular scenario are the hi-hat Reverse Time, and tuning and envelope release for all three instruments. By mapping those controls to three instrument-specific Macros, recording or drawing transformative modulations into the host DAW as automation is a cinch.
Computer Music magazine is the world’s best selling publication dedicated solely to making great music with your Mac or PC computer. Each issue it brings its lucky readers the best in cutting-edge tutorials, need-to-know, expert software reviews and even all the tools you actually need to make great music today, courtesy of our legendary CM Plugin Suite.
