How to create DIY feedback loops in Ableton Live
With its fluid, flexible audio signal routing scheme, Live makes for a powerful feedback circuit. Let's take a look…
Want all the hottest music and gear news, reviews, deals, features and more, direct to your inbox? Sign up here.
You are now subscribed
Your newsletter sign-up was successful
One of Ableton Live's lesser known and more unusual features is the ability to route Return tracks back into themselves to generate feedback loops. Using this, all manner of intriguing and extreme 'stacked' effects treatments can be cooked up, as we'll demonstrate in this walkthrough.
For more feedback-based techniques and trickery, get hold of the August edition of Computer Music
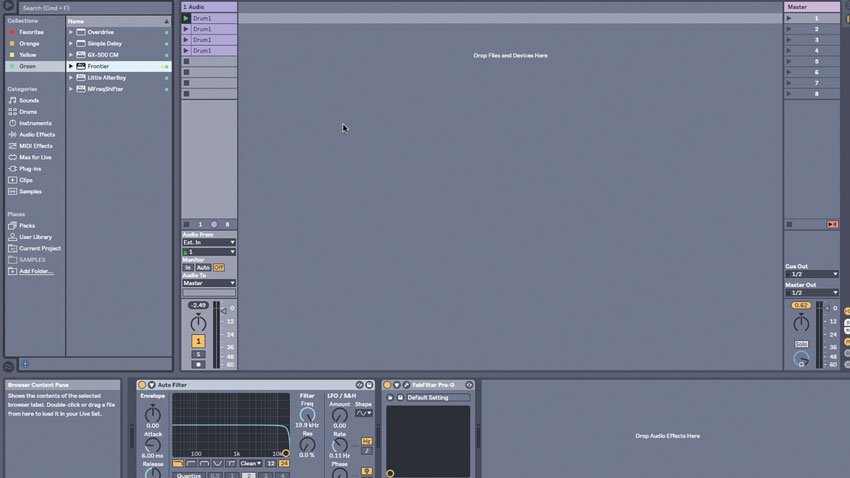
Step 1: Ableton Live has the ability to send a Return channel back into itself, creating a feedback loop. Because we can load plugin effects onto a Return channel, just like we can on any other track, this gives us room for some really creative delay processing.
Article continues below 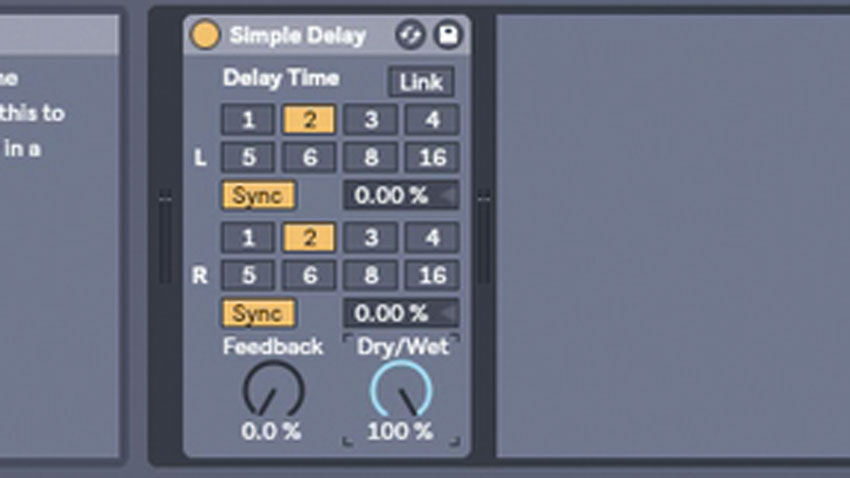
Step 2: First, create a Return Track and load up a Simple Delay device on it. Set both L and R channels to timebase 2, and crank up the delay’s Dry/Wet mix amount to 100%. Now the delay is ready, Send an audio channel into this Return to feed its signal into the parallel delay channel.
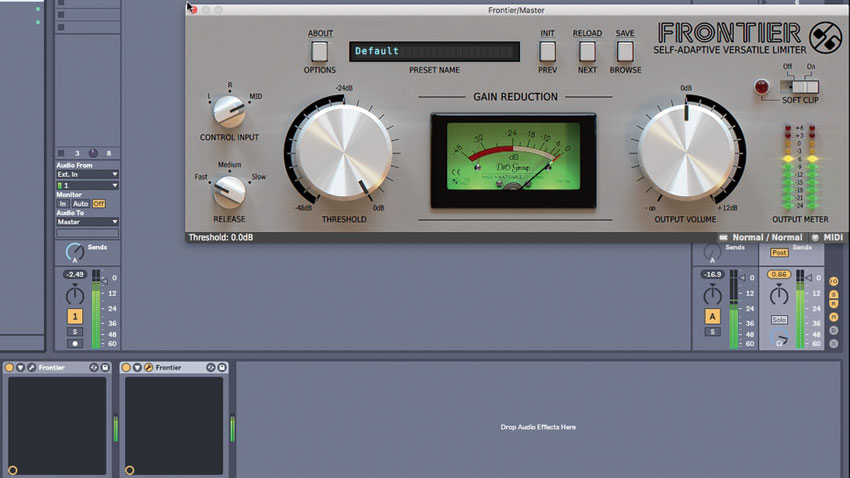
Step 3: We add D16’s Frontier limiter to our master channel for protection, setting the Threshold to 0. The sorts of feedback tricks we’re going to do here can go completely wrong at the slip of a finger, so a limiter is crucial for protecting your ears and speakers.
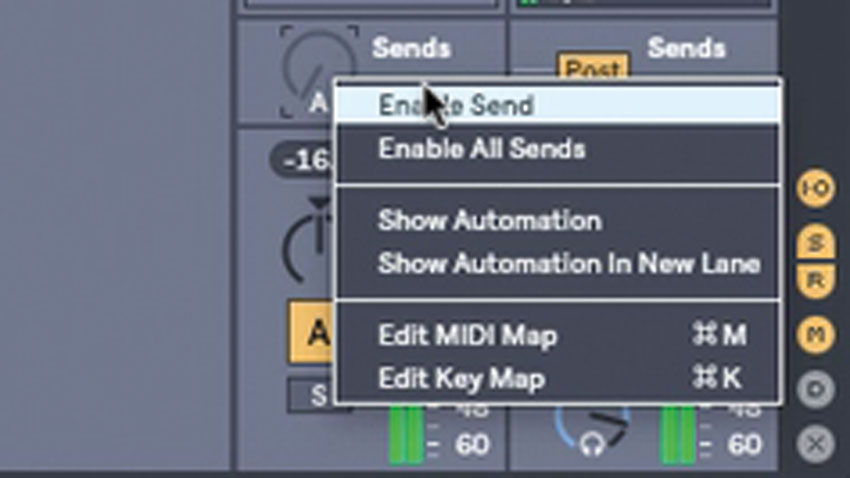
Step 4: By sending the Return back to itself, we create a feedback loop. Right-click the Return Track’s Send knob and select Enable Send, then push the Send amount up slowly. The delay feeds back into itself. Push the Send amount higher to see what happens, but be ready to bring it down again very quickly if things get out of control.
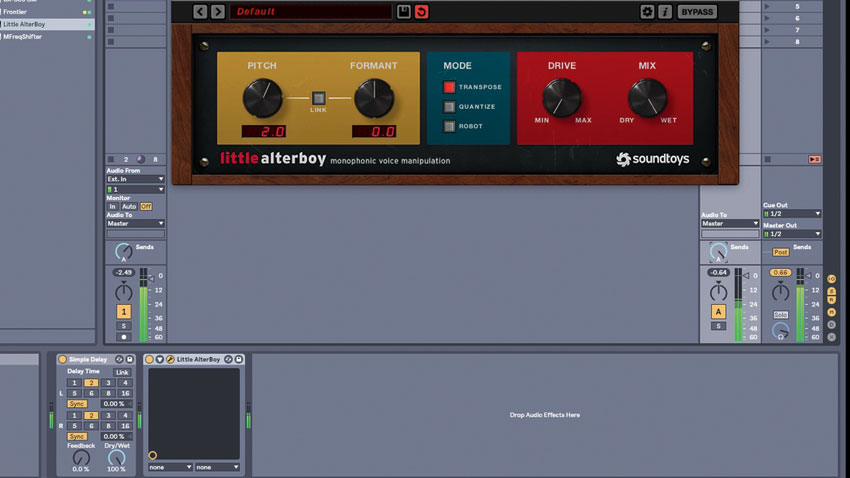
Step 5: Because we’re using a whole mixer channel to create this feedback effect, we can insert effects plugins into it. With every pass of the feedback loop, the sound will have more of that effect added. The most obvious use is with a pitchshifting plugin. We’re going with Soundtoys’ Little AlterBoy, with its Pitch set to 2.0. Now, as we push the feedback up, each echo is shifted a bit further.
Want all the hottest music and gear news, reviews, deals, features and more, direct to your inbox? Sign up here.
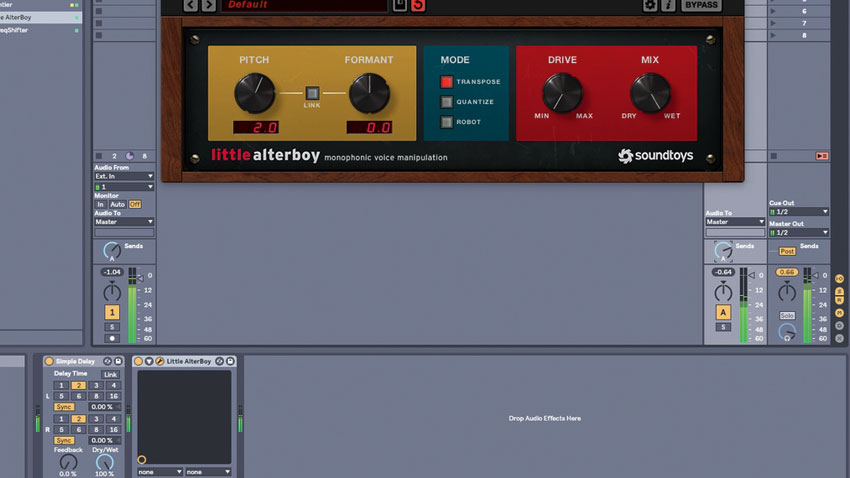
Step 6: Check how feeding the sound back at different levels creates different effects. The shift doesn’t become fully obvious until the control is about halfway round, and for the second half of the control’s rotation, the effect changes significantly. If you crank the send right up, you’ll see why we added the limiter - the signal can overload really quickly.
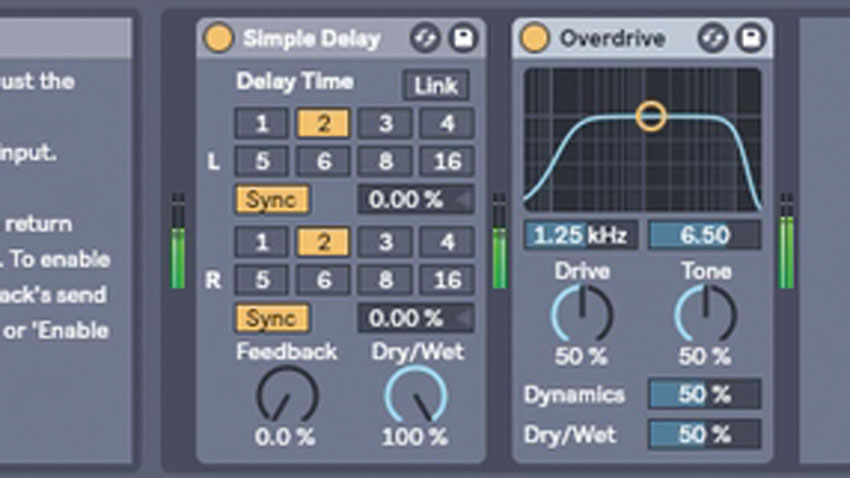
Step 7: Let’s make another Return channel, again with a Simple Delay plugin (set up with the same timebase for each channel and 100% Dry/Wet mix). Drop an Overdrive effect onto this channel. Just like last time, when we push the Send level, each echo ends up a little more distorted than the last.
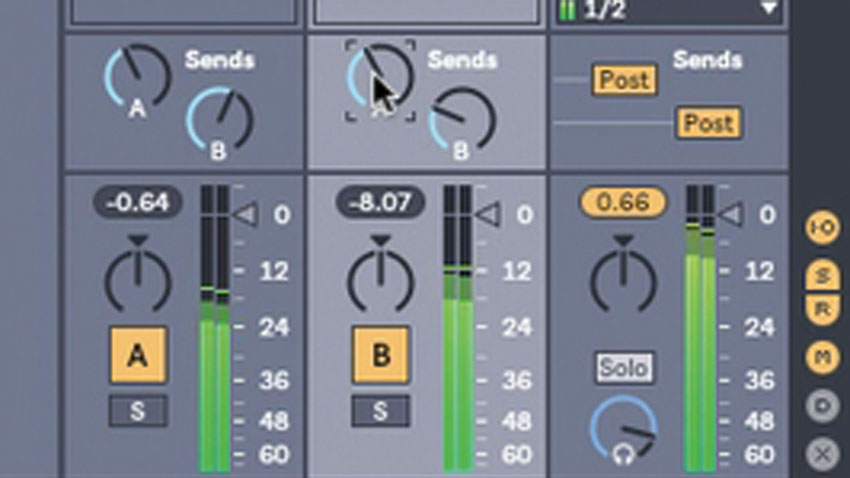
Step 8: We can go even further now, with some cross feedback effects. We have six controls to feed signals into each other: the A and B sends on the original channel, plus A and B sends for both of the Return channels themselves. The former send more or less of the original track to the Returns, while the latter pipe the feedback loops into each other.
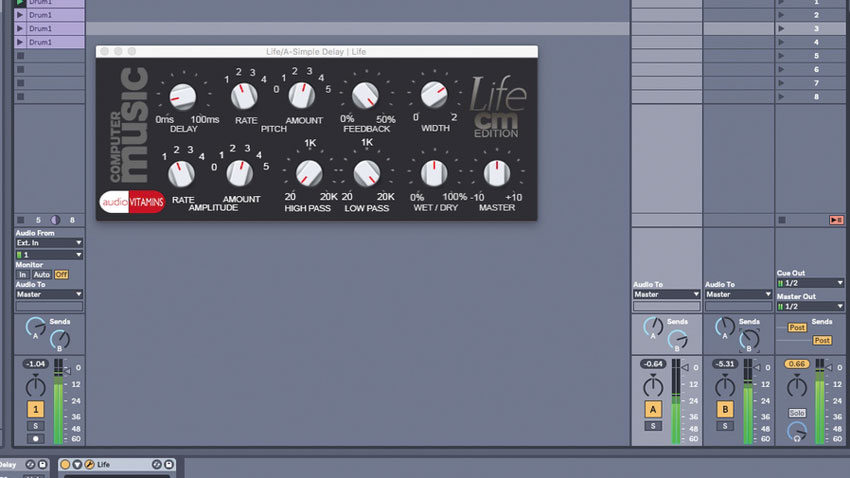
Step 9: Other effects that work well in feedback loops are subtle modulation processors like chorus, phasing and flanging; ring modulation; and reverb effects. ‘Static’ processors such as filters and EQs won’t have much bearing, but ‘cumulative’ effects that add to or change the signal without removing information will work a treat.
Computer Music magazine is the world’s best selling publication dedicated solely to making great music with your Mac or PC computer. Each issue it brings its lucky readers the best in cutting-edge tutorials, need-to-know, expert software reviews and even all the tools you actually need to make great music today, courtesy of our legendary CM Plugin Suite.
