If you want to be certain that your DAW and plugins are processing the way they should be, then you need some control and understanding of signal levels. We often refer to this overall concept as gain staging.
The term originated in the analogue realm and refers to setting your gain in order to maximise the signal to noise ratio. The idea is you keep your signals loud enough throughout the signal path so that the system noise is less significant, but also not so loud that they lead to distortion.
This is still an important concept when setting the preamp gain on your interface to record signals into your DAW. However, once your signals are inside your DAW and you’re mixing, there’s no analogue noise floor to worry about. But what about signal level?
In theory (check out the Pro Tip), the 32-bit floating point audio used by modern DAWs delivers massive dynamic range. However, making use of this in a plugin-rich session, and bearing in mind we still need to end up below zero full scale at the output, is less clear-cut.
For example, many plugins use internal level thresholds for processing, and this is particularly true for analogue emulations. In this masterclass we’ll look at various techniques we can use to stay in control of levels, hopefully leaving you free to focus on the important task of balancing your mix. Right, let’s get to it.

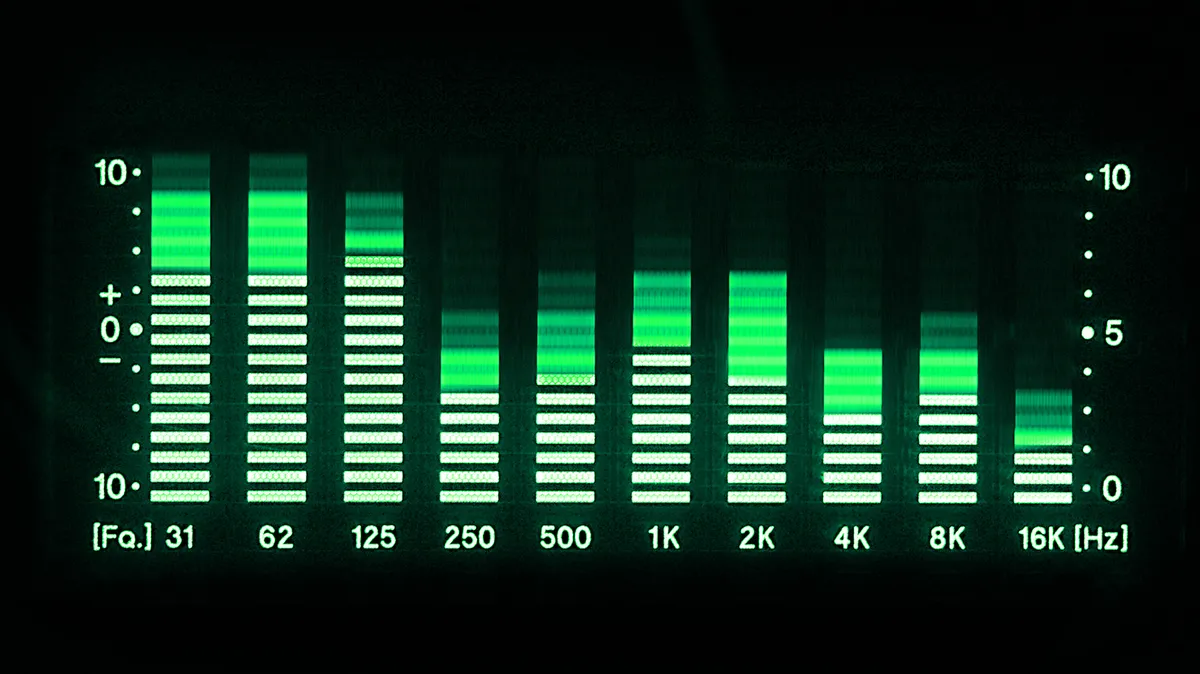
With any technique involving levels it’s important to know what your level meters are actually indicating. Many DAWs provide a before fader or after fader metering option. Here we’ve selected Pre‑Fader Metering so we can see the level after any plugin inserts, and ensure our fader side meters aren’t influenced by the fader level.

If you have a simple session with a handful of tracks then you may be able to balance them to taste without the master output overloading. However, if those tracks contain normalised audio (see grab) then you immediately need to turn things down. Here we have loops on four tracks and already the master is close to +9dB overload.

Of course, the simple solution is to turn the faders down. However, what you’ll find is that the faders have better precision at or around the 0dB point. So yes, turning down the faders works but once you have lots of tracks you’ll find yourself trying to balance your mix using a less precise section of the fader travel.

So what happens if we then add plugin inserts? To demonstrate, we’ve added a stock compressor to the beats track and set the threshold to its maximum (0dB). The compressor is still applying gain reduction because the audio signal is so high. If this happens across many tracks our problems will multiply and already levels are causing us potentially undesirable outcomes.

This level problem is pre-fader, so turning the fader down won’t help. If we now use an analogue emulation instead, then that plugin will probably have an operating level. Here, our tape emulation even lets us adjust it. By moving the calibration slider we’re changing how much processing the plugin does for a given level.

Obviously we can adjust plugins individually and where available use their calibrations or input trims accordingly. However, this isn’t the only option. A basic volume plugin inserted as the first track insert is a simple universal solution. What’s more you can adjust in both directions, cutting or boosting as required.

For audio tracks, many DAWs include clip or region trim. Here, we’ve drastically reduced the level of our normalised loop. Equally, for virtual instrument tracks you could simply reduce the overall output level of the instrument. All three solutions are ‘at source’, leaving you better placed to manage the levels within your plugin inserts.

Unfortunately there’s no operating level standard for plugins, and developer recommendations vary from about -10dBFS to about -20dBFS. It’s important to do some homework and check the suggested levels. Using the gain options above, adjust your track sources accordingly, and if the plugins have no meters use your fader side meters so that peak levels match the suggested levels.

Roll out this technique across all your tracks. Also, if you have multiple level sensitive plugins in series, be mindful of their relative levels. Adjust the output level on the previous plugin in the chain to hit the required input level for the next. If you have no plugin output level (admittedly this is rare), insert another gain plugin between the two.

Using this technique should achieve reliable operating levels across your plugins. However, if your mix has many tracks you may find as your mix progresses you still end up with an overloaded master output. One solution is to add identical gain cutting plugins to all tracks, or if available, group all faders to a VCA and turn that down.

In both cases, be mindful of your auxiliaries or sub groups, particularly if they include level dependent processing. This can get quite fiddly, but one example would be on a bussed subgroup. Here, if you add an additional gain stage, you only need to add a plugin on the bus, not on the channels sending to it.

Finally, use a gain plugin in the master output chain. If your track faders are already a bit hot, a gain cut as first insert on the master output provides a quick fix and can help set up levels for further master output plugins, which may of course include level-sensitive analogue emulations.
Pro tip: testing the theory
If you have experience with analogue mixing or fixed-point audio DAWs such as older Pro Tools systems, then the idea that you can overload channel levels and it not have any effect on the audio may seem very odd, or unbelievable, even. If you need convincing, why not test the theory?
The best way to do this is use a completely fresh DAW session with no plugins. On a regular track, load up a tone generator plugin or sound source that can play a sine wave. Also add some gain plugins to the same track so you can excessively boost the channel level. On the master output load up an analyser (an oscilloscope is best) and turn the master fader right down.
Now, gradually add gain using the gain plugins. The channel meters should look overloaded but you’ll see a clean sine wave on the master output oscilloscope. Carefully turn up the master fader and you’ll soon get output clipping, but the signal prior to this in the master bus will still be fine.
In our tests using both Logic Pro and Studio One it took an overload of a whopping 100dB to finally get internal channel clipping, but remember this is without level-sensitive plugins.
