10 mic tips for recording drums, piano and other instruments in your DAW
Get the right mic in the right place

Want all the hottest music and gear news, reviews, deals, features and more, direct to your inbox? Sign up here.
You are now subscribed
Your newsletter sign-up was successful
Although it requires more effort than doing everything in the box, recording 'real' instruments into your DAW can be extremely rewarding, giving your productions a more organic, human touch.
Once microphones are involved, though, things can start to get confusing, particular if you don't have a cupboard full of them at your disposal.
Here, then are some tried and tested ways to record drums, piano and other instruments, no matter how many mics you have in your locker.
1. The one-mic drum trick
You can get away with recording an entire drum kit with one microphone. OK, it won’t sound as amazing as mic’ing up an entire drum kit, piece by piece, but if you have limited equipment, place your single microphone – a cardioid condenser, if possible, so it’s focussed down on the drums – as a single overhead above the drummer.
You can also try placing it in front of the kit, the distance being determined by how much room ambience you want mixed with the sound of the drum kit.
2. The two-mic drum trick
As with guitars, having two microphones for your drum kits increases your options and quality of results exponentially, and there’s one producer/engineer who has form here.
Bob Clearmountain has worked with The Rolling Stones and Bruce Springsteen and his two-mic method involves placing a good high-output dynamic mic (he favours a Shure Beta 52) either centrally in front of the bass drum, or if it has a hole, just inside.
Want all the hottest music and gear news, reviews, deals, features and more, direct to your inbox? Sign up here.
Place the other mic, again a cardioid condenser (he uses a Neumann M49), above the drummer pointing down and fairly centrally placed over toms and snare.
3. Know your mic types
Increase the number of mics here and you increase the number of drum options, but the microphone type is pretty easy to understand.
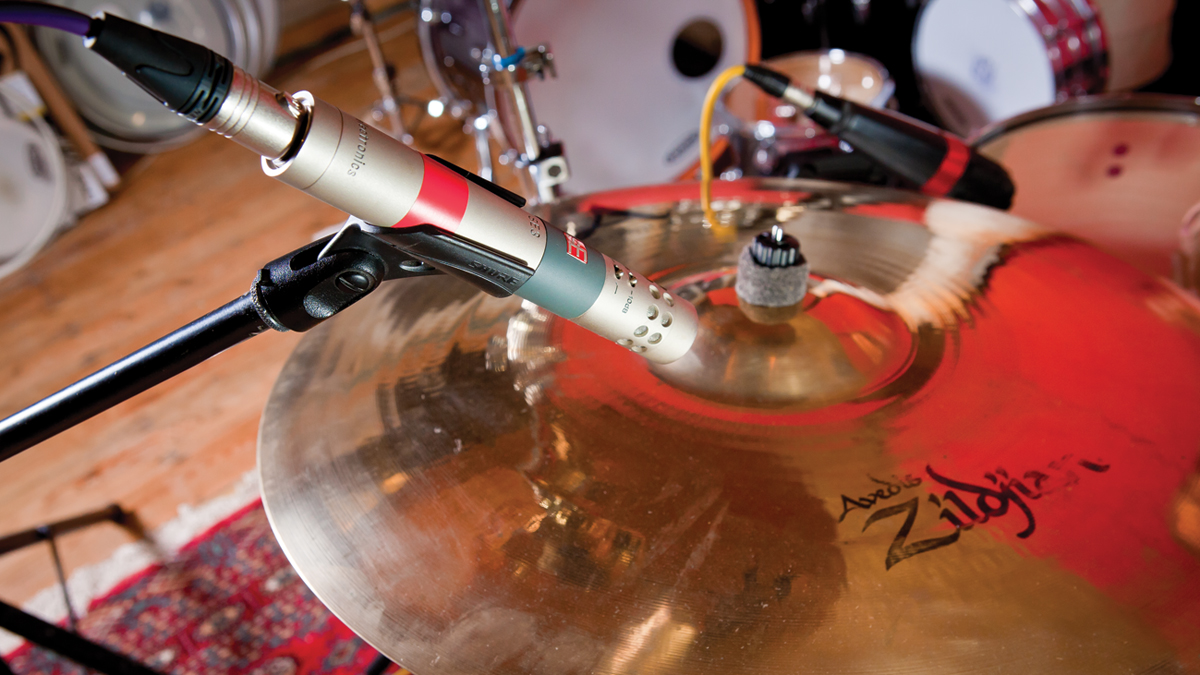
For the larger, boomy drums - kick, snare and large tom - try dynamics with cardioid (focussed) patterns, placed two to six inches away. For more delicate hats and cymbals, turn to small diaphragm condenser microphones placed four to six inches away. Experiment and always remember that, if it sounds good, then it is good!
4. Capturing keys
If we were to say that recording a piano is similar to a guitar, you might scoff, but actually there are definite similarities to the two.
You want to capture the same bass and treble balance, so if you have just one microphone on an upright piano, then place it centrally at the front up to 12 inches away with, if possible, the front panel of the piano removed. If this captures too much ‘note noise’, move the microphone up and over, aiming it at the strings inside the piano.
If you’re lucky enough to have a grand piano, place the microphone on an arm under the lid or right towards the very end of the piano, away from the keyboard. But if you have a grand you really should be able to afford more than one mic, so…
5. Find your distance
Close? Or far away? Another general rule with mic’ing up any instrument or amp is that the closer you set the microphone to the source, the more deep and full the sound; the further away, the thinner it gets, so experiment with distance for the perfect balance.
6. Two mics, one piano
Got two mics and a piano? As with guitars, place them on arms, each a third of the way along and over the keyboard to capture both bass and treble notes. Blend to mix. Again try in front of the upright piano to experiment and blend key noise.
7. Add ambience
Drum kits can swallow your mic collection if you choose to record every piece, as can a grand piano if you want every nuance recorded. But if you have a spare mic, then why not record some room ambience for a live and natural feel to blend in with the source recording? The further away from source you place this mic, the more room ambience you get.
8. Other guitars
You might not be surprised to hear that, (very) generally speaking, when you want to record ukuleles, banjos and similar types of, how shall we say, ‘leftfield’ guitars, you can employ the same kinds of condenser microphone techniques already discussed.
9. Other instruments
And extending from that, if you have another amplified instrument like a bass guitar, organ or other keyboard, you can use similar dynamic mic techniques to those detailed for the electric guitar: a dynamic mic close in to the amp, with a condenser further out to capture detailed nuance.
10. Stringed things
Finally a quick look at mic’ing-up, using string instruments. For violin, try a condenser over and above the player, aimed between body and neck; for a cello, two condensers placed much further away (try 10 feet) or a single mic close to the bridge. As always, experiment with microphone positions.
Computer Music magazine is the world’s best selling publication dedicated solely to making great music with your Mac or PC computer. Each issue it brings its lucky readers the best in cutting-edge tutorials, need-to-know, expert software reviews and even all the tools you actually need to make great music today, courtesy of our legendary CM Plugin Suite.
