With its MPC-like, pad-focussed interface and emphasis on sampled sounds, as a newcomer it’s tempting to think of Maschine as purely a sampler and beat sequencer. While those elements were the original heart of NI’s ubiquitous hardware/software combo, and are still core to its workflow, there’s much more to Maschine than just that, from the ability to play plugin instruments to advanced mixing and routing and arrangement tools.
Indeed, it's true to say that complete tracks can now be produced entirely in Maschine, and with this feature, we'll give you ten inspirational tips to help you on your way.
For more advice on making music with Maschine, pick up the December 2018 edition of Future Music.
1. Get the sound of classic samplers
Maschine’s sampler offers seven Engine modes. The default Standard mode offers transparent sampling, with as few artefacts as possible when re-pitching sounds. The other six are emulations of classic hardware samplers - great for adding character and crunch, particularly to drum sounds. The lo-fi effect achieved is similar to a mix of compression and bitcrushing, good for adding weight and punch, or a little extra mid-range harmonics to bass and kick sounds. In most cases, to hear a pronounced effect you’ll need to adjust the sample’s playback pitch. Try pitching drum sounds up or down a single semitone.
2. Choked out
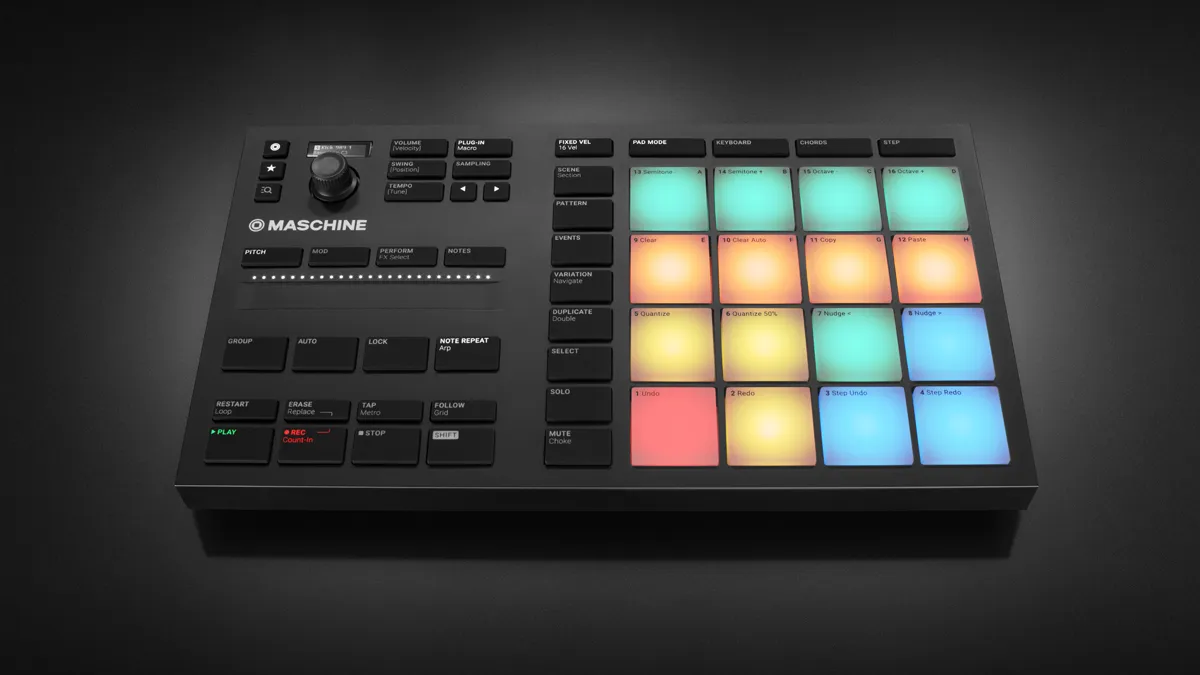
Use the sound selection menu - found to the top left of the Pattern grid - to set up Choke groups containing multiple sounds, for authentic interactions between hi-hats or to silence ghost notes.
3. Make use of modulation
Maschine’s sampler modules have a lot of handy modulation options. The sample amp envelope is in One Shot mode by default, but can be changed to make use of either an AHD or ADSR envelope generator for more precise control over the shape and level of sample playback. There’s also an additional AHD envelope generator and multi-shape LFO, which can be routed simultaneously to pitch, filter cutoff, drive and pan. Final modulation options allow for velocity and mod wheel signals to be routed to the same destinations. A little movement can make a basic sample kit more pro-sounding.
4. Bass time
Don’t overlook Maschine’s built-in Bass Synth. Pretty much all users have access to Monark, Prism and Massive these days, so it’s easy to ignore the application’s own basic-looking offering. But with an acid-friendly filter and cool morphing oscillator, it can be a great source of fat, gritty sounds.
5. Replicate classic drum machines
Maschine excels at replicating the workflow of vintage drum boxes, particularly in step sequencer mode. Take a decent selection of drum machine samples, lay them across the 16 slots in a group and get sequencing. You may find, however, that the expressive nature of Maschine’s pads doesn’t quite nail the ‘robotic’ sound of old grooveboxes. In short, too much velocity can sound inauthentic. Get around this using Maschine’s Fixed Velocity mode, which applies the same velocity value to every hit - much more authentic for the mechanical sound of old hardware.
6. Hard facts
Maschine can serve as a sequencer for external hardware. Over on the NI site you can find templates for a lot of common hardware synths and drum machines, which give you a quick setup ready to route to your favourite gear.

7. Exporting your creations
The Maschine application has a few options for exporting audio and MIDI. In the File menu, we can access Maschine’s Export Audio window, which offers options for exporting either a full Song view arrangement, or individual Scenes created in the Ideas view. You can also use the Source selection menu to output audio from individual Groups or Sounds. The Range selection can be used to export just specific chunks of an arrangement.
On a Pattern level, Maschine has a drag-and-drop function too, which offers a simple way to export the current Pattern as either an audio or MIDI file. To use this, hit the audio or MIDI icons at the top right of the Pattern grid. The resulting files can be dragged to a folder on your computer, or straight into a DAW or sequencer.
Finally, in plugin mode, Maschine functions as a multi-channel audio device, so up to 16 separate channels can be routed to a host DAW and captured as audio live. This lets ‘live’ elements be captured within the audio.
8. Striking a chord
Don’t overlook Chord mode on your Maschine controller – it's a great way to inspire melodic progressions.
9. Variation and humanisation
A recent addition to Maschine is the Variation Engine. This works in two modes: Humanize and Randomize. The former adds minor inconsistencies in timing and velocity to a Pattern, to replicate a real player’s feel. The latter randomises the hits/notes played by a Sound. To use either, simply hold a Sound’s pad on the controller and press the Variation button. Turning the encoder adjusts the variation applied. In Keyboard mode, you can tailor the randomised values to suit your melodic content. Variations always adhere to the currently selected scale too.


