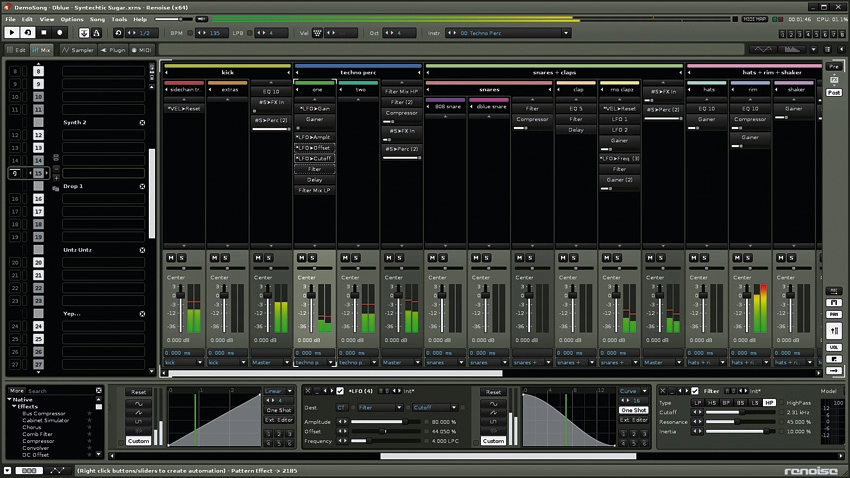
With its decidedly different feature set and interface, Renoise stands alone in the world of music production applications; it's not like any regular DAW, and - 'musical spreadsheet' note editor aside - it's unlike most trackers, too. Therefore, even experienced tracker users will need to put in a bit of time to learn the latest Renoise ropes; with our help, that time will be shortened.
These 12 tips will give you plenty of creative juice with which to fuel your, er, Renoise rocket of discovery - work through them methodically, or pick one at random whenever you need a quick blast of inspiration.
Most of the techniques revealed here are focused specifically on the new features and frills added in v3, so many of them may well be a bit bewildering to users of previous versions. Clearly then, such laggards should make upgrading their first priority, closely followed by getting hold of the October 2014 issue of Computer Music (208), which features an in-depth guide to Renoise 3, complete with tutorial videos.
Rockin' robin
Using Renoise's new Round Robin feature, you can shuffle between all the samples contained within an instrument - useful for applying a touch of realism to live drum samples, for example, or just adding interest and human feel. Simply use overlapping layers in the Keyzones roll-out and select the Cycle or Random Overlap type.

Scaling back
If you're looking to experiment with the mood of a piece, try constraining instruments to a particular scale (Lydian, whole-tone, etc), selectable at the top-right of the Instrument Editor. When recording with this mode enabled, notes entered into the pattern are snapped to the selected scale, the pitches of which are also highlighted on the instrument's virtual keyboard.

MIDI transparency
Whether you're troubleshooting or just want to visualise the data being sent to and from your MIDI devices, the new MIDI Monitor shows all incoming and outgoing MIDI information in detail. As well as choosing to filter the displayed information down to just note or control change values, for example, you can also limit MIDI inputs to defined note ranges to create keyboard splits.
Anti-polyphony
Enable an instrument's Mono toggle switch to restrict auditioning to just one note at a time. This replaces the old Global Chord feature, which behaved similarly, and is handy for recording monophonic passages without accidentally creating chords.
Smooth interpolator
Until now, Cubic was Renoise's best sample repitching mode, interpolating using a very respectable four sample points. The new Sinc mode, however, takes into account a whopping 64 points, resulting in even smoother, cleaner repitching, albeit at the cost of a fair chunk of CPU overhead.
Personality reverb
For reverb with a twist, look no further than the newest Renoise DSP addition, Convolver. This convolution-based reverb aims to mimic realistic spaces, but you can load any sample into it as an impulse response, giving you endless sound design possibilities.
I can see clearly
It's long been possible to click a Meta device in the Mixer view and visualise its connections to other devices, but now the process also works in reverse, meaning you can select a device and see other devices that have control over any of its parameters. This functionality is also replicated in the instrument Effects Chains view.
Itchy trigger finger
While quantising notes after the fact isn't a new feature, of course, you now also have the ability to set input quantisation on a per-instrument basis. This means you can jam away live, safe in the knowledge that you'll always be on the beat.
Best of both worlds
The awesome new Modulation Sets and Effects Chains can only be used on samples, alas, so if you find a plugin sound you want to manipulate, there's never been a better time to take advantage of Renoise's powerful Plugin Grabber rendering tool, introduced back in v2.5. Choose the number of samples to be rendered and their length by right-clicking the plugin in the Instrument List and selecting Render Plugin to Instrument.
Tip of the hats
When you want to keep samples out of each other's way, assign them to the same Mute Group in the Instrument Editor. This is especially useful for making closed hi-hats choke open hi-hats in the pursuit of realism.

Mass effect
The trackers of old only had a single effects column with which to perform tricks like arpeggio, sample retriggering and glide, but Renoise boasts eight of them. And if that isn't enough, you can now also use Glide and Slide Pitch Up/Down (Gx, Ux and Dx, respectively, where x is the speed in hexadecimal) in the volume and panning columns.
Two's company
If you're rocking a second monitor, then take advantage of your extra screen space by detaching the Instrument Editor. Click the Sampler, Plugin or MIDI tab and hit the white diagonal arrow on the right. The same arrow pointing the other way reattaches it.
