MeldaProduction's MXXX gives you access to practically every effect they've ever created in one modular multiband mega-plugin packed with modulation.
In this walkthrough, we're going to use MXXX to transform a simple one-note string sample into an epic orchestral pad that can be played via MIDI. For Computer Music's full Creative FX cover feature, pick up the December edition (CM237).

Step 1: To get started, make a new 100BPM project in your DAW, then load String.wav on an audio track, and Chords.mid on a MIDI track.
Dry source sound

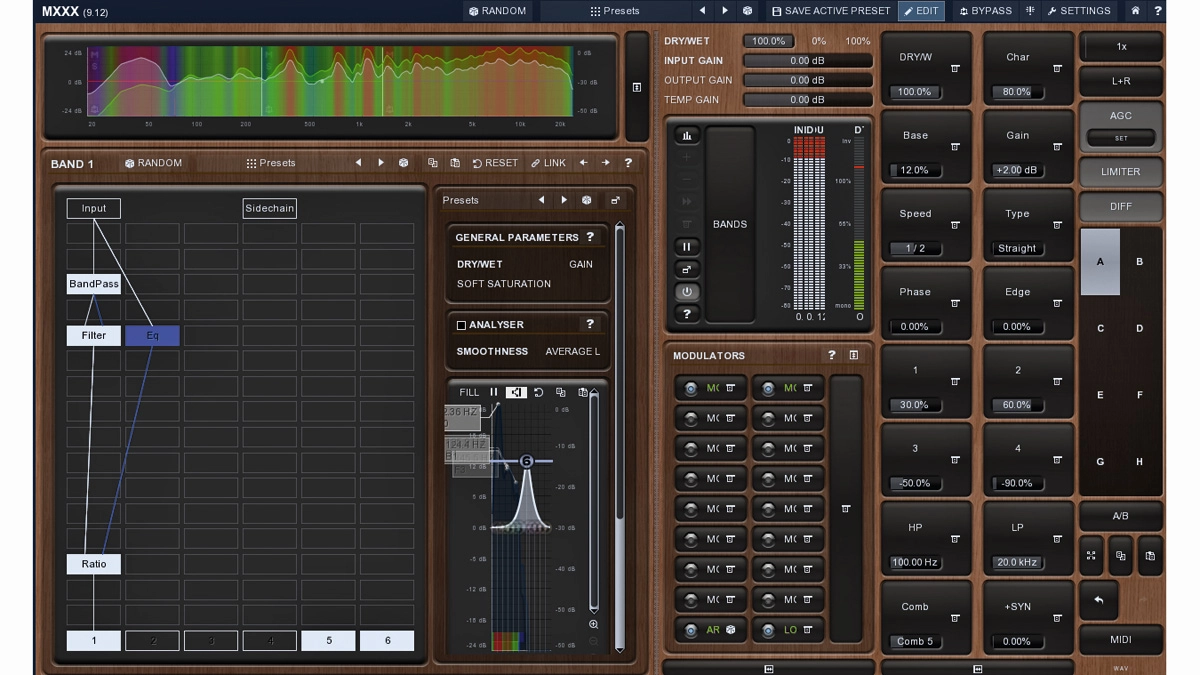
Step 2: Now add MXXX to the String track. If you don't like the default interface style, hit Settings in the upper-right, then click the Style button and select an alternative. Close the pop-up windows with their upper-right Xs when you're done. By default, MXXX shows us the available presets, but we want to create a patch ourselves, so click Edit in the upper menu bar.

Step 3: Effects are loaded into slots in the Modular Editor on the left - click the top slot in column 1 and add Spectral » Harmonizer. This pitchsher generates lush harmonies from a single note. Change the Mode in the Harmonizer's first panel to Vocoder (high quality) for best results. Click a chord (eg, MI7) in the Harmony section, then one of the note buttons above to generate that chord.
Harmonizer ON - C#m6
Harmonizer ON - Csus4
Harmonizer ON - D7sus4
Harmonizer ON - Fm7

Step 4: Click Reset in the Harmony header when you're done trying it out, as we want to use MIDI to control the harmonies directly instead. Right-click the Harmonizer in the Modular Editor to access Plugin Settings, Enable the MIDI Input, then hit OK. Now route the Chords MIDI track to MXXX - how you do this will depend on your DAW, so check out the manual if you're unsure.
MIDI-controlled harmonised chords

Step 5: It sounds kinda rough, warbly and small, so add a Reverb effect in the slot below the Harmonizer. Set Size to 42m, Reverb Time to 836ms, and crank Widening up to 100%. This really smooths out the sound and adds considerable scale to it. Now click the Harmonizer in the Modular Editor to get back at its controls and gradually pull Keep Formants right down to open up the sound.
Large hall reverb added
Keep Formants at 0%
Keep Formants at 25%
Keep Formants at 50%
Keep Formants at 75%
Keep Formants at 100%

Step 6: The Sharpness control is also a great one to play around with and modulate. First, reset Sharpness with a right-click. We're going to use MXXX's Learn function to make the modulation assignment, so stop playback as we don't want to accidentally bind the incoming MIDI notes to controls on the interface. Now click Meters & Subsystems to reveal the Modulators section.
Sharpness at 0%
Sharpness at 50%
Sharpness at 100%

Step 7: Click Mod 1's righthand 'menu' icon, then Learn - the button now says 'REC'. Move the Sharpness slider through the range you want to modulate it, then click REC. Enable MOD 1 with the square lamp on its left, and the Sharpness slider starts moving on its own. Click MOD 1 to edit LFO settings, and select an entry in Parameters to edit its modulation range.
Sharpness modulated from -20% to 10%

Step 8: Let's add another effect, this time in parallel. In column 2, in the row below Reverb, add Equalizers > Wobbler, and click Presets in the Wobbler header to select Pads > Alumnae Pocketer. Turn off column 1 by clicking its number in the Modular Editor. Turn the Wobbler's Drive down to 2%.
Wobbler added in parallel with Alumnae Pocketer preset
Wobbler solo'ed by turning off effects column 1
Wobbler Drive reduced to 2%

Step 9: Right-click Wobbler and select 1 in the Input section to route the Reverb's output into it. Below Wobbler, add a Delay, select the PingPong 4 preset, then set Min Frequency to 1500Hz and Tap 1 Gain to -6dB. Unmute effects column 1. Now the fun part: load different monophonic samples onto the audio track to turn them into inspiring pads for your tracks!
Reverb output routed into Wobbler - Wobbler still solo'ed
Delay added to Wobbler - PingPong 4 preset
Delay Min Frequency at 1500Hz, Tap 1 Gain to -6dB
Both effects columns enabled - FINISHED pad effect
Ahh through MXXX - Keep Formants at 0%
Ahh through MXXX - Keep Formants at 100% - Column 2 muted
Ahh through MXXX - Keep Formants at 100%
Bell through MXXX - Keep Formants at 0%
Brass through MXXX - Keep Formants at 0%
Hey through MXXX - Keep Formants at 0% - Formant Shift at +6
Hey through MXXX - Keep Formants at 0%
Hey through MXXX - Keep Formants at 100% - Effects column 2 muted
Hey through MXXX - Keep Formants at 100%
SynBrass through MXXX - Keep Formants at 0%
SynBrass through MXXX - Keep Formants at 100% - Formant Shift at -12
SynBrass through MXXX - Keep Formants at 100%
TranceSaw through MXXX - Keep Formants at 0%
TranceSaw through MXXX - Keep Formants at 60% - Formant Shift at -6 - FX column 2 muted
TranceSaw through MXXX - Keep Formants at 100%
