How to create an advanced frozen reverb effect
Impressive endless verb

If your reverb plug-in sports a freeze feature you might want to try it out. This is arguably one of most impressive reverb effects out there.
A freeze function allows you to grab any section of your active reverb tail in real time and add continuous sustain. At the point it is activated, your reverb will continue to sound and never decay. Frozen reverbs can be ideal for further processing since they are very predictable as their level does not change over time.
Once you have created your endless reverb you can start to add extra touches by adding further processing. Filtering works especially well here - filtered reverb tails can beat any pad hands down and often sound much more unique.
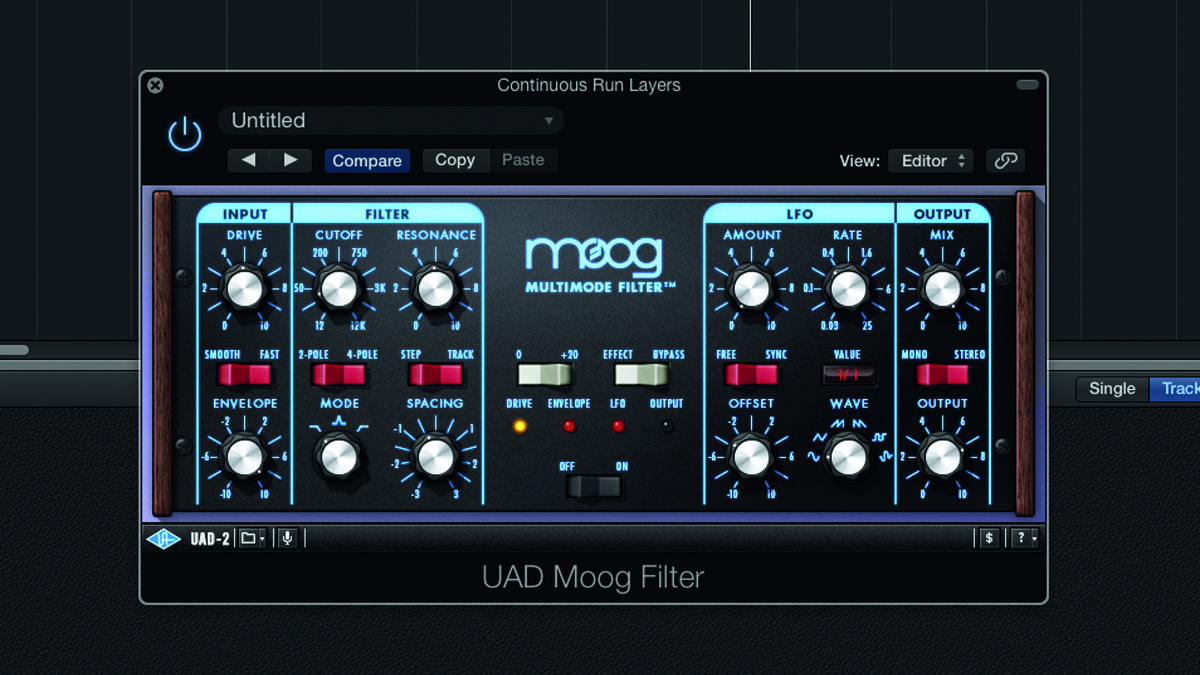
Step 1: We'll be hitting some pretty intense reverb effects here and freezing the decay. With this in mind, a reasonably dry sound has been selected with some filtering applied to round off the edges. This should make for a more pleasing effect when extra processing is applied.
Dry synth loop
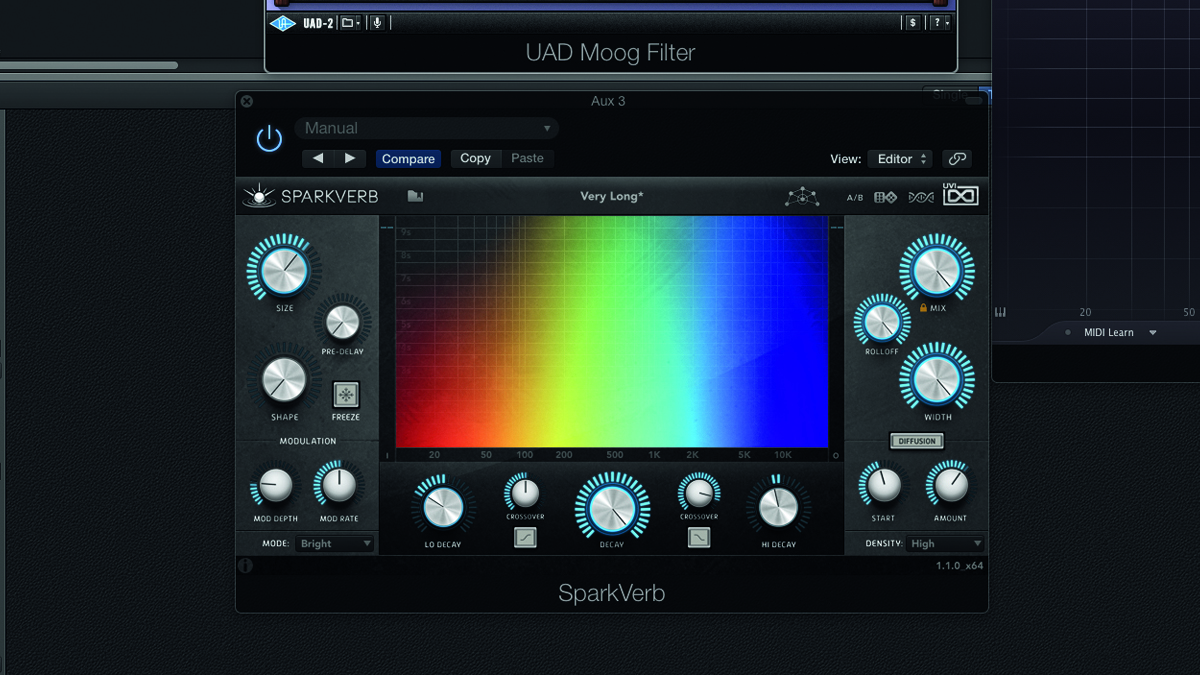
Step 2: Some reverbs can produce almost endless effects, even without a freeze function being applied. UVI's Sparkverb is a reverb capable of some truly massive sounds and luckily it also has a freeze function. You can hear the very long reverb patch used at this stage.
Huge reverb
Want all the hottest music and gear news, reviews, deals, features and more, direct to your inbox? Sign up here.
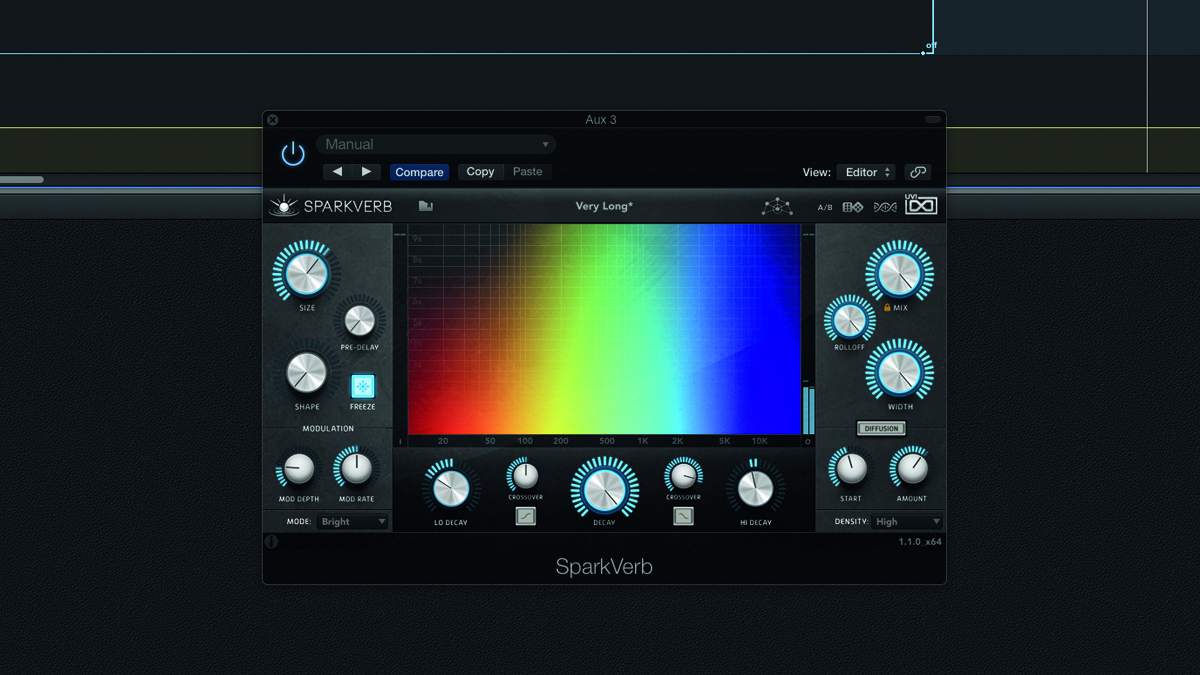
Step 3: Now it's time to freeze the reverb. Experiment with hitting the freeze function at different points in the sound. In this case it worked best as the sound peaked just before the end of the loop. The action was automated and tweaked for perfect timing.
Frozen reverb
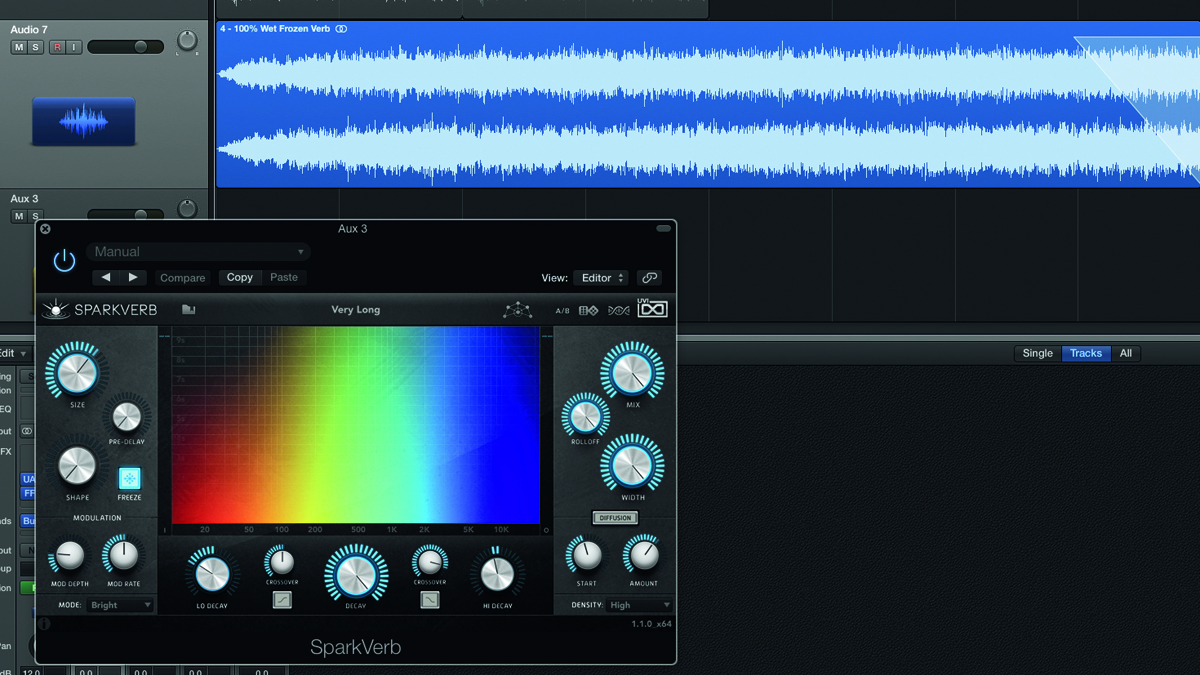
Step 4: At this point you can export the output of the reverb in its frozen state. Make sure that you have the mix control set to 100% wet and bounce the output; while doing this also mute the original sound. This gives you a great ambient sound bed.
100% wet frozen verb
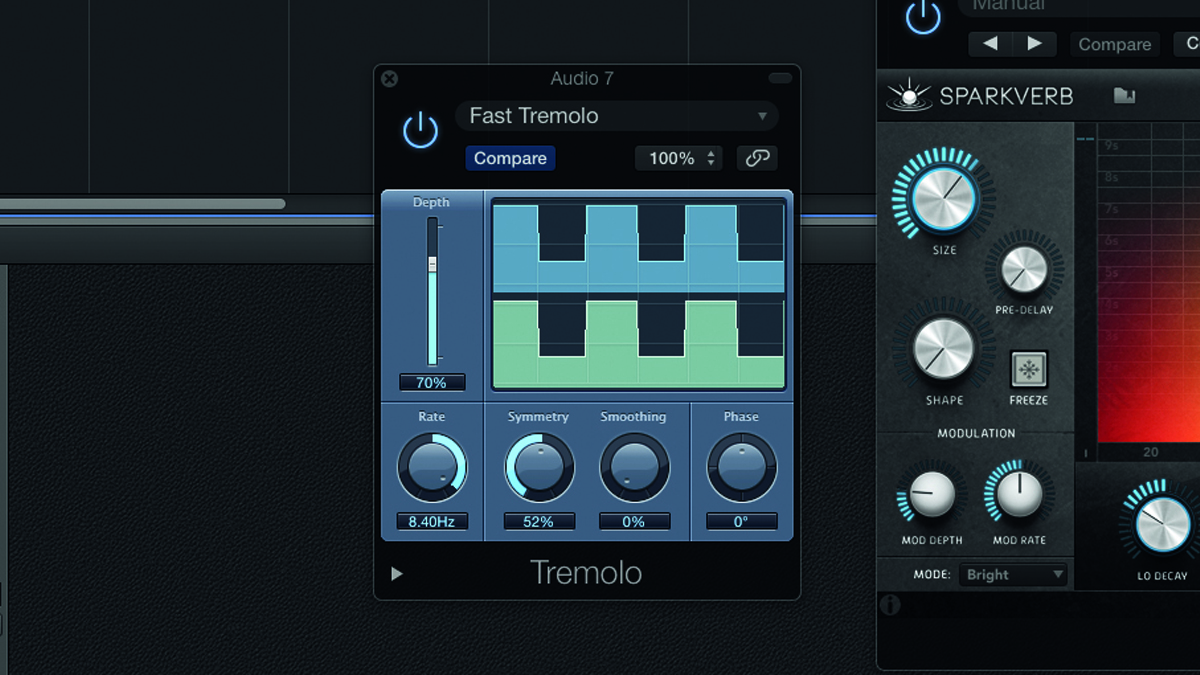
Step 5: Once you have the wet reverb as an audio file, you can literally process it in any way that you want. In all honesty pretty much anything will sound great here, but here tremolo was used to create a new groove.
Tremolo treatment
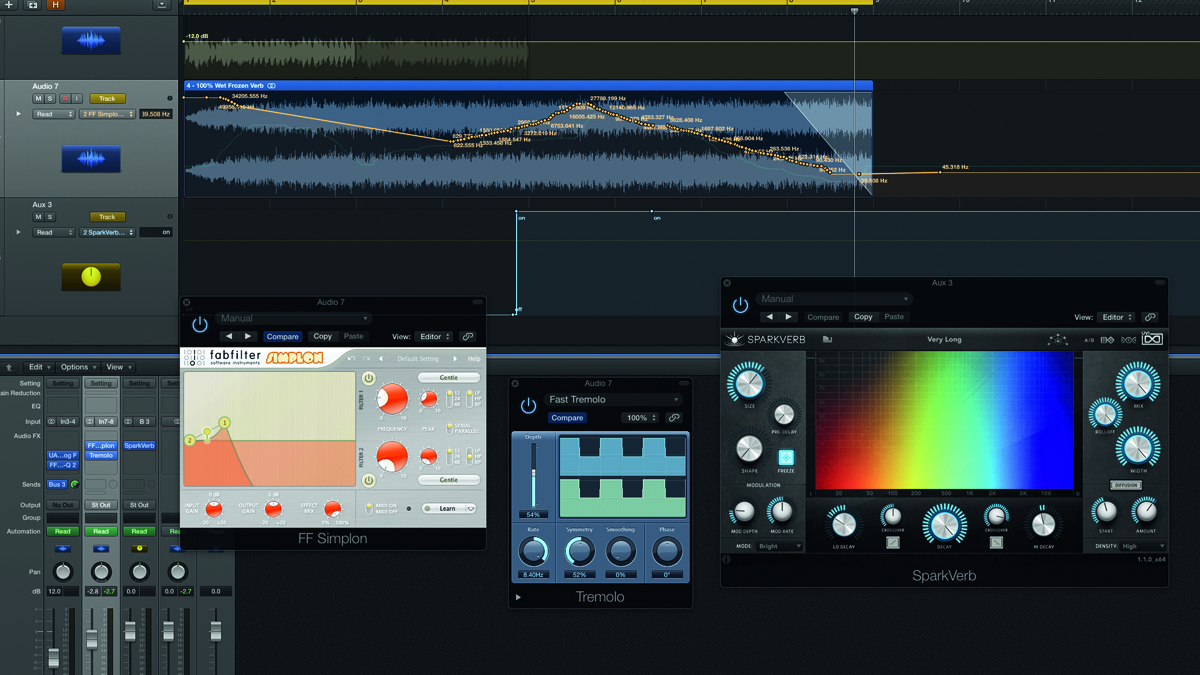
Step 6: The amount of processing added here is up to you but often a second layer works very well. Filtering added an interesting quality to the sound here; once swept with automation the groove started to come to life.
Automated filtering
For more tips on how to get creative with reverb, check out issue 297 of Future Music on sale now.
Don't Miss
How to create a reverse vocal reverb
How to layer multiple effects with reverb
Future Music is the number one magazine for today's producers. Packed with technique and technology we'll help you make great new music. All-access artist interviews, in-depth gear reviews, essential production tutorials and much more. Every marvellous monthly edition features reliable reviews of the latest and greatest hardware and software technology and techniques, unparalleled advice, in-depth interviews, sensational free samples and so much more to improve the experience and outcome of your music-making.
