How to chop beats with Ableton Simpler's Slice mode
Live's new sampler functionality makes dicing loops a snap
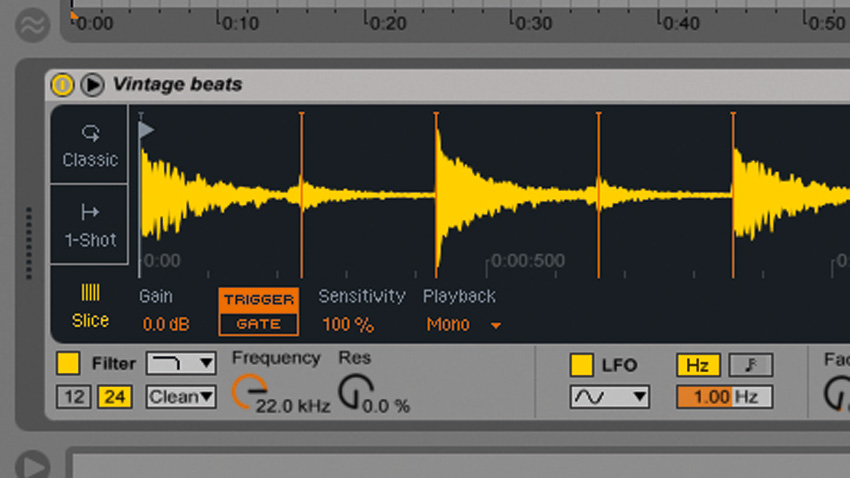
Ableton Simpler's Slice mode enables you to load a loop into the sampler and have it automatically chopped at it transients.
The end result is a playable 'instrument' with each slice mapped to its own MIDI note, with or without warping. Here's how you make it happen…
• For many more Ableton Live guides go to our massive learning hub: Learn Ableton Live and Ableton Push: music production tips and tutorials

Step 1: Drag Vintage beats.wav onto a MIDI track's Device View. Live automatically creates a Simpler, which is set to Classic mode by default. Click the Slice tab on the left hand side of the instrument's interface to switch to Slice mode. Transient markers appear on the audio waveform to show that it's been sliced.
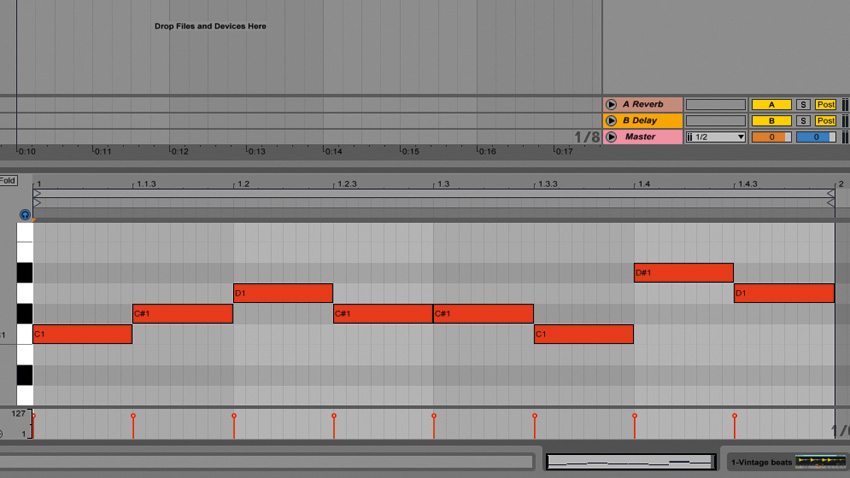
Step 2: Now you can play back individual slices from note C1 up. Clearly, this is an extremely quick way to turn a beat or loop into a drum kit - even faster than using Live's Slice to New MIDI Track function! The only disadvantage is that Simpler doesn't create any MIDI timing data, so you have to program the triggering rhythm yourself. Copy the MIDI pattern we've used here.
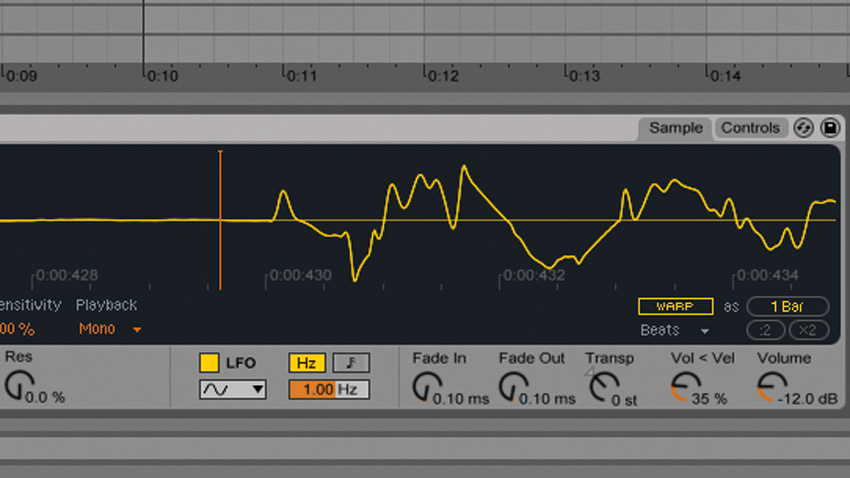
Step 3: Let's take a closer look at how Simpler has chopped this beat. Drag down on the waveform display to zoom into it, being careful not to pull the transient markers out of position. Zoom into the third transient marker from the left and you'll see that it's positioned a little bit before the snare hit.
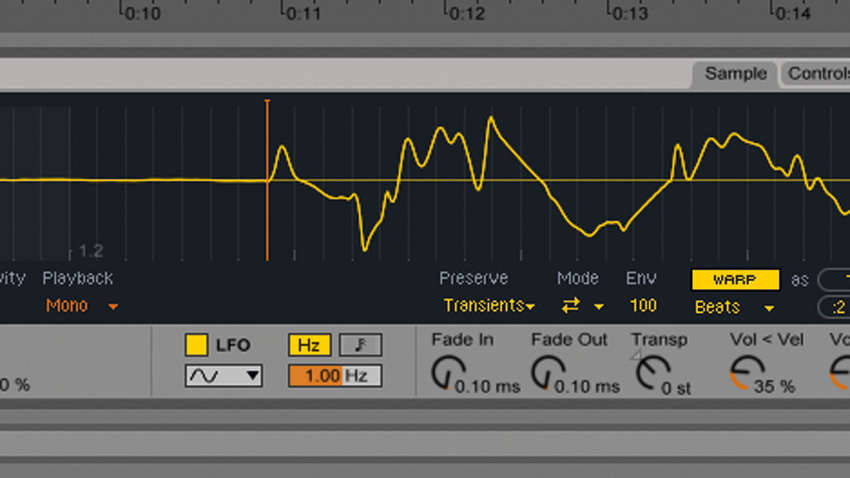
Step 4: Drag the transient marker to the right so that it sits perfectly at the start of the snare, ensuring that our programmed beats will sound as tight as possible. The beat we programmed in step 2 sounds OK, but because we're at Live's default 120bpm tempo, rather than the beat's original 140bpm, it sounds a little unnatural. We can remedy this by warping it, so click the Warp button on the right.
Want all the hottest music and gear news, reviews, deals, features and more, direct to your inbox? Sign up here.
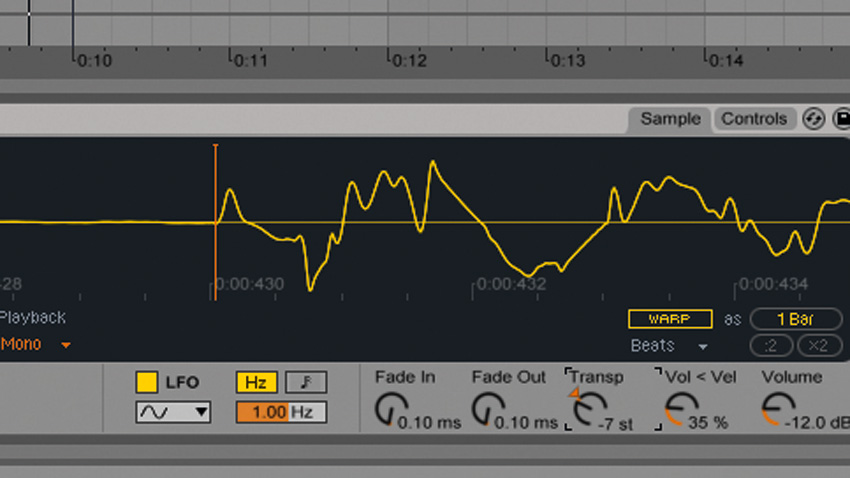
Step 5: Now that the beat has been warped, it sounds much more natural. However, the default Beats warp mode isn't ideal for all audio material - we can make things sound more natural without pitchshifting by using the old-school method of simply changing the playback speed. Turn Warp off, and turn the Transp (Transpose) knob below the waveform display to -7.
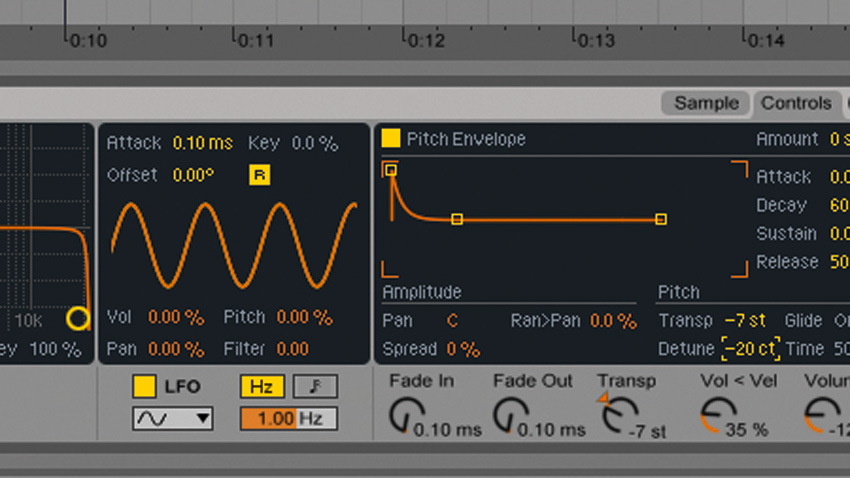
Step 6: Changing the playback speed like this works like tape, vinyl or a traditional sampler, affecting both the tempo and pitch of each slice, giving us a quite different feel to using Warp mode. And while it looks like there's no fine tuning parameter, you can find it in the Control page's pitch panel under Detune. Set it to -20 cents.
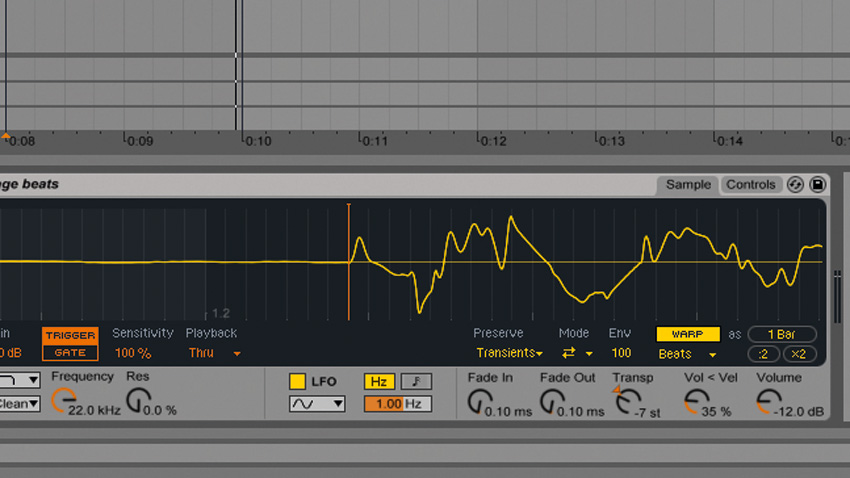
Step 7: Slice mode offers a choice of playback modes, with Mono selected by default. Polyphonic mode enables multiple slices to be played at once, and Thru mode always plays the sample through to the end and is thus more suited to 'rough and ready' beat composition. Return to the Sample tab, set Playback to Thru, and reactivate Warp.
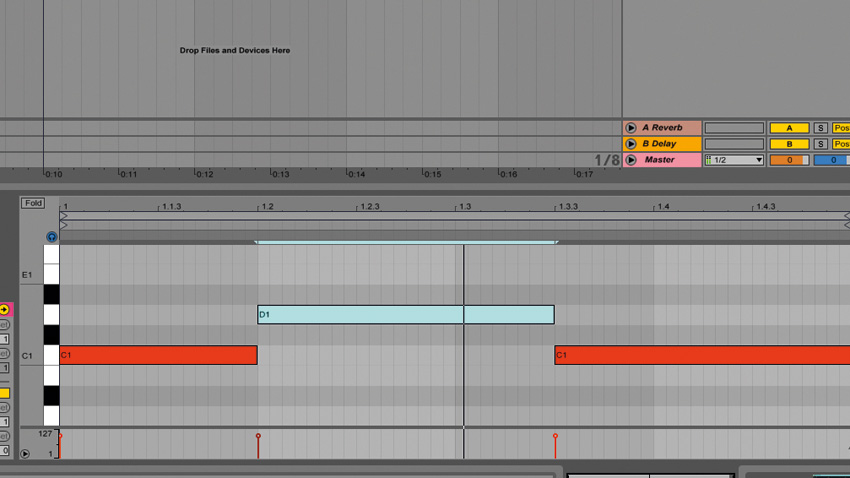
Step 8: Now, when you trigger a slice, Simpler will play all the way to the end of the sample unless another slice is triggered. This can be useful for generating new rhythmic ideas, and programming beats with an old school hip-hop or jungle feel.
Computer Music magazine is the world’s best selling publication dedicated solely to making great music with your Mac or PC computer. Each issue it brings its lucky readers the best in cutting-edge tutorials, need-to-know, expert software reviews and even all the tools you actually need to make great music today, courtesy of our legendary CM Plugin Suite.
