8 ways to use parallel processing more effectively
Turn yourself into a parallel professor with these tips
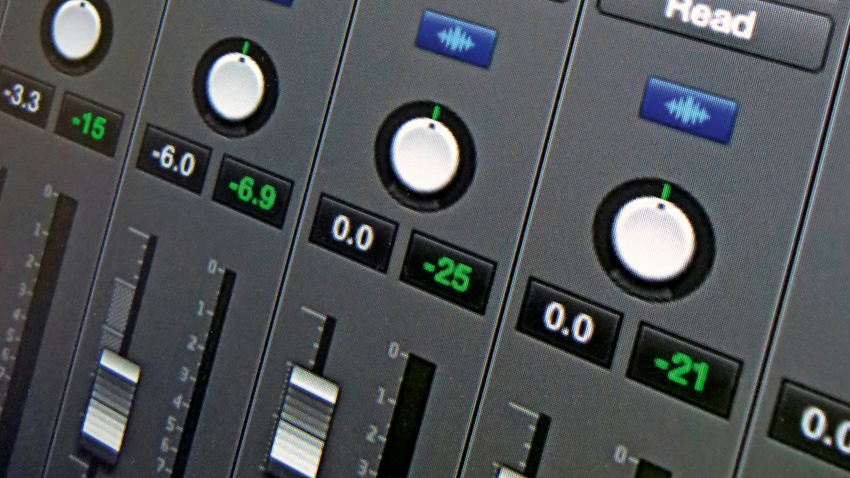
For as long as records have been made, producers have looked for creative ways to make their tracks sound as good as they possibly can. Drum parts might be reinforced with samples to provide more power, vocals might be enhanced with double-tracks or a stack of backing vocals to lift certain sections, or effects might be added to synths to turn a source sound into a shimmering, heavily delayed version of itself. Creative producers will stop at nothing to make sure that every mix element is all it can be.
However, sometimes this desire requires an alternative approach to simply layering up new parts or adding effects to individual sounds. After all, anyone who has ever simply added reverb to a snare part in the hope that the drum mix will sound more powerful will know this rarely proves to be the case.
Welcome, then, to the world of parallel processing which, via a series of different effect types, can radically improve the quality of a mix. Parallel treatments can revitalise drums, reinforce vocals and synths and, across the board, bring huge power to your tracks.
Elsewhere, you'll find our quick guide to parallel processing and a tutorial on using New York compression on drums, but here we've got eight suggestions for anyone who wants to use parallel treatments more effectively.
1. Add some width
One effective technique to try if you're looking to make a part much wider within your mix is to set up a parallel treatment, ideally featuring EQ as a prominent plugin choice, and tweaking settings so that the brightness in a sound is exaggerated.
Then, when you've got a sound you like, pan this auxiliary hard to the left. Set up a second parallel auxiliary channel, copy the EQ treatment to the second auxiliary and pan this part hard right. You may need to bring down the level of both auxiliaries to make sure that the sound isn't overwhelming, but this technique will allow the original sound to occupy the middle ground of the mix, whilst the parallel treatments provide you with more activity on the left and right-hand sides
It works well on pads, synth leads and backing vocals, but be careful on the bass-ier elements of you mix. These often benefit from remaining focused in the middle.
Want all the hottest music and gear news, reviews, deals, features and more, direct to your inbox? Sign up here.
2. Get your tweak on
Experiment with different attack and release times when applying New York style compression on drums. It usually doesn't matter if you squash a signal so hard that the transients are compromised - so set a fast attack!
3. Use automation
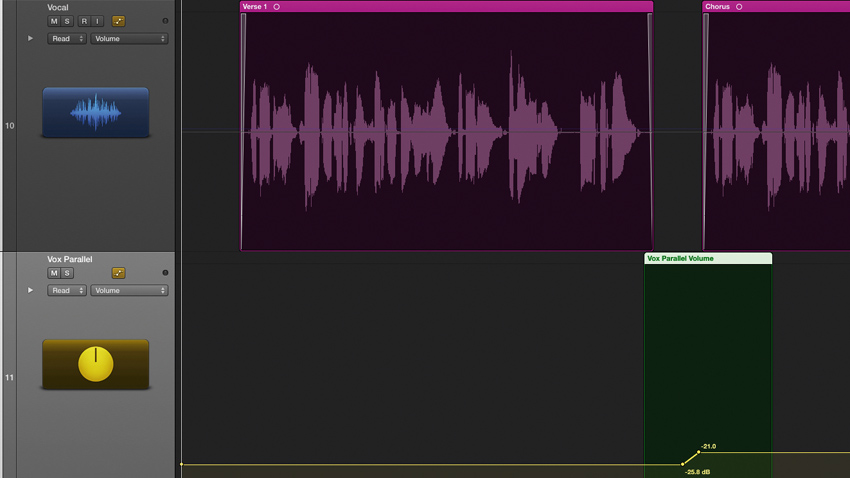
You've set up a great-sounding parallel treatment on your chorus vocal but it sounds too loud in the verses. You could drop the send level to the treatment, but this may not be effective, particularly if a parallel compression treatment is messing around with dynamics or if a parallel distortion needs a certain input level to drive properly.
Much better to use volume automation on the return level of the auxiliary channel providing the parallel treatment. Add the auxiliary in question so it appears as a track in your mix. Then, you can ride its volume up and down from one section of your track to the next.
4. Keep it subtle
Don't expect parallel treatments to work well with their auxiliary return levels set at 0dB! Often, parallel treatment volumes work best when they're really low in the mix. Think of them as enhancers, and not as standout mix elements.
5. Avoid phasing issues
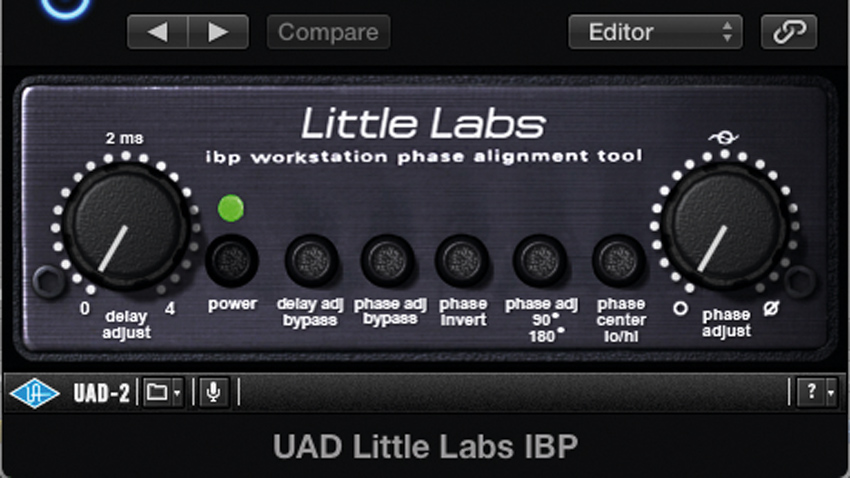
Sometimes, phasing issues can become a problem when you set up parallel treatments. Effectively, you're duplicating an audio stream so that it plays back on top of itself and, depending on which processors you use on your parallels, phasing can be an unwanted by-product.
Try using a phase shifting plugin at the top of your parallel chain. UAD's Little Labs IBP is one such tool but even if you have a sample delay plugin, which offsets an audio signal by a few microseconds, you should be able to get past phasing problems fairly easily. Use your ears and make microscopic adjustments.
6. Add some movement
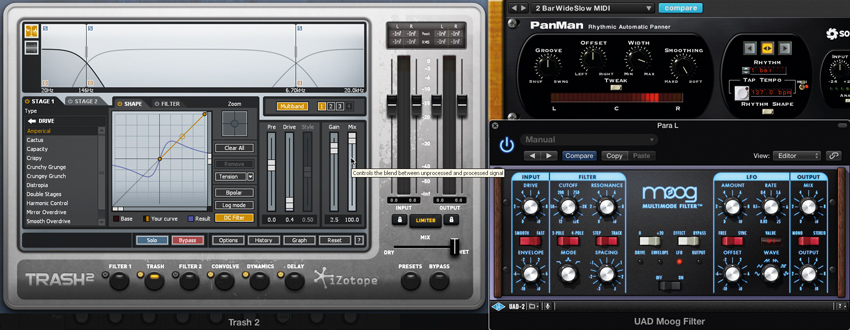
It's widely assumed that parallel treatments are best when they're subtly added behind a dry sound to add to or enhance it. But this doesn't mean that parallel treatments need always be static.
If you want to turn a parallel treatment into more of a special effect, look to find ways to modify its sound over time. Simple volume automation of an auxiliary return is a good start, so that you can ride its level with effects such as autopan to move a treatment from side to side. Or try a filter effect with an envelope or an LFO to modify frequency content up and down.
7. Think outside the box
Get creative with your parallel treatments. For instance, why not bounce your extreme parallel treatments down as new audio files, bring them into the mix and slice them up, reverse them, or even reprocess them with additional effects?
8. Maintain presence
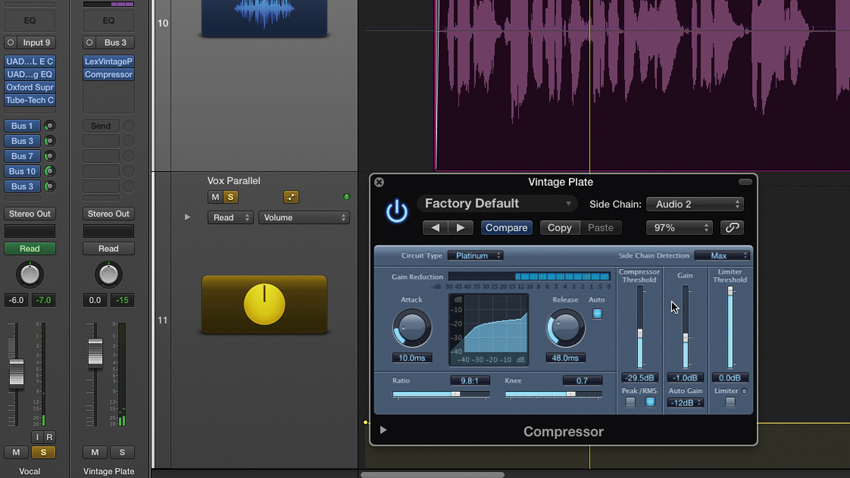
It can be advantageous to make the dynamic contour of a reverb treatment more closely match the dry sound feeding it, particularly if you have a long and loud reverb treatment working on top of a vocal part. Too much reverb can make sounds 'wash', distancing the dry sound and leaving the vocal part without presence in the mix.
But there's an easy fix. Put a compressor after your auxiliary reverb treatment and use the dry vocal performance as a sidechain input source for the compressor. With a low threshold and a high ratio, the compressor will duck when the vocal part plays, dragging the reverb volume down.
Future Music is the number one magazine for today's producers. Packed with technique and technology we'll help you make great new music. All-access artist interviews, in-depth gear reviews, essential production tutorials and much more. Every marvellous monthly edition features reliable reviews of the latest and greatest hardware and software technology and techniques, unparalleled advice, in-depth interviews, sensational free samples and so much more to improve the experience and outcome of your music-making.

