One of the joys of making music on an iOS device is that, in many cases, you can just fire up an app and start doing it without having to look at a manual or worry about setting anything up.
However, if you want to take your mobile tunesmithery to the next level and make your iPad, iPhone or iPod touch place nice with your desktop system, we've got some suggestions for you.
For more on iOS music apps, get your hands on Future Music 291, which is on sale now.
1. Sync your samples
Load a folder of your most regularly used one-shot samples from your DAW onto your iDevice to customise the samplers contained in apps like Gadget, TableTop and BeatMaker 2. A matched sound palette will help create sonic cohesion between projects you start 'on the go' and those you work on in your studio.
2. Go old school
Treat your iOS synths like old-school hardware instruments. Plug in to your DAW and record long audio takes while improvising with filters, envelopes and other parameters, then edit out your favourite moments.
Try adding stompboxes or cheap hardware effects between your iDevice and interface as a great way to recreate the unpredictable, characterful workflow of classic hardware on a budget.

3. Take it seriously
While iOS DAWs have come on considerably in recent years, most electronic producers are likely to stick with their trusty desktop workstation for the time being.
That's not to say it isn't possible to create release quality music entirely on an iPad, though. Think of all the classic alternative records that were made with little more than a four track recorder.
If you value immediacy and portability, the forthcoming Auria Pro (pictured above) - which combines powerful audio and MIDI tools, and comes with FabFilter's excellent Twin 2 synth - could be your ideal solution. While even newer iPads ultimately struggle with handling complex, multi-layered sessions with a ton of automation, if you're looking to mix a delicate folk arrangement or impromptu hardware jam, your iPad with an interface could be all you need.
There are some powerful mastering tools out there too. Check out Audio Mastering and Positive Grid's Final Touch.
4. Transfer MIDI Via USB with Midimux
For Mac users who want to incorporate an iOS device into their main setup, Midimux and Audiomux are 'no brainer' buys at just £7.99 for both. The apps allow MIDI and high-fidelity audio to be sent/received by your iPad via the standard Apple iOS to USB cable. They require (free) server applications to be installed on your Mac, and Audiomux needs Audiobus to run, too, but both are easy to use and reliable.
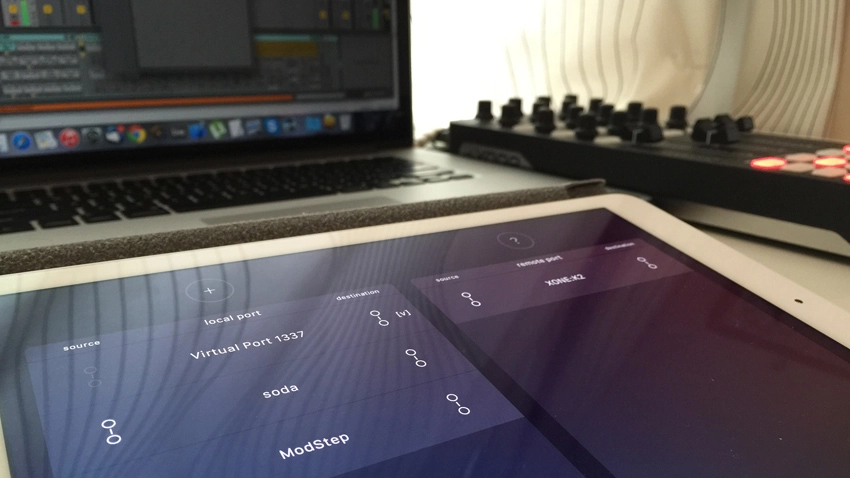
Midimux works by creating virtual MIDI ports for each app and creates MIDI ports on your iPad for any other MIDI device connected to your DAW, allowing communication as if all were running on one system.
With Midimux and Audiomux, you can use your iDevice as a hardware instrument.
5. Transfer Audio Via USB with Audiomux
Audiomux makes your iOS device function like an audio interface in your DAW. Open Audiobus and set Audiomux as your output and then add any Audiobus compatible audio into the input and effect slots. Select your iOS device as your audio input in your DAW. If you want to use your device as an effects processor, add Audiomux to both the input and output slots in Audiobus, add your processor app into the central slot and treat your device like any other external effect in your DAW.
Using a DAW's external instrument tools, combined with both Midimux and Audiomux, you can use your iDevice as a hardware instrument.
6. Set Up Wireless MIDI On A PC
Before setting up wireless MIDI on a PC, you'll need Apple's free Bonjour tool installed along with the free application rtpMIDI. Once installed, run rtpMIDI. Hit the + under My Sessions to create a session; once created, be sure this session is ticked under My Sessions and is Enabled on Port 5004 in the Session window opposite.
Now launch a MIDI equipped app on your iOS device; check to make sure your app's settings are set to send/receive MIDI with your network session. You should see your device appear under the Participants list in rtpMIDI.
7. Set up Wireless MIDI On A Mac
It's easy to wirelessly send and receive MIDI between your iOS device and a DAW running on a Mac. Head for the Wi-Fi menu on your Mac and select Create Network…, name your network (the default settings will work fine), then connect your iOS device to this new network via the Wi-Fi tab in its Settings menu.
Open a MIDI equipped app on your iOS device then head for Audio MIDI Setup in your Mac's Utilities folder. Here, select your iPad from the Directories list and hit Connect. If you're having trouble, be sure the iOS app's MIDI settings are set up to send/receive data via the network you've set up.
