Revolutions in music don't come along very often, but when they do, they change the way we listen to and make music forever.
The guitar amp was originally devised for one reason: loudness. With all the extra decibels the amp afforded them, guitarists were able to take centre-stage, and the rest is rock 'n' roll history… but in many ways, times have moved on.
The guitar amp is still alive and well, of course, but thanks to digital technology, guitarists now have the ability to load up a legendary rig right inside their DAW. And they're not the only ones who benefit - virtual amp emulations are there to be used and abused by musicians and producers working in any genre. The playing field is wide open, and anybody can put together a killer stack to put the heat into a tune - whatever the genre.
In this tutorial, we'll walk you through the various components that make up a range of virtual guitar amp rigs and give you the broad strokes on how to make your own for use with any instrumental source.

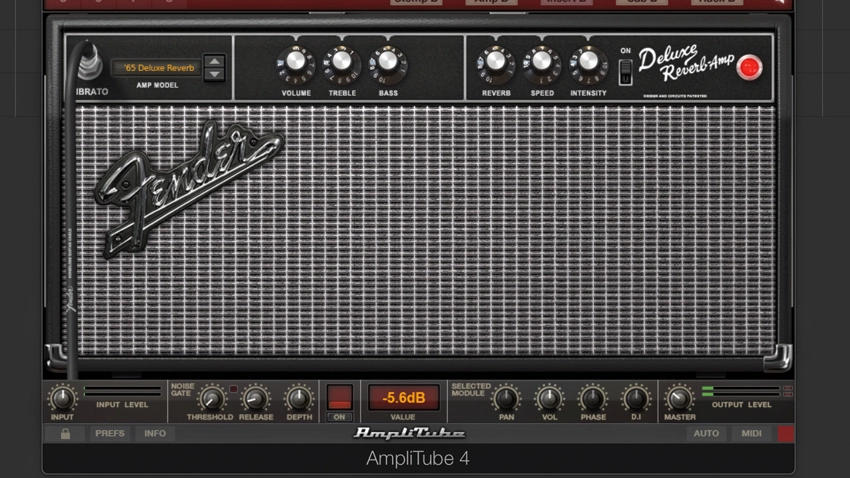
Step 1: The simplest virtual guitar rig emulates a 'combo' amp, which is an all-in-one amp combining preamp, tone controls, master output level, loudspeaker and sometimes vibrato and reverb. The preamp gain sets the drive and hence how distorted the sound is, and tone controls adjust the overall EQ. Some amps include two separate channels - one clean and one more distorted.
Step 1 - flat
Step 1 - amp sound

Step 2: More complex virtual amps comprise a separate amp and one or more cabinets. These amp heads sometimes have more than two channels, ranging from clean to very distorted (called 'high gain' channels), and you often have a choice of cabinets, each of which affects the overall tone. GrindMachine CM, part of cm Plugins, has five high-gain amp types and ten cabs.
Step 2 - amp sound cab 1
Step 2 - amp sound cab 2
Step 2 - amp sound cab 3

Step 3: Virtual cabinets usually incorporate some form of mic adjustment, ranging from pre-captured recording chains to flexible mic positioning and selection. As you move the mic across the cone, you can hear how the tone goes from bright at the centre to more muted at the edge. Similarly, switching between dynamic, condenser and ribbon mics also impacts the sound.
Step 3 - cone centre
Step 3 - cone edge

Step 4: In more advanced plugins, cabinet modelling now includes further enhancements such as cone selection, microphone angle and microphone distance. You may also get two or more front microphones, or even a rear microphone, with phase inversion of one or more of the mics. Overall, these provide many ways to tweak the sound, just as you would with a hardware amp.
Step 4 - one cone
Step 4 - two cones

Step 5: When recording guitar amplifiers, it's not uncommon to capture some of the room ambience, as it adds depth and width to the overall sound while retaining the focus - and some virtual amp plugins go as far as emulating this. It may be a separate set of adjustable 'room' mics, or it may simply be added to the cabinet mic as you move it further away.
Step 5 - room mics

Step 6: Pedal effects are typically positioned between the guitar and amp input, so the signal is processed prior to amplification. By default, in your virtual rig, pedals are the first processors in the chain. Common pedal effects are distortion, phaser, chorus, compressor, volume and wah-wah. Delay pedals are also available, but it's often easier to use an effects loop around the amp.
Step 6 - compression and distortion

Step 7: There are no hard and fast rules about pedal order, and a virtual pedalboard allows quick re-ordering to assess differences. Common sense tells us that a compressor may bring up the noise floor, so it may be better before rather than after a noisy distortion. A typical before-amp pedal order would be wah, compressor, overdrive/distortion, modulation, volume then delay.
Step 7 - regular order
Step 7 - irregular order

Step 8: Rack effects are common in more complex rigs, adding final finesse such as EQ, compression and reverb. Not all virtual amps include them, and signal flow positioning options vary. Here, in Overloud's TH3, we can position the racks anywhere in the signal flow, including before the amp. Flexibility in some plugins is more limited, however.
Step 8 - amp sound
Step 8 - rack EQ before amp
Step 8 - rack EQ after amp

Step 9: Another popular option for rack effects is to use them in a loop or insert at the amp. This works well for delays and reverb, but once again options vary between plugins. Here, in Audified's AmpLion Pro, the separate pre-amp and power amp configuration allows us to add a rack effects loop at the pre-amp and before the power amp.
Step 9 - rack effects loop
Step 9 - rack output
