Guitar setup: how to troubleshoot and fix your guitar's electrics
Learn how to diagnose and repair problems with your electric's electrics
Introduction
You would be surprised, nay shocked and stunned, to discover just how many people take their faulty guitars to be repaired only to find that they could have fixed the problem at home for free.
The fact that there are just a handful of reasons why a guitar might stop working makes diagnosing a fault easy. To nail what ails your pride and joy, run through our easy-to-follow guide below.
All you need is a screwdriver, a spare guitar lead, some switch cleaner, your trusty soldering iron and a roll of solder. Let’s get to work.
First thing's first
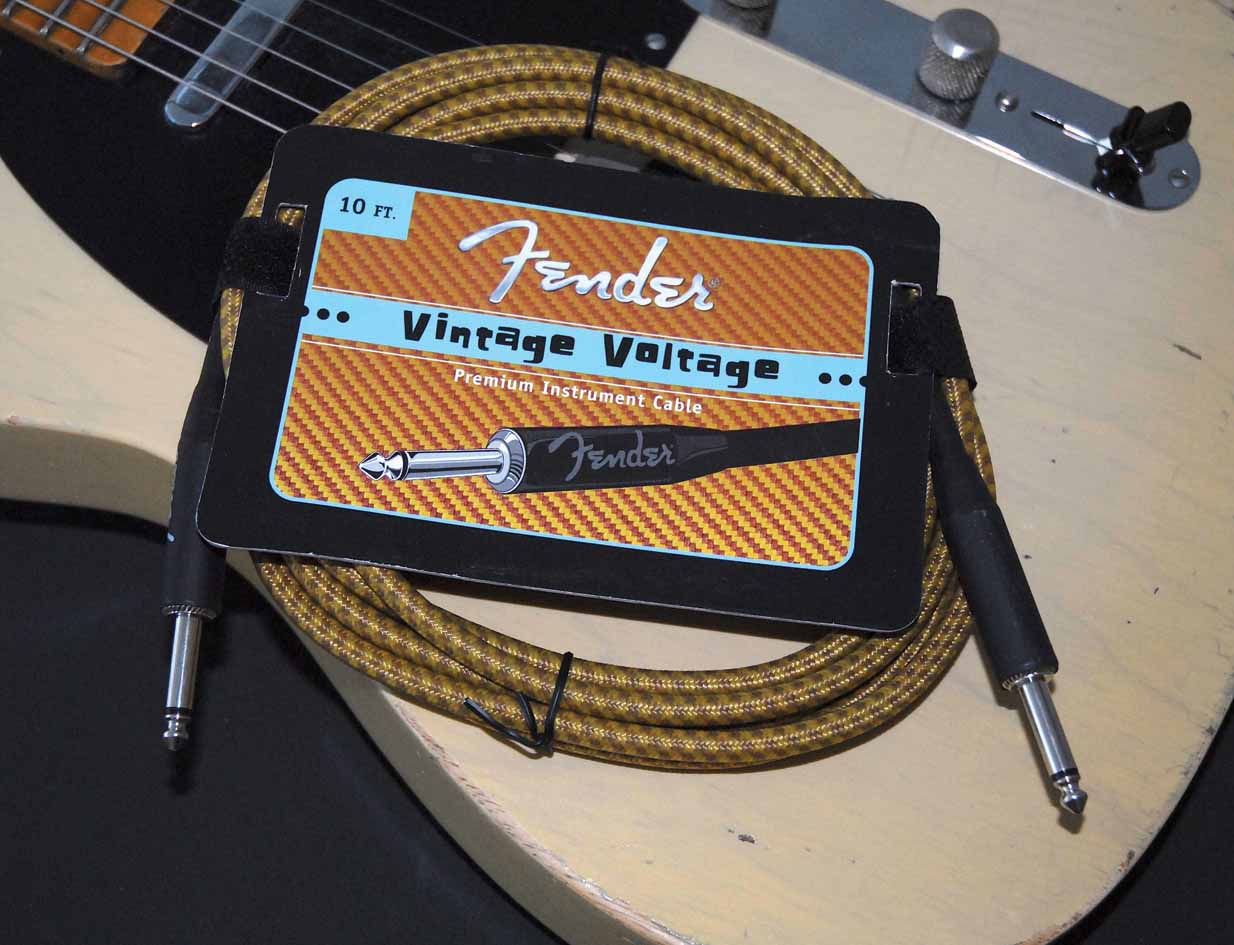
It might not be your guitar that’s faulty! Always make sure your amplifier and cables are working properly before you start fiddling with your guitar. You should always own a spare cable, just in case…
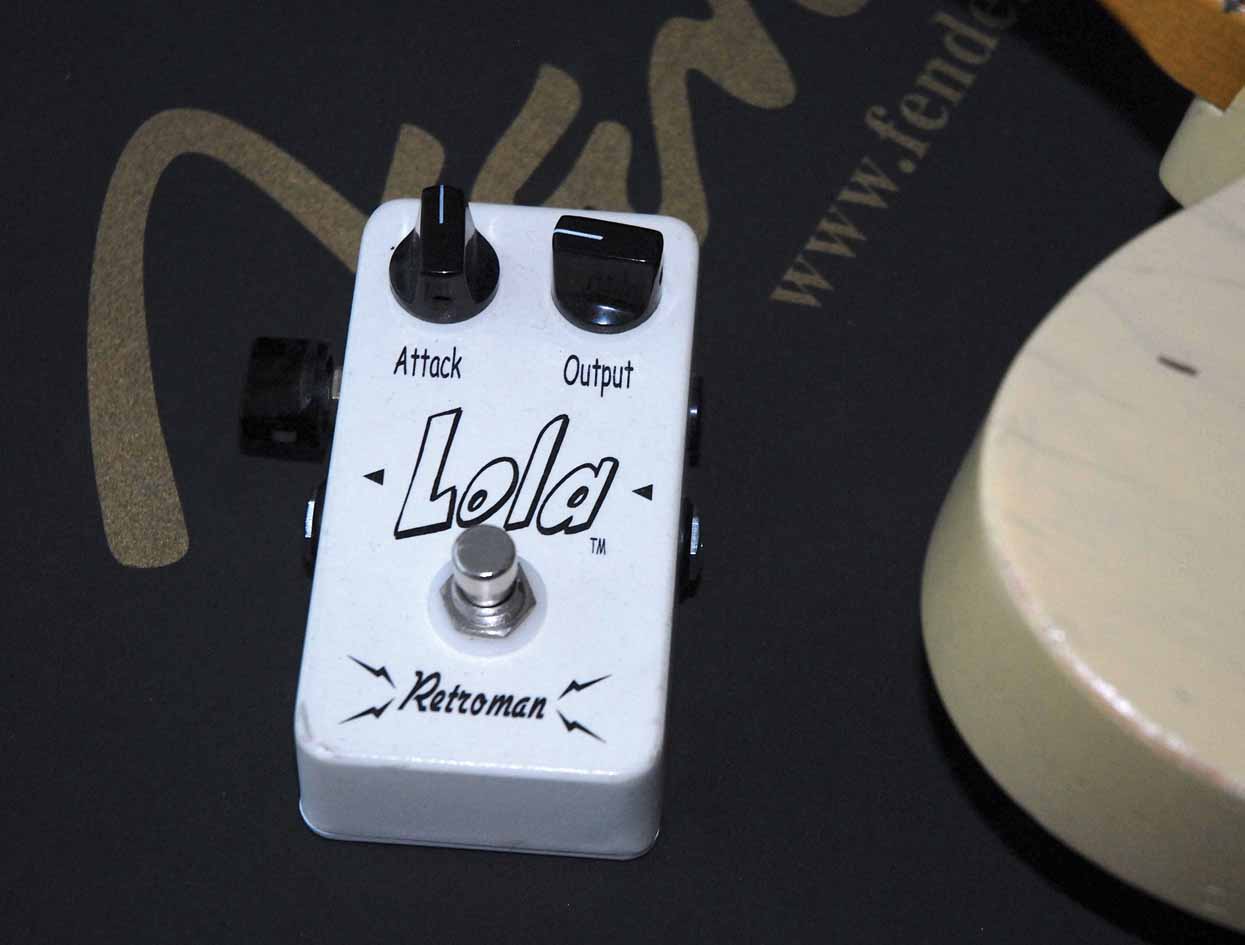
Pedal check
Don’t forget to test your entire signal chain. That includes stompboxes. Run your guitar direct to the amp first. If it works, you might have a faulty pedal (or a deceased battery) or rogue patch lead.
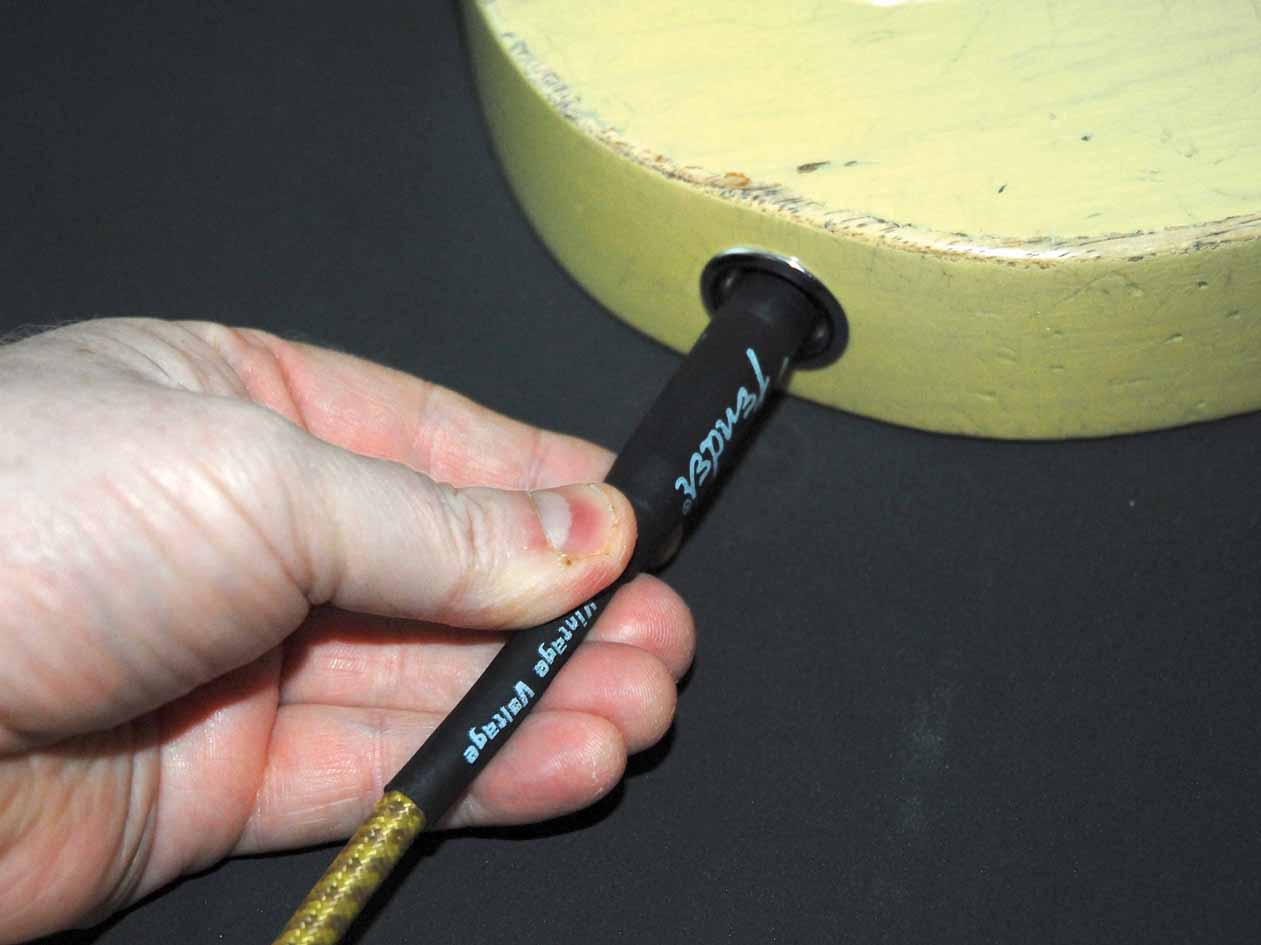
Jack it in
The next thing to check is the jack socket. Try wiggling the cable’s jack plug. If the guitar springs into life, you have a faulty socket. You’ll need to remove it for a close inspection.
Plate removal
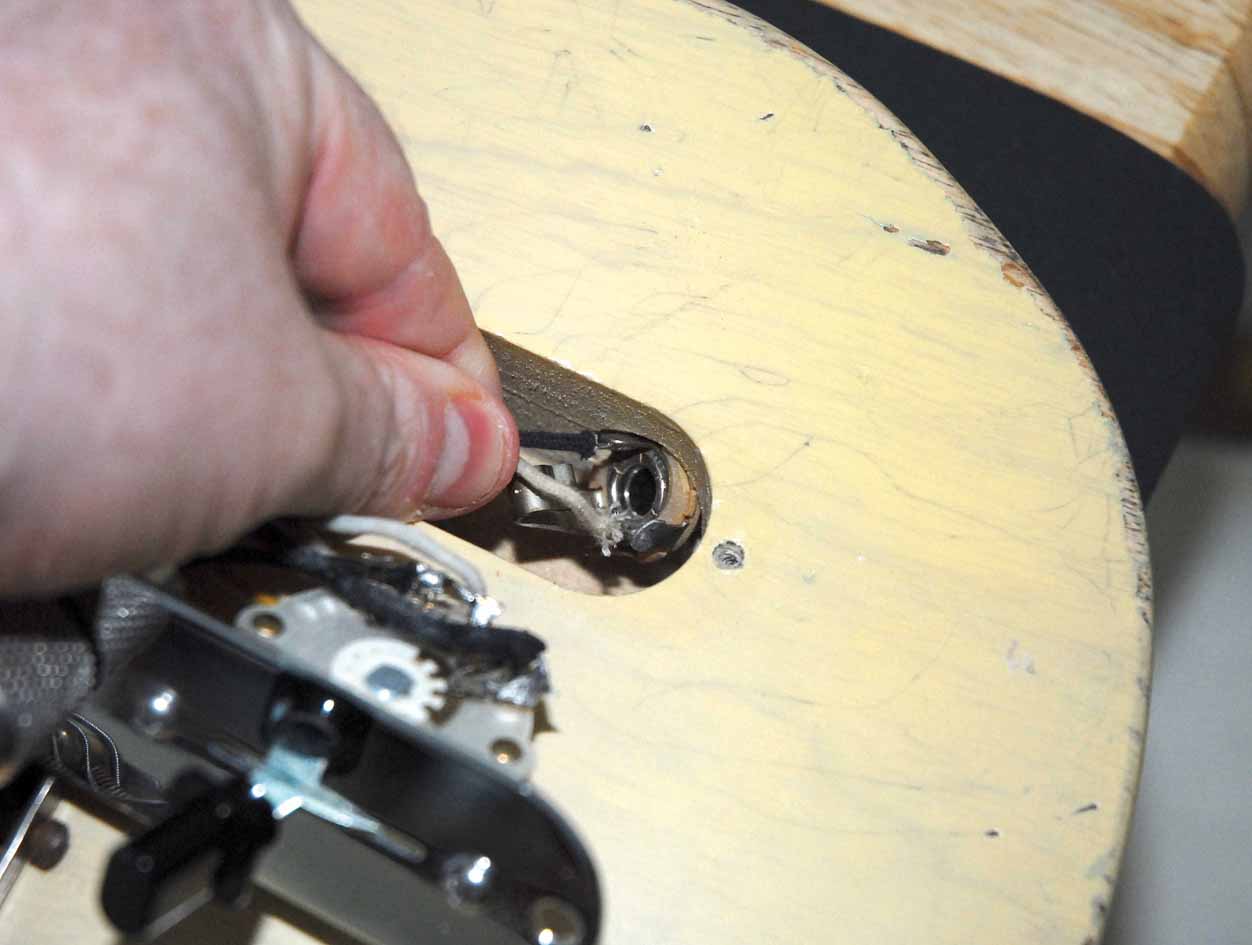
On some guitars, the socket is secured to a square or oval plastic or metal plate. Simply unscrew this plate. On our Fender Esquire, the socket has to be removed via the control cavity.
Take a look
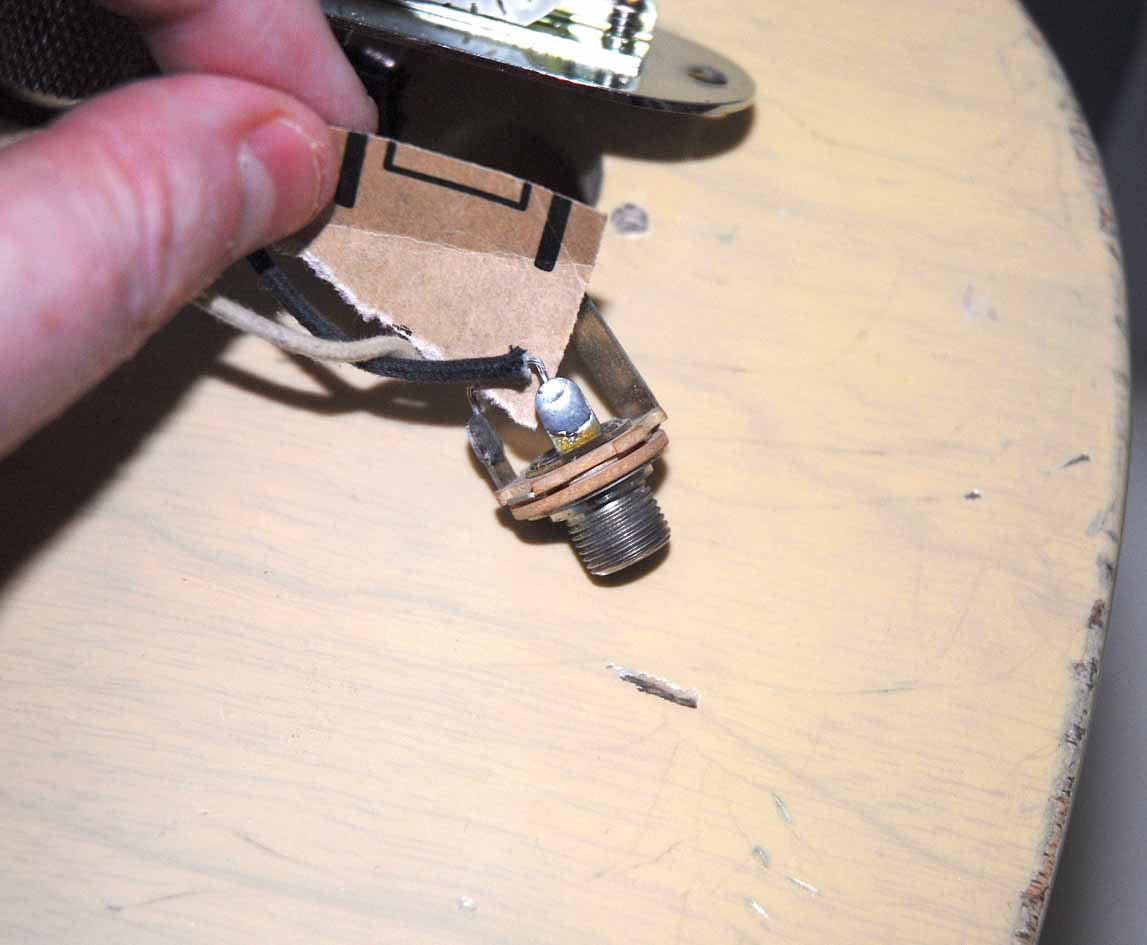
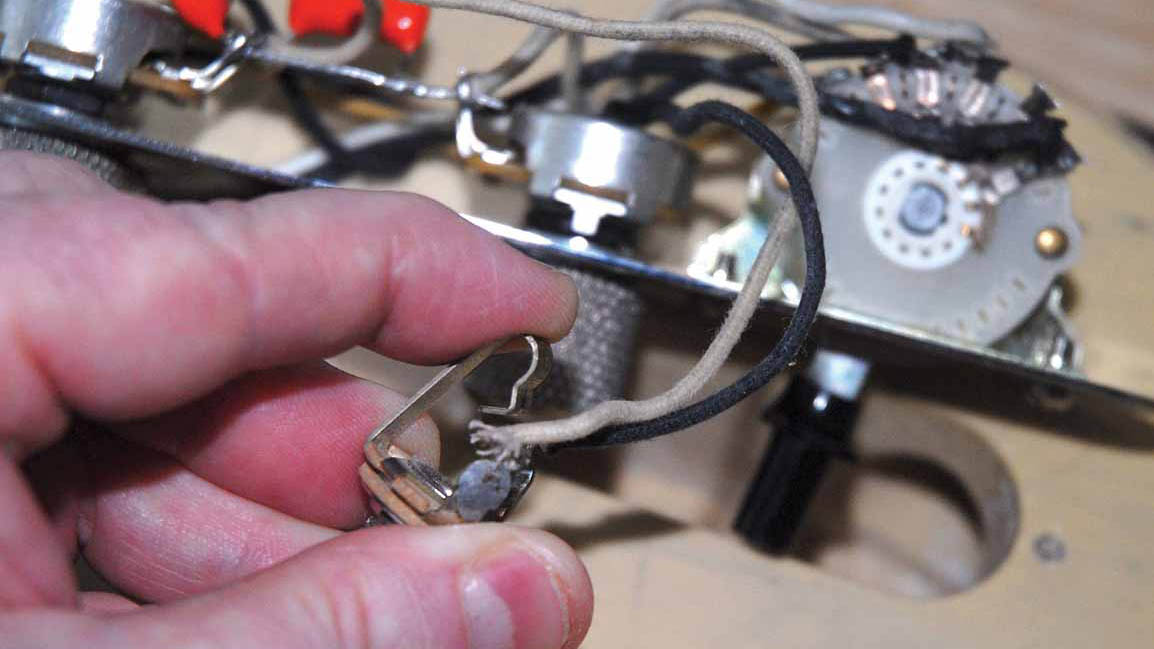
Eyeball the socket and look for any obvious faults, such as rusty contacts or a loose wire. Reattach loose wires and carefully clean dirty contacts with a piece of light-grade sandpaper.
Tight fit
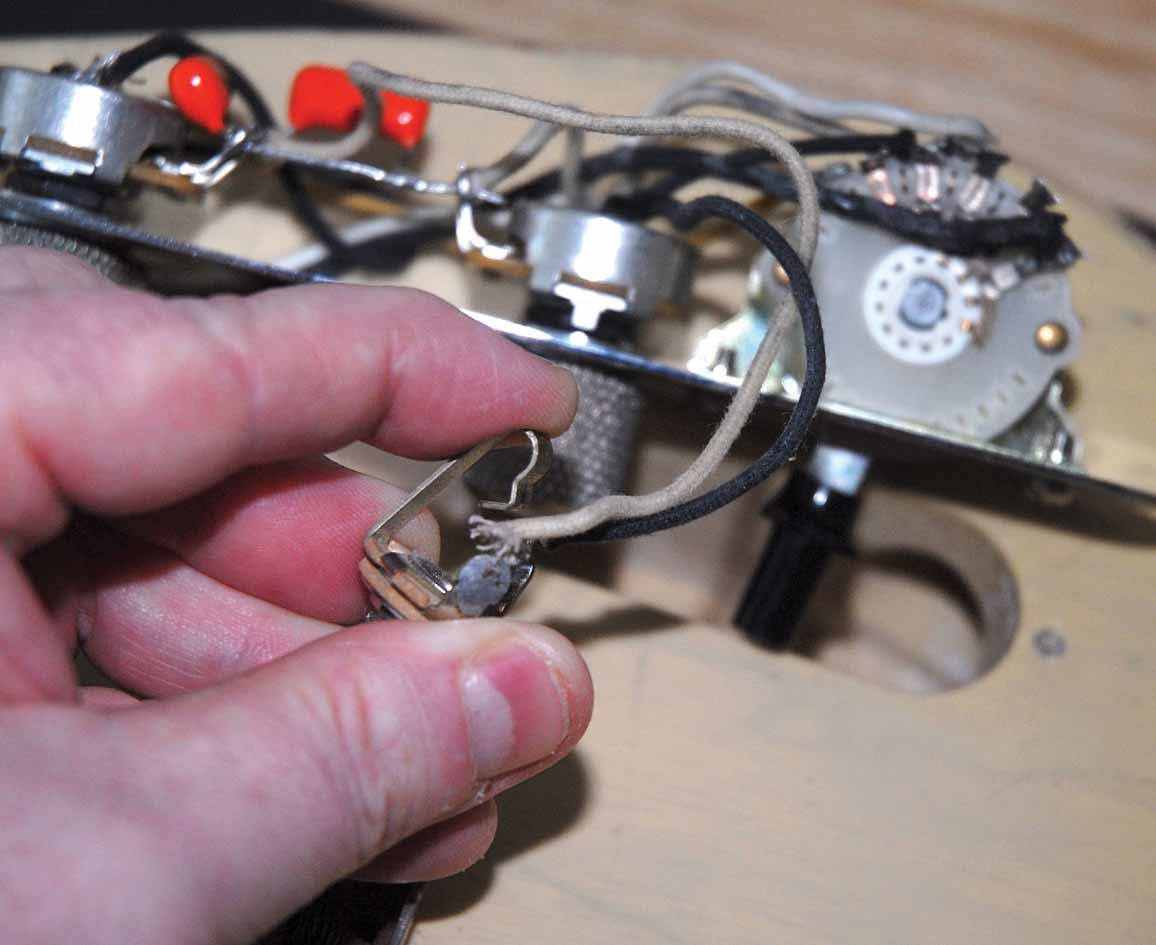
The cable’s jack plug should slip snugly in the jack socket. If it’s loose, gently bend the metal tab (above) to solve this issue. Check your progress by plugging in the cable until you get a tight fit.
Switch it up
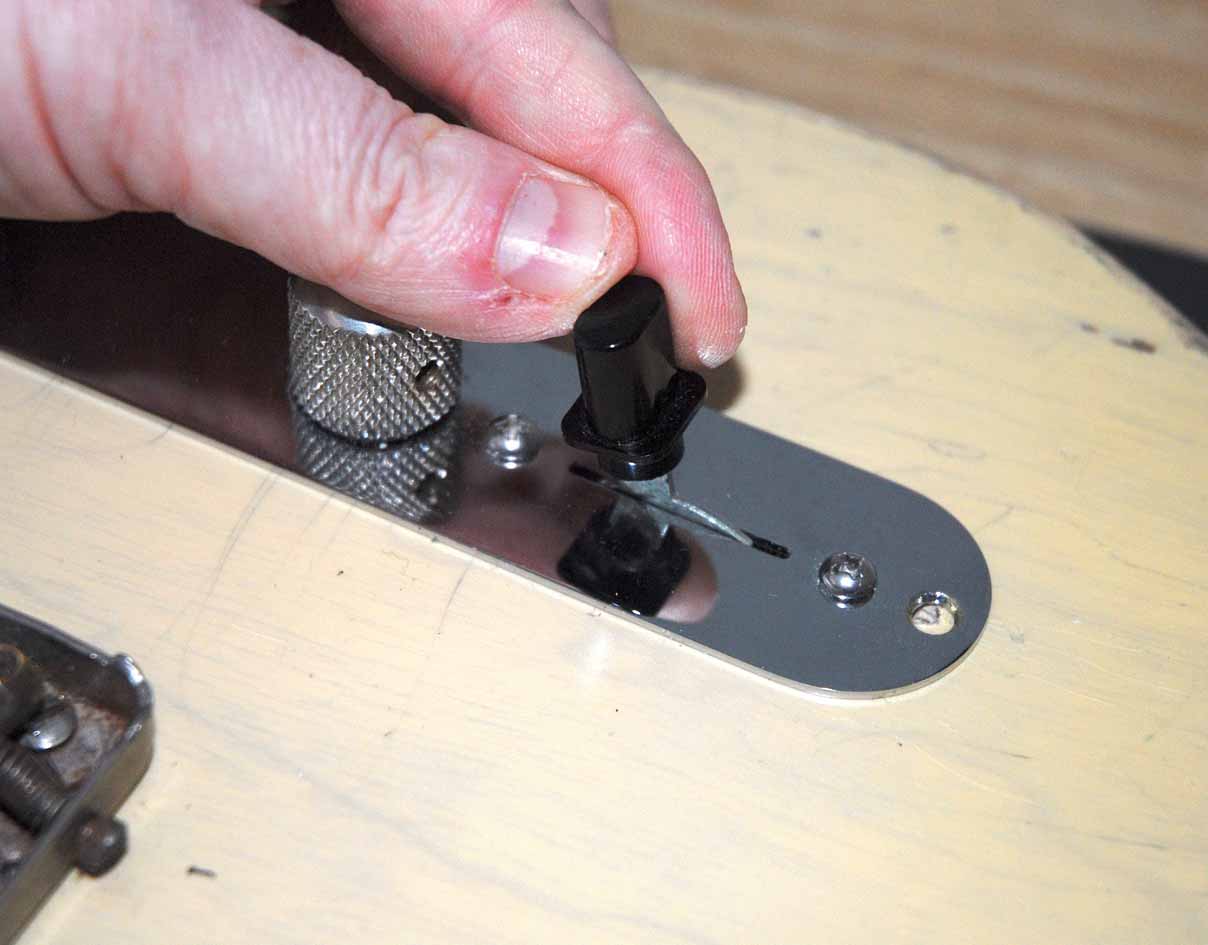
If the socket looks okay and the guitar is still dead, quickly wiggle the pickup selector switch back and forth. If the guitar starts to work, even briefly, then you have a faulty or dirty switch.
Scratch on, scratch off
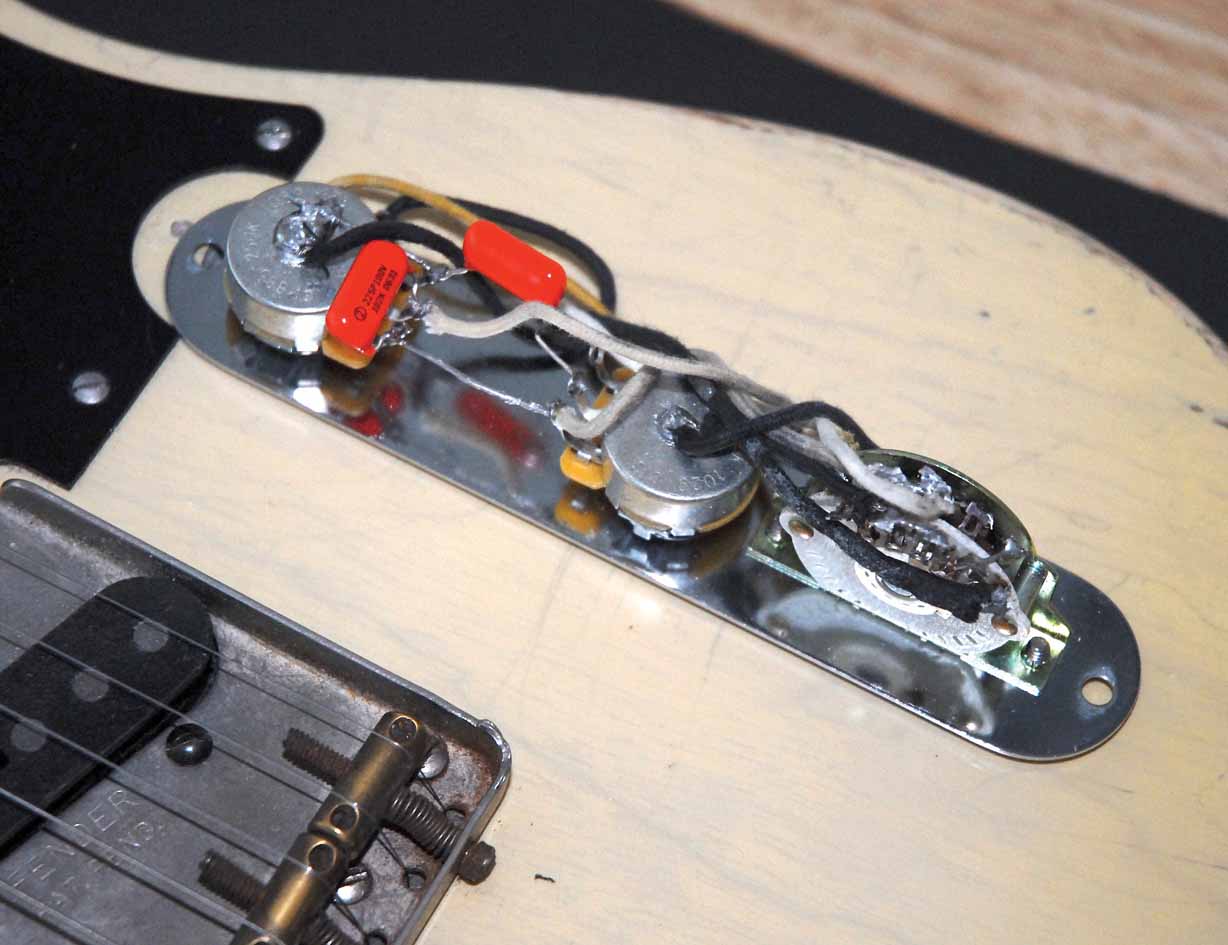
You’ll need to access your guitar’s innards. On your guitar, this may mean removing your scratchplate, or backplate if your guitar has rear-mounted controls. On ours, we can unscrew the control plate.
Tap and check
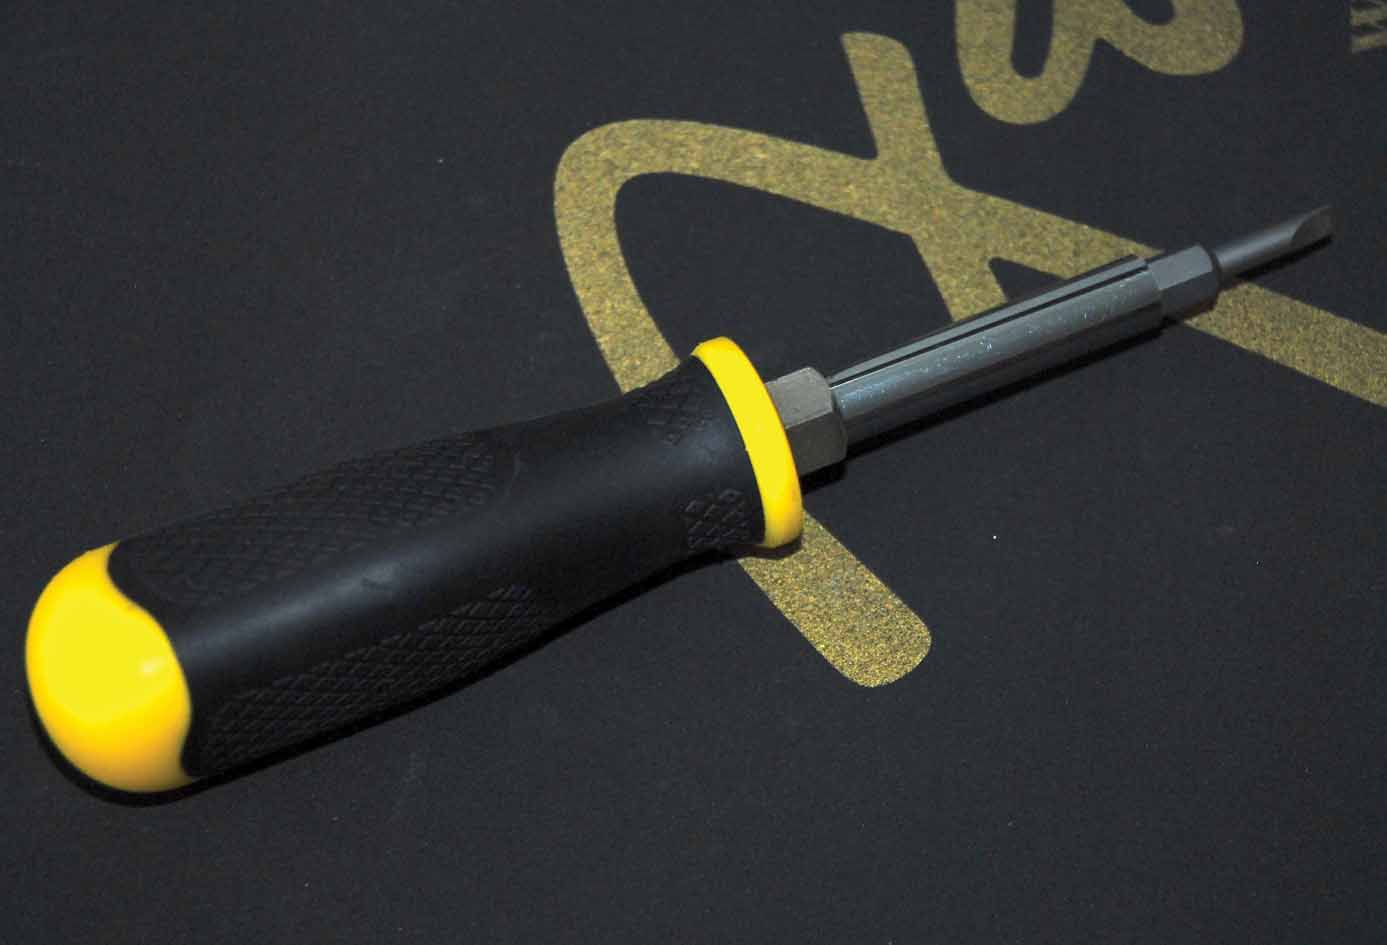
If you need to test a guitar that hasn’t got any strings fitted, plug it into your amp and then gently tap the pickups with a screwdriver. You should hear a clear ‘thump’ through your speakers.
Repair
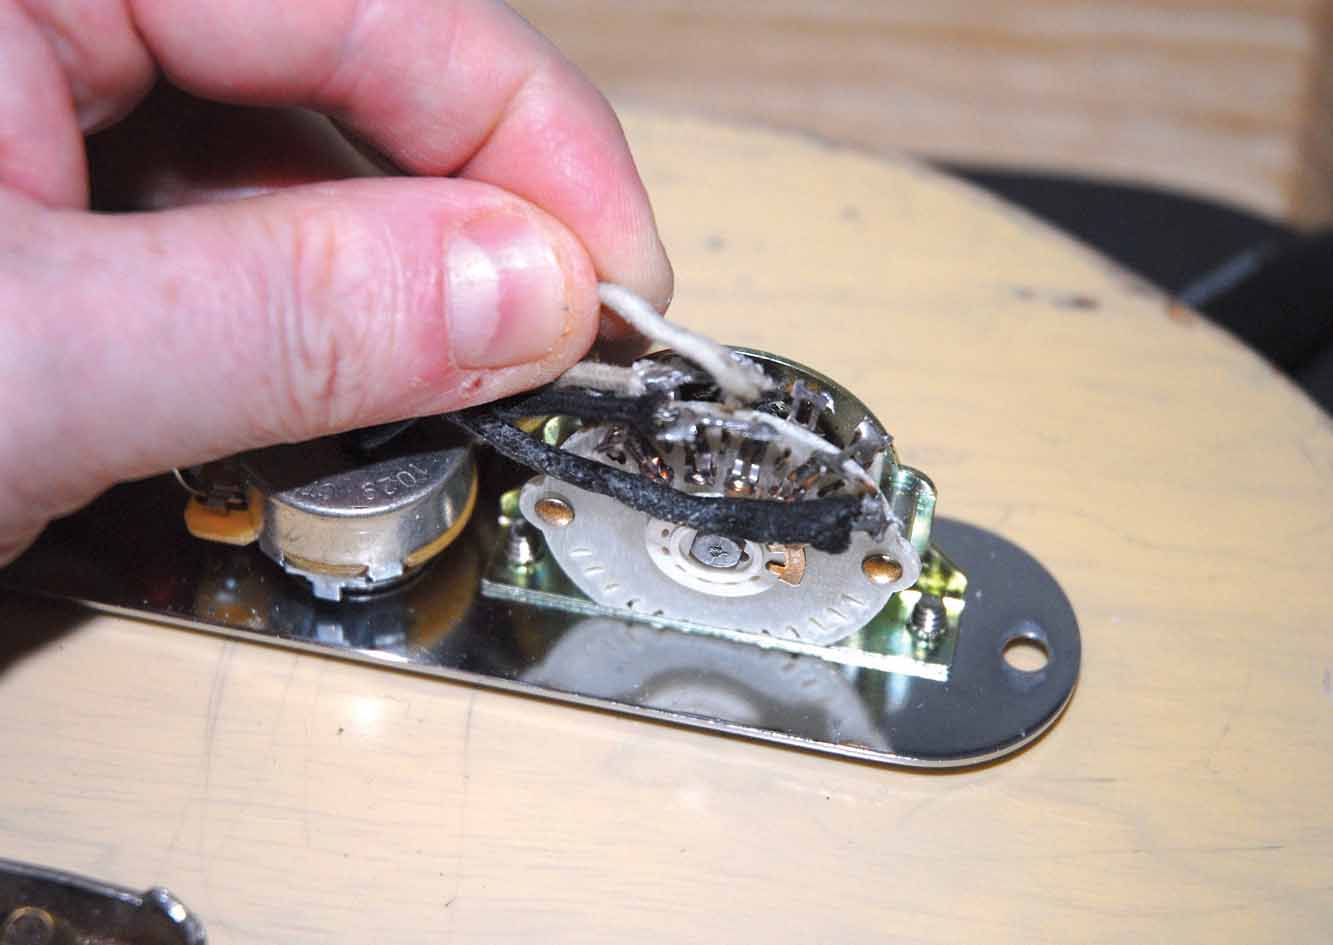
Look for loose wires and bad connections and repair as necessary. If your switch has exposed contacts, you can clean them with light sandpaper. Be gentle: contacts on guitar components can be fragile.
Draw a diagram
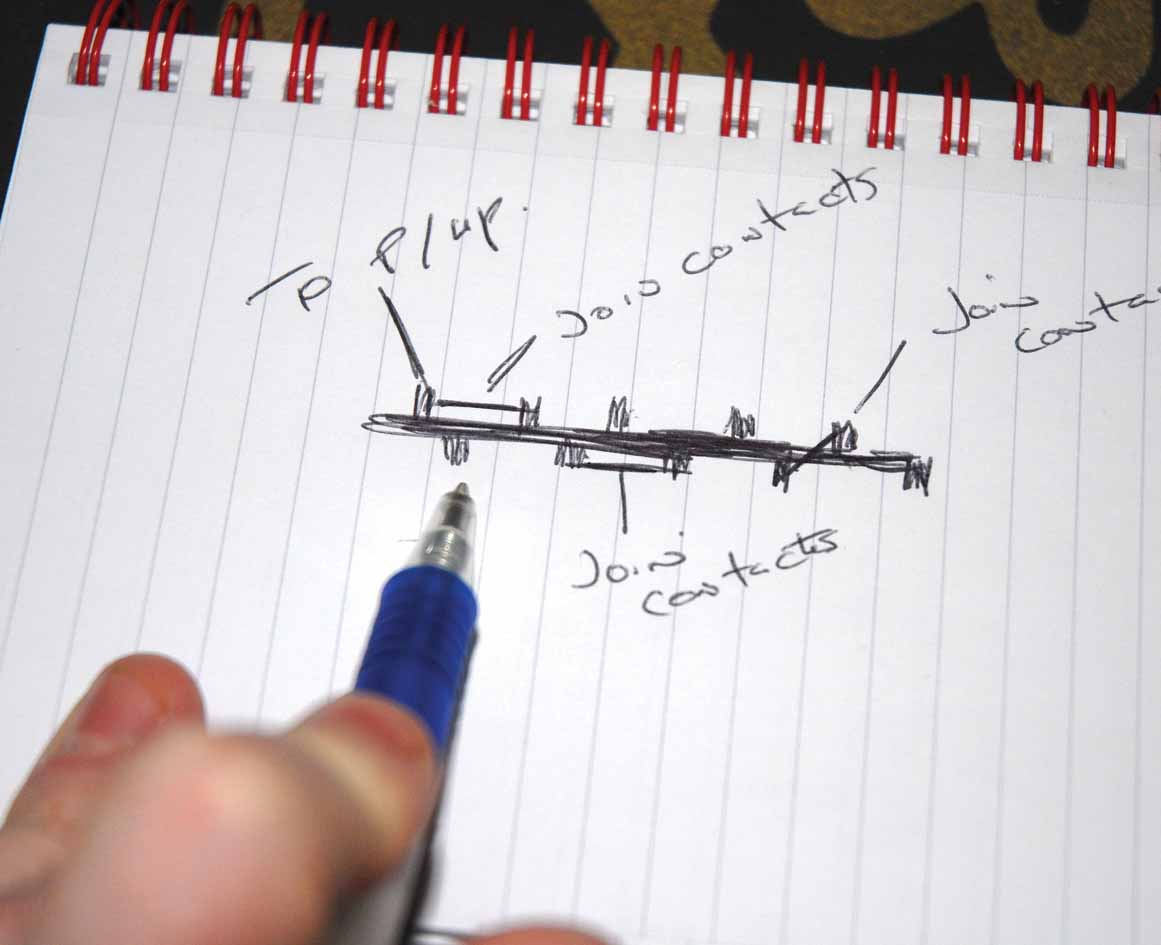
If the switch still doesn’t work, you’ll need to replace it. Draw a diagram of the wiring before you remove the old switch. If your guitar has a budget enclosed switch, it’s not worth repairing.
Clean contacts
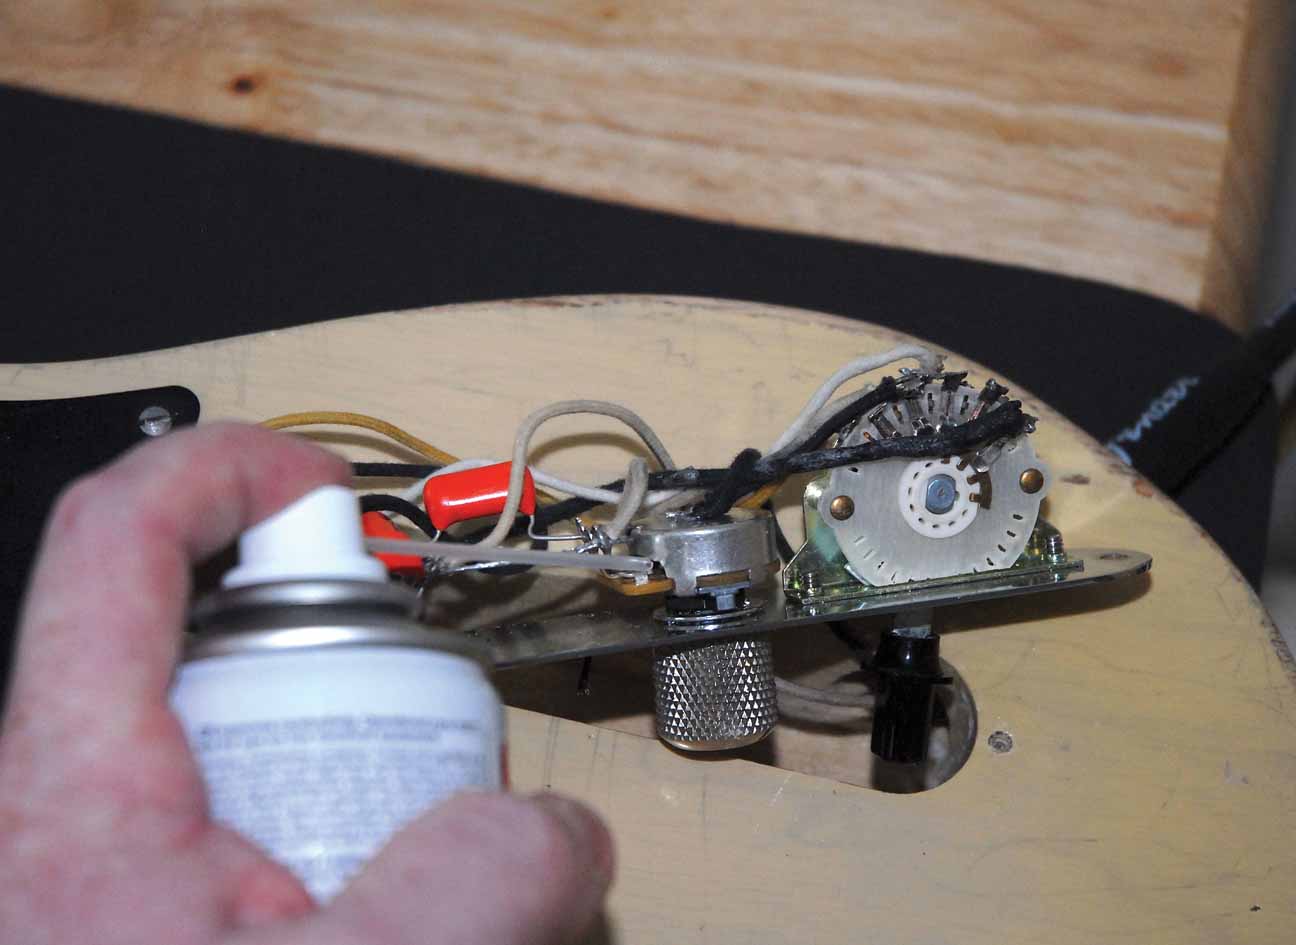
While you’re rummaging around, squirt contact cleaner into the pots as shown above. As you spray, twist the control then test the guitar with your screwdriver. Re-assemble your guitar. You’re done!
“A pro-quality tool for hard-working musicians who like the guitar to do the heavy lifting”: Fender American Ultra II Stratocaster HSS
“You never know what will happen. You’re on a bus with pythons”: Orianthi on her Orange Oriverb amp, how soloing is like rapping and why confetti cannons are just one of the risks on an Alice Cooper tour