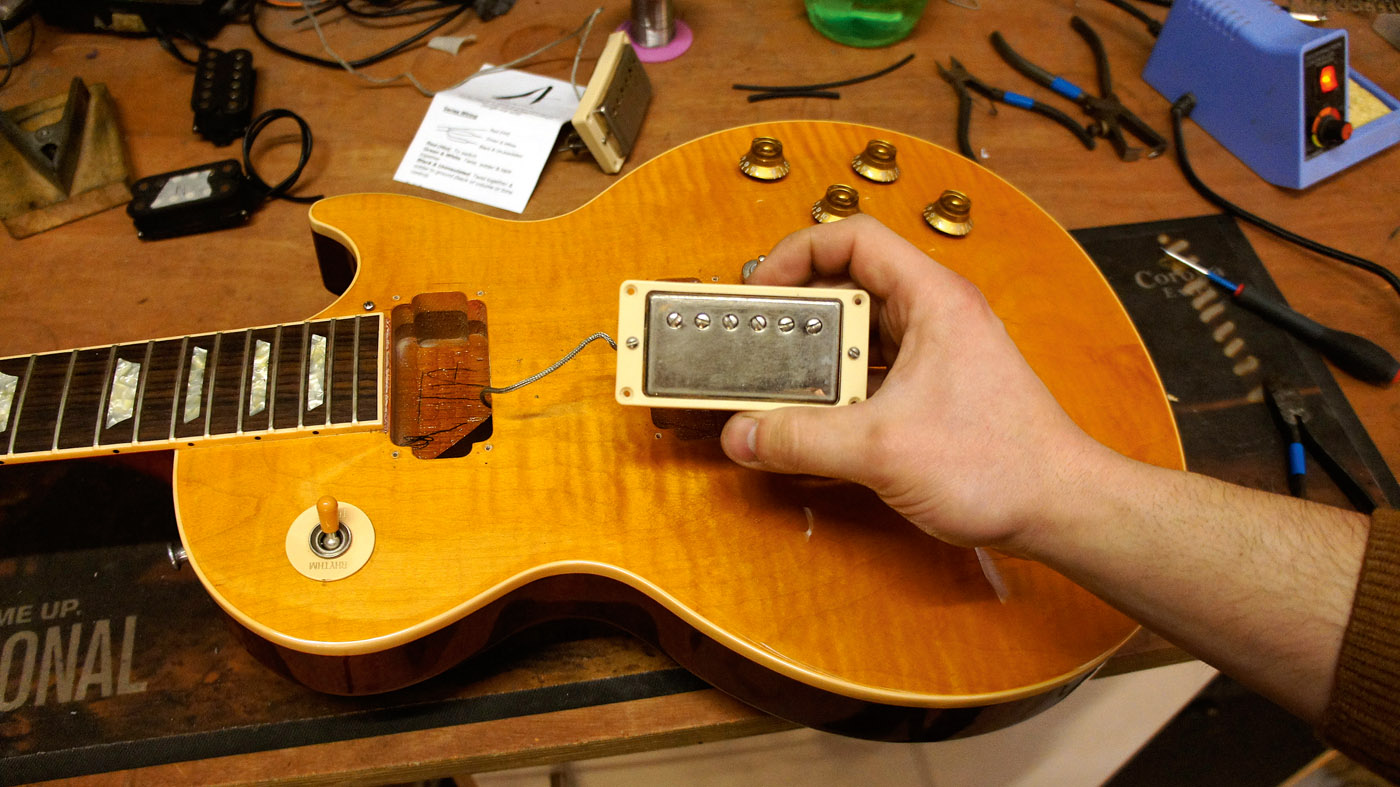
How to set up a Les Paul guitar
Give your single-cut guitar the step-by-step setup it deserves
Want all the hottest music and gear news, reviews, deals, features and more, direct to your inbox? Sign up here.
You are now subscribed
Your newsletter sign-up was successful
Here, we’re looking at how to set up a variety of Gibson-themed instruments, as well as their copies.
The key ingredient we’ll be discussing is the tune-o-matic type bridge, so this guide will be useful if your guitar has one. The tune-o-matic bridge is well designed, but it can have some flaws given its age.
Therefore, be sure to check for loose (‘T’-shaped) saddles rocking side to side, and also collapsed bridges. On many Gibsons the tune-o-matic bridge itself will bend downwards, caving in - and this will stop you setting up the guitar properly.
So, we’ll do a clean up and check the truss rod, nut slot, bridge height setting, intonation, pickup height and, finally, tailpiece setting. This is all vital when you’re setting up your guitar because the truss rod, nut slots and bridge height are all responsible for the action (not just the bridge!).
So, let’s crack open a fresh one (as in a pack of strings!) and get twiddling.
What you need
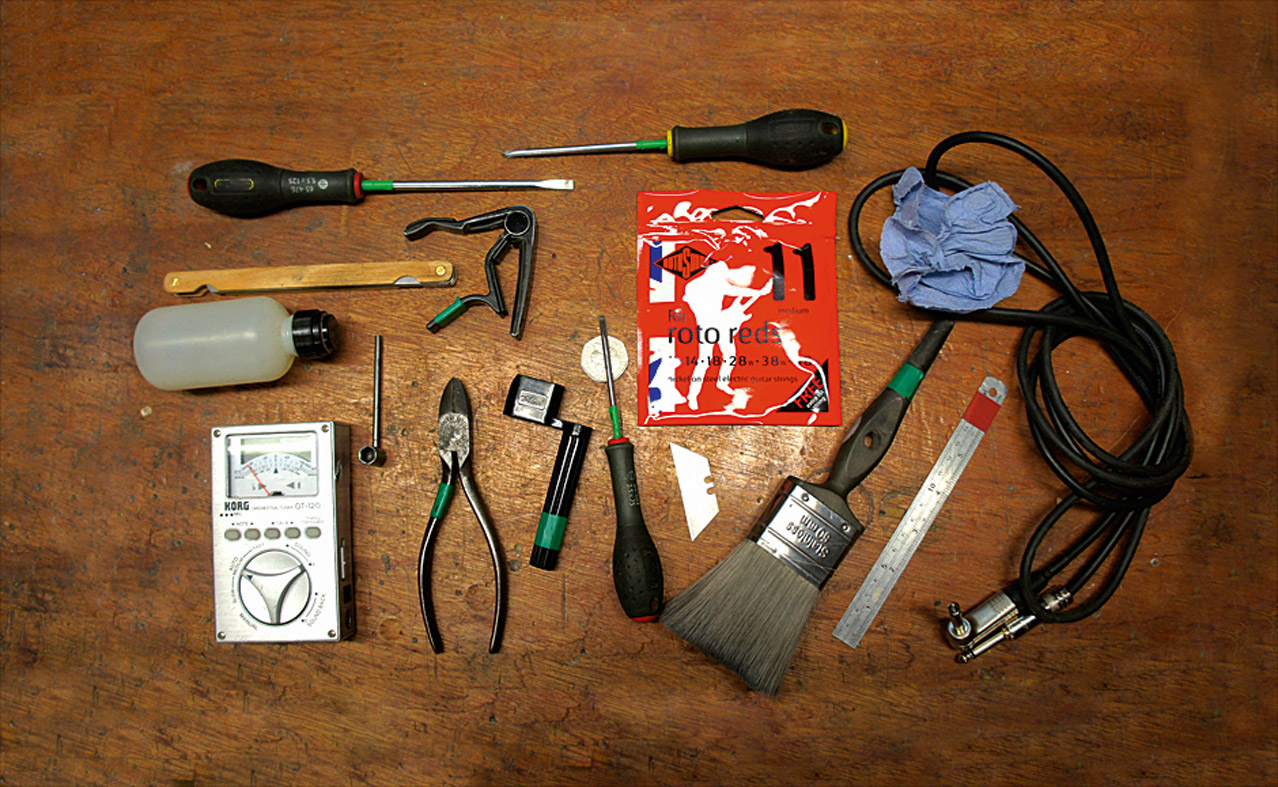
- Phillips head screwdriver
- Flat head screwdrivers
- Feeler gauge
- Capo
- New strings
- String winder
- String cutters
- Tuner
- Jack lead
- ¼” box spanner
- Stanley blade
- Engineer’s ruler
- Blue roll or tissue
- Lemon oil
- Soft bristle paint brush
Step 1
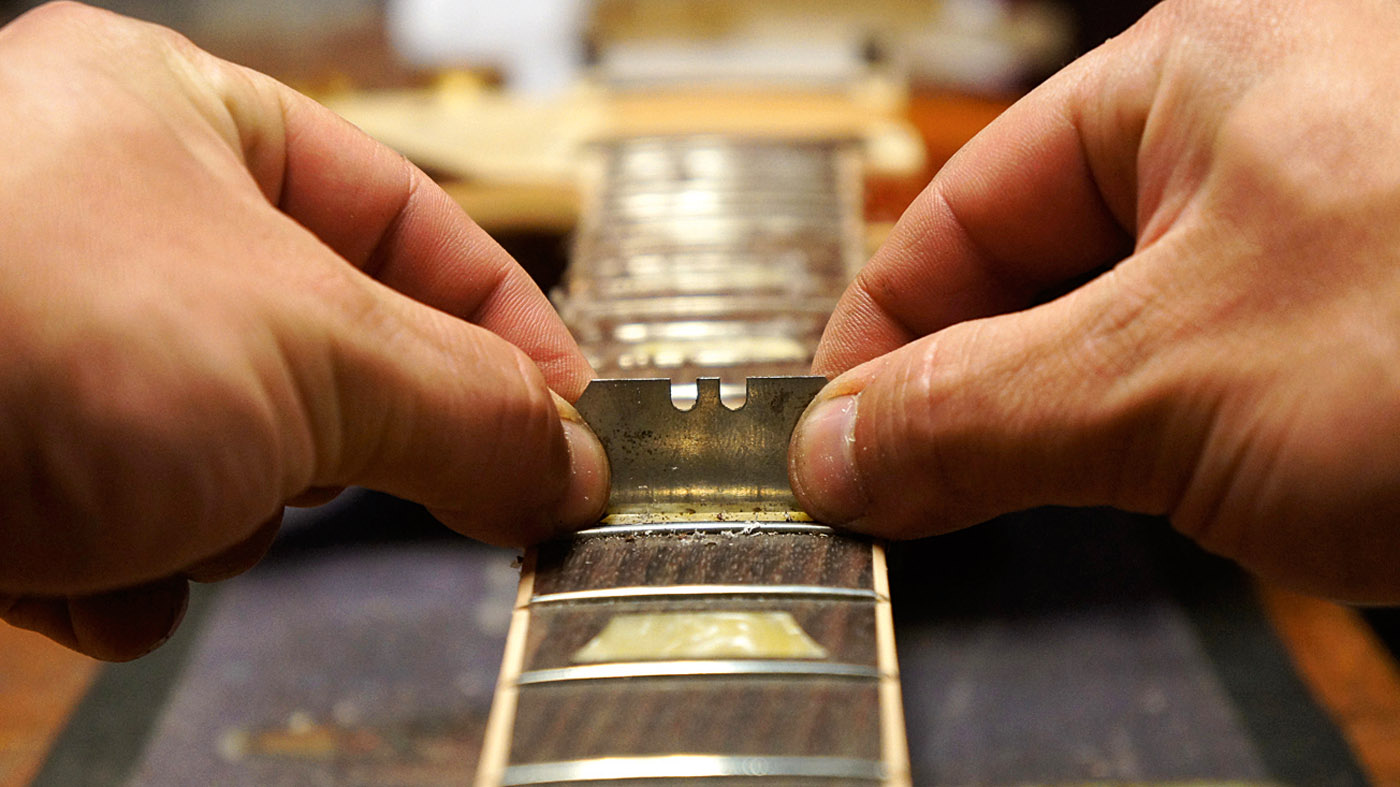
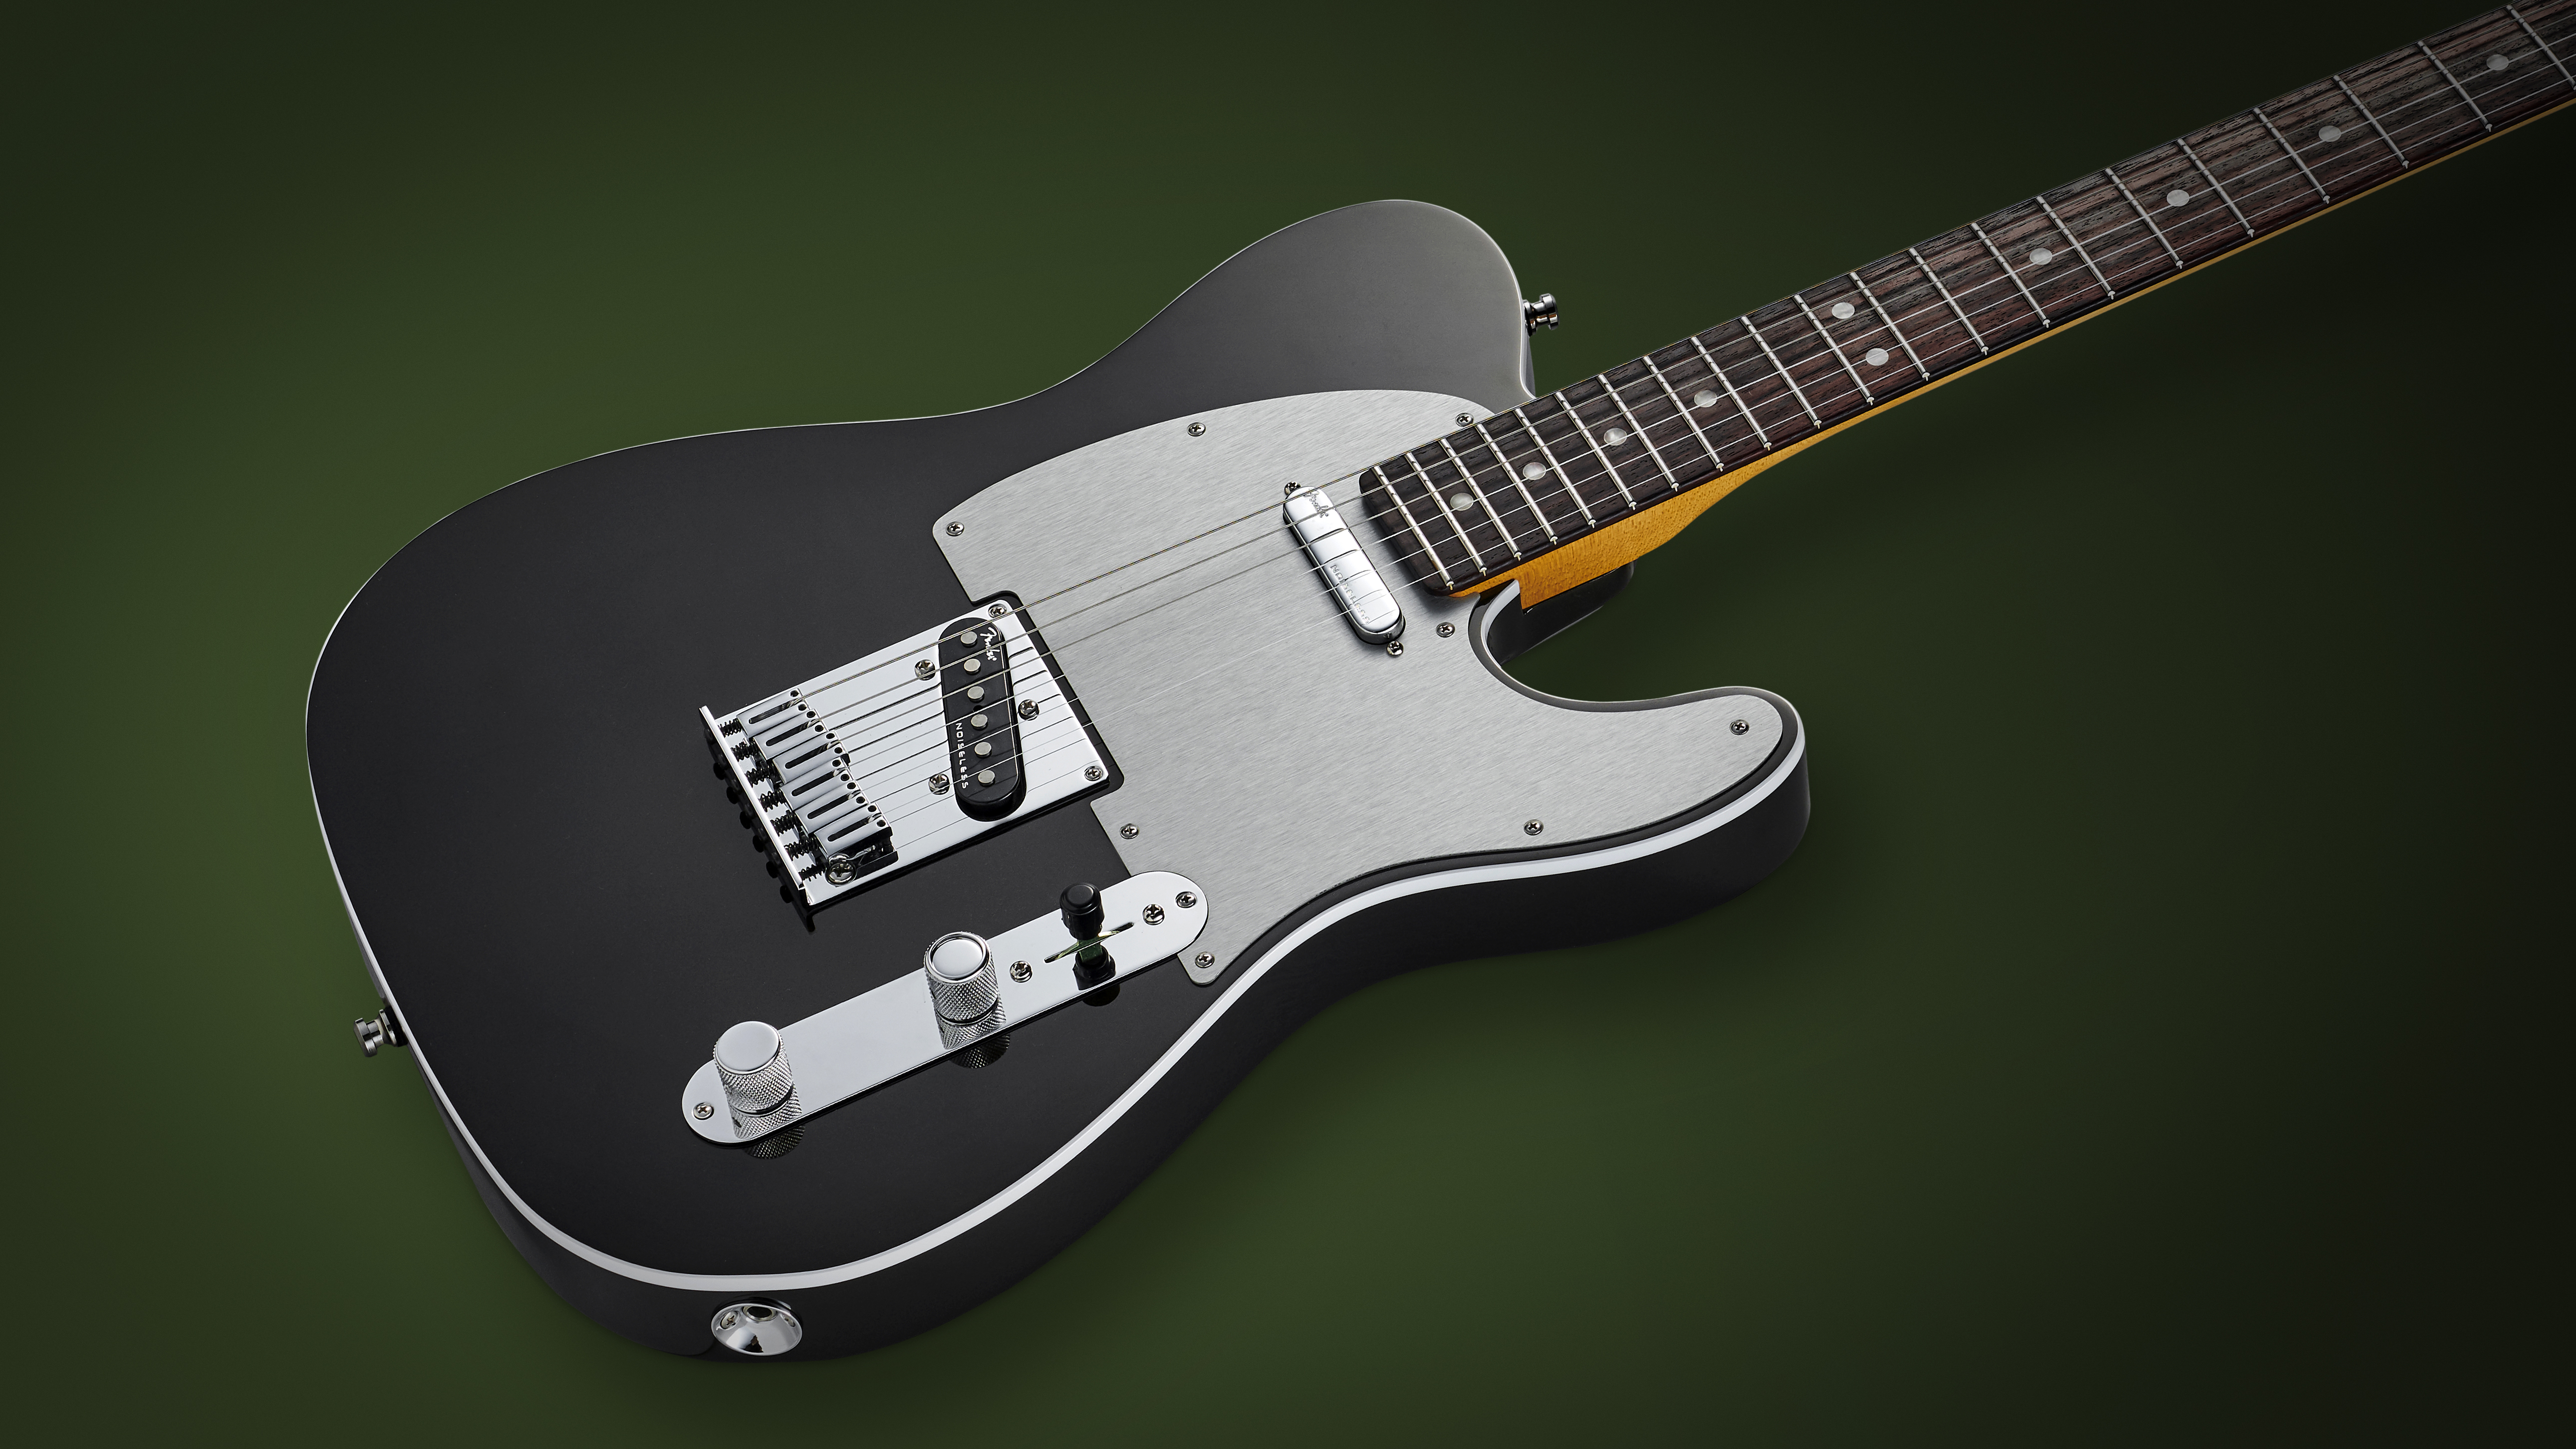
Clean that goo off your guitar, mate! Your bandmates are all talking about it behind your back. With the strings off it’s a great opportunity to lightly scrape your fingerboard, clean around the tuners and next to the pickups. Gibson’s sensitive lacquer likes a good carnauba waxing (aka palm wax) after a clean.
Step 2
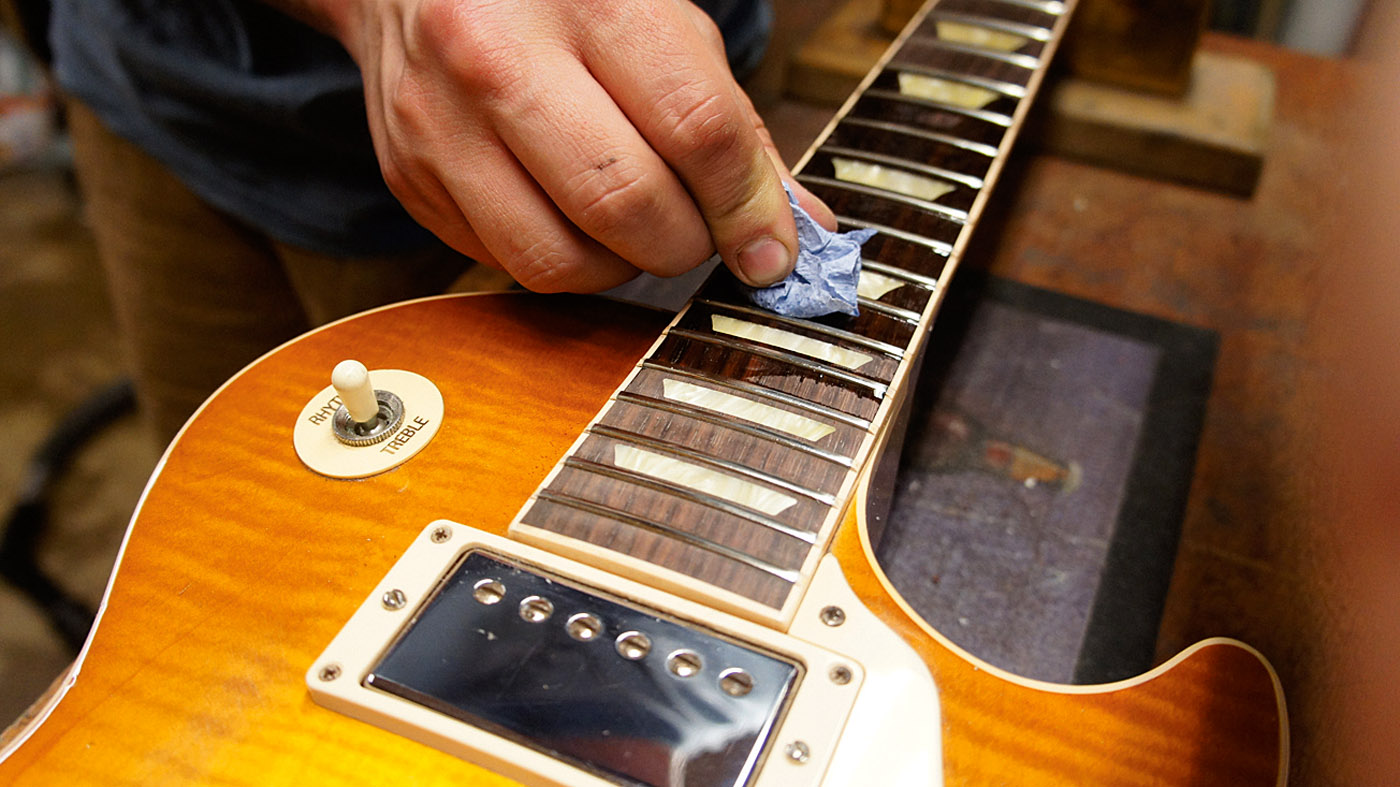
Dry fretboards are not your friend. Rosewood and ebony fretboards are non-lacquered and require a bit of care to keep them sweet. Lemon oil is most commonly used to help re-moisten the fretboard as well as clean it. Let the oil soak in and it will stop the fretboard from shrinking or becoming brittle.
Want all the hottest music and gear news, reviews, deals, features and more, direct to your inbox? Sign up here.
Step 3
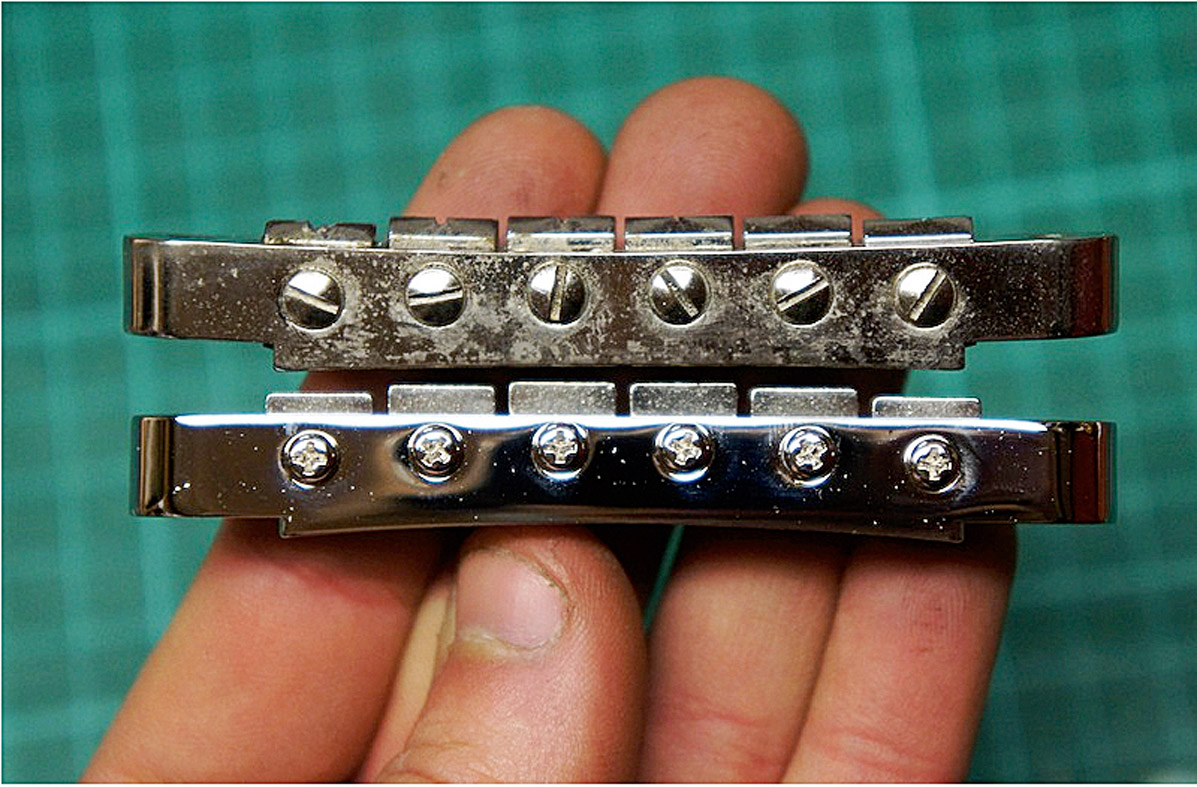
Your fingerboard is set at a certain radius curvature - so the strings have got to match it, right? If not, this means that some strings will be held closer to the frets than their neighbours. Here you can see what some down pressure over time can lead to.
Step 4
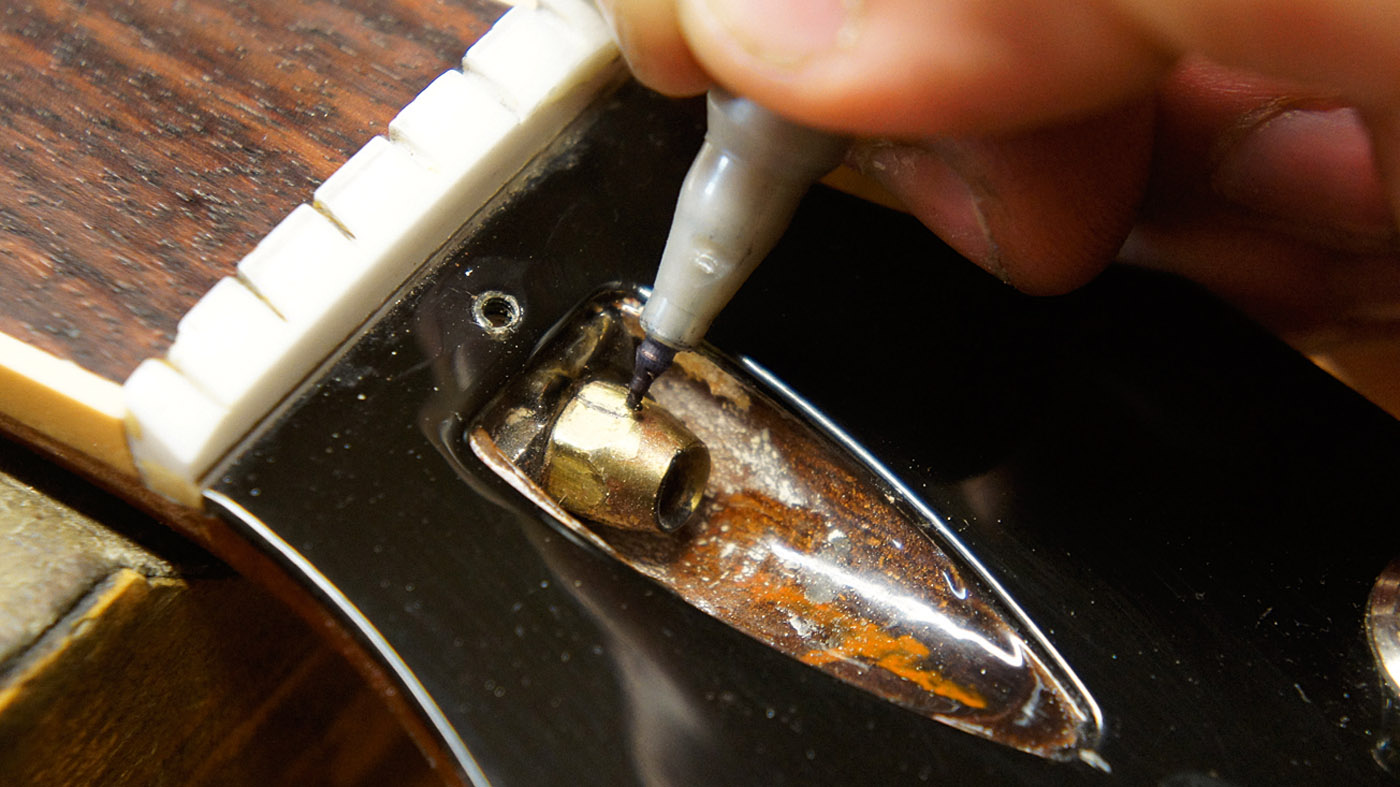
Whip off that truss rod cover. Under the cover you will see a truss rod adjuster nut, and on Gibsons it’s almost always a ¼” brass nut. You’ll need a ¼” box spanner to adjust it. On Les Paul copies you may find a hex nut that requires an Allen key. Mark its current location with a CD pen for reference.
Step 5
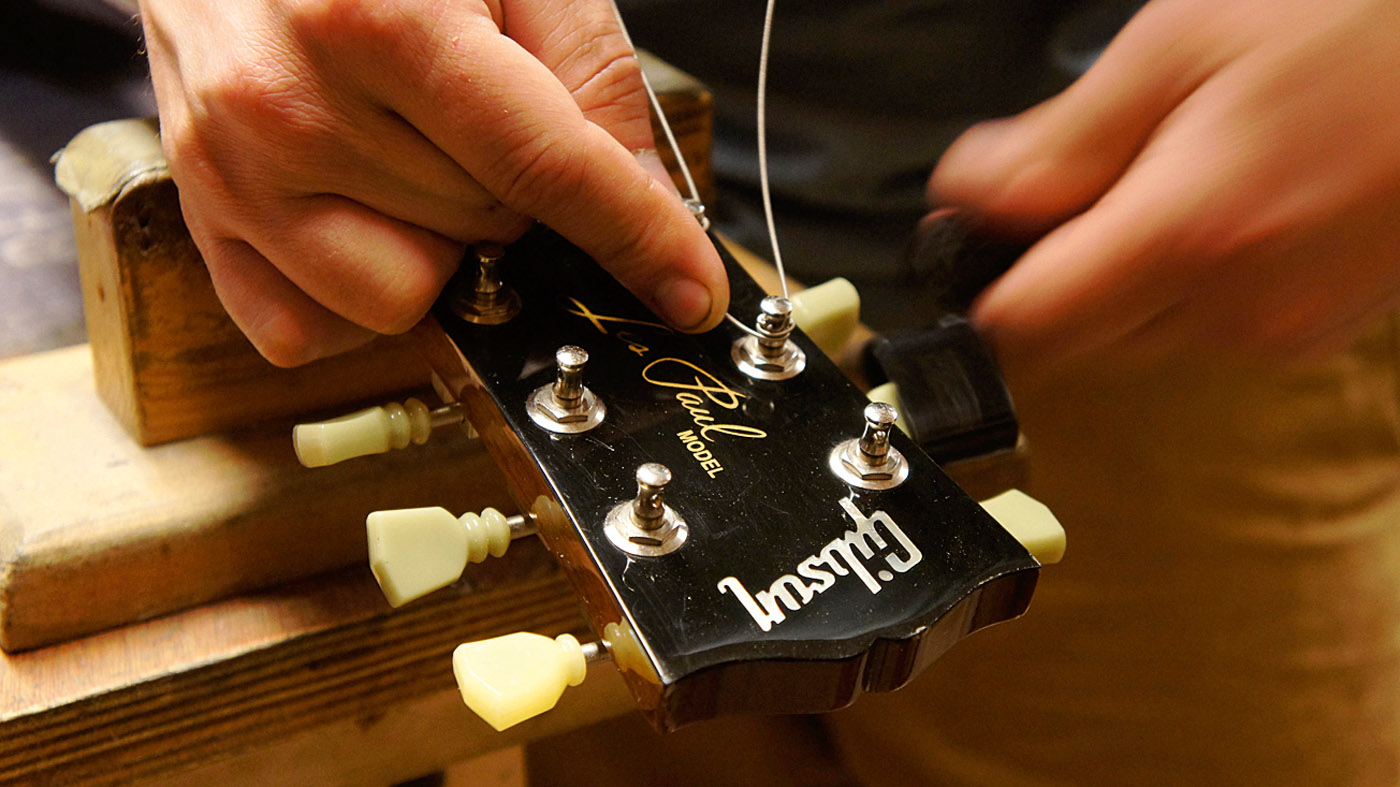
Pick a string gauge, a tuning and string it up. Last issue we went through the best, can’t-be-improved method for stringing up with a lock-wrap technique. With the strings tuned, you are presenting the neck with a steady forward pull and we need to counteract this to a certain degree with the truss rod. Clever, eh?
Step 6
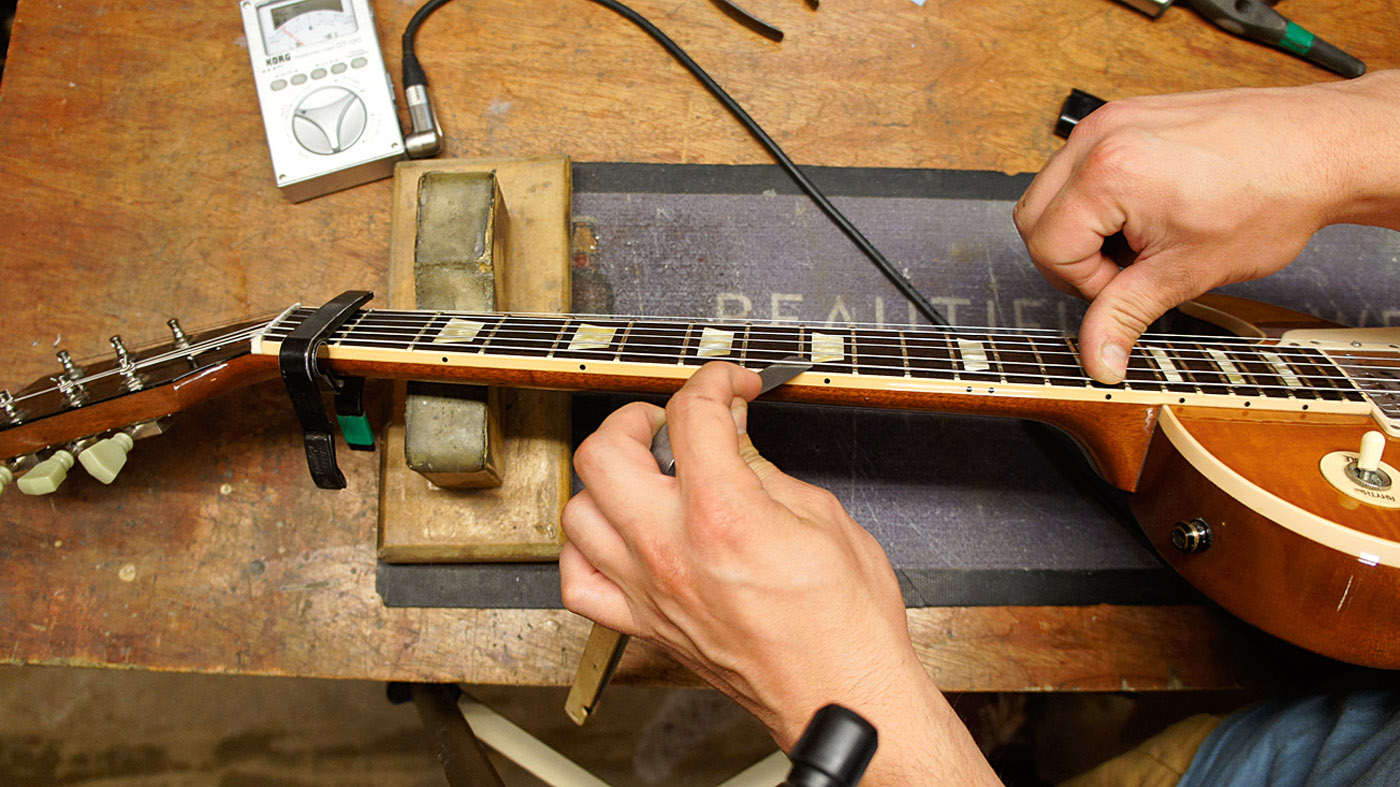
This is how you get a handle on it. Stick a capo on the first fret, press down on the 15th fret and then use the straight string as a guide to see how bent forward the neck is. The feeler gauge is put over the eighth or ninth fret underneath the string - .007” is the magic clearance.
Step 7
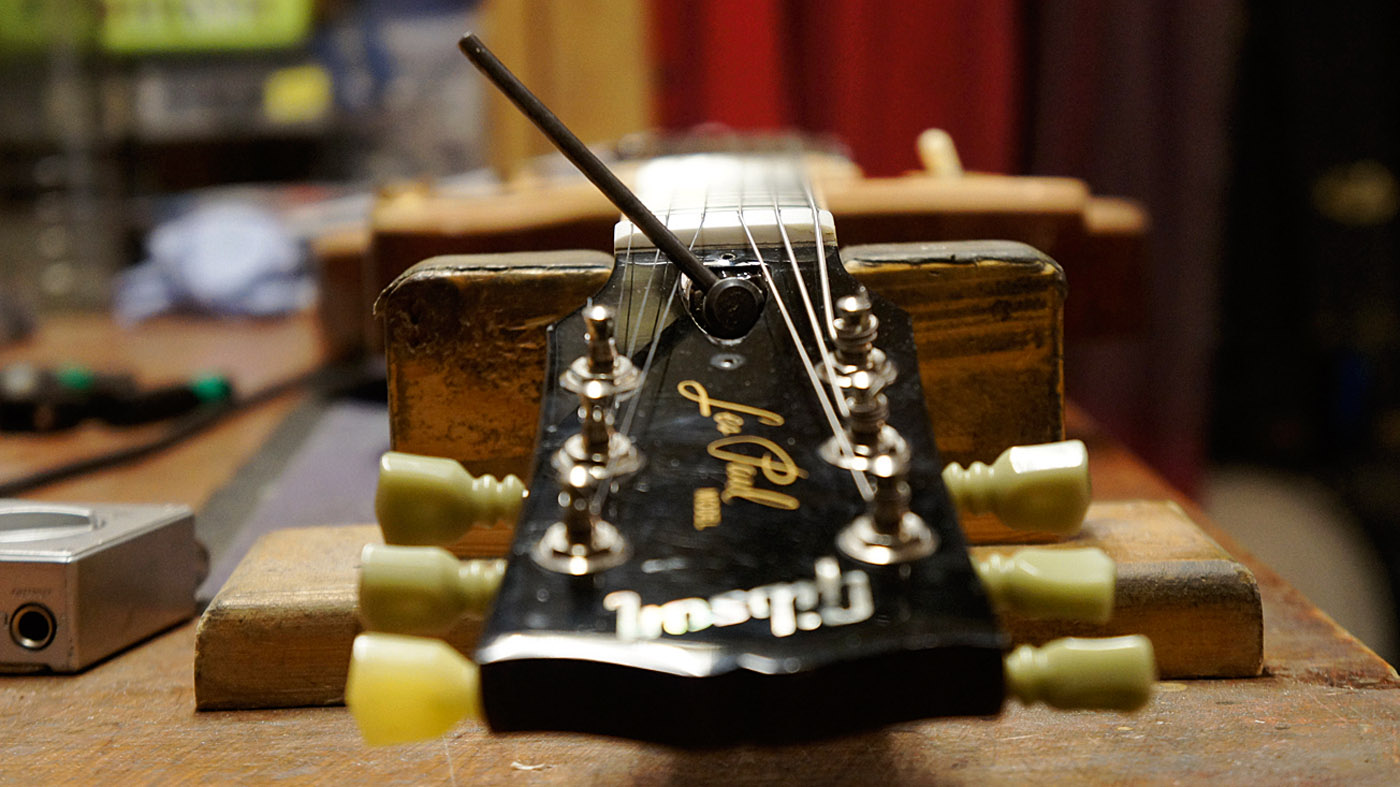
Any smaller than that clearance and the string will bang onto the frets when played; much larger than that and the string’s height will be excessive. So, how do you change that? Righty tighty, lefty loosey. That’s clockwise to close the clearance gap and anti-clockwise to increase the gap (letting the strings pull the neck forward).
Step 8
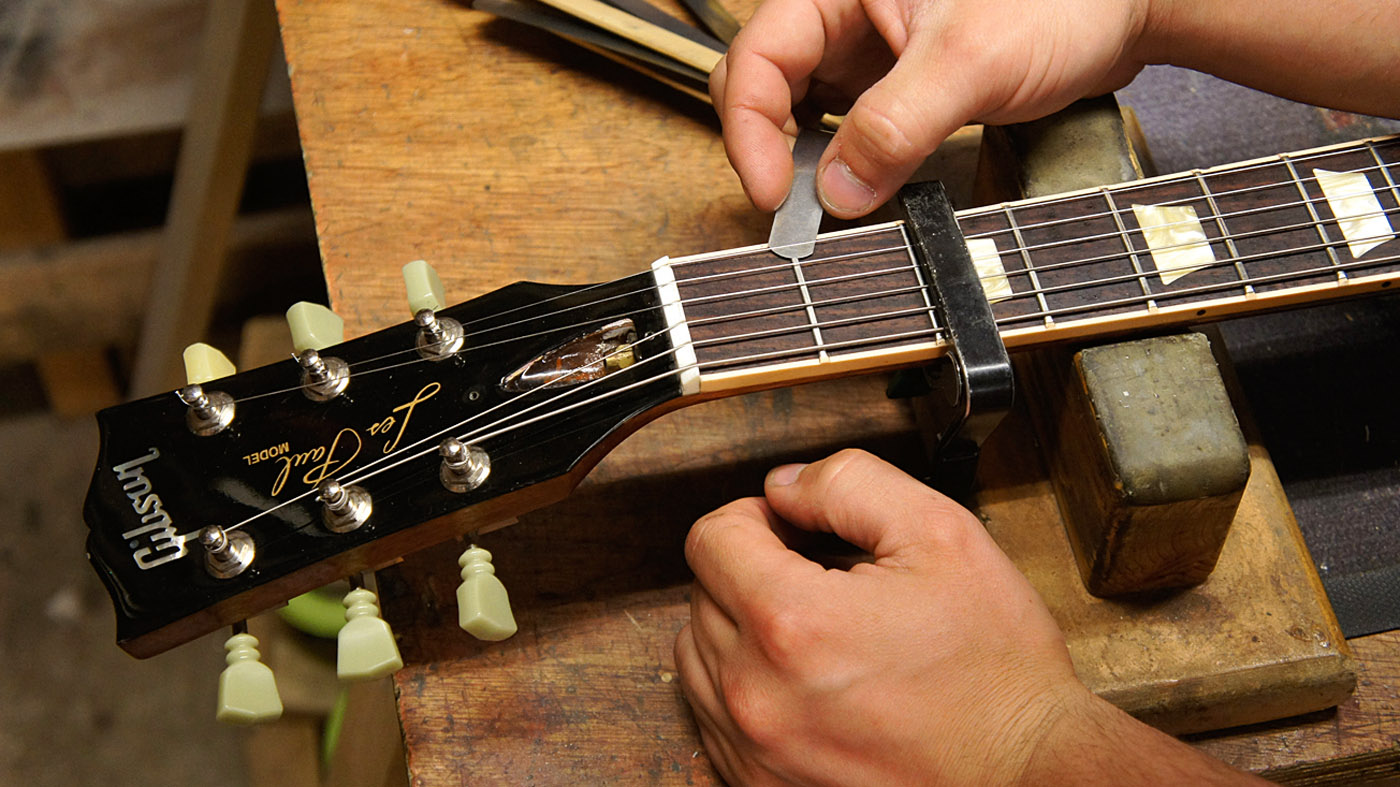

Next up is checking the nut. This is how to investigate it to see if you have a problem, but if there is an issue, we’d advise sending it to the pros. Fit your capo on at the third fret and we’ll check the clearance over the first fret and the string. You should have .004” to .008” clearance on your feeler gauge.
Step 9
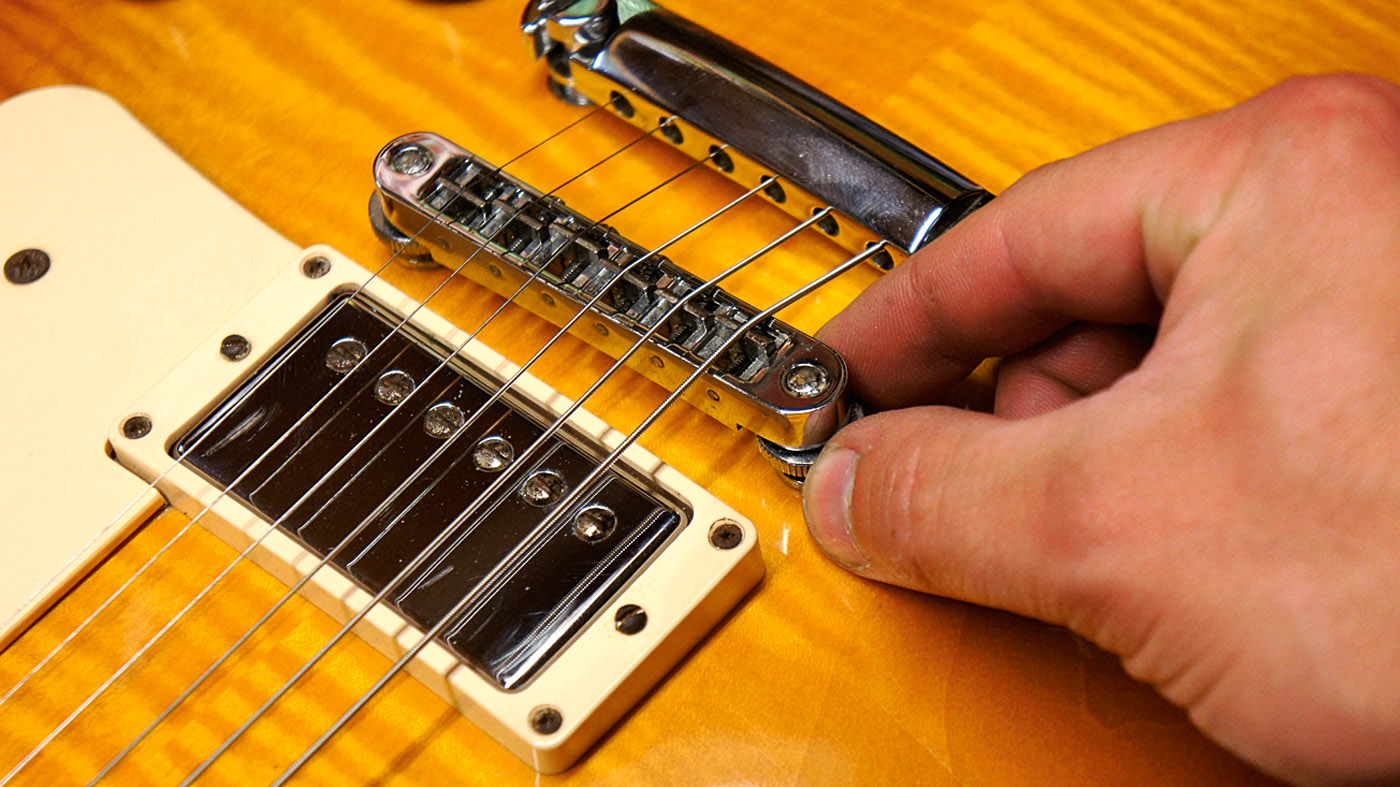
Truss: check. Nut: check. Now it’s time to set the bridge height by turning the thumbwheel adjuster. At the 12th fret (with no capo on) measure the distance on the sixth string and set it to 2mm. On the first string set the clearance to 1.5mm. Check again that you’re in tune and then double-check the sixth again.
Step 10
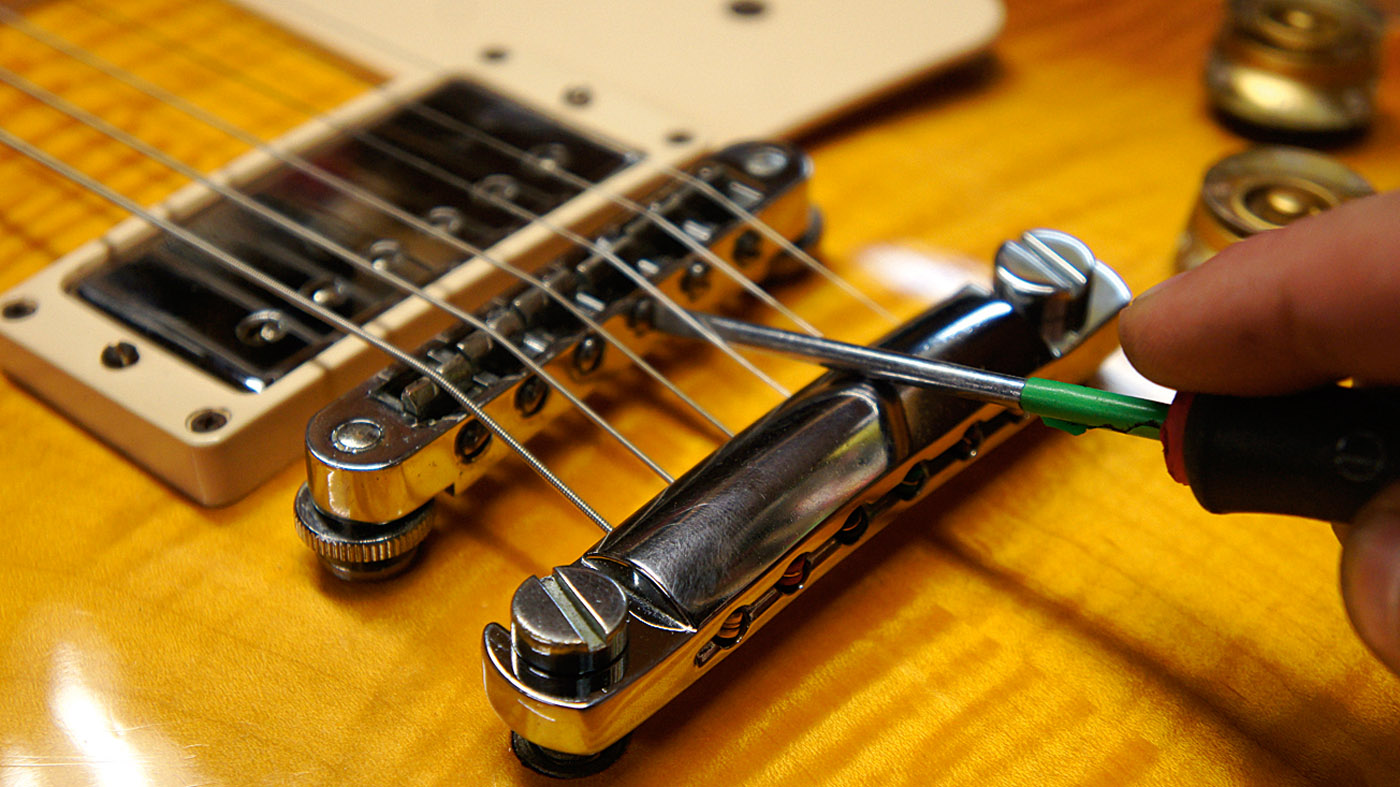
With your action set and test played for buzzing, it’s time to set the intonation. Your new strings may have a different intonation setting required - never just assume! Play a harmonic at the 12th fret and then compare it to the fretted note at the same fret. If it’s sharp, move the saddle backwards. If it’s flat, move it forwards.
Step 11
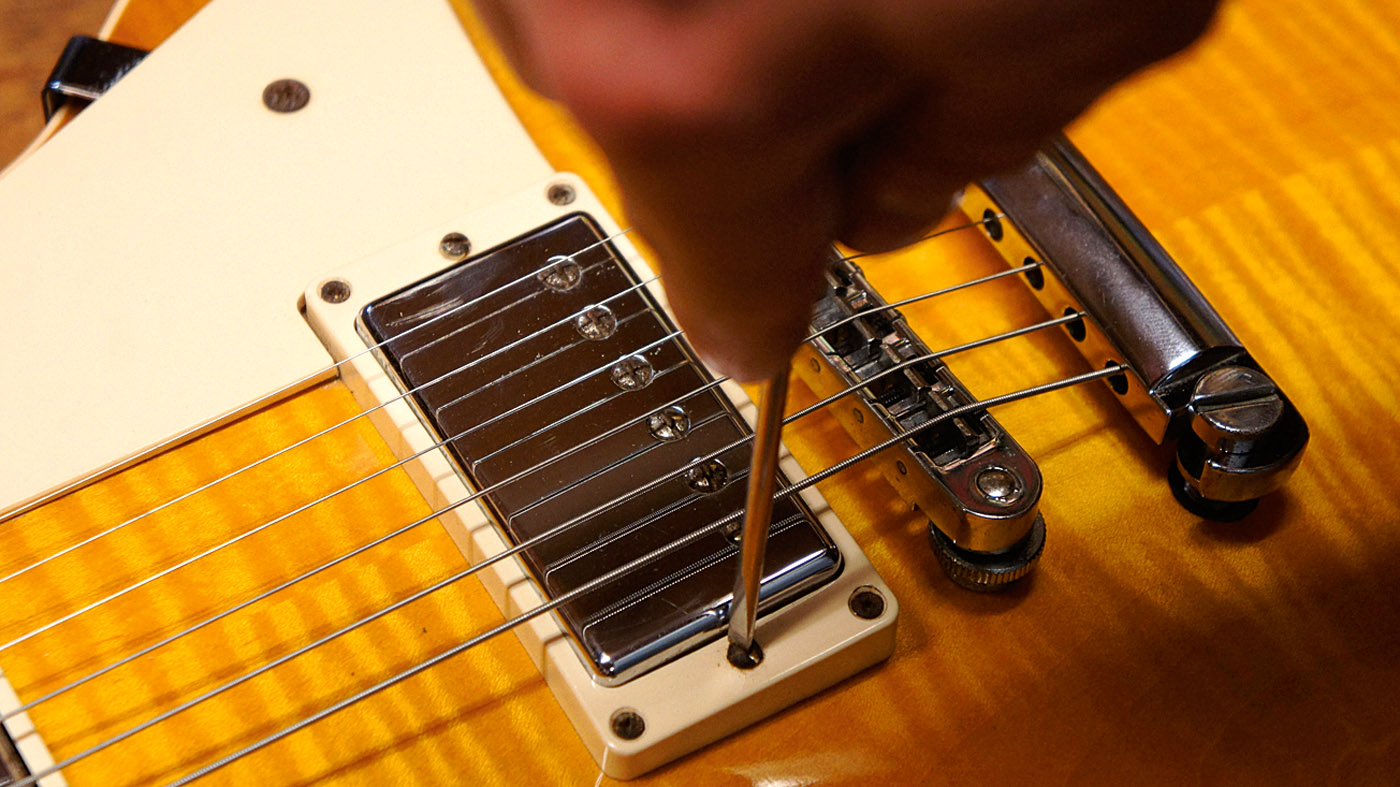
Pickup height setting is a little tricky but not a black art. Fender-y single coils have a stronger magnetic pull so need to be backed off, but most humbuckers share one bar magnet and aren’t so strong. So, set the bridge to about 3.5mm and see how it sounds. Just set the neck to match in volume when plugged in, and experiment!
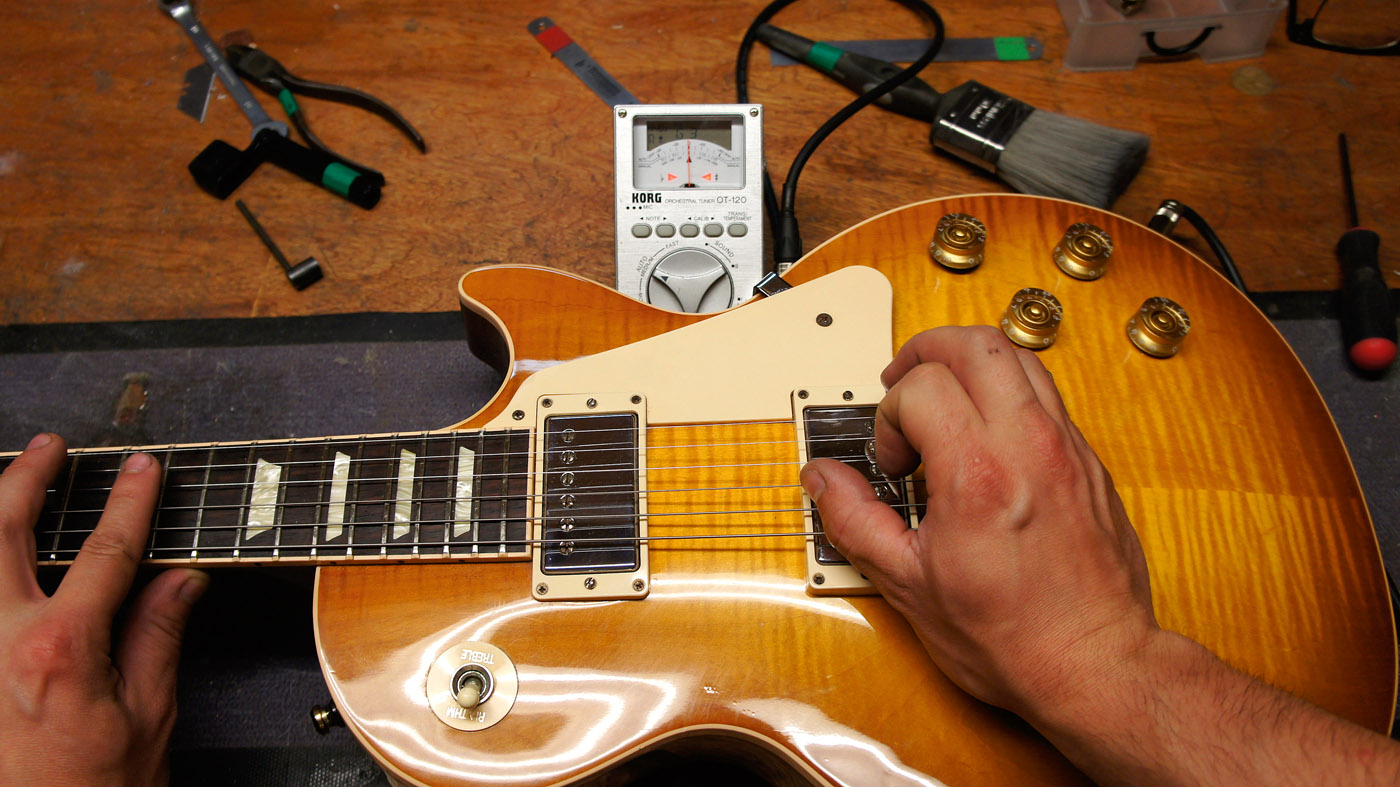
Step 12
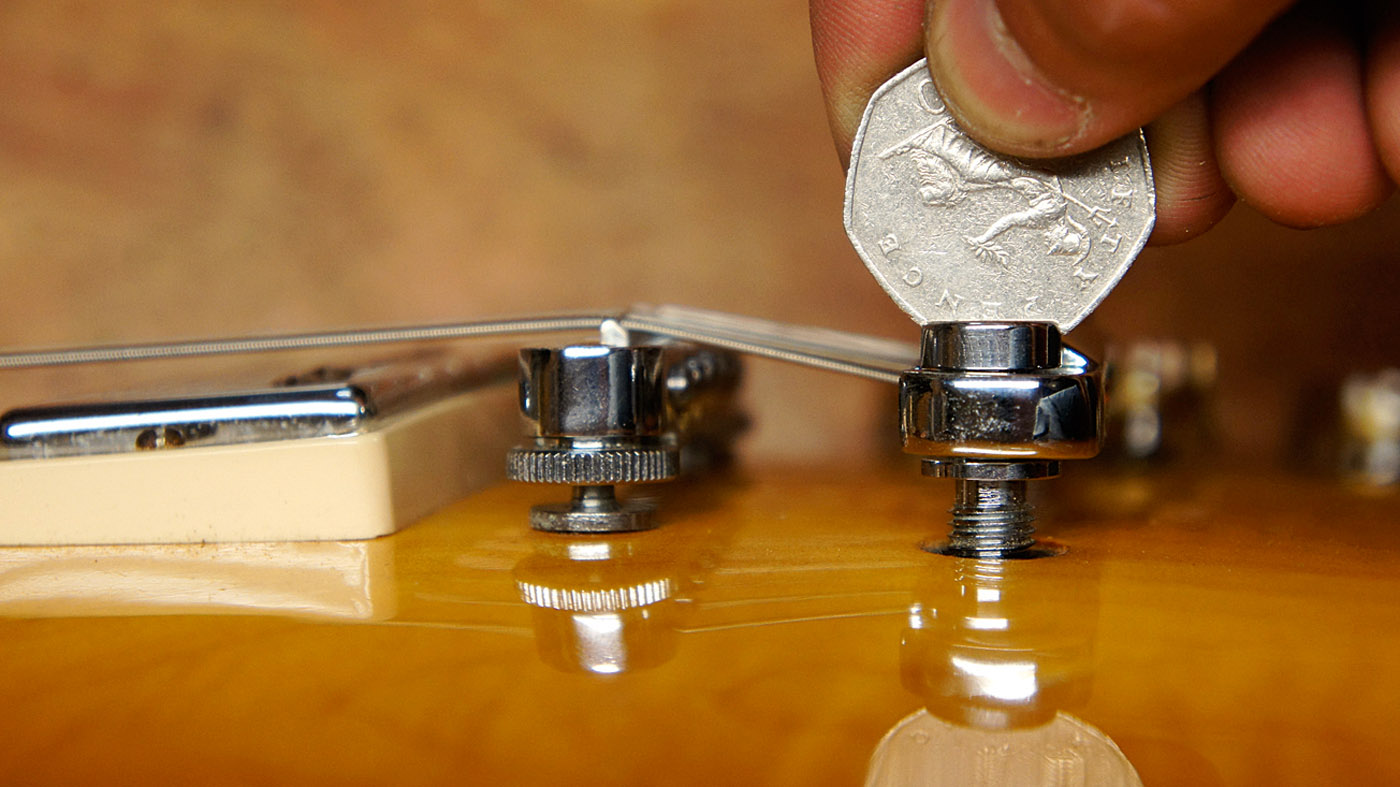
Stopbar tailpiece setting. Thought you were done, eh? This tailpiece bar controls a couple of things: the down tension relating to the collapsing bridge factor and also string tension. Higher bar height means easier bending! Use a coin (ideally a 50p piece) to turn it. Don’t be tempted by a flat head screwdriver - you’ll wreck the chrome!
Jack runs an independent guitar setup and guitar repair service in Manchester, England. He serves the musicians of the Northwest of England, working on electric guitars, bass guitars, acoustic guitars and more. Jack has been writing the Fix Your Guitar column in Total Guitar Magazine since 2017.
