How to change pickups on a Les Paul-style guitar
Give your LP a fresh lease of life
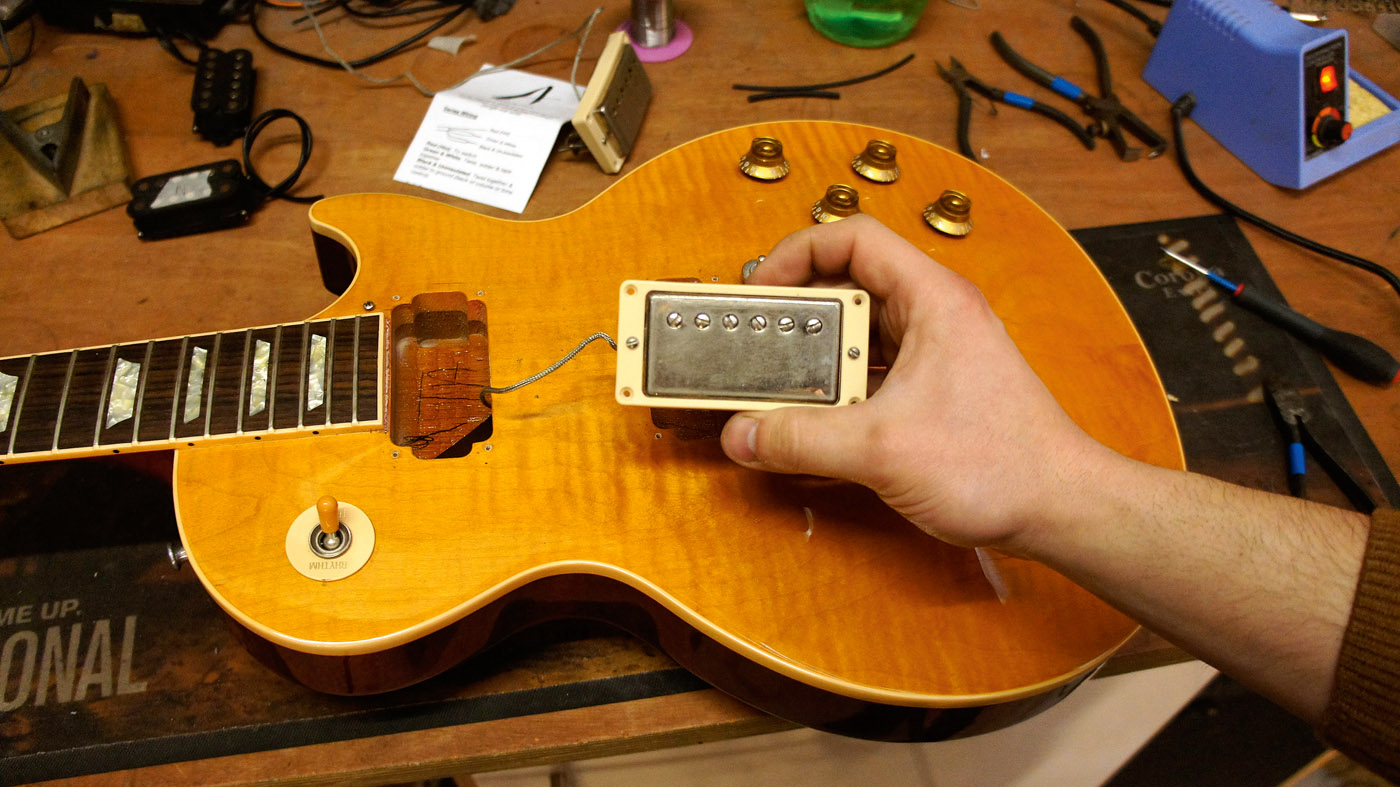
This time we’re pimping a Gibson Les Paul with some new pickups; a delightful Tom Anderson H1 and H2 set. While the Les Paul has class, it’s not as easy to modify when compared to a Stratocaster as everything on a Strat is mounted to the scratchplate with easy access. We’ll have to do some soldering inside the Les Paul’s electronics cavity whilst trying not to melt anything else!
Choosing pickups is hard and you might not know if your choice was right until you’ve got them in your guitar and plugged into your rig. But you can chop and change them out yourself, rather than taking it to your guitar tech. When buying second-hand pickups we’d recommend testing them for DC resistance with a multimeter fi rst. Check by setting the meter to 200kΩ, you should get a reading between, say, 5kΩ and 22kΩ. If so, your pickup coils are intact and good to go.
So, let’s chop off the strings, stash the bridge and let’s dive in.
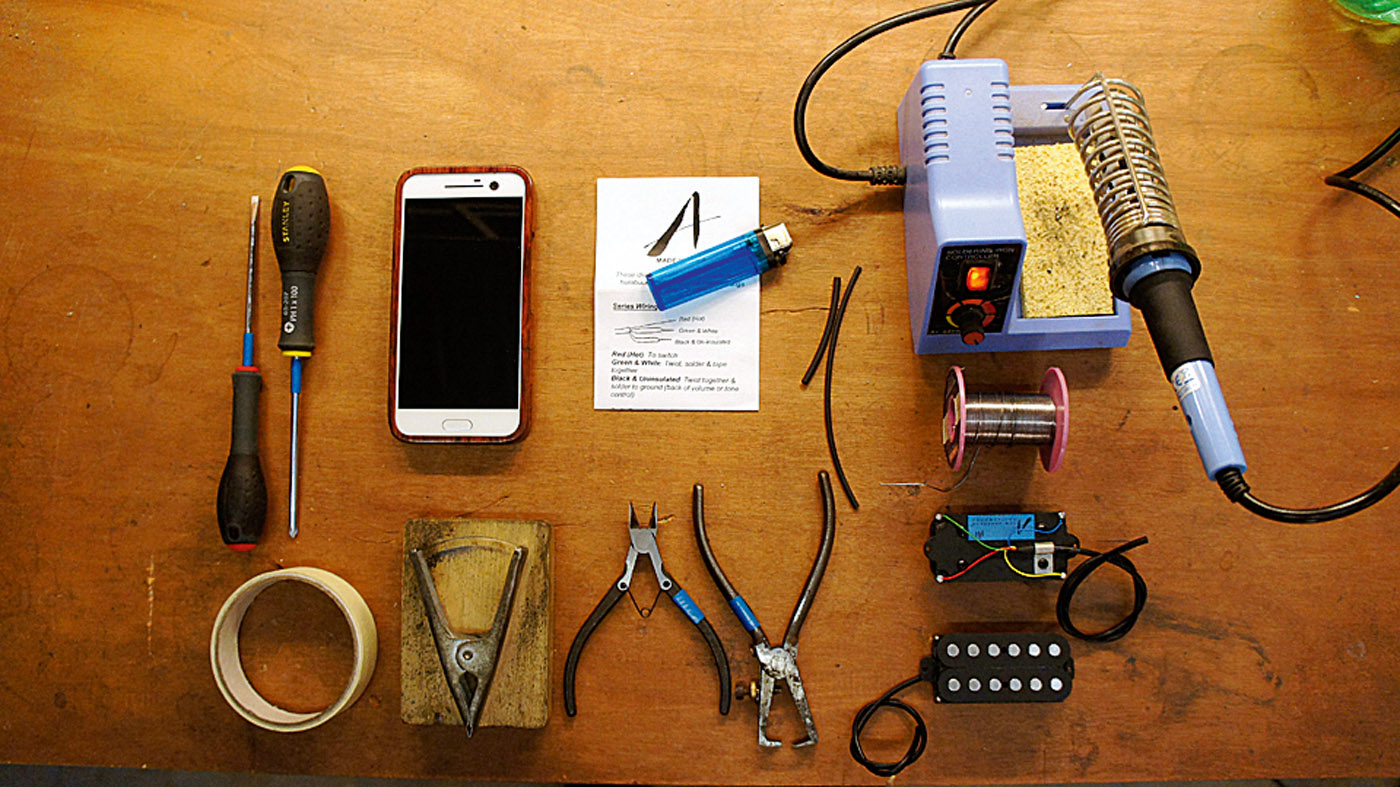
What you need:
- New pickups
- 40 watt soldering iron
- 60/40 solder
- Wire cutters
- Wire strippers
- Shrink tubing
- Lighter
- Masking tape
- Pickup colour code
- Screwdrivers
- A camera phone
Step 1
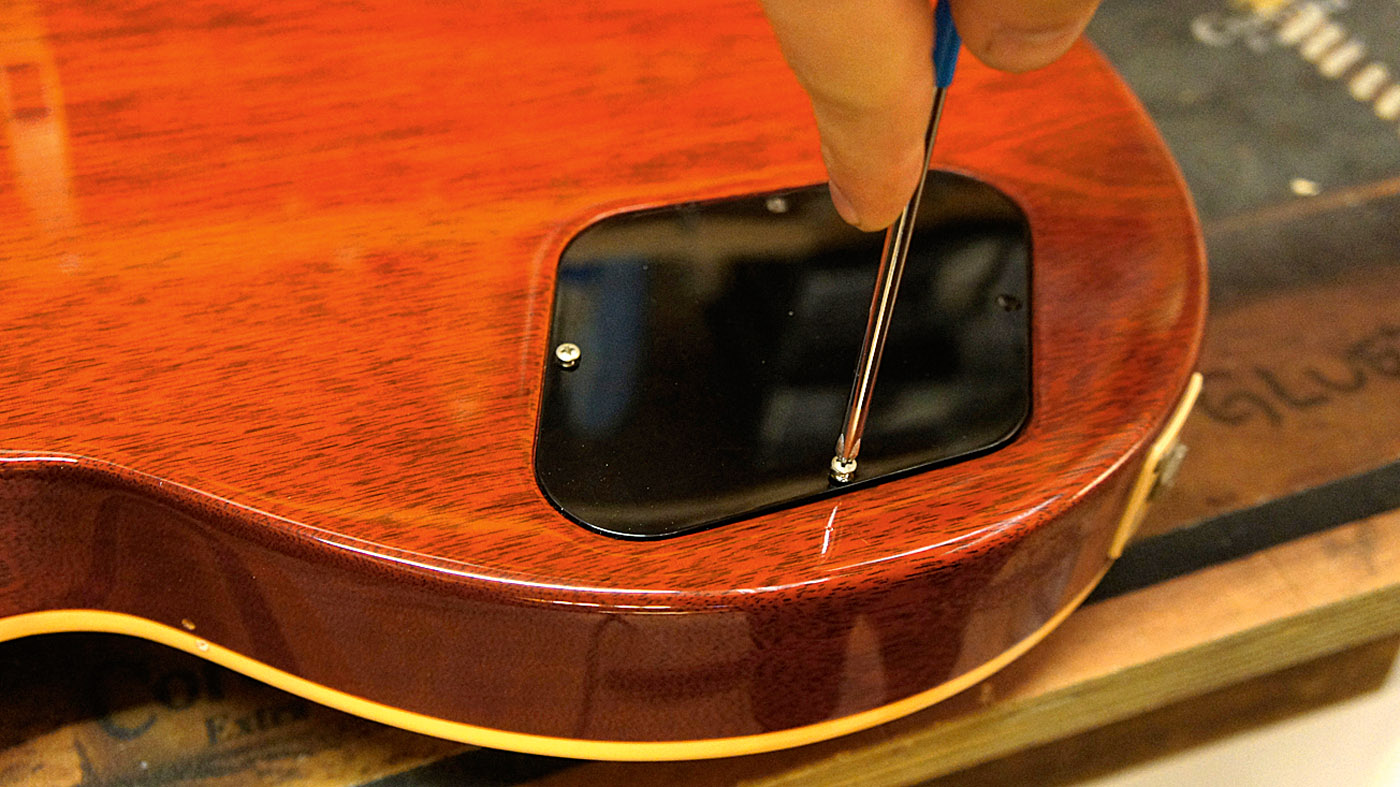
We’ve got to do some detective work before we can get busy with the soldering. Let’s start by taking the rear panel off (a little obvious perhaps!). You’ll need the PH1 screwdriver for Gibsons, don’t lose the tiny screws - keep them in a tray.
Step 2
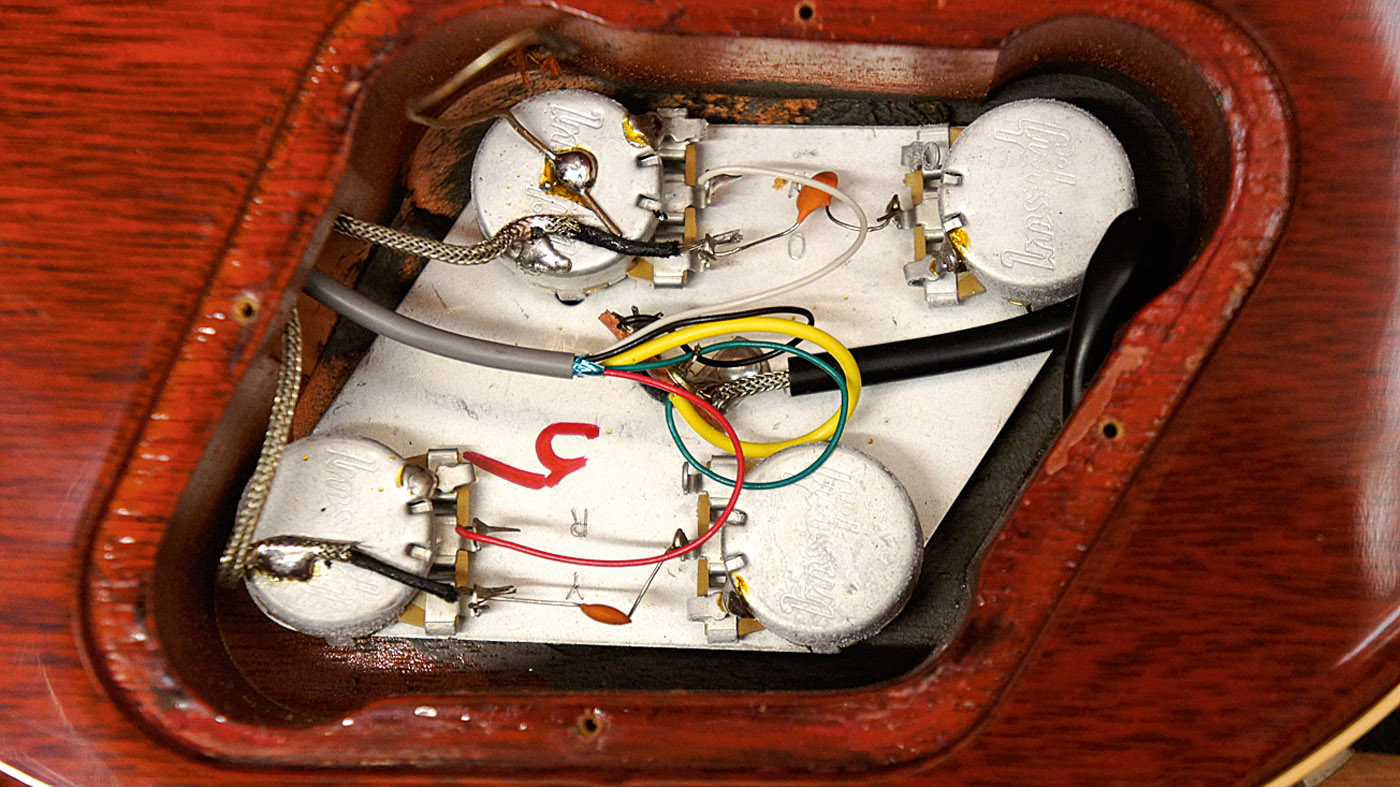
There’s a host of wires going everywhere and we need to ID the pickup wires. In this case it’s the two bare braided wires disappearing into the body. The braided wire is a screened cable: that means there’s a central wire (black) and a ground wire surrounding it - we’ll have to de-solder each so take a photo of where it went first.
Step 3
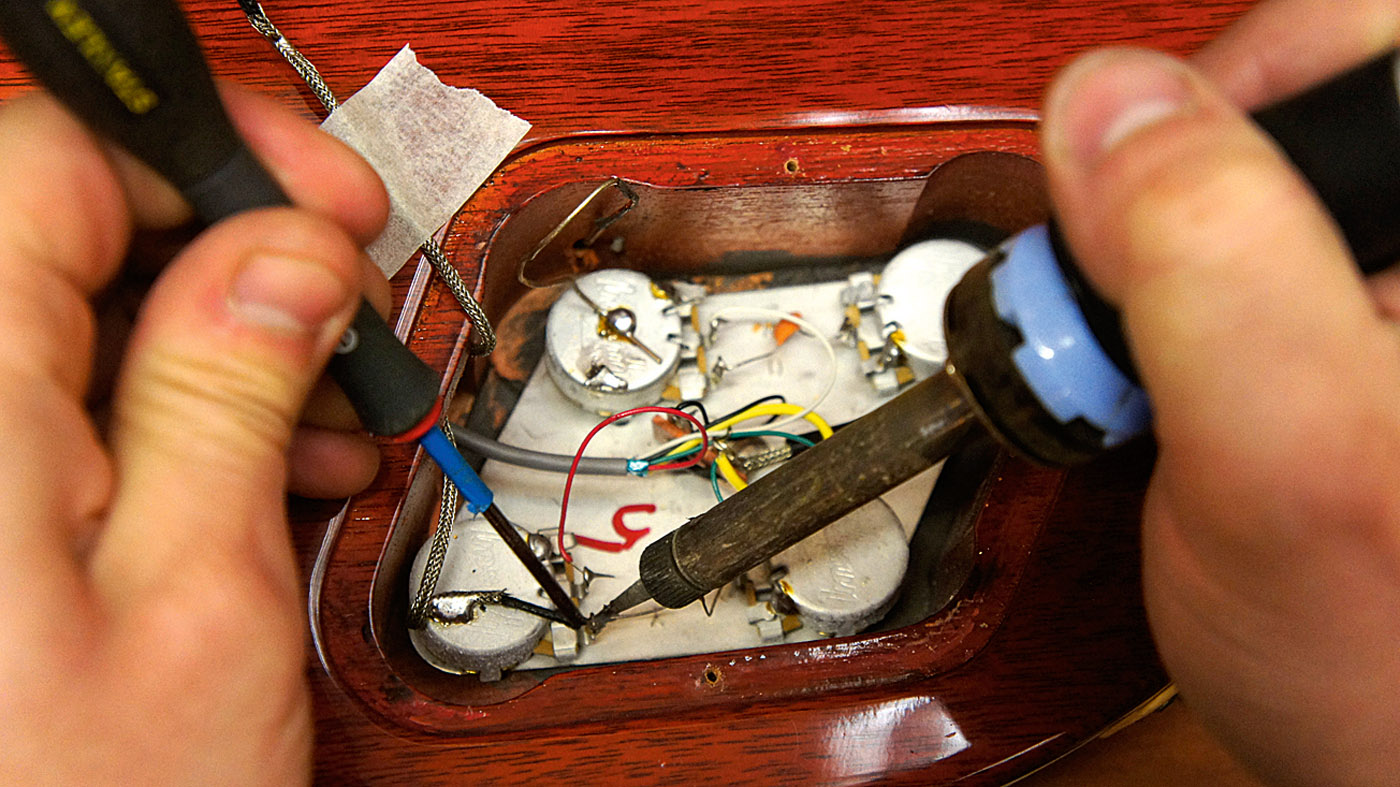
The screened cables are soldered onto a lug of the pot and the back can of the pot, which will need a fully-warmed soldering iron. Heat up the black wires attached to the lug of the pot first and use a small screwdriver to pick it away, you don’t want to burn your fingertips. Follow with the braided wires.
Step 4
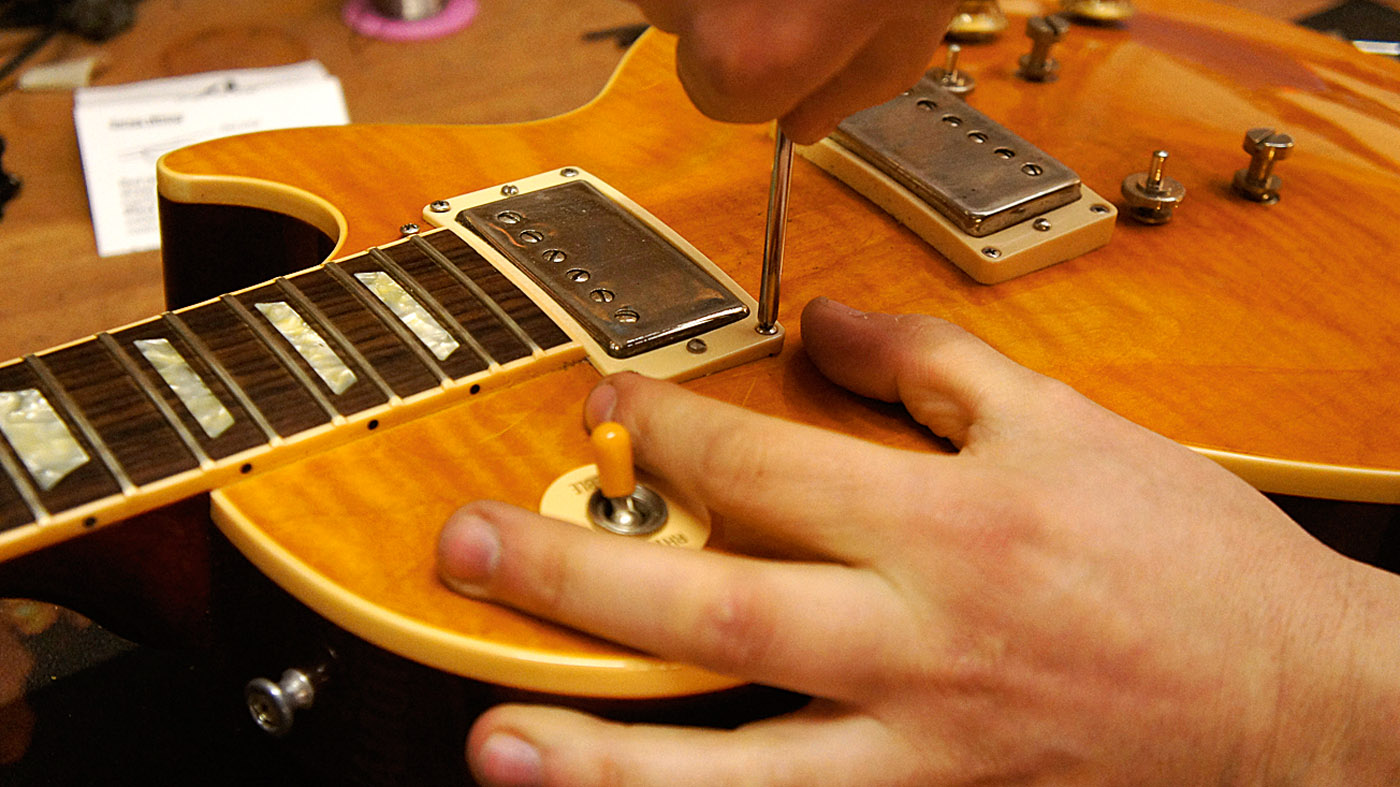
Unscrew the pickup ring’s four tiny screws and store them, taking note of which height screws went where! We’ll lift out the pickups with the rings too, making it a bit easier. Be careful of the sharp backs of the pickups. If you drop a pickup onto the top of the guitar you’ll be sorry!
Want all the hottest music and gear news, reviews, deals, features and more, direct to your inbox? Sign up here.
Step 5
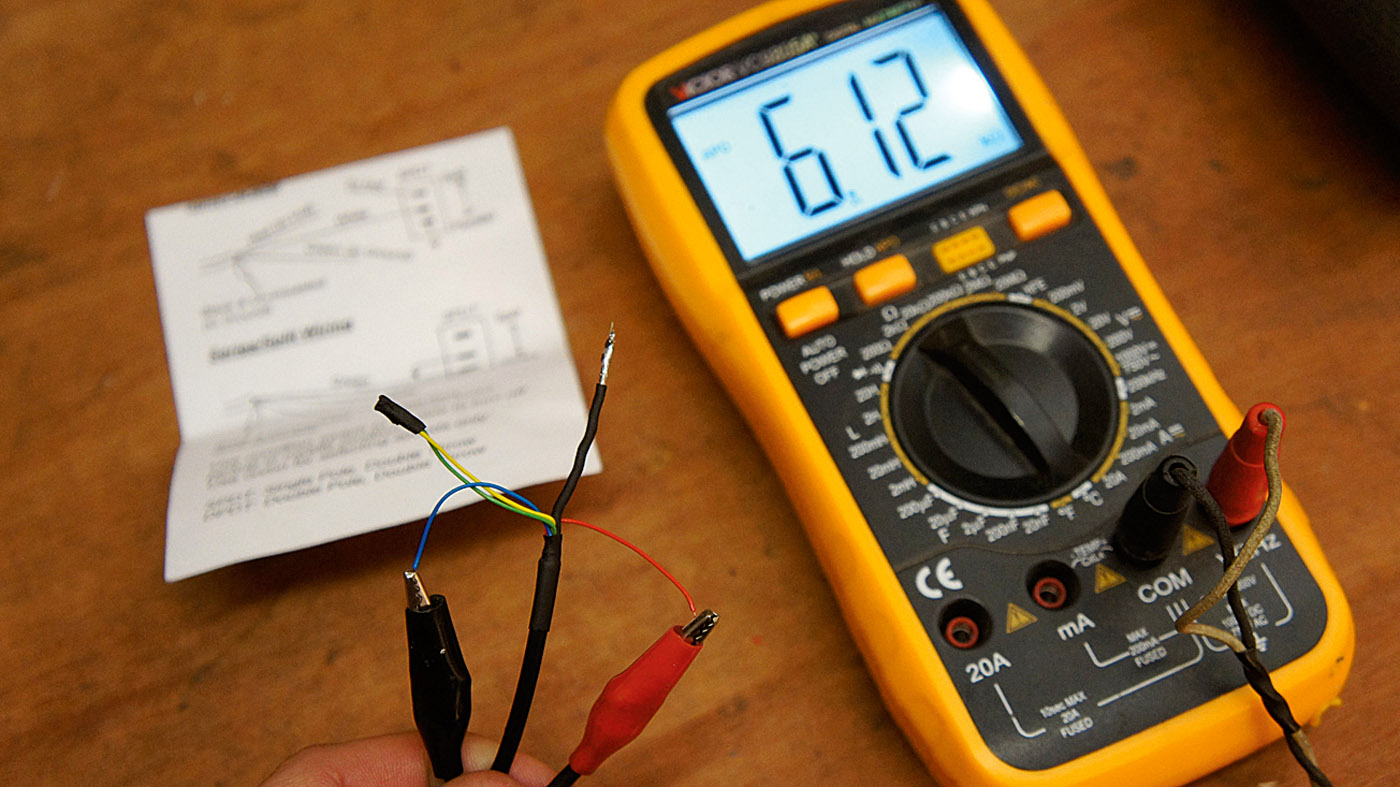
As they’re second hand, we’re not sure which pickup is for neck and bridge. One clue is the pole piece spacing - the wider spacing should be for the bridge. If the poles are the same spacing we’d suggest putting the pickup with a higher DC resistance at the bridge. You can check this with your multimeter.
Step 6
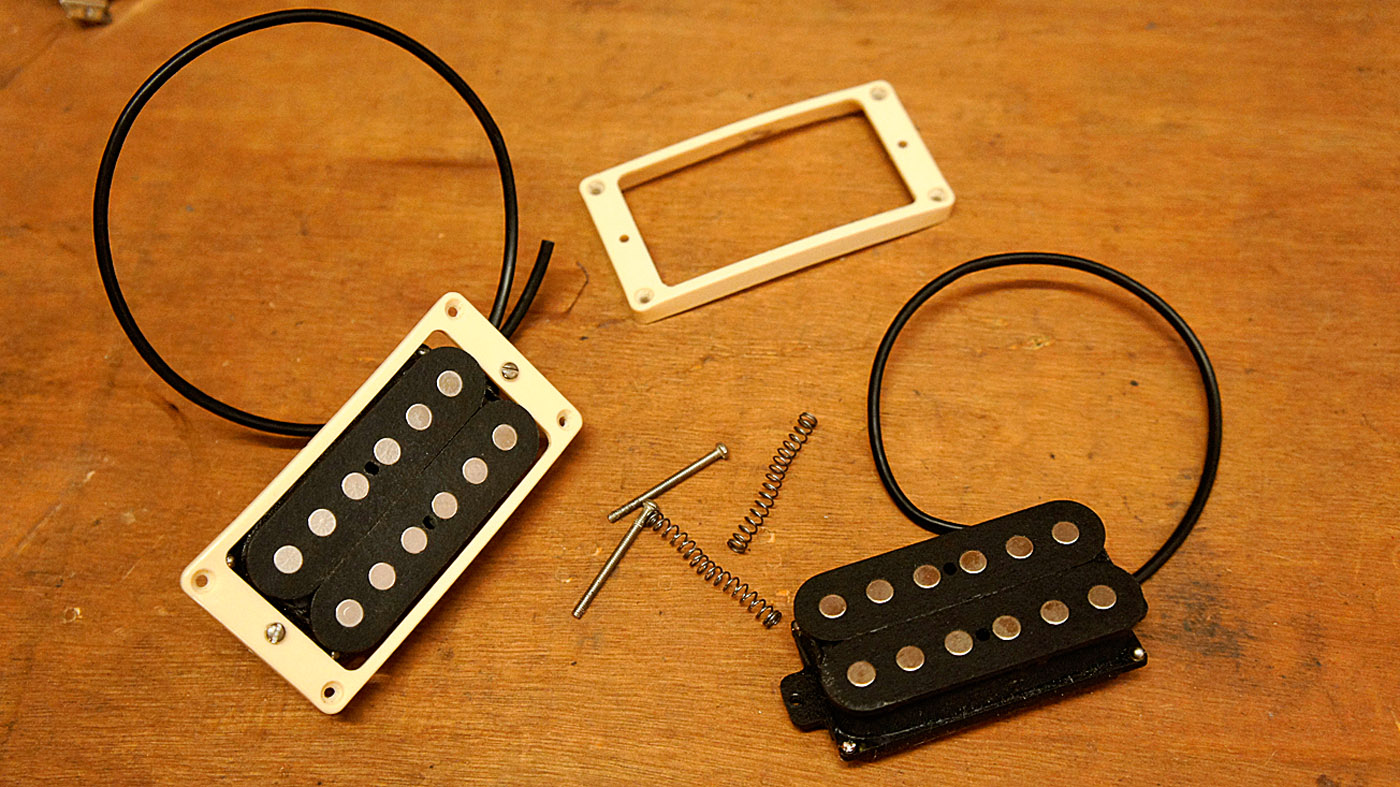
Time to mount the pickups in their relevant pickup rings. It’s a fiddly job for sure! Do your best not to fire the springs off into the ether and be careful that you don’t accidentally cross-thread the bolts into the holes too - it’s easily done. Double check you have it the right way round!
Step 7
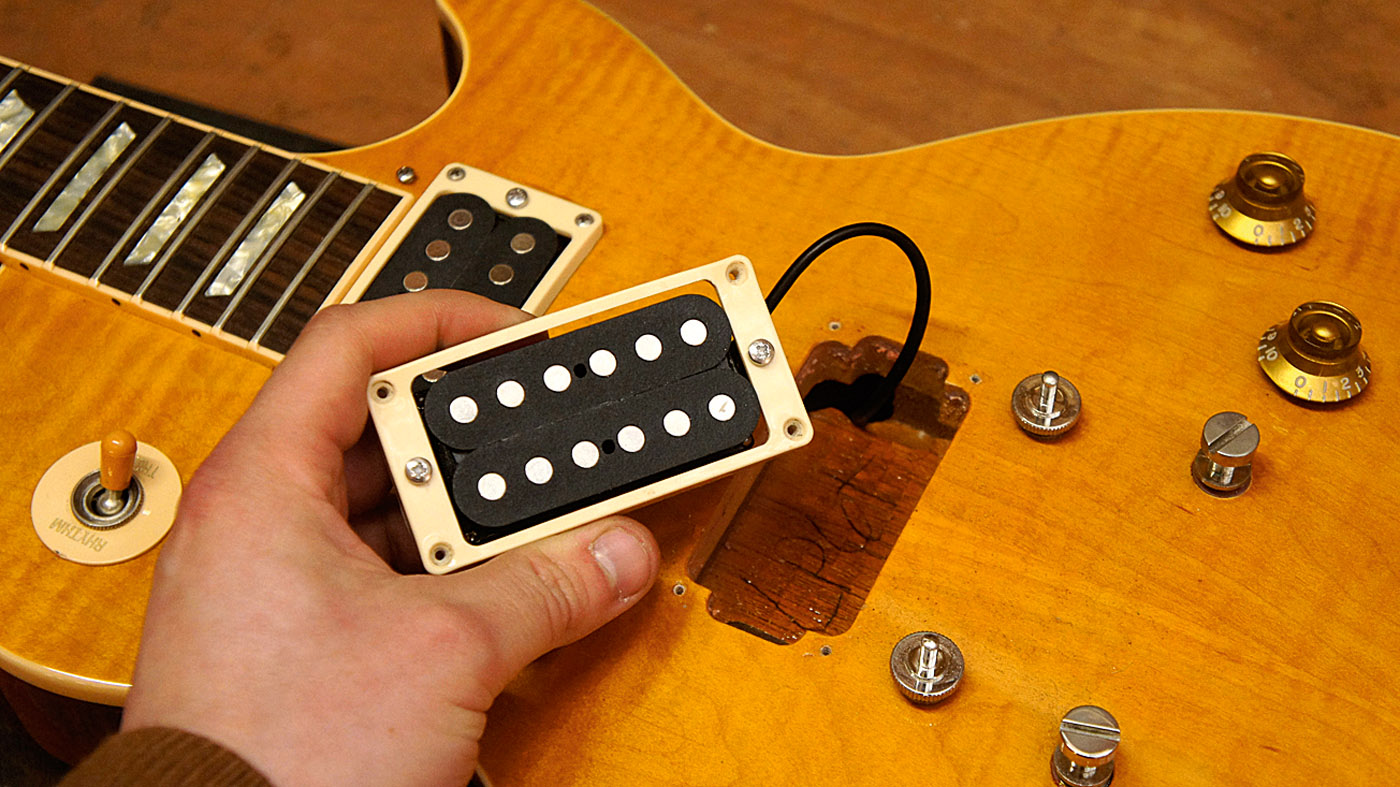
Post the cables through the rout in the body and send them to the main electronics cavity. If the hole for the wires isn’t very generous it might help to tape the splayed out pickup wires together so they can’t catch on anything on the way through. When they’re nestled in, replace the four mini pickup ring screws.
Step 8
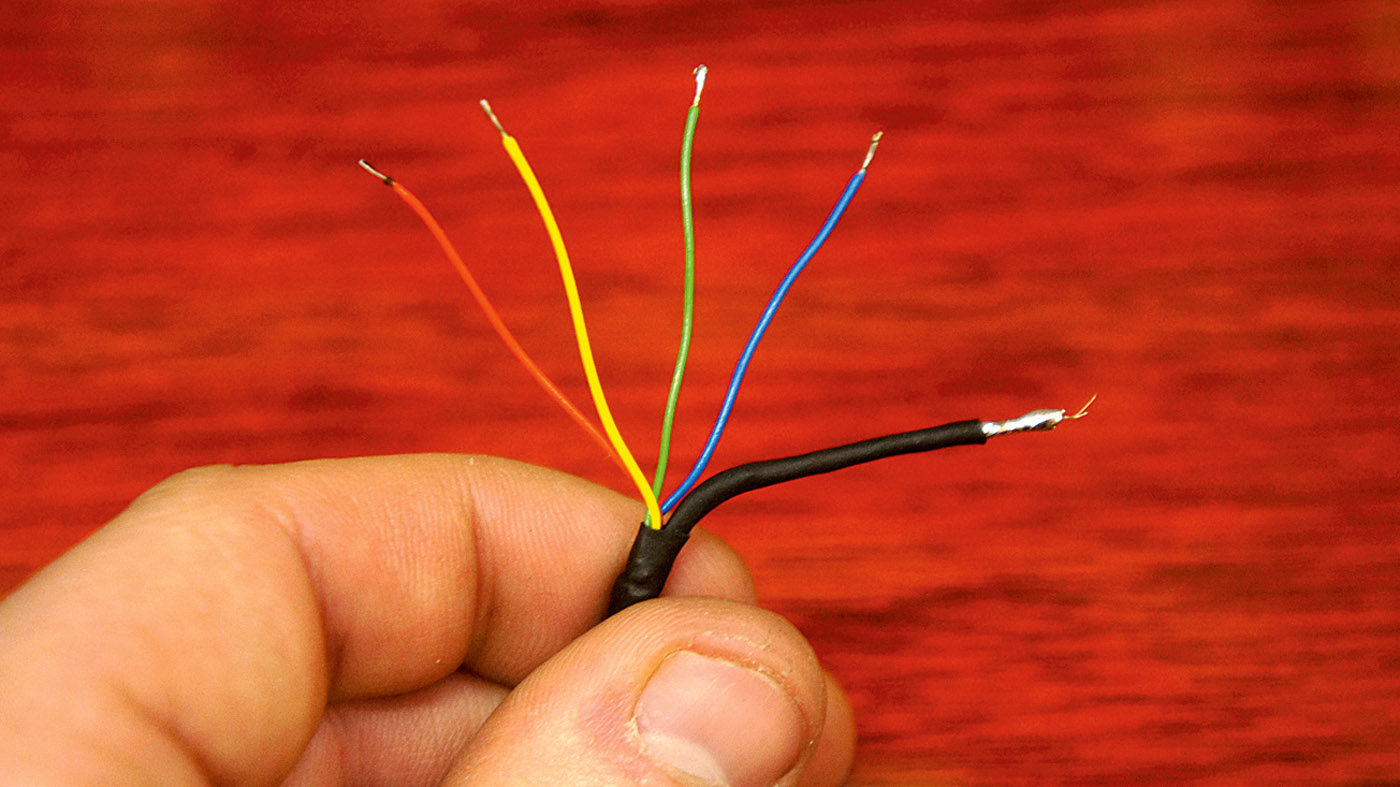
Your pickup’s five wires are colour coded according to the manufacturer, so it’s best to look up online which wire goes where. They are the start and end of each pickup coil plus a bare wire - and the bare wire always gets soldered to ground. Having these wires allows you to do some cool wiring mods.
Step 9
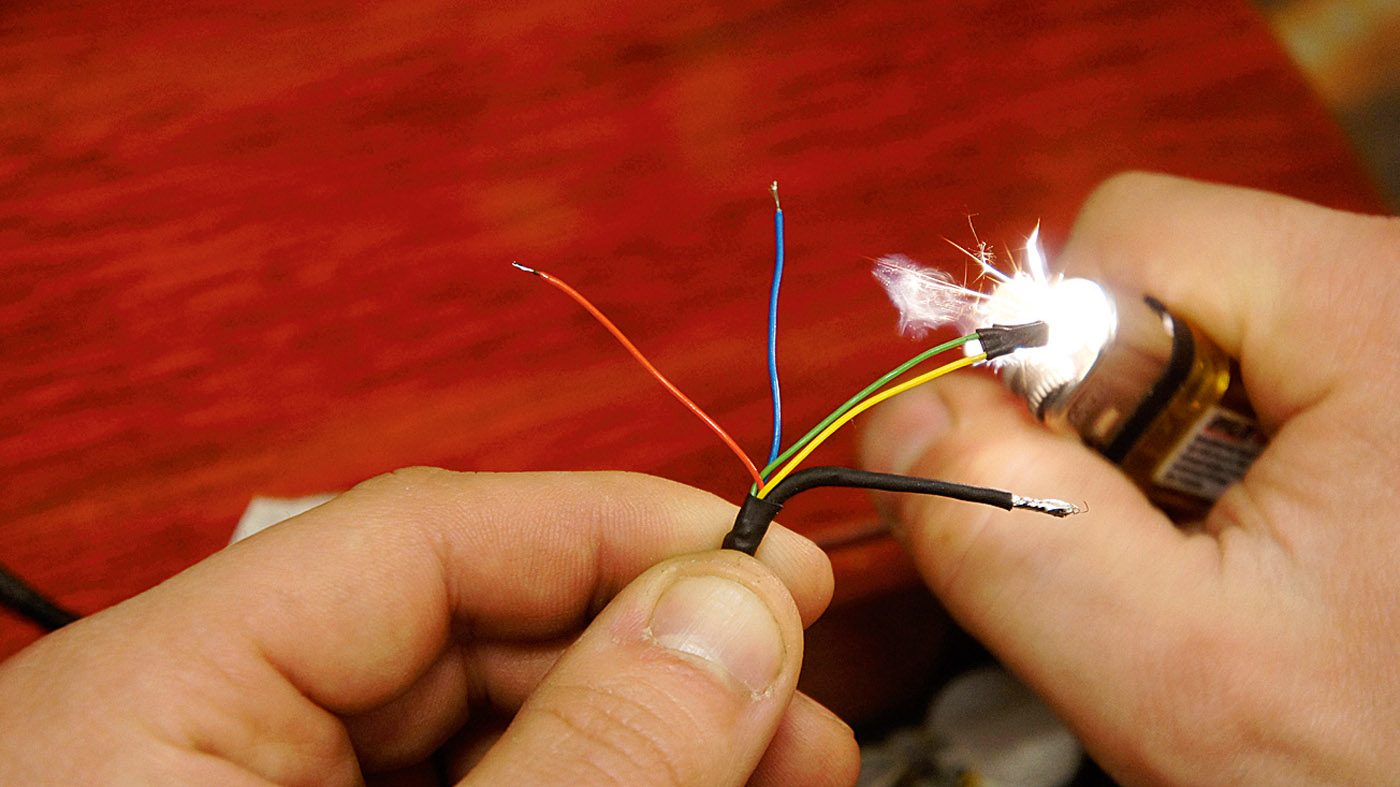
Having checked with the pickup colour code we need to solder the green and yellow wires together. Strip back the wire if needed, tin the bare wire and solder. Now apply shrink tubing to that joint to insulate it and stop it making contact with anything inside that it shouldn’t! The bare and blue are both ground in this scheme.
Step 10
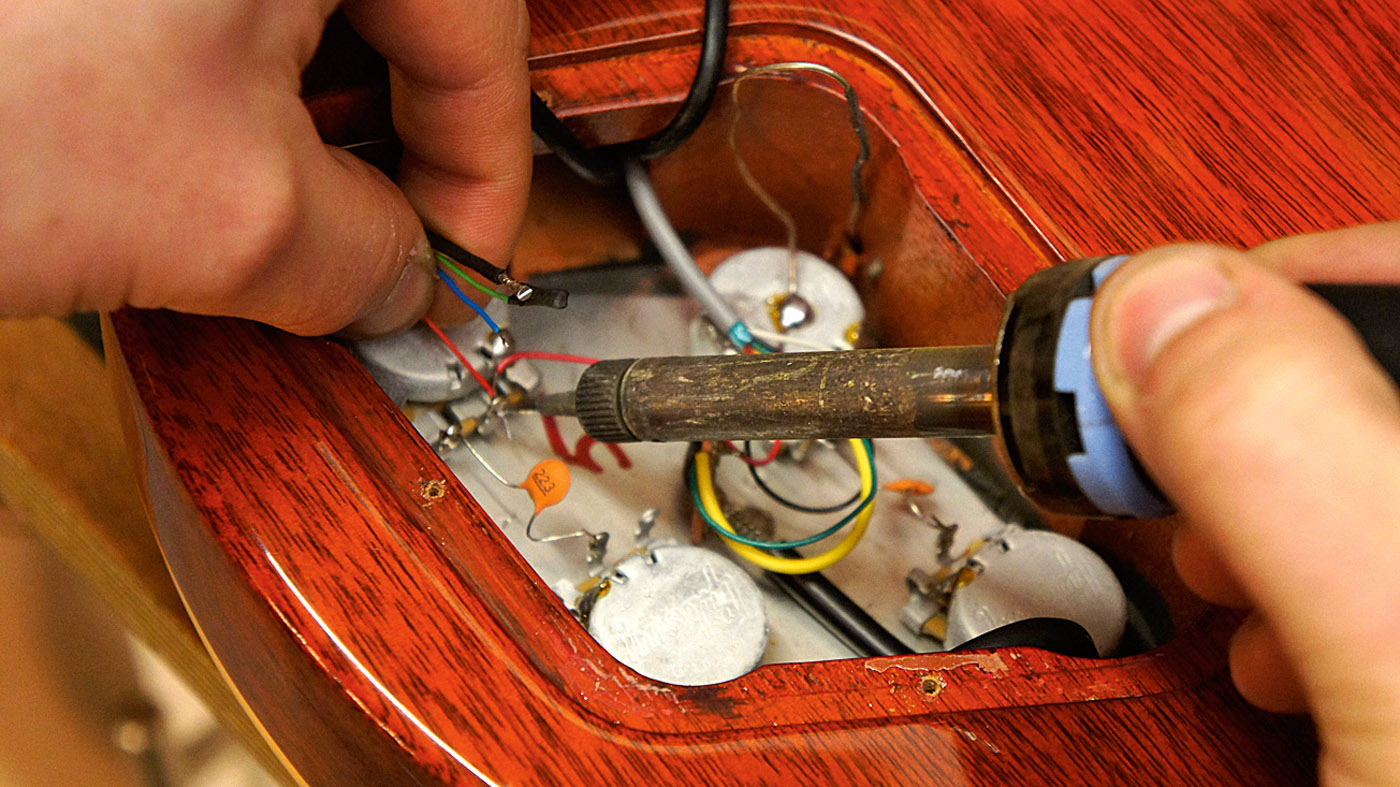
Solder in the hot wires to the central lugs of the volume pots. Make sure you don’t have the bridge pickup going to the neck pickup’s pot. Double check it! Bend or tape away other wires that will get in your way otherwise you’ll melt them.
Step 11
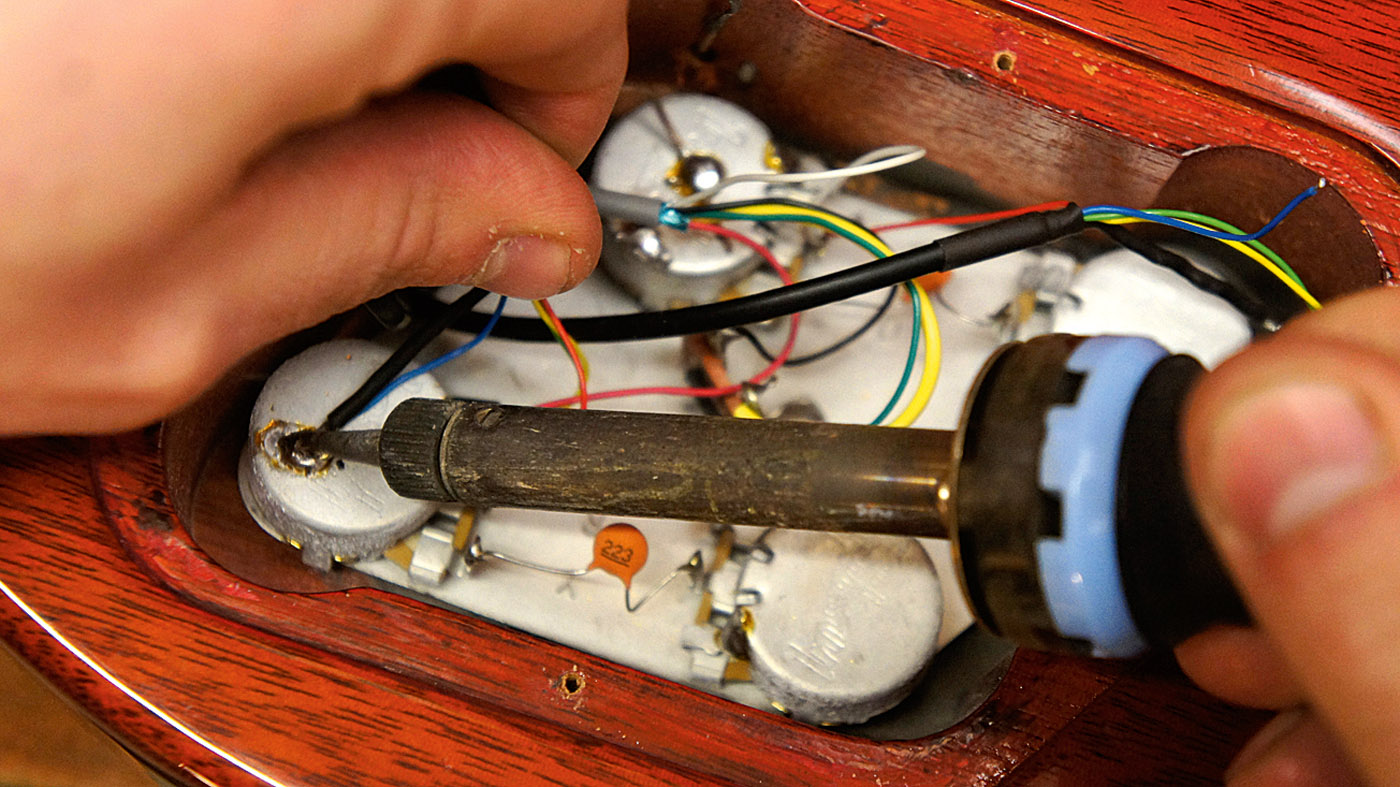
Now solder the ground wires onto the backs of the pots. This will require a bit more heat so expect it to take longer. In our case the blue wire was ground and that’s now been soldered with the bare one to the back of the pot. Use a small flathead screwdriver to pin the joint down while it cools.
Step 12
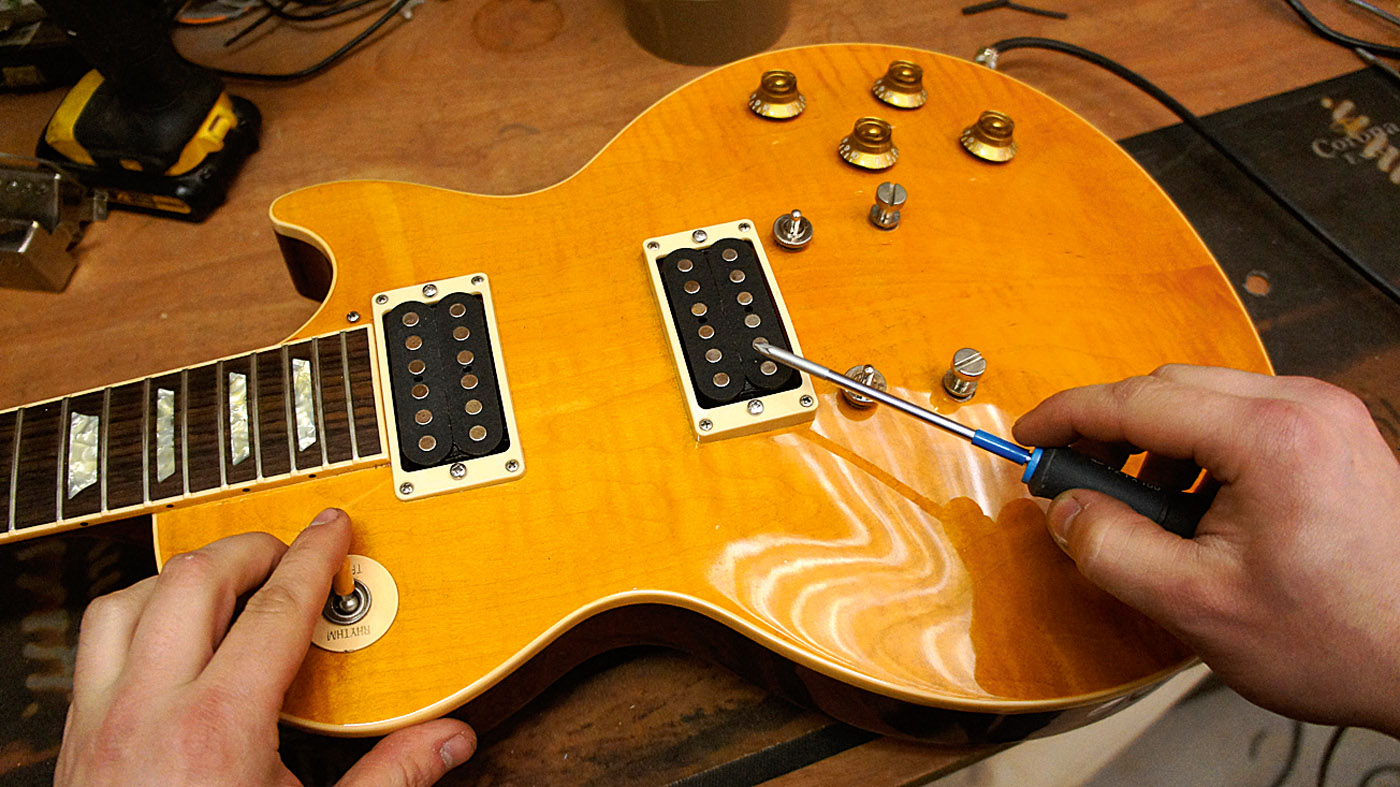
You can test whichever pickup you did first by tapping the pole pieces with a screwdriver when you’re plugged in. If you have metal covers on your pickups, stick on some tape so that you don’t scratch them. You can hear the volume and tone working through the amp before stringing up.
Jack runs an independent guitar setup and guitar repair service in Manchester, England. He serves the musicians of the Northwest of England, working on electric guitars, bass guitars, acoustic guitars and more. Jack has been writing the Fix Your Guitar column in Total Guitar Magazine since 2017.
