The drummer’s guide to running click and backing tracks from a phone or sample pad
How to prepare and play-back your click and backing tracks for use in a live setting
Want all the hottest music and gear news, reviews, deals, features and more, direct to your inbox? Sign up here.
You are now subscribed
Your newsletter sign-up was successful
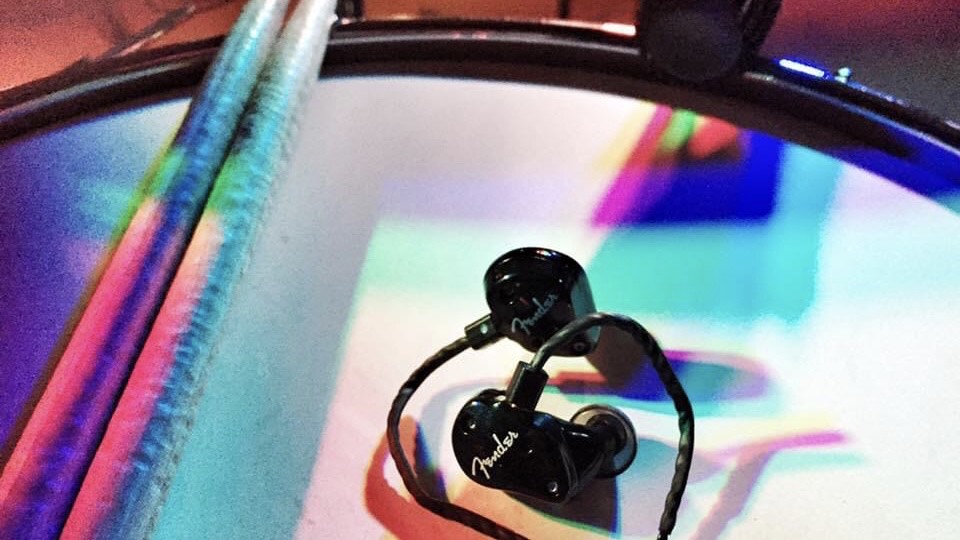
As backing tracks and tempo-locked samples, hardware patch changes and even projected visuals become more and more common, there’s a chance that at some point you’re going to need to play to a click live. Besides the ability to actually hear a metronome and keep time with it, there’s one main hurdle to overcome when playing in front of a live audience to a click track: you need to hear it, they definitely don’t.
But how’s it done? The answer is the same as the length of cable to your in-ear monitors (we’ll get to that in a bit), but here, we’re going to break-down some of the most common ways to do it with either a phone or tablet or a dedicated sample pad, and how to avoid deafening your audience with clanging monotony of a cowbell click track while you do.
Looking for gear to run your backing tracks? Check out our buyer's guides:
• The best in-ear monitors
• Best budget in-ear monitors
• The Best electronic drum pads
• The best drum triggers
Preparing your click and backing tracks
Step one: Preparing your click and backing tracks
1. Tricky Clicky
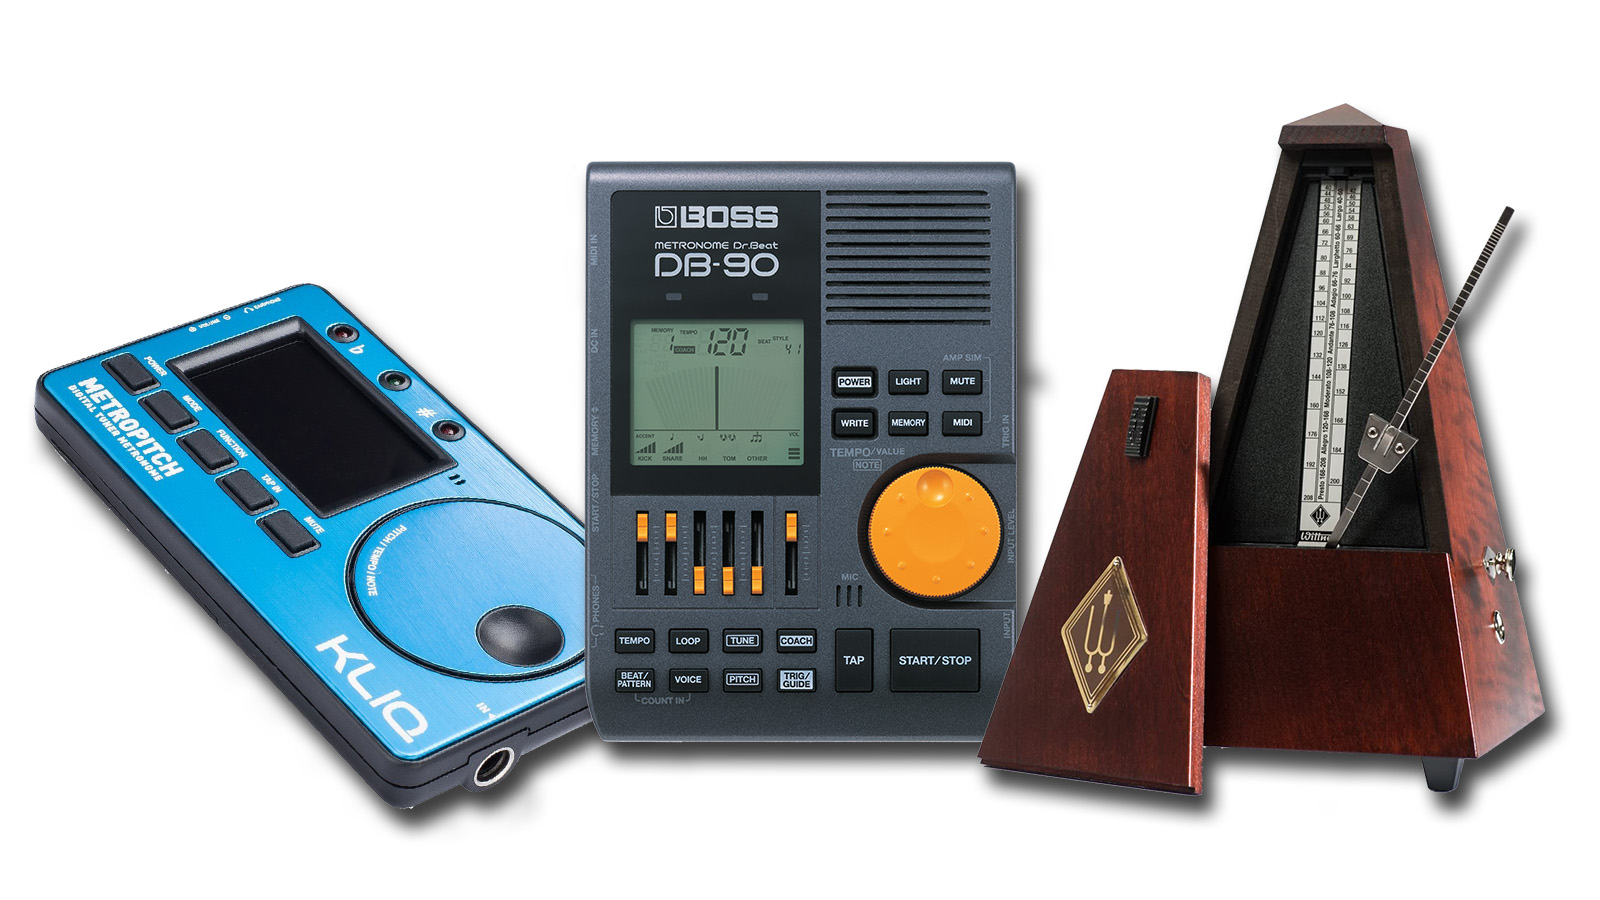
Our first point has nothing to do with the technical aspects of creating and using a click track. The good news is that it involves plenty of time sat at your drum kit doing what you enjoy the most - playing. The bad news is that you will need to be proficient with playing to a metronome, just like that grizzly old drum teacher tried to tell you. Get comfortable playing to a click at a whole range of tempos from heartbreaking ballads to neck-breaking punk and the rest is just organisation and connectivity.
If you don’t, you can expect your tracks, samples or anything else which has brought you to needing to use a click in the first place to run wildly away from you during a live performance which is likely to terminally ruin the song. Plus, being able to play to a click isn’t just handy for this scenario, it’ll improve your timing when you’re not backed by a metronome and it’ll make recording yourself a doddle in the future.
2. Make it tick
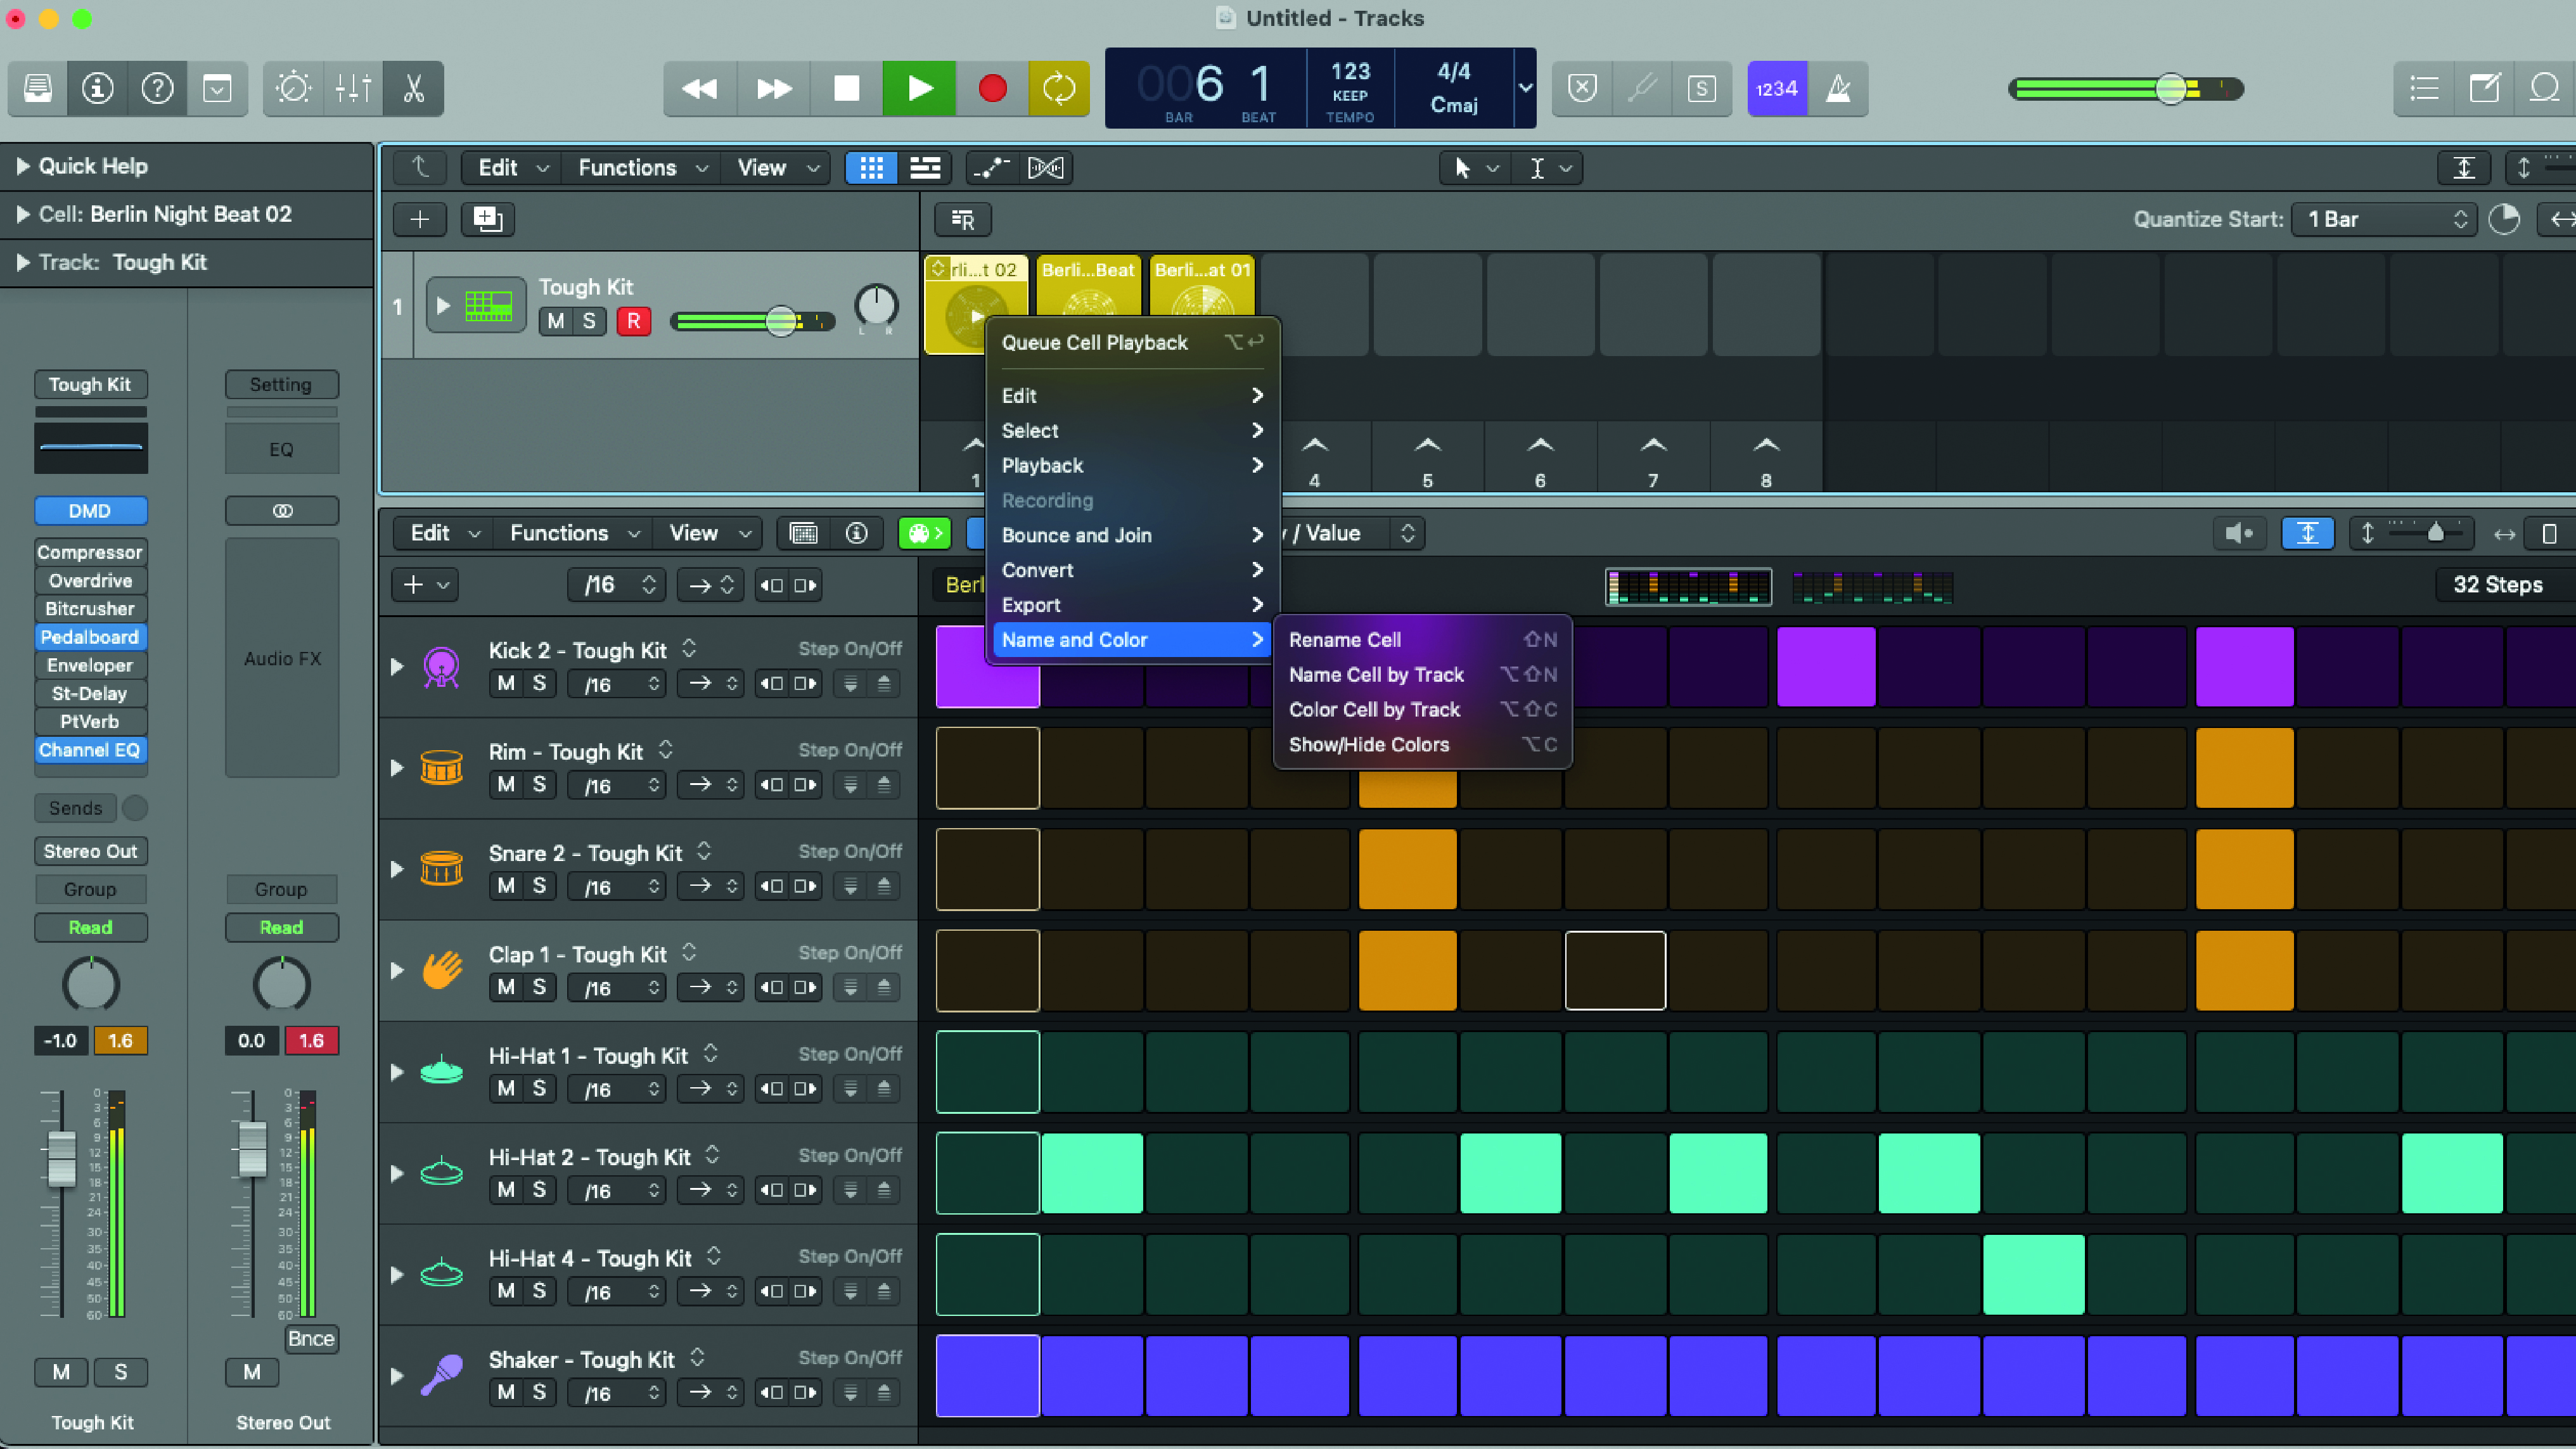
Assuming you’re now like a hand in a glove with your metronome, it’s time to look at the songs you’re going to play live to a click. In order to make everything work- regardless of the technology you’re using to play it back - you’re going to need two things: a track packed with the sounds you want the audience to hear and a corresponding click track for you to lock into.
Want all the hottest music and gear news, reviews, deals, features and more, direct to your inbox? Sign up here.
The nature of what goes on the track is most likely already decided (given that you’re already considering it). It could be that you need some electronic loops that appear for a few bars every chorus, a complete keyboard part, sound effects that aren’t possible to recreate in a band setup or anything in between/beyond.
You can make it yourself or with your bandmates using a DAW, buy a commercial, customised backing track if it’s a cover, or if you’re using sounds that feature on a recording you’ve already made, speak to the person who recorded or mixed it/open the project yourself (if that’s you) and start muting the bits you don’t want on your track. The point is, you need the musical elements before you can play them back.
3. Count me in
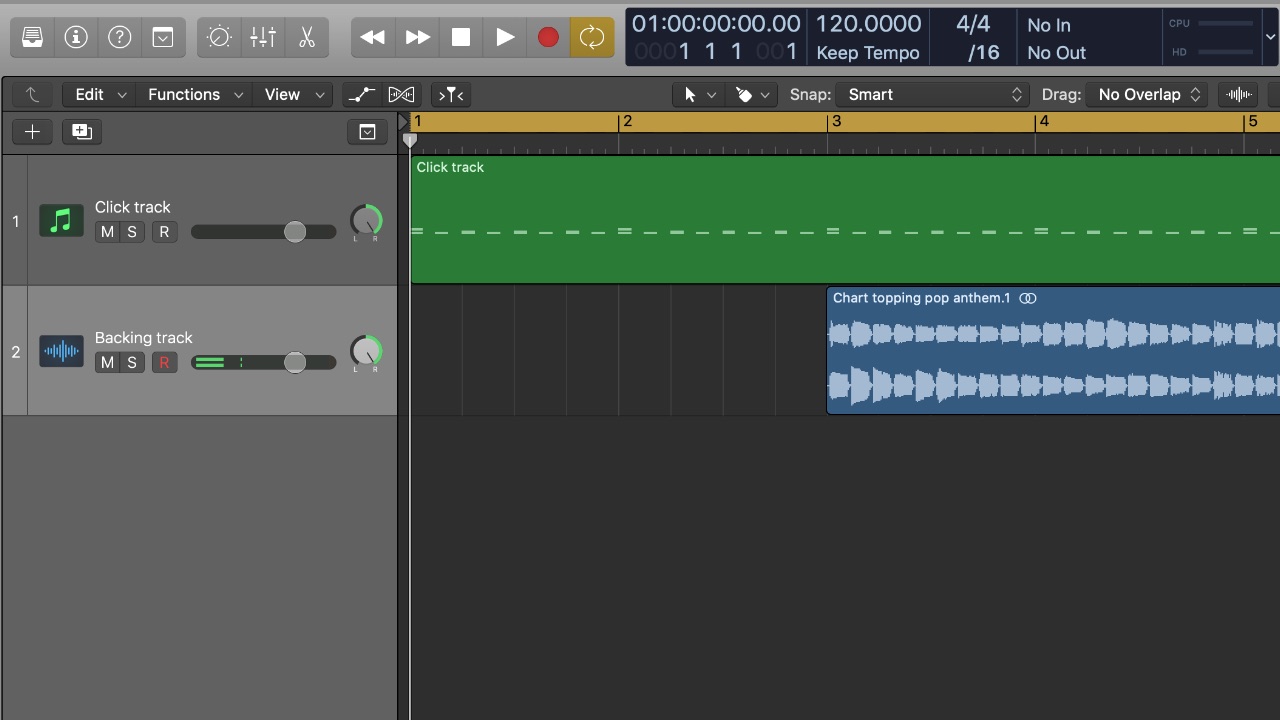
As the drummer, you’re probably the only band member who will actually have the click track piped into your ears, but you’re certainly the one person who will need it. So, at this stage it’s worth creating some workflow ‘rules’ to follow that can apply to your tracks. A band member hopefully wouldn’t start playing if you’re not ready, but your click track won’t be that forgiving once you’ve pressed play.
This means that regardless of how the song starts (a guitar intro, vocal line, drum beat etc.) you should add a count-in of the same length to each track. Now, it’s up to you whether this count in is purely for you - a count-in for your count-in, if you like - but it’s worth giving yourself enough time to bed-in to the tempo of the song before the backing track kicks in.
If another live instrument or vocal is the sound that starts the song off, you’re still going to have to give them a count-in to make sure that everything syncs up. So, come up with a formula that works for you, add a couple of bars’ of empty space to your backing track before anything happens and stick to it for each song so that there are no surprises.
4. For your ears only
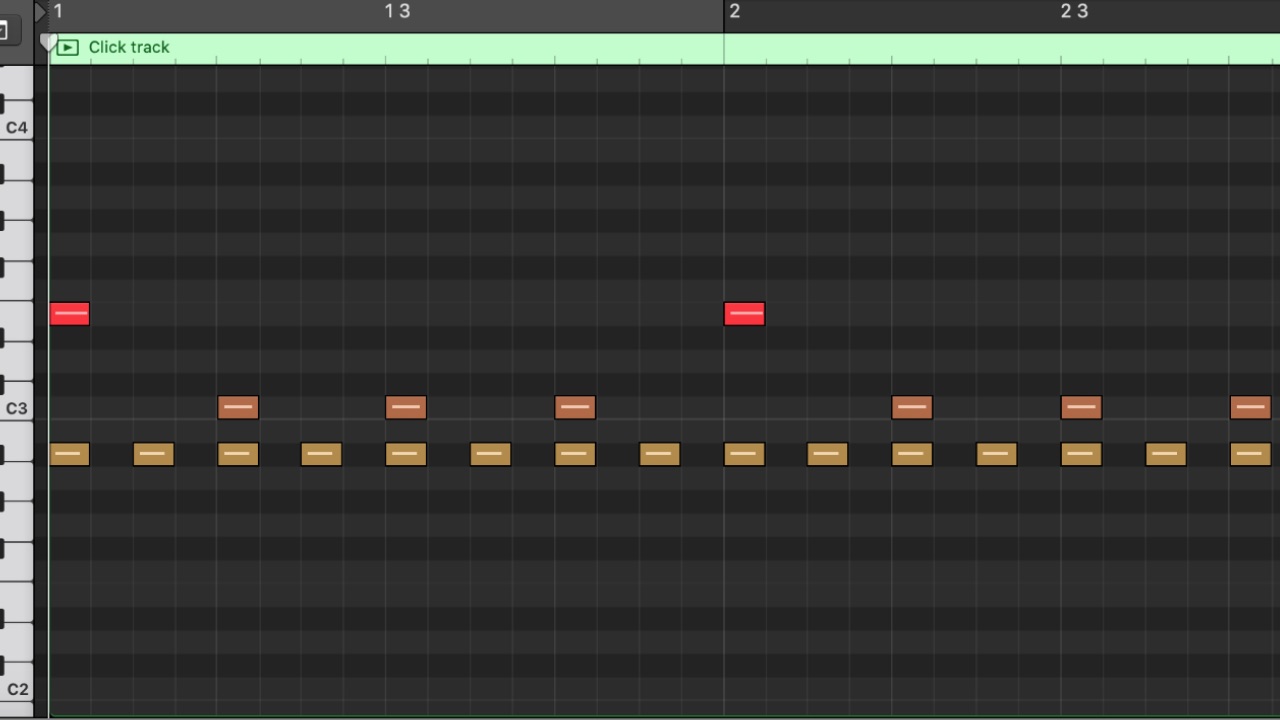
A click track is there to do one thing, and that’s keep you in time with the backing track. Your audience (hopefully) aren’t going to hear it, and in this lies a few advantages.
First, is that your click track can be whatever you want it to be. If you’re running a click for the entirety of your set then you might find endless quarter-note cowbells or woodblocks to be a bit fatiguing.
Likewise, you don’t have to stick to straight crotchets, in fact at slower tempos you might find it helpful to have an eighth or sixteenth-note click to fill the space. It could be a shaker, a percussion loop or anything else.
Our only suggestion would be to make it an obvious, clear-cut sound that isn’t going to be masked by anything you’re actually playing, or a sound within the backing track (for example, an acoustic bass drum sample), and add an element so that there’s a clear indication of the first beat of each bar (a different sound, or the same sound at a different pitch).
But there’s another benefit to nobody else hearing your click track - you can record spoken cues for arrangement guides, additional counts for when a different section is coming up, warnings for a stop or anything else you like, because you and possibly your bandmates are the only people who are going to hear it.
5. Track in the box
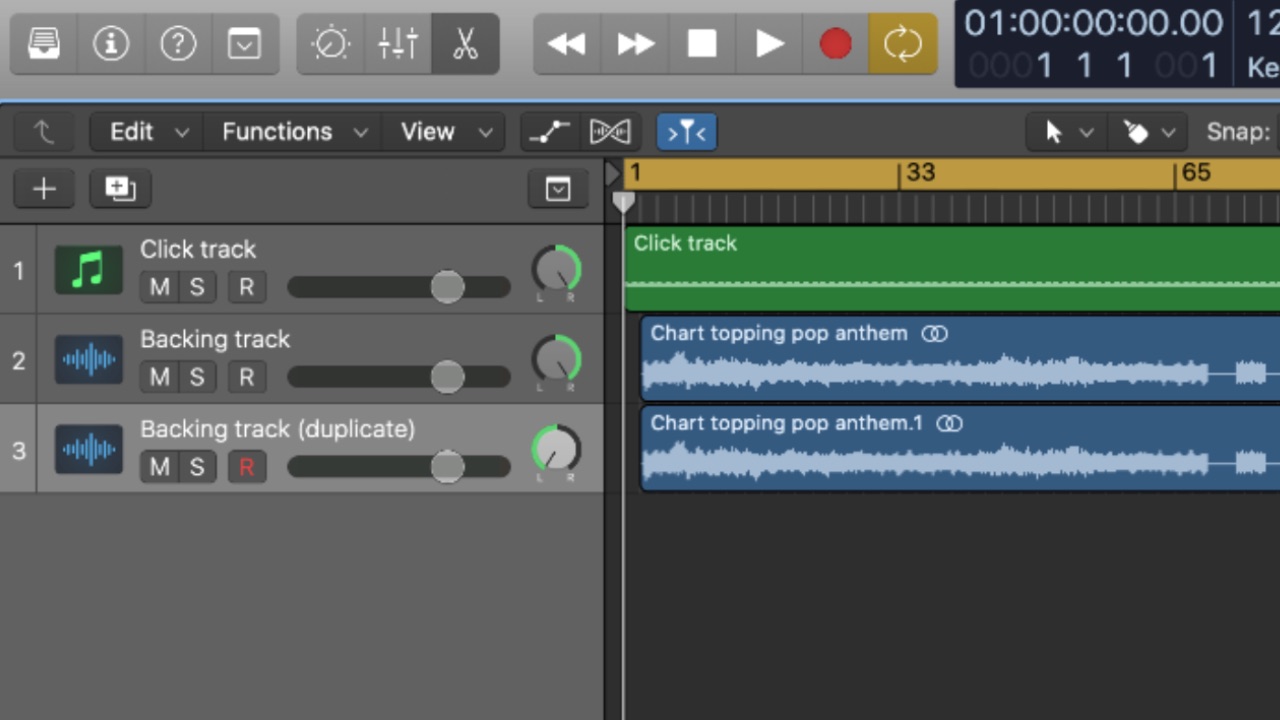
With your backing track elements confirmed and your separate click track created, it’s time to export it. The way it eventually gets played back will partly govern how you do this, so if you’re going to play-back a backing track/click in the simplest way, skip to the next point.
But for now we’re going to assume that you’re either putting the files into some hardware (like a Roland SPD-SX or similar sample pad) or that you’re running the set it from a computer. Either way, you’re going to need to export your click and backing track as two files: one containing the musical elements of your track, and the other containing the click.
These need to be exactly the same length, and will need to be playable by whatever’s playing them back. For our setup, we’re going to create a mono, 16-bit/44.1kHz .wav file for the track and another file with the same spec for the click. We do this from a DAW software (Logic in this case), by setting our locators to the first beat of our count-in bar, and the end of the track. As mentioned, it’s important to keep these locator setting in place for both files, that way the click and backing track will sync-up perfectly when it’s time to play along.
Using a phone or tablet to play your click and backing tracks
Playback: Using a phone to play your click and backing tracks
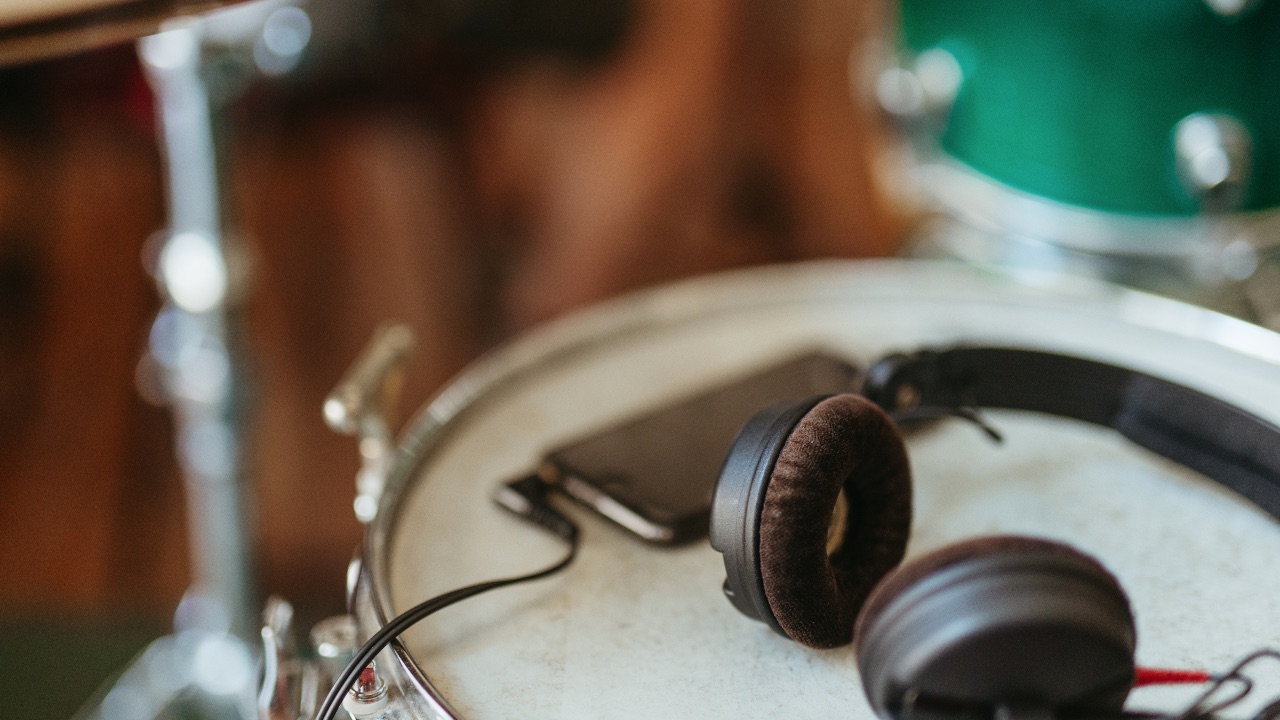
There’s no denying that a pro hardware solution helps when you’re trying to run a click. Not only do you get more flexible routing options, but your signals will more than likely be balanced, reducing the risk of noise and interference from a longer cable run.
But it’s still possible to delve into the world of backing/click tracks with very little money, and as with many things the answer is probably already sat in your pocket.
If you want to use your phone to play-back your track and click, there’s a few things you’ll need to do differently compared to the dedicated hardware options. First, you’ll need to export the backing track and click as one single stereo file. But your phone only has one output, and we don’t want the audience hearing the click, remember?

You can get around this in your DAW before you export your file by panning your click-less backing track to one side, and either the click track on its own, or the click track plus a duplicate of your backing track to the other. The side featuring the click track will be what you hear, and whether or not you choose to include the track on this side too will be decided by your monitoring setup (more on that in a bit).
It doesn’t matter which goes to the left channel, and which goes to the right, but you absolutely have to keep it consistent so that there’s no chance of the click and backing track channels accidentally swapping over and the click being heard from the PA at any point.
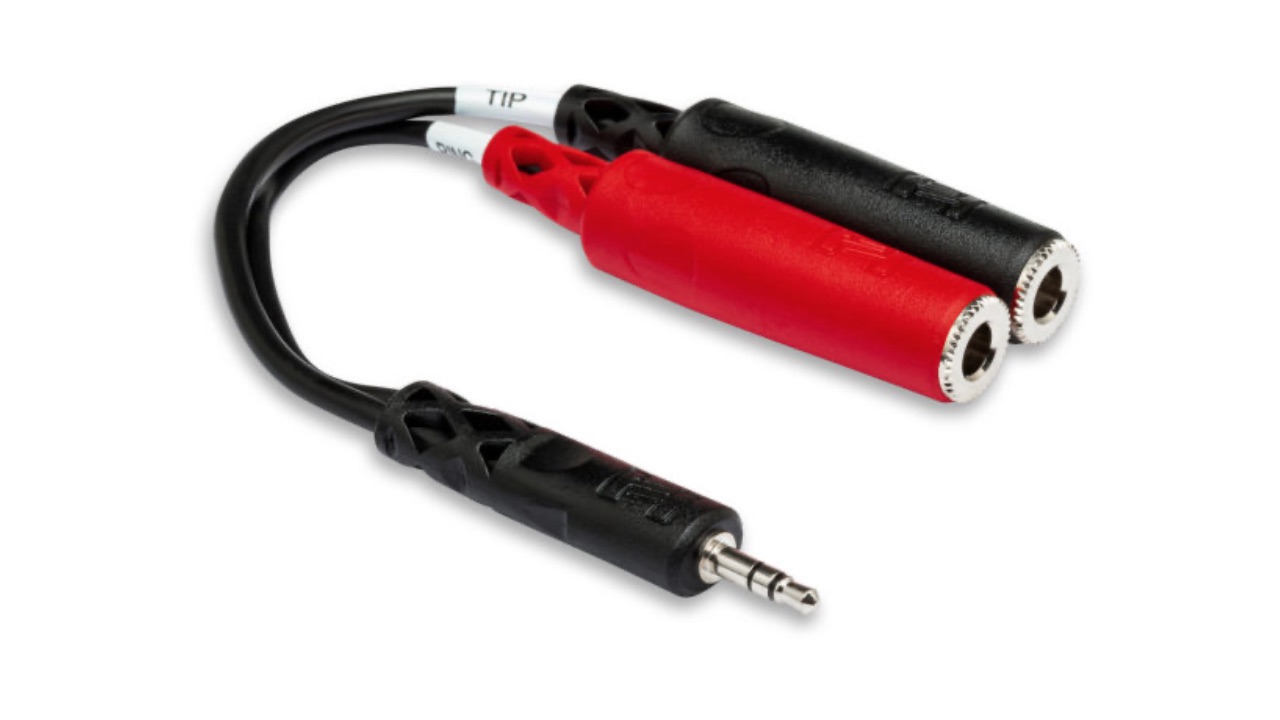
From here, you have some options, but they all start with a splitter cable. We’d suggest getting one with a stereo mini-jack on the end that goes into your phone (using the USB adaptor that came with your phone), and sockets rather than plugs for your 1/4-inch jacks. This way you can get the splitting part over with in a short cable which you can then extend easily.
You’ll plug this into your phone as if it were a pair of headphones, and then send the channel with just the backing track to a mono input on your PA system, and the other to your headphones. It’s a bare bones solution that will work, but you may have just noticed that you’re only hearing your click and the track in one side of your headphones. It also comes with the restriction of not being able to monitor the rest of the band. This may or may not be a problem for you, and if you only need a quick solution for a small part of your set you might be able to live with it. If you’d prefer a better solution, read on.
Improved monitoring setup when using a phone
Playback: Improved monitoring setup when using a phone for your click and backing tracks
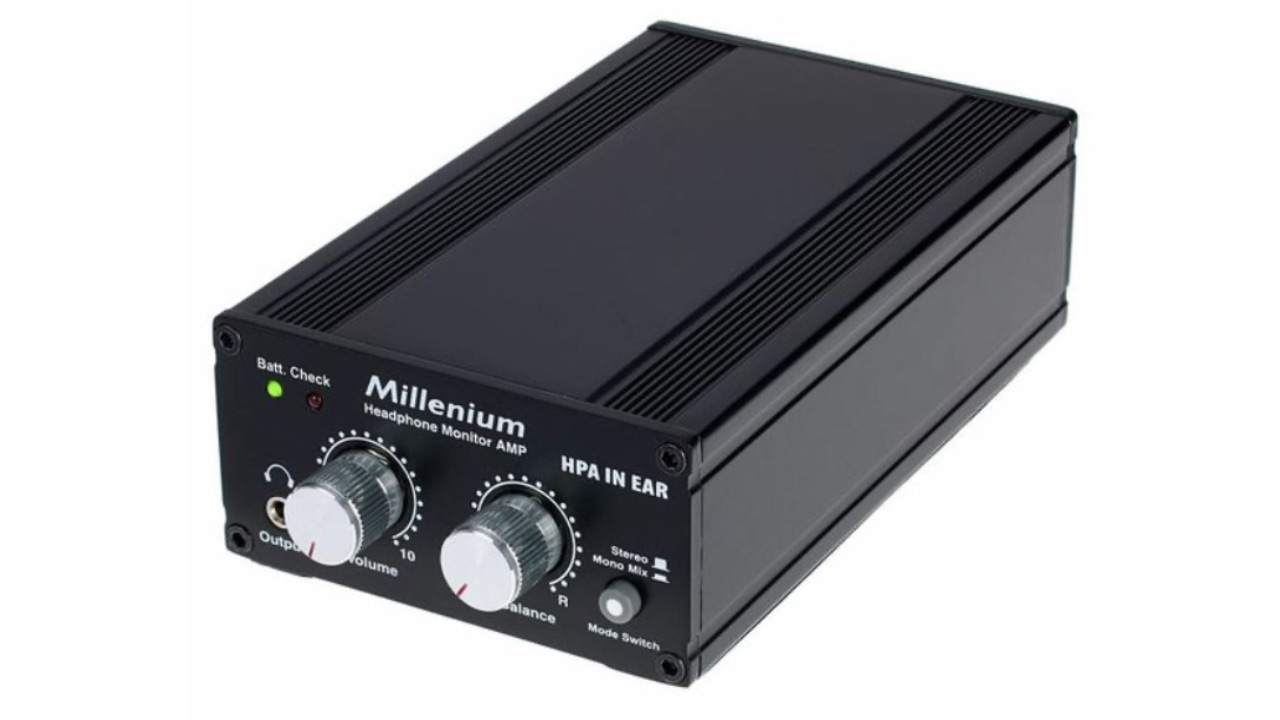
If you’d like to use the phone-based setup, but would prefer a more flexible monitoring solution, you can fix it for very little money by using a small mixer or personal monitoring system such as the Behringer P1 or Millenium HPA In Ear.
These devices both give you two line level inputs, and you can connect your in-ears directly to them. Whether you’re using a small mixer or personal monitoring system, the connectivity and routing of your click/backing are the same.
First, send the ‘audience’ backing track file to the PA system in the same way as before. Then take the click track feed from your splitter cable and plug it into a channel on the mixer/personal monitor. Finally, plug your in-ears into the headphone output. With the channel on the mixer panned to the centre, you should now be hearing it in both ears.
Hearing the rest of the band
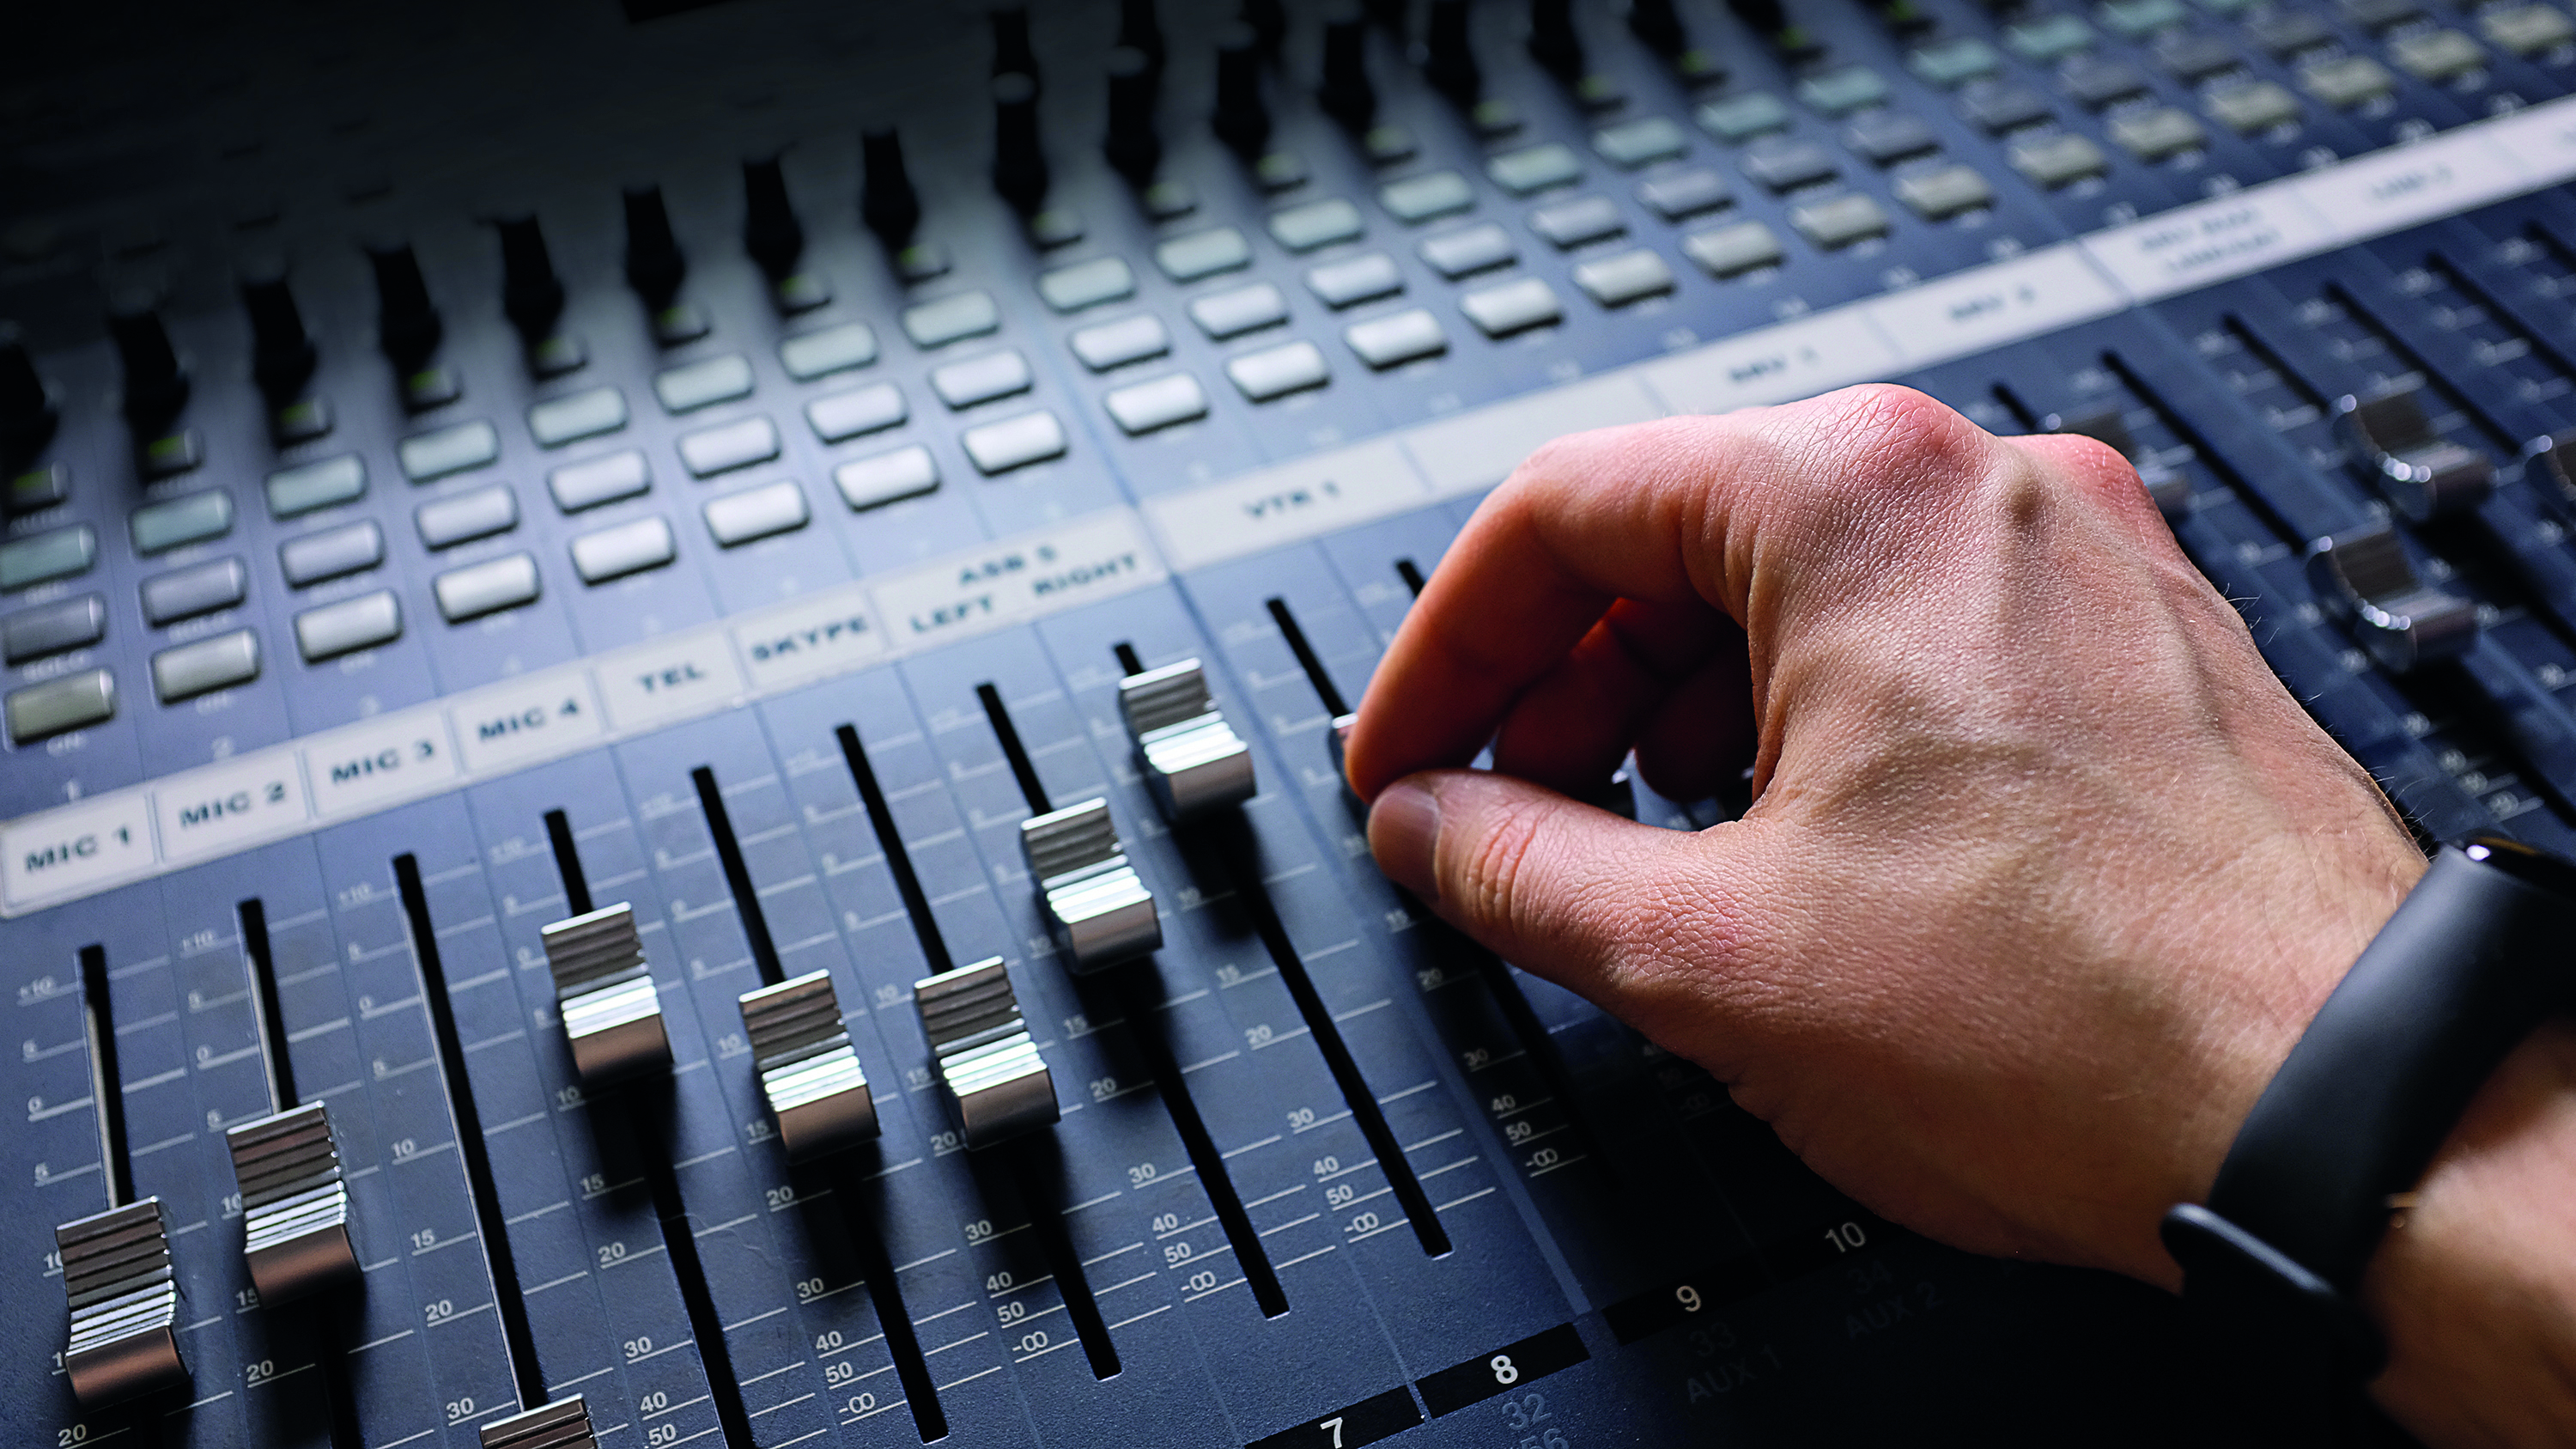
Next you can add a monitor feed from your PA system which will go into another channel on your mixer/personal monitor, allowing you to hear whatever blend of the band you require, alongside your click track, plus you’ll be able to adjust the level of each from the comfort of your drum stool!
If you’re monitoring in this way, it also gives you another option when creating your tracks. Because we are now incorporating a feed from the PA back to our own monitor mixer/controller, you have potentially eliminated the need to duplicate the backing track into the signal that only you will hear.
Instead, you can have your backing track on one side, click-only on the other, and you’ll now be able to send the backing track into your personal monitor as part of your ‘band’ monitoring feed. There’s no right or wring way of doing it, so think about it and decide which way works best for you.
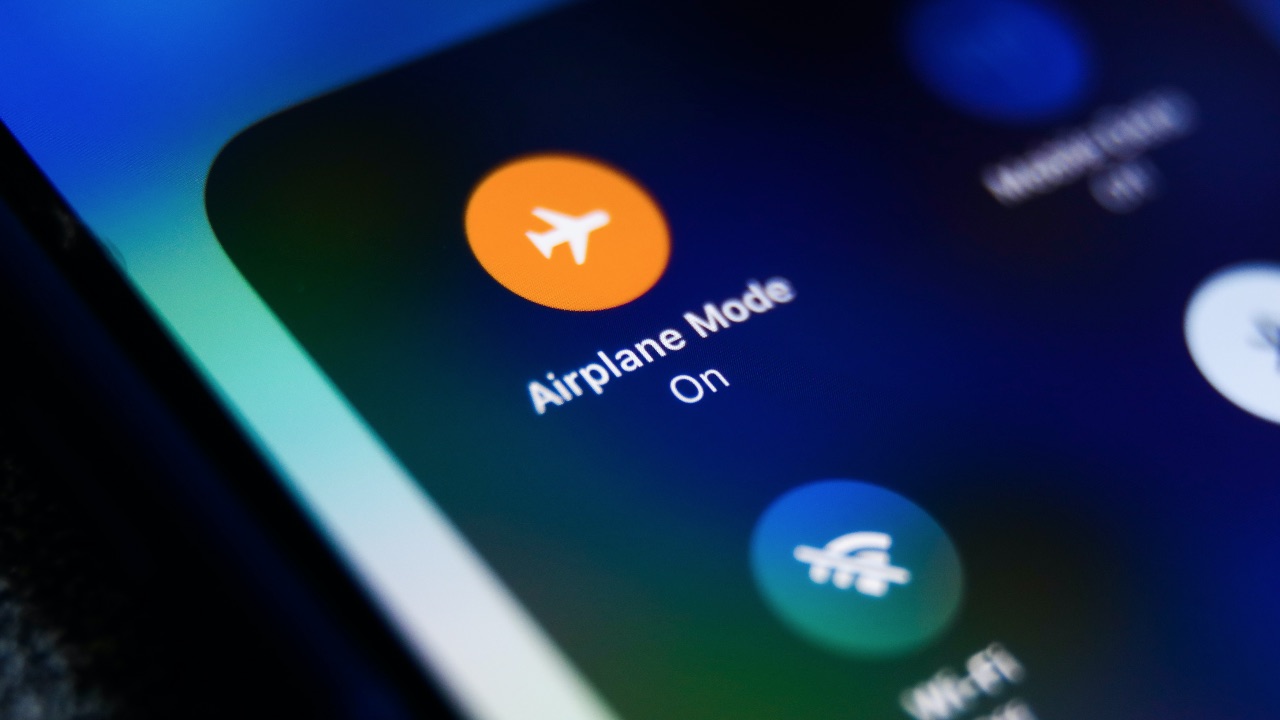
One final point - this technique will work on a phone, iPad, or anything else that can play an audio file and has a stereo headphone output. But if you are using your actual phone, remember to keep it charged and switch it to Airplane mode so that your messages/phone calls don’t blast out notifications through the PA system.
Using a dedicated sample pad to play click and backing tracks
Playback: Using a dedicated sample pad to play click and backing tracks
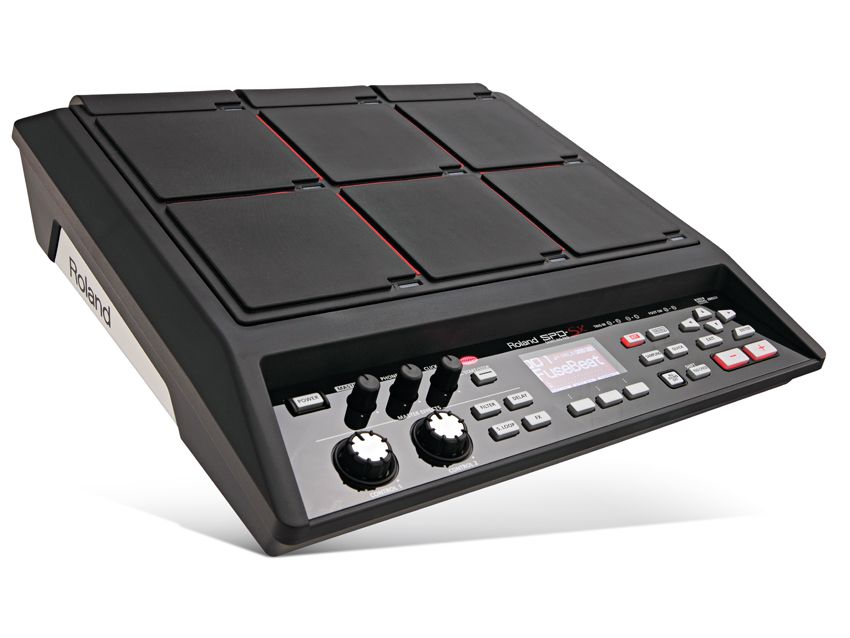
Us drummers are used to seeing and using sample pads such as the Roland SPD-SX, Yamaha DTX Multi12, Alesis Strike, Millenium NonaPad and more by now, and their ability to become an all-in-one hub for playable samples and click/backing tracks is the reason why.
The benefit of these devices is that they’re rock solid, feature pro-grade components and have the connectivity to match. The latter is a key point because rather than having one set of outputs, they have a separate ‘bus’ which allows us to route the files we import to individual and multiple outputs.
So, with your individual .wavs imported into your sample pad it’s just a case of making some tweaks to get everything running properly.
1. The big playback
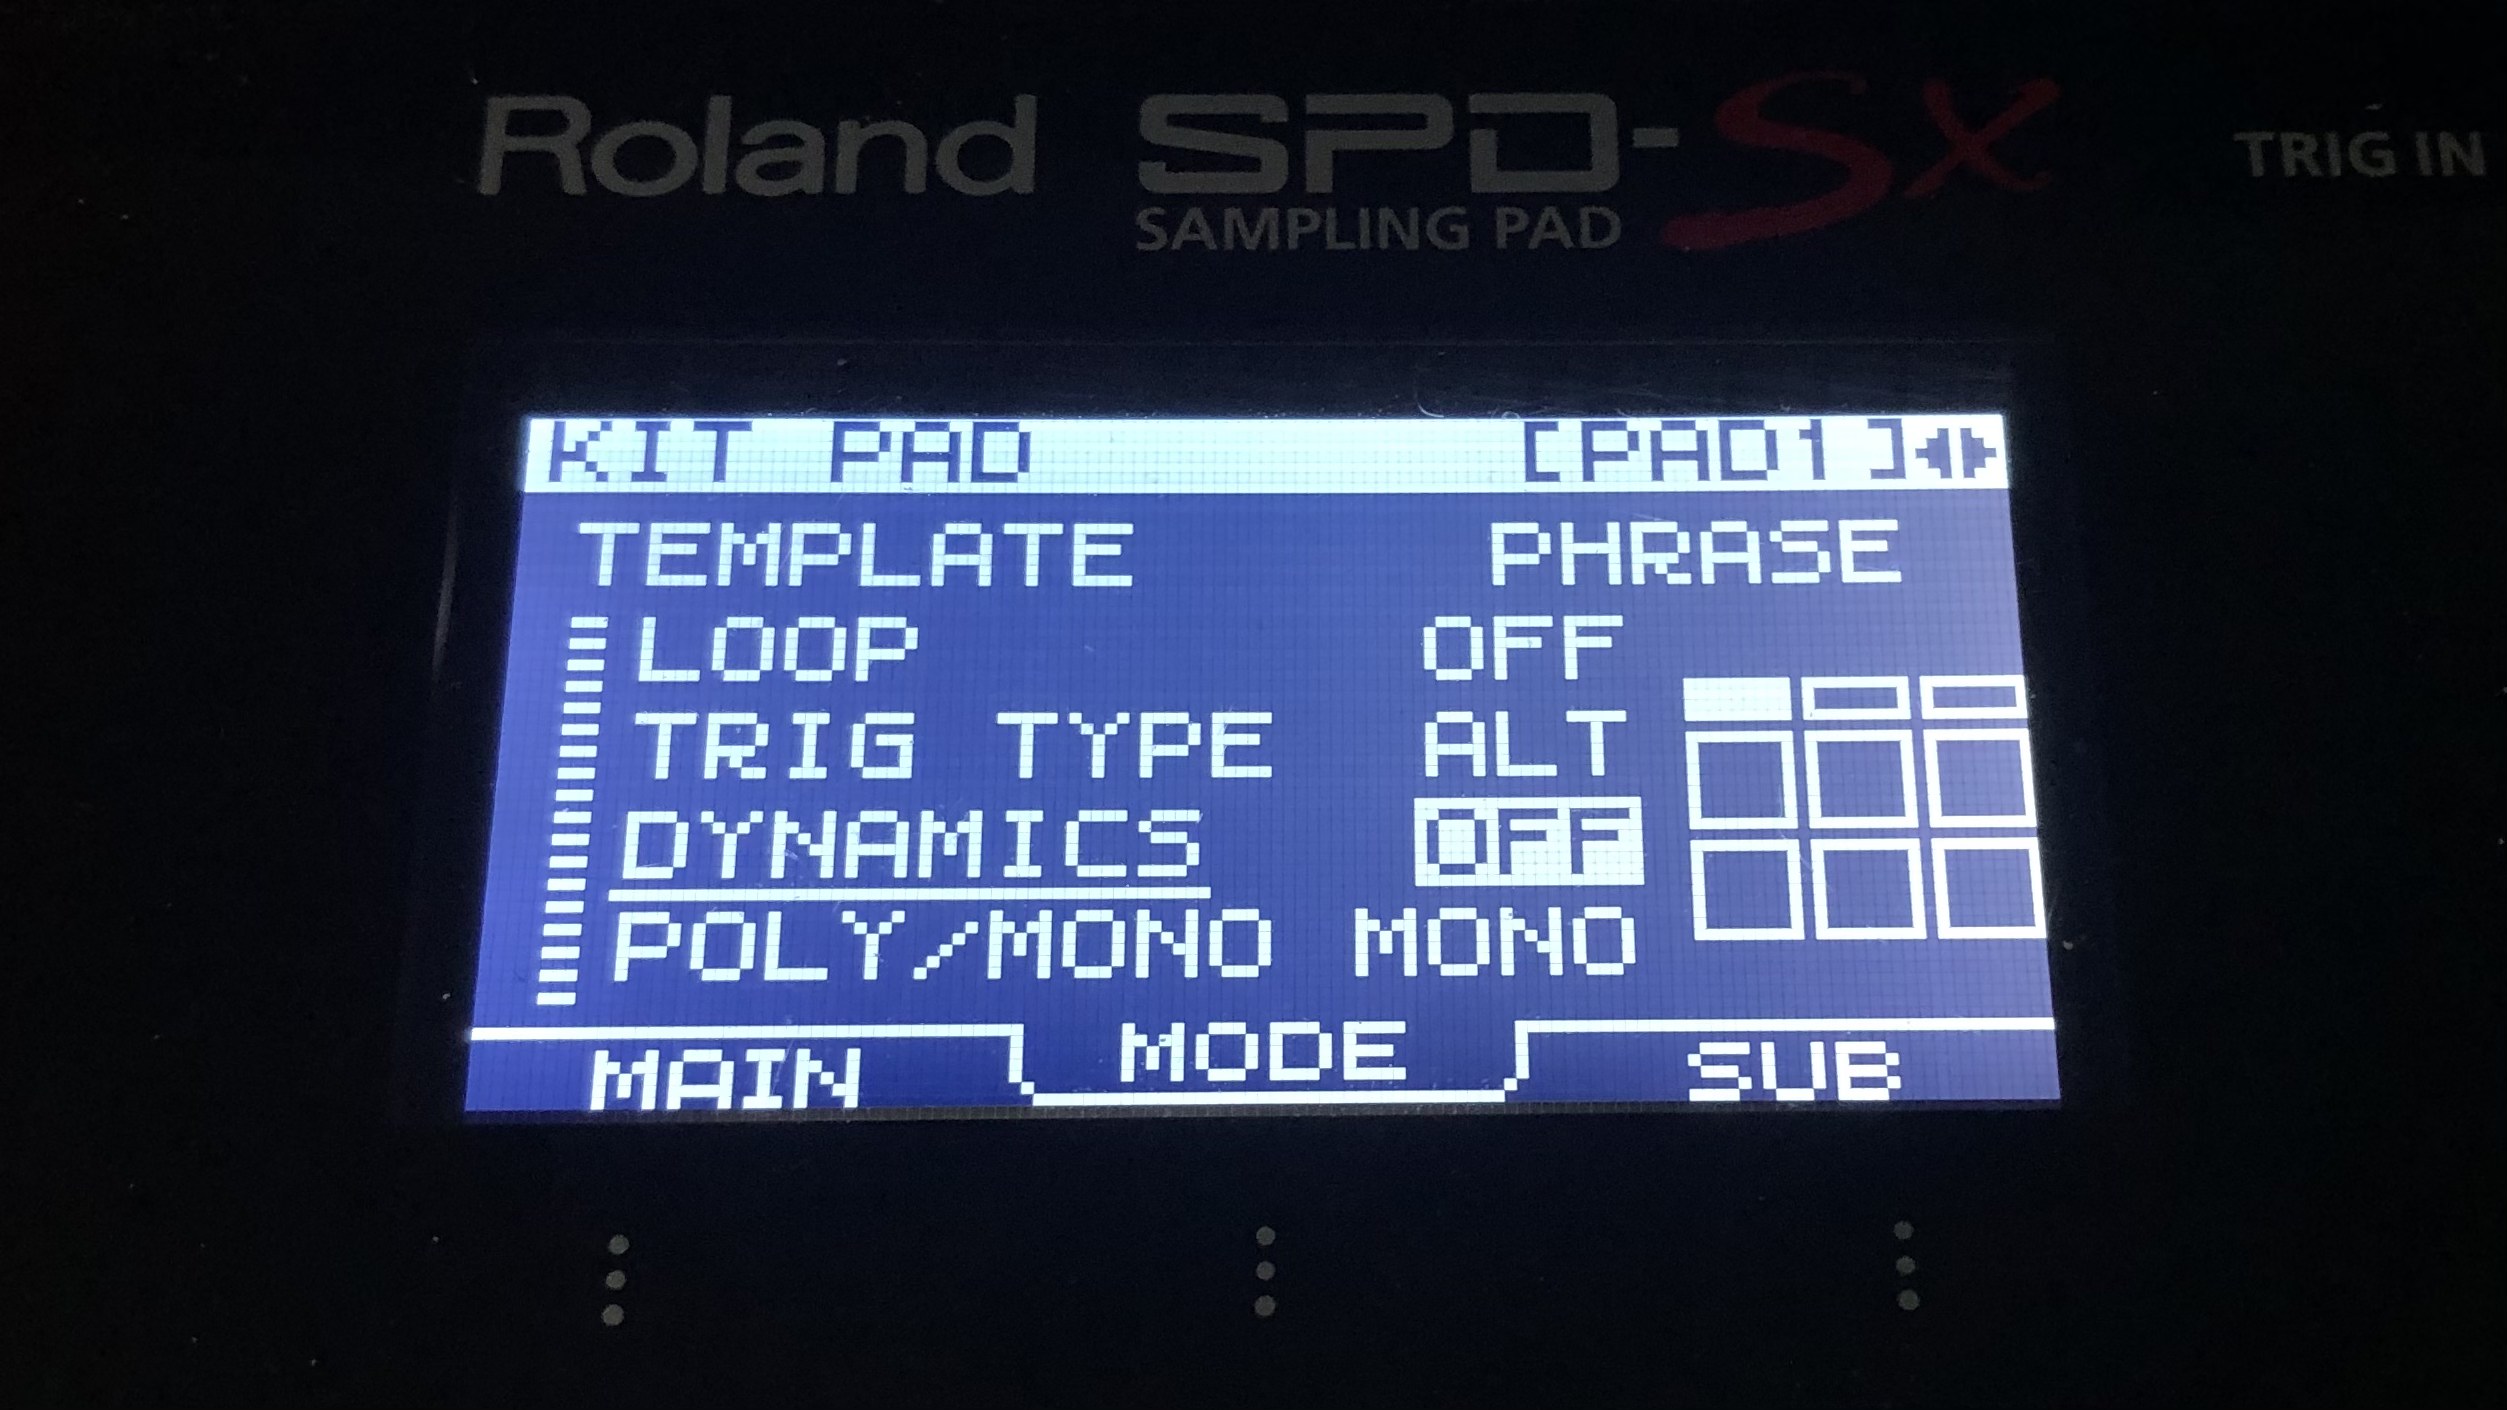
First you need to decide on how you’re going to start the playback. Let’s assume you’ve placed your backing track on one of the integrated pads. You hit it, the sound starts and plays through your PA. Done, right? No.
Those pads are dynamic, so first you need to switch off the dynamics settings within the pad menus. This way it won’t matter how hard you hit the pad to start the playback, it’ll always play at the same volume.
2. Alt-rock
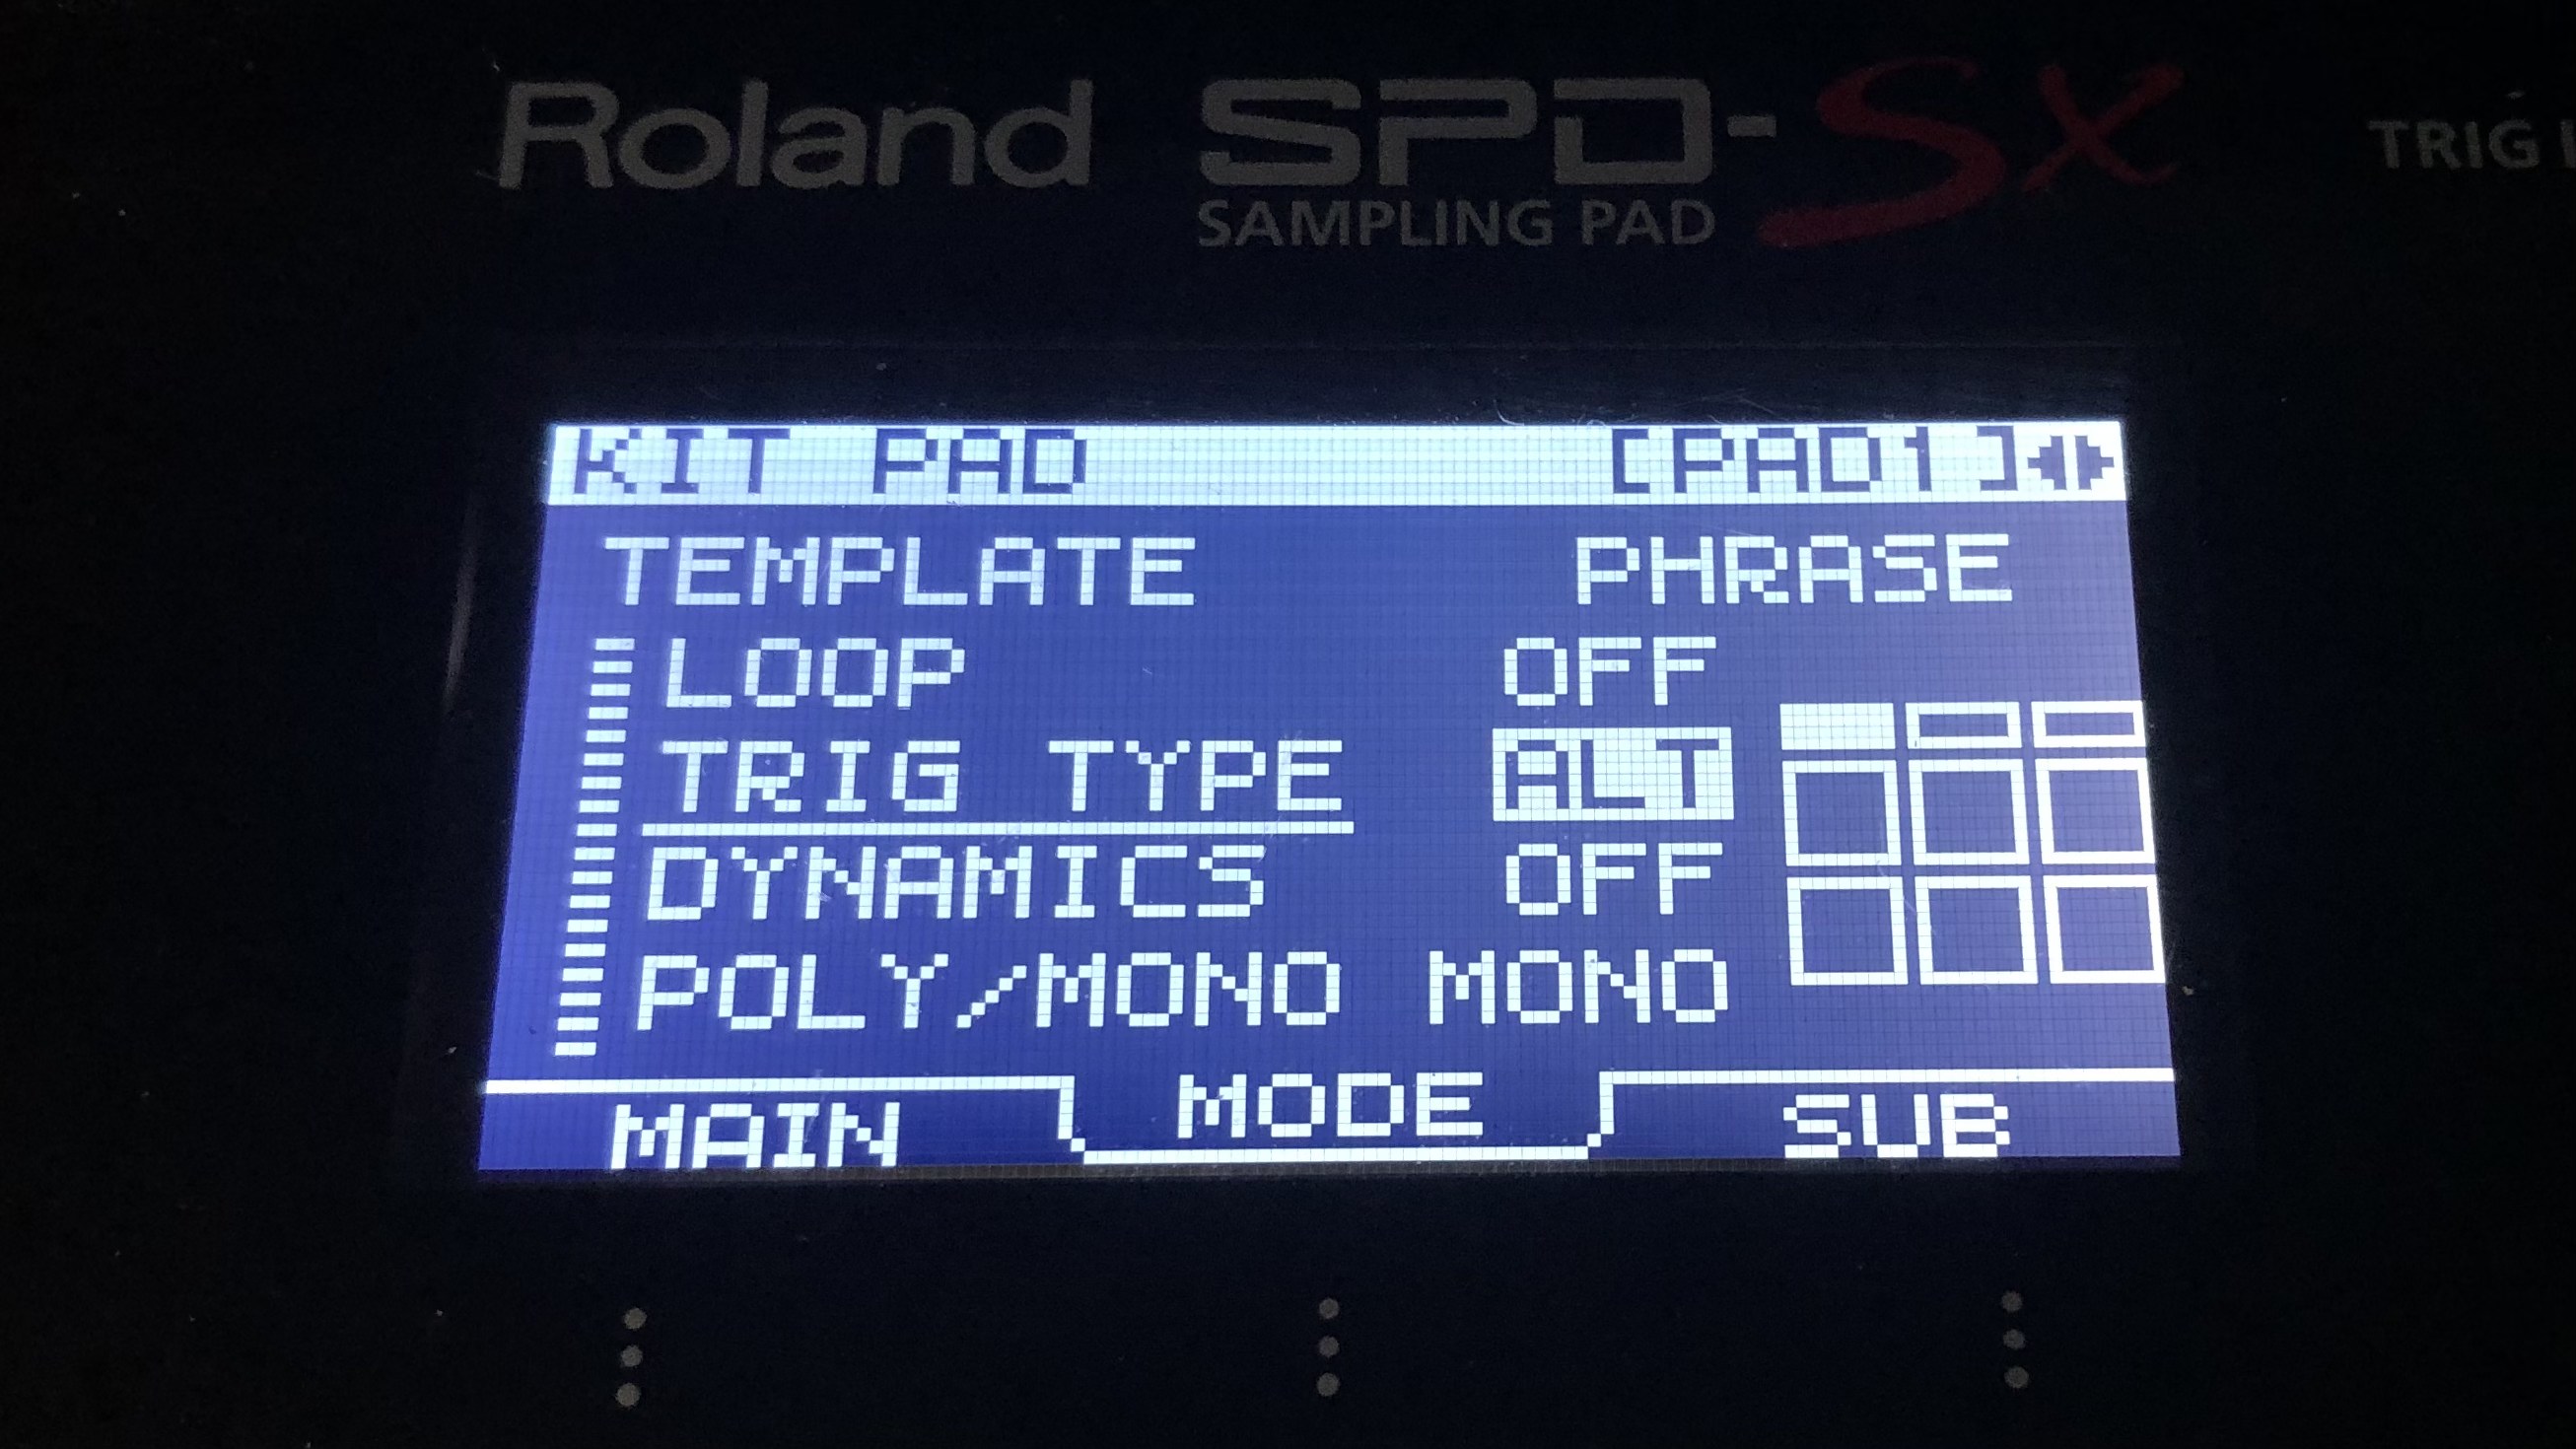
Next you need to decide how the pad will react to hitting the pad a second time. We’d suggest making the pad monophonic so that you avoid any potential for multiple instances of the same file being played together.
Our Roland SPD-SX features Alt/Shot playback options. In Shot mode, the sample starts when the pad is struck and plays through until the end. In Alt mode, you hit the pad, the sample will play, but if you strike the pad again the playback will stop. This is a great safety net if you start the track and need to quickly switch it off again, so we set our click and backing track options to Alt.
3. Decide how you're monitoring
But wait, we’ve only got the backing track working! We need to do this again with the file for our click track. Now is also a good time to decide on how you will be monitoring everything.
One benefit of using a sample pad is that it can also be your monitoring controller, but you can also send your click/backing out to an external monitoring solution as mentioned in the ‘phone solution’ above. Here, we’re going to explain how to use a Roland SPD-SX as your hub for monitoring, using the built-in headphone output.
4. Just add click
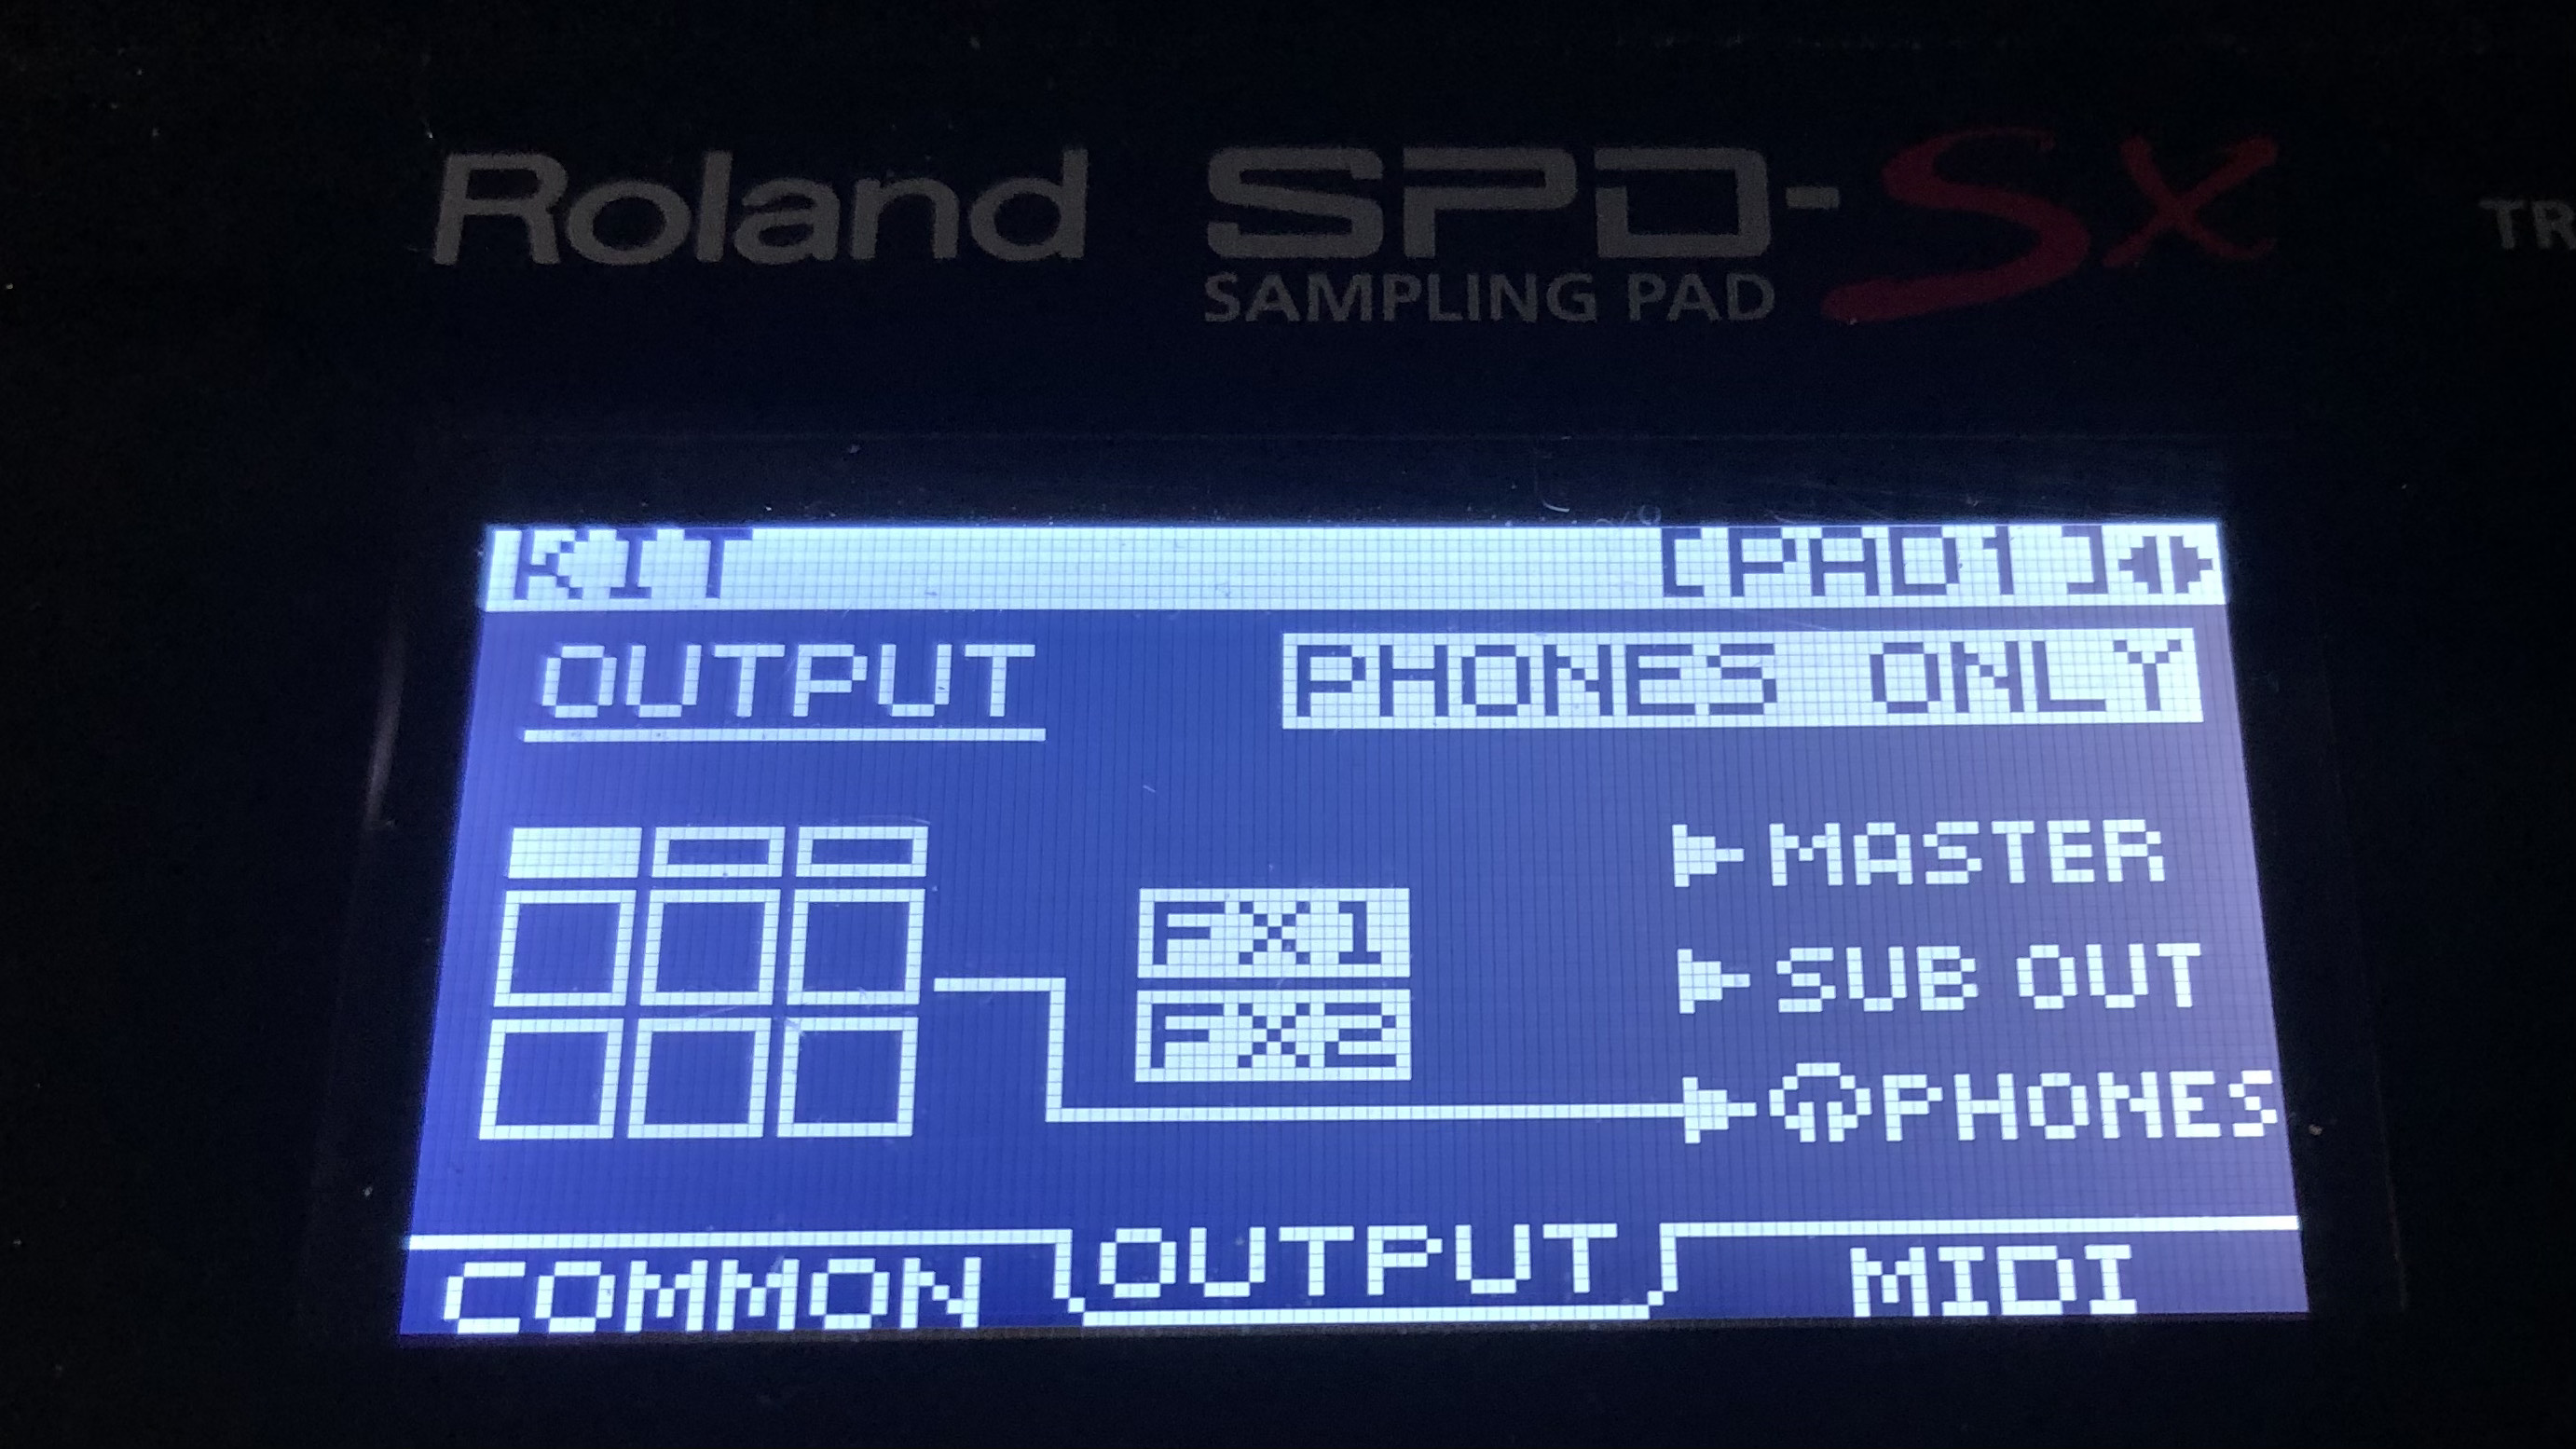
Place your click track on a separate pad and make the same dynamics setting and playback adjustments that you did for your backing track. We also need to make sure that the click is only going to your headphone output, and not the output which is being fed to the PA system.
5. Linkin’ Parts
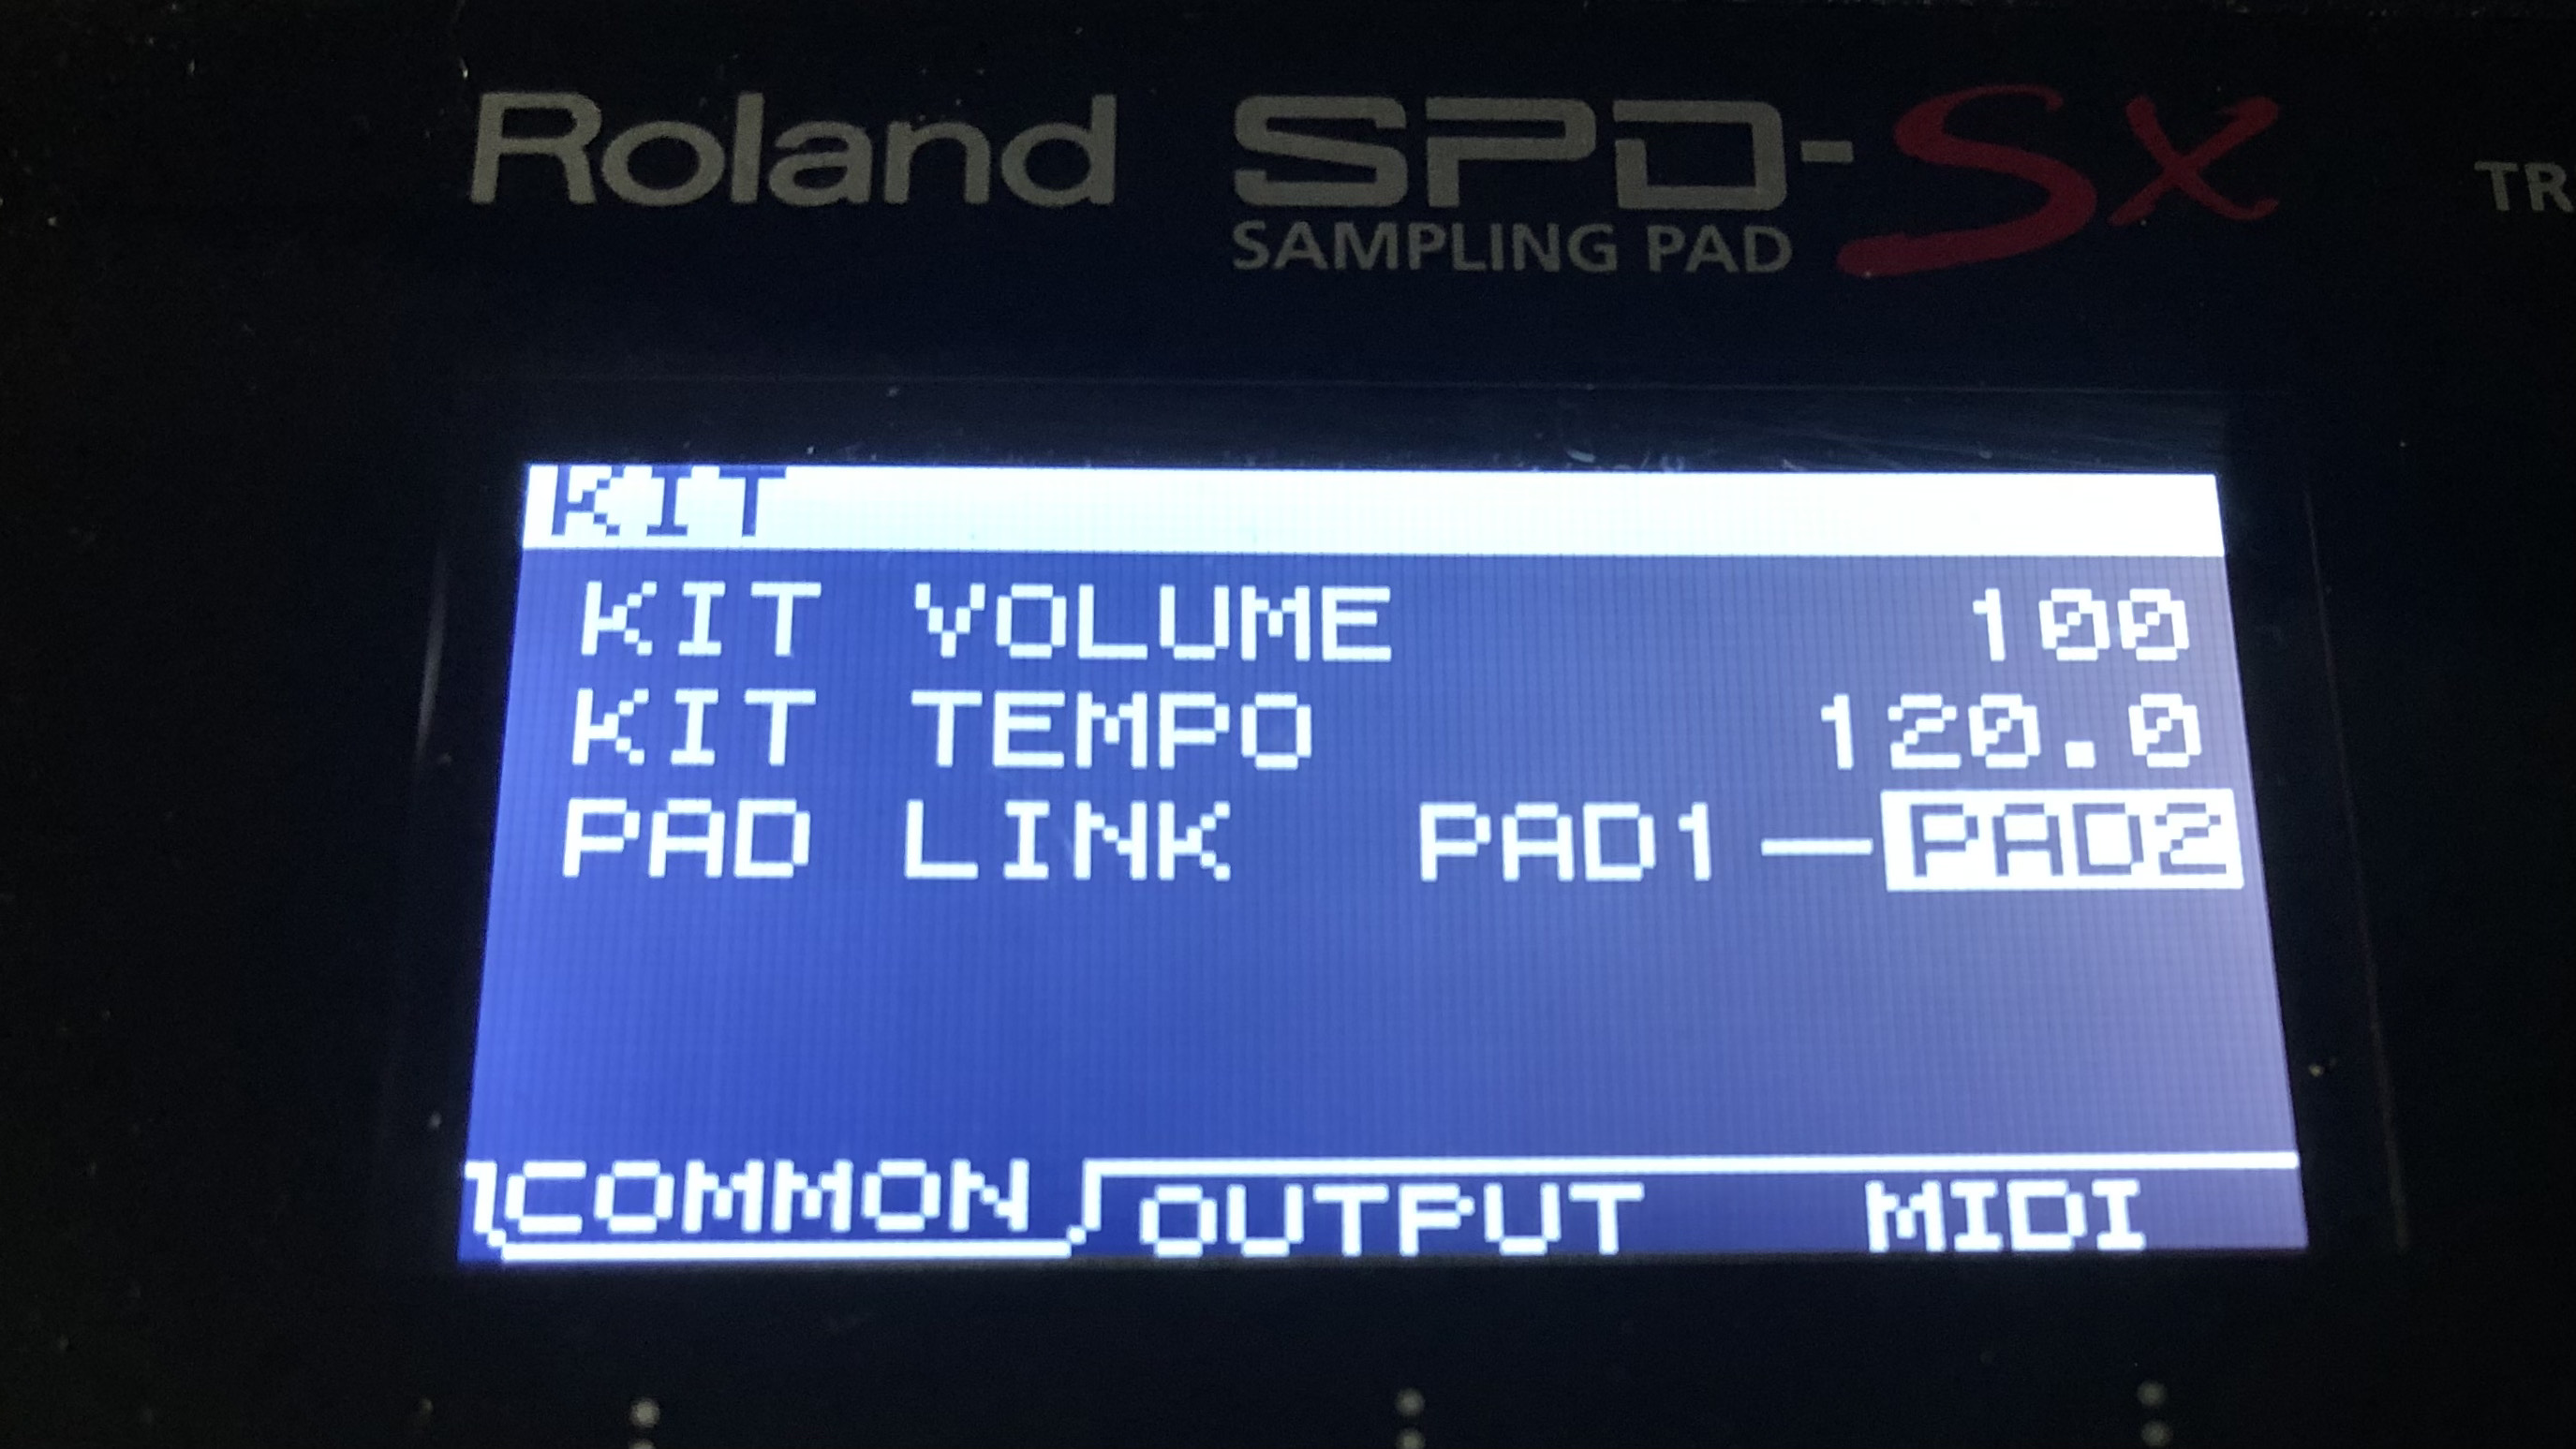
Now, we’ve got our backing track on one pad and click on another. The backing track will go to our main outputs and headphones, while the click track is routed to our headphones only. But we need to make sure they play back in sync, otherwise we’ll be in time with the click and not the track. Yes, you can hit two pads at once, but this will require 100 percent accuracy, 100 percent of the time. Thankfully, most sample pads include a feature called Pad Link or similar.
This simple function allows you to control one pad with another so that they both trigger from one hit. We’d recommend placing your backing and click tracks consistently for each song, so that you can hit your ‘master’ pad like a play button to start the playback and have it bring in the corresponding click every time.
6. Hear me now!
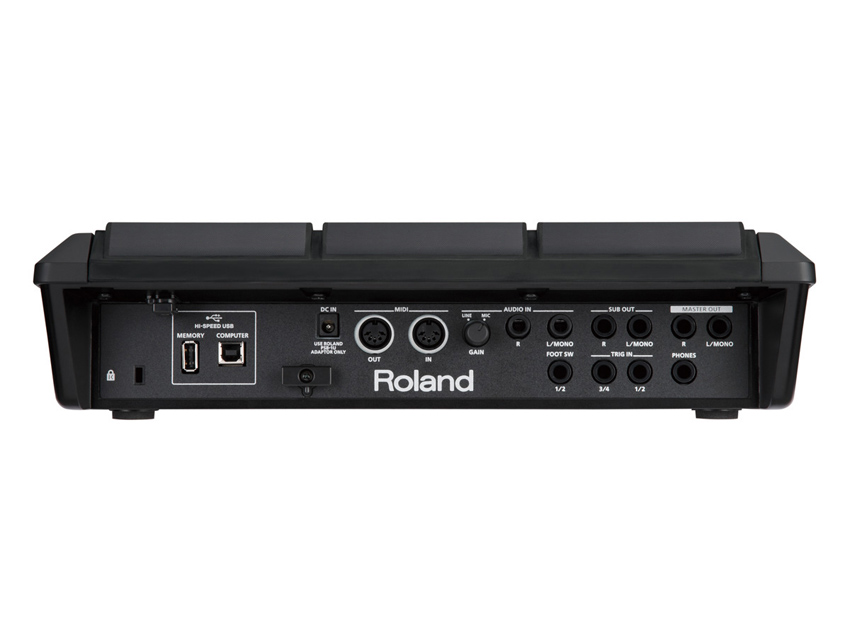
With your audio tracks synced and everything routed where it needs to be, there’s one more hurdle to overcome. Those in-ears you bought for their revolutionary seal or custom fit are now seriously reducing the sound of the band in your ears, so you’ll need to find a way to hear everything.
Take a feed (or ask the engineer if you have one) from the desk in exactly the same way you would if you were using monitor speakers or in-ears, but this time it’s going to connect to your sample pad’s audio input. If possible, this should be a dedicated aux channel from your mixer, as your bandmates’ monitor feed is likely to include the backing tracks, which you will already be hearing direct from your sample pad.
If you don’t have the facility to send a bespoke drum monitor mix from your PA system, you can change the internal routing of the backing track so that it doesn’t go to your sample pad’s headphone output. This way, your only backing track signal will arrive back in your in-ears via the monitor signal from the PA system.
From here, you need to check that the audio input is only being routed to your headphones, and not back out to the sample pad’s output to the PA. Now you will hear a monitor feed of the band alongside your backing and click tracks tracks in your in-ear monitors.
7. Templated, not frustrated
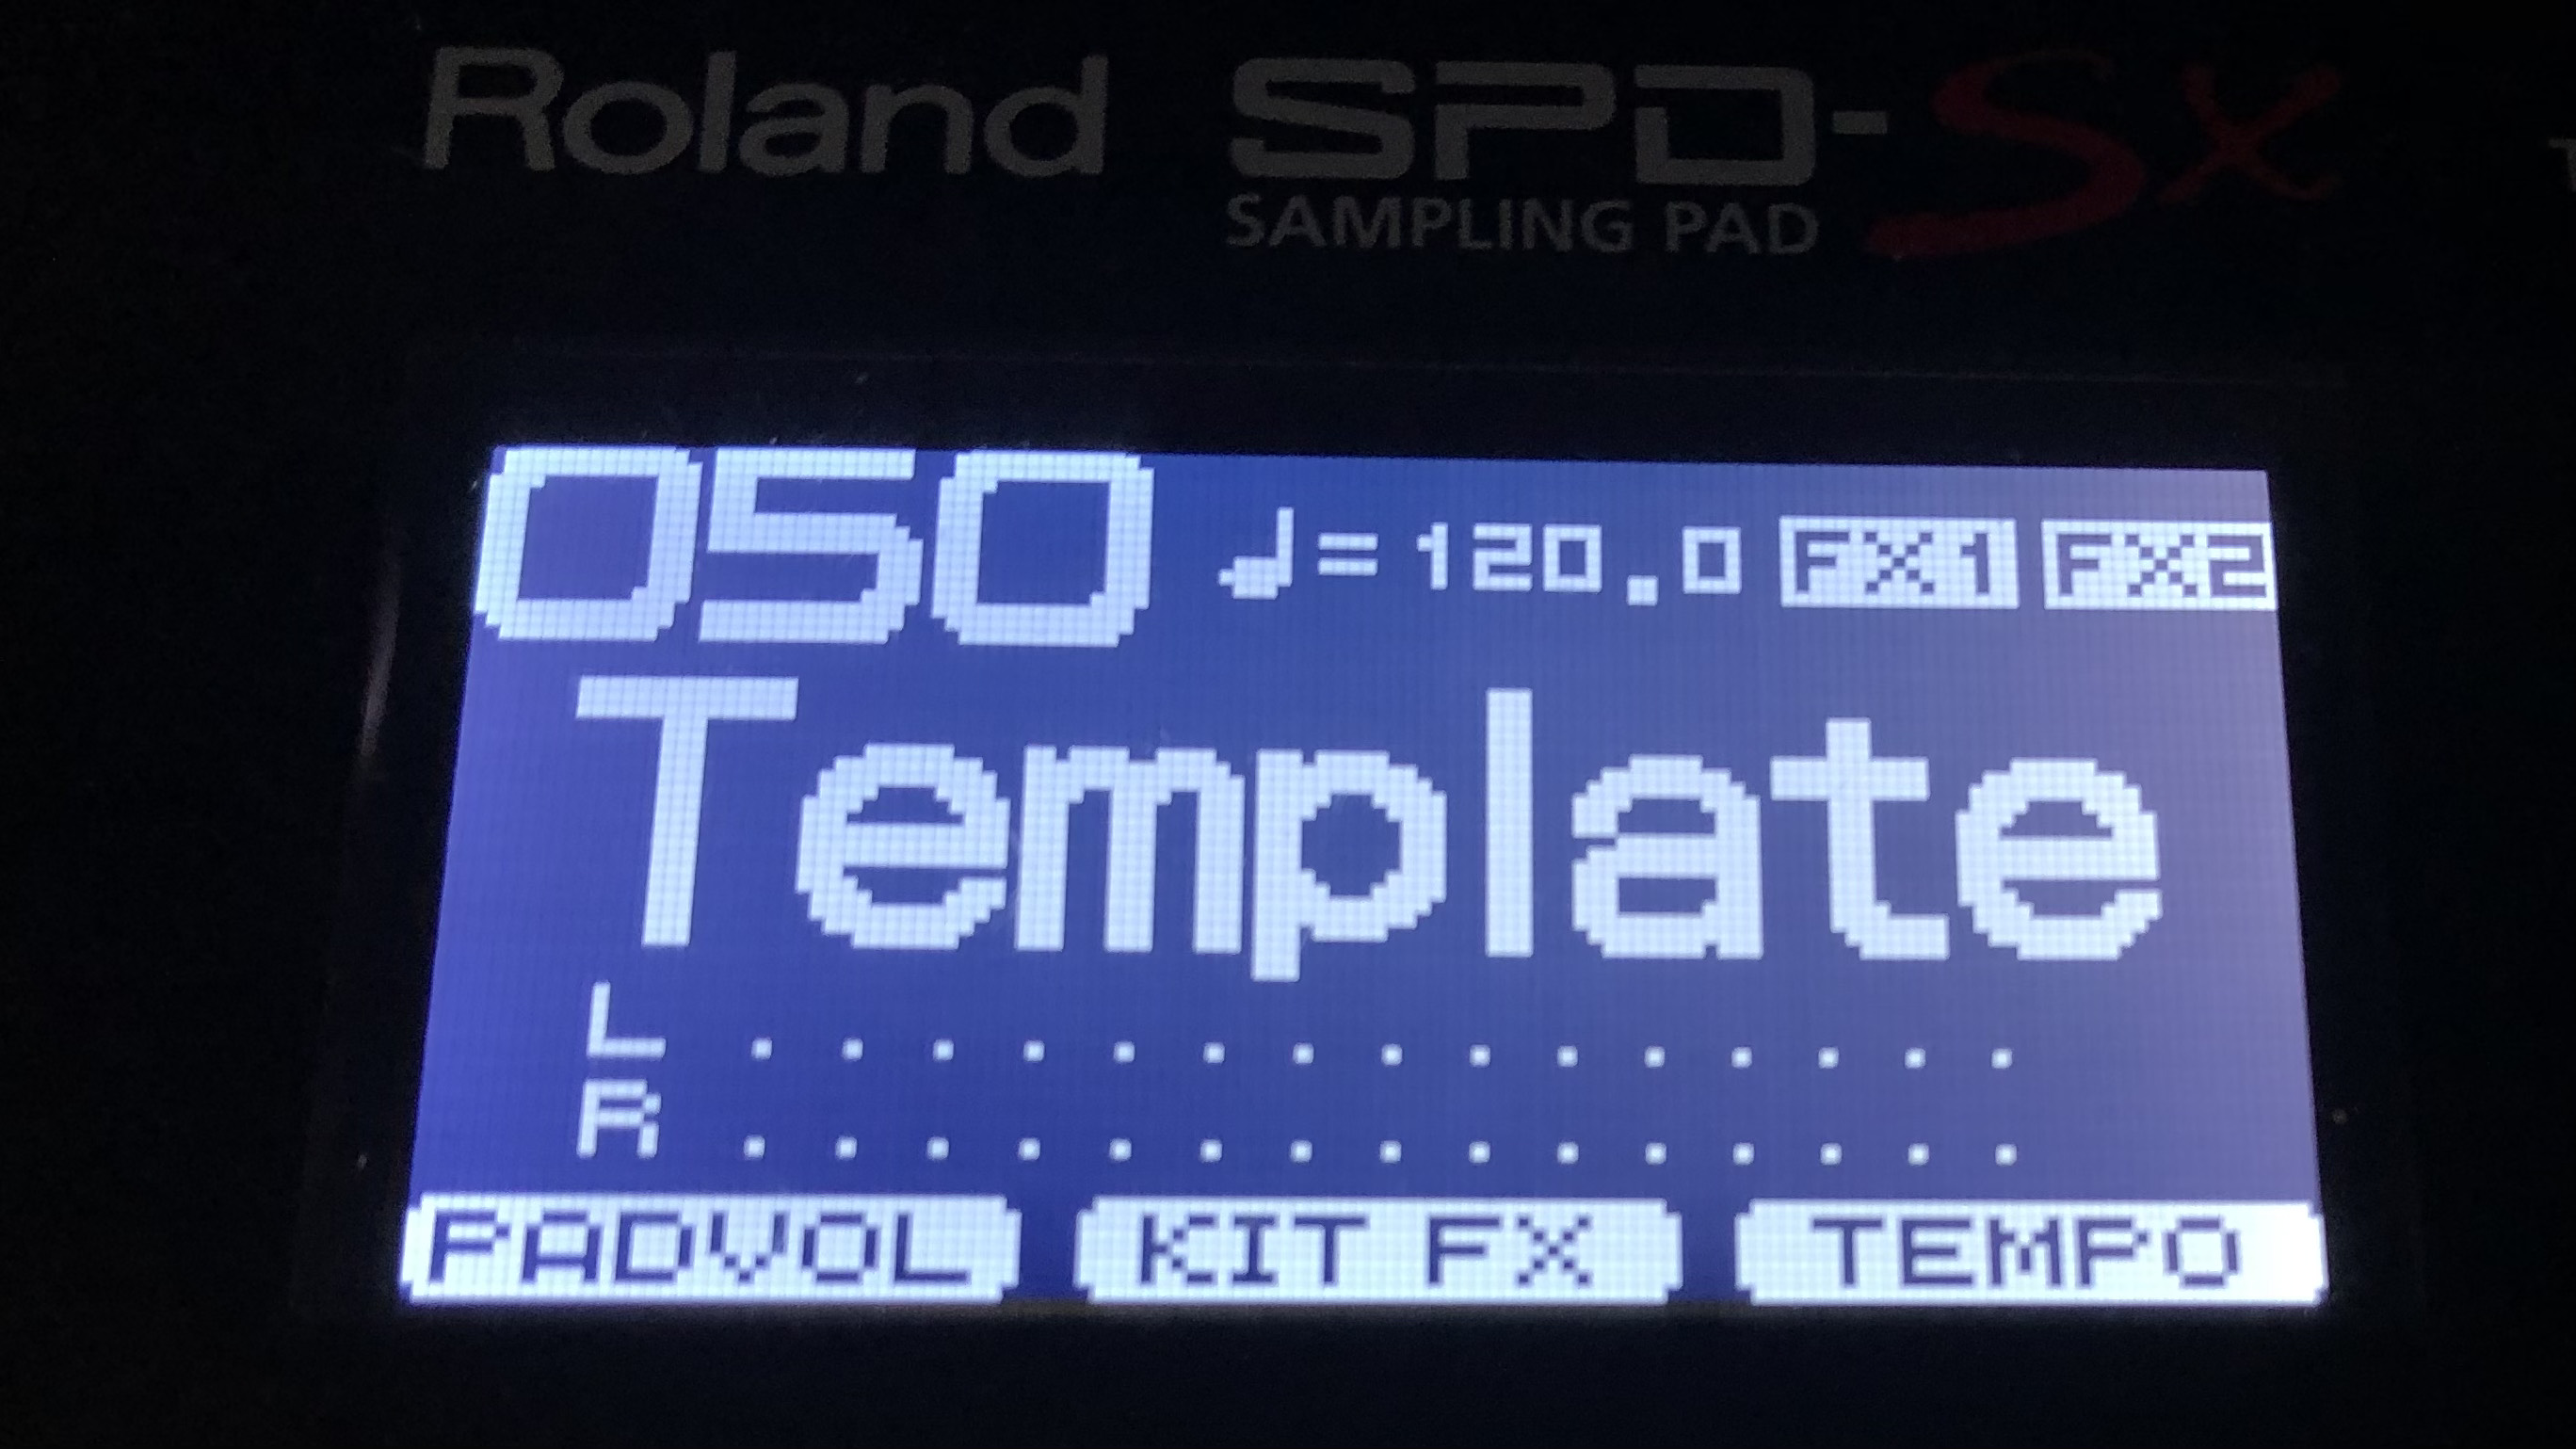
You may have noticed that we keep mentioning consistency. This is because while using hardware gives us options and flexibility, it also means that for a 20-30-song set, we’re going to have to repeat the processes above a lot.
That is, unless we keep things consistent so that we only have to change dynamics, routing and linking settings the first time we set up a patch.
By sticking to some simple workflow ideas, you can create a template patch (either populated with your click and backing tracks or not) and simply duplicate it, add the correct click and backing samples, and rename it when you need to add a new song. You’ll always be reaching for the same pad to start your playback throughout your set, and the risk of potential disaster will be minimised.
Stuart has been working for guitar publications since 2008, beginning his career as Reviews Editor for Total Guitar before becoming Editor for six years. During this time, he and the team brought the magazine into the modern age with digital editions, a Youtube channel and the Apple chart-bothering Total Guitar Podcast. Stuart has also served as a freelance writer for Guitar World, Guitarist and MusicRadar reviewing hundreds of products spanning everything from acoustic guitars to valve amps, modelers and plugins. When not spouting his opinions on the best new gear, Stuart has been reminded on many occasions that the 'never meet your heroes' rule is entirely wrong, clocking-up interviews with the likes of Eddie Van Halen, Foo Fighters, Green Day and many, many more.