How to create the perfect snare drum
Let's take a closer look at the kick drum’s constant companion, the snare
Want all the hottest music and gear news, reviews, deals, features and more, direct to your inbox? Sign up here.
You are now subscribed
Your newsletter sign-up was successful
The snare drum is huge! Not that it’s ever been unimportant in the grand drumming scheme of things, but the rise of several forms of dance music has seen more attention focused on the snare than at any time since the massive T’pau-style extremes of the late '80s.
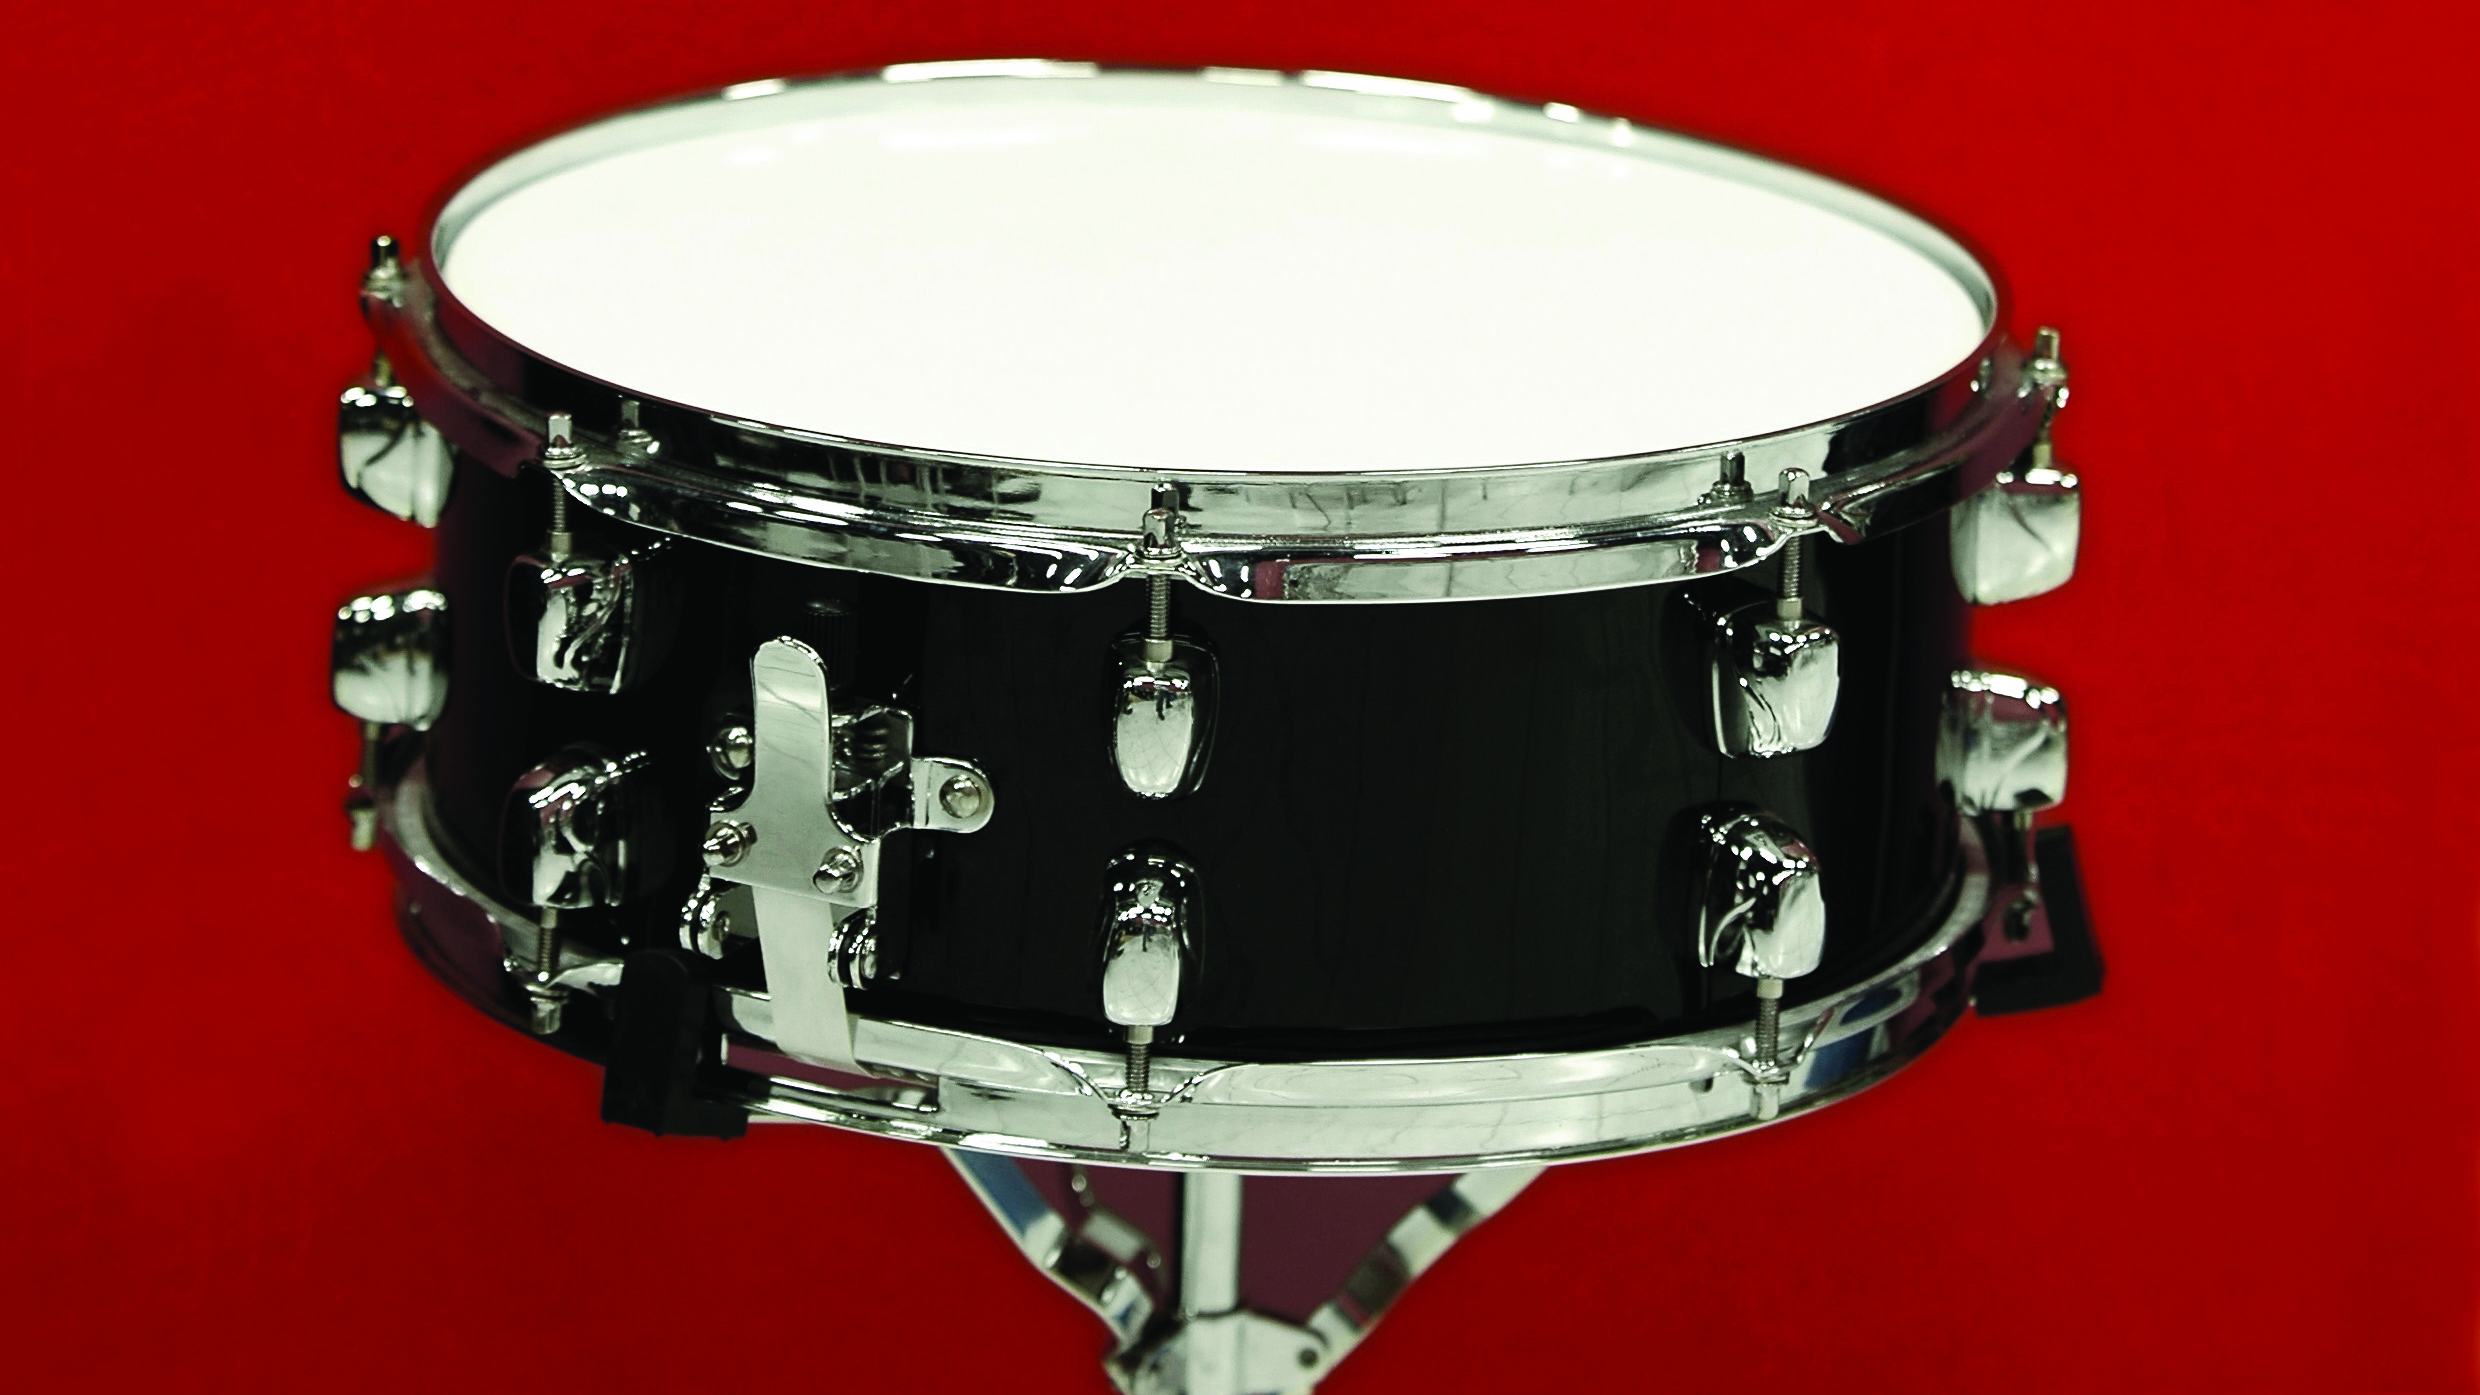
In the real world, the snare drum is the one placed between the drummer’s legs, with a band of sprung wires stretched across the bottom head to give it its unique crack and sizzle. Add to that some lively resonance from the top skin and you have an instrument that’s capable of producing a huge variety of sounds, from the warm, deep ‘doosh’ of the '70s to the high ‘ping’ of nu-metal, and everything in between.
In terms of rhythm, the snare generally emphasises beats 2 and 4 of the 4/4 bar. In combination with the kick drum, it gives us the ‘kick, snare, kick, snare’ pattern known as the ‘backbeat’ – that most enduring staple of rock and pop. Given a chance, however, the snare can also be way busier than that – in jazz, rockabilly or drum ’n’ bass, for example.
Article continues belowWhen mixing, it’s said that the last two things you should be able to hear when you gradually turn a mix down are the vocal and snare drum. This shows how important the snare is in the mix: the element that joins the backing track with the vocal. Careful placement of it helps define the soundstage on which your whole mix happens.
Clearly, then, it’s vital that your snare sound is always great – perfect, even! The dynamics and tonality of the snare will affect all your decisions about your final mix, and if it’s too dull, too pointy, not pointy enough, too long, short, dry or wet, you’re going to have trouble getting your mix to work.
Top to bottom
Like the kick drum, the sound of a snare drum can be broken into top, mid and low elements. Imagine taking the snares off the bottom head and you’ll be left with the deeper part of the sound, a bit like a low timbale. Obviously the sound of an acoustic snare drum will change drastically with different types of head, and with the tuning, the relative tension between the top and bottom heads, and the way in which the batter (top) head is being struck. The snares can be tightened or loosened for a shorter or longer ‘sizzle’, and the batter head can be left bright and ringy or damped with tissue, tape, Moon Gel or anything else that’s up to the job.
A good snare sound will take all of these elements into consideration, possibly combining disparate samples in order to create a sound that could never be made with a real-world drum. One popular trend for snare sounds is a combination of deep 70s-style fatness and a longer, clappier type of tone.
Want all the hottest music and gear news, reviews, deals, features and more, direct to your inbox? Sign up here.
The density of the other instrumentation will govern how the decay or tail of the snare needs to work. A wall of guitars, for example, will absorb ambience and decay, so the snare will probably need compression to lengthen it, and more ambience added, using plugin effects or by bringing up room mics.
In summary, your perfect snare will need to properly balance various tonal elements and have the right attack, decay, ambience and compression settings. The walkthrough and tips on the facing page will illustrate some basic treatments; use them as a springboard for experimentation and you’ll be creating sizzling snares in no time.
Fattening a snare with parallel processing
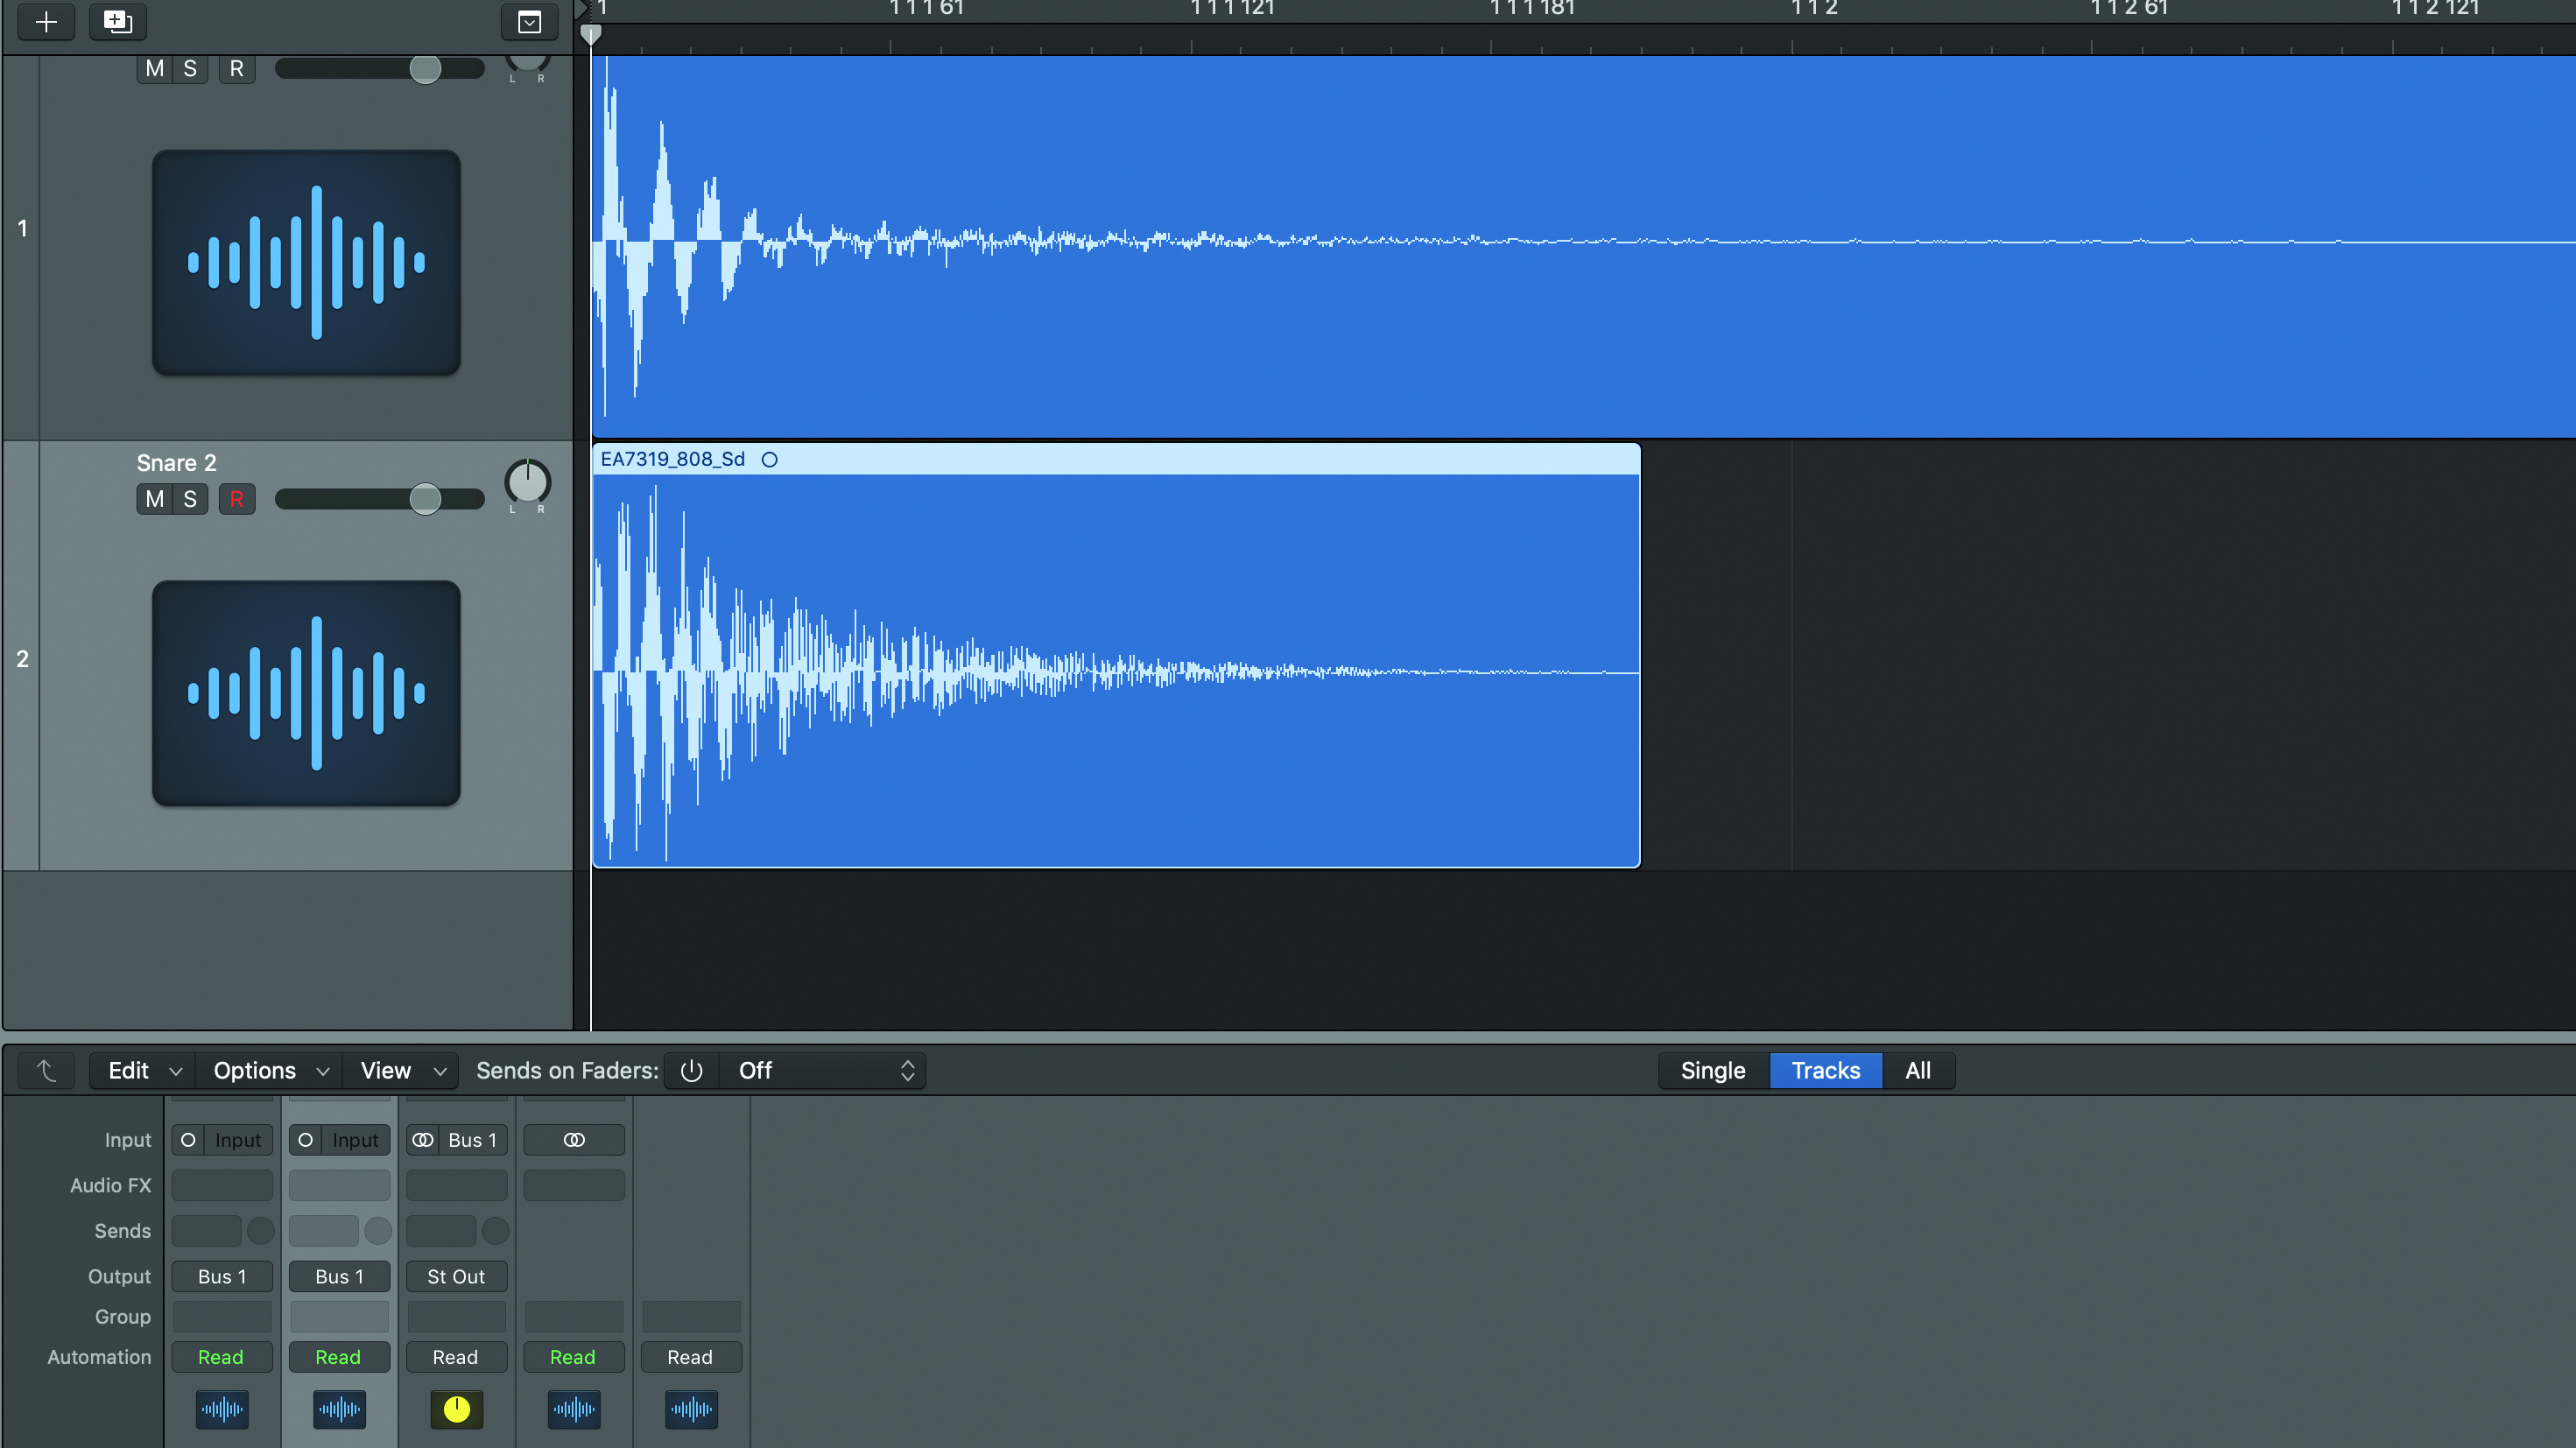
Step 1: First let’s layer a couple of snare sounds. Start with a fat, ‘dooshy’ 70s kind of snare, then create another track and set up a higher, ‘clappier’ sample. Balance them together and set the outputs of both channels to a shared buss – in this case, Bus 1.
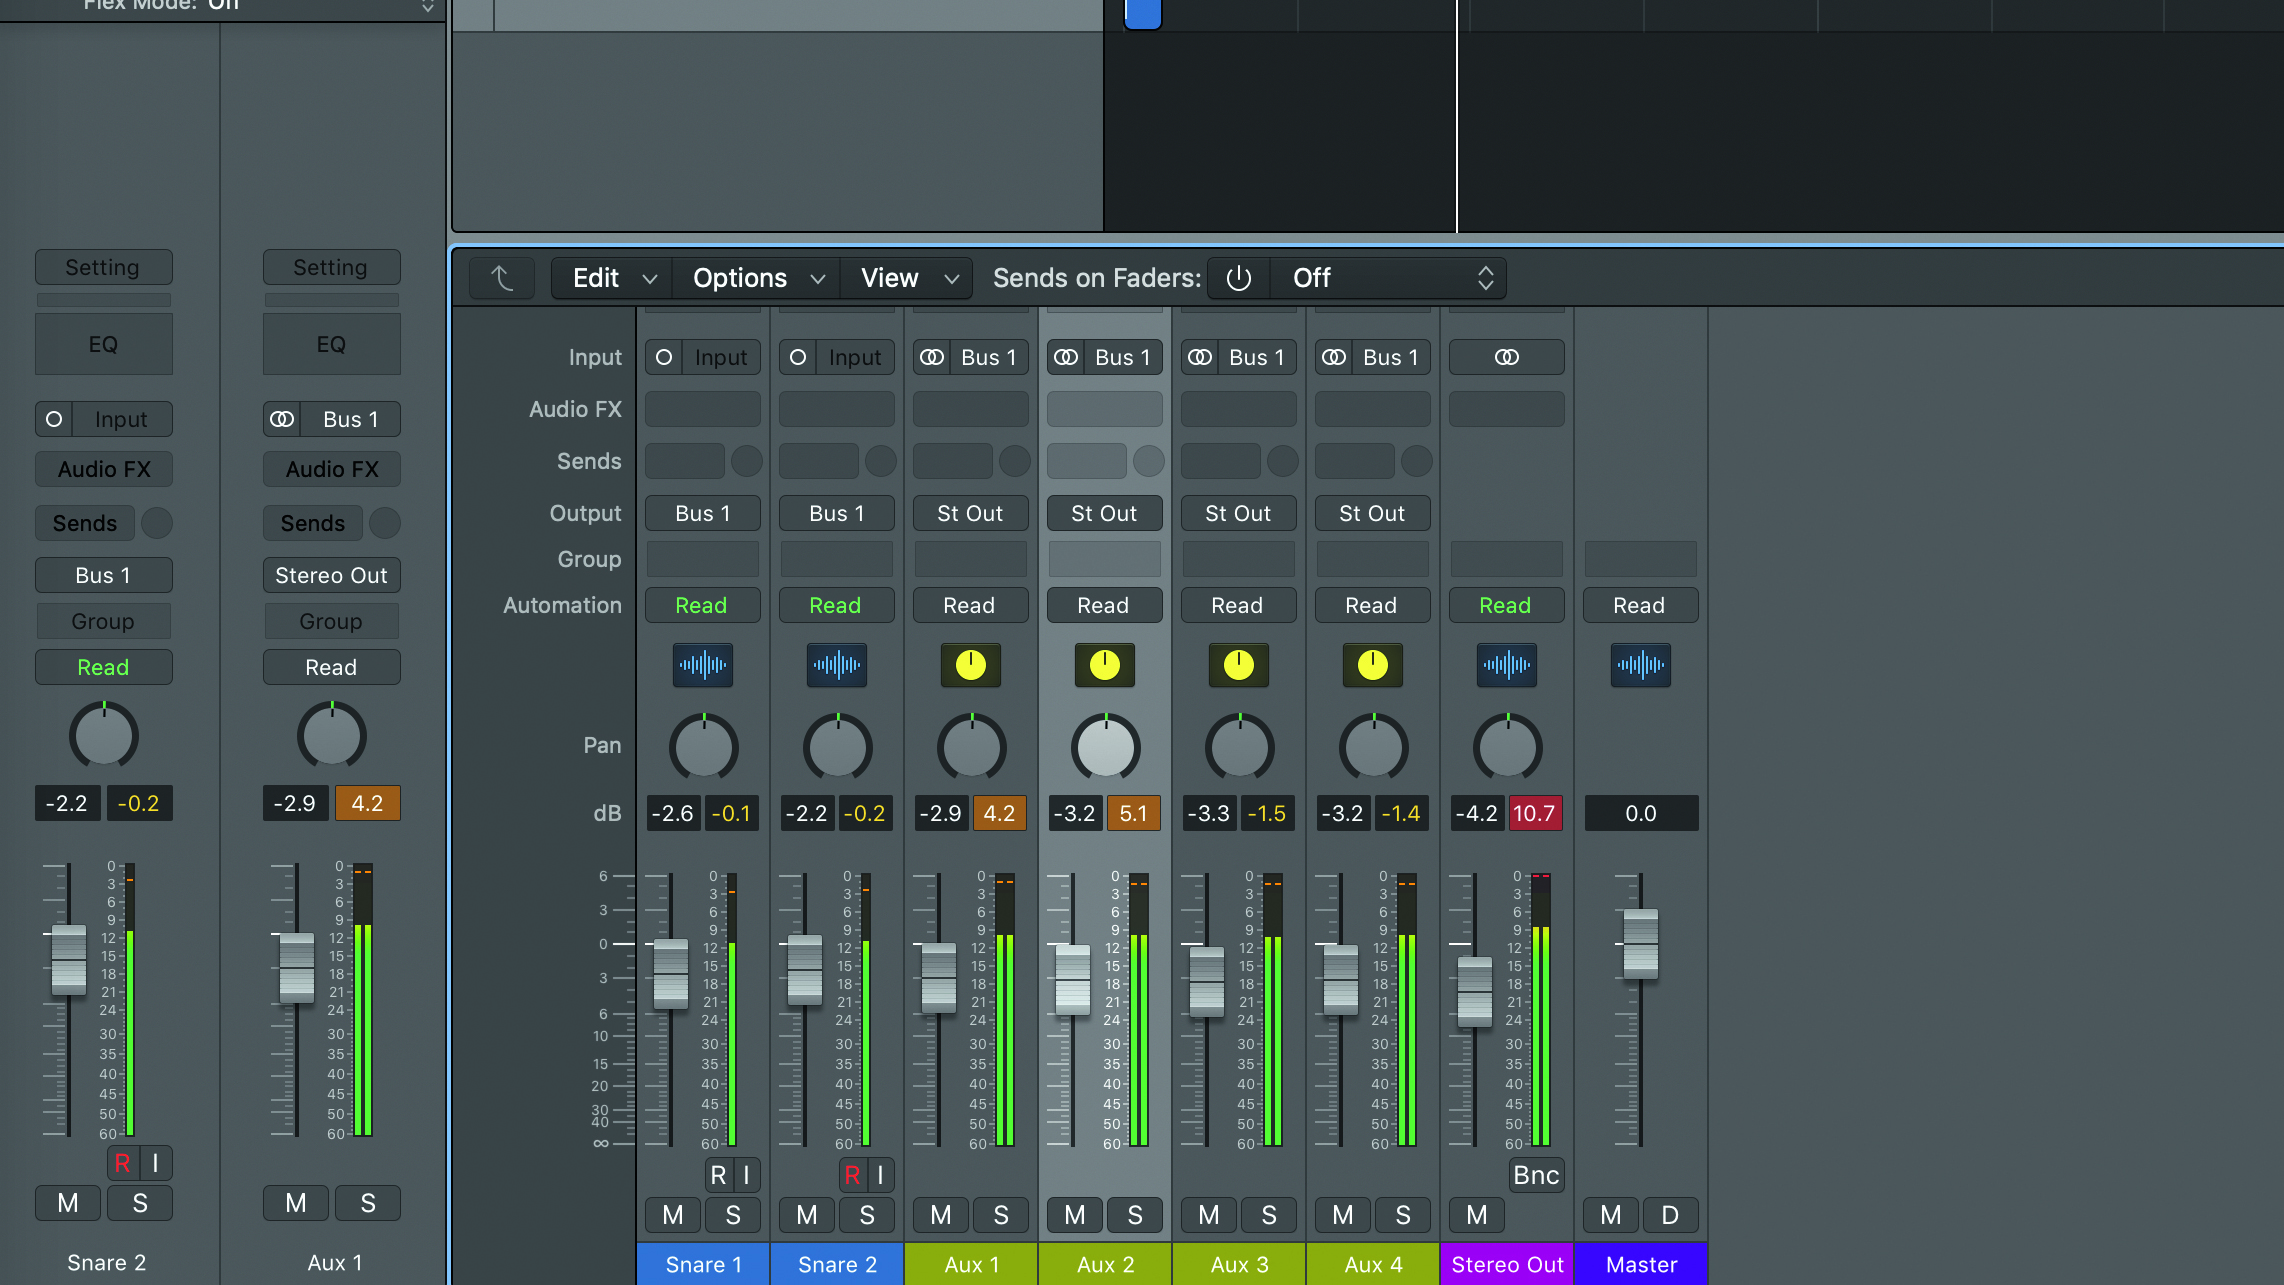
Step 2: Add three more Aux busses. This will vary according to your DAW. (In Logic, use the Options menu) and set them all from Bus 1 and to the main outputs. Now when your snare plays it will come out of four parallel stereo aux channels, each of which can have its own effects applied. This is what’s known as parallel processing.
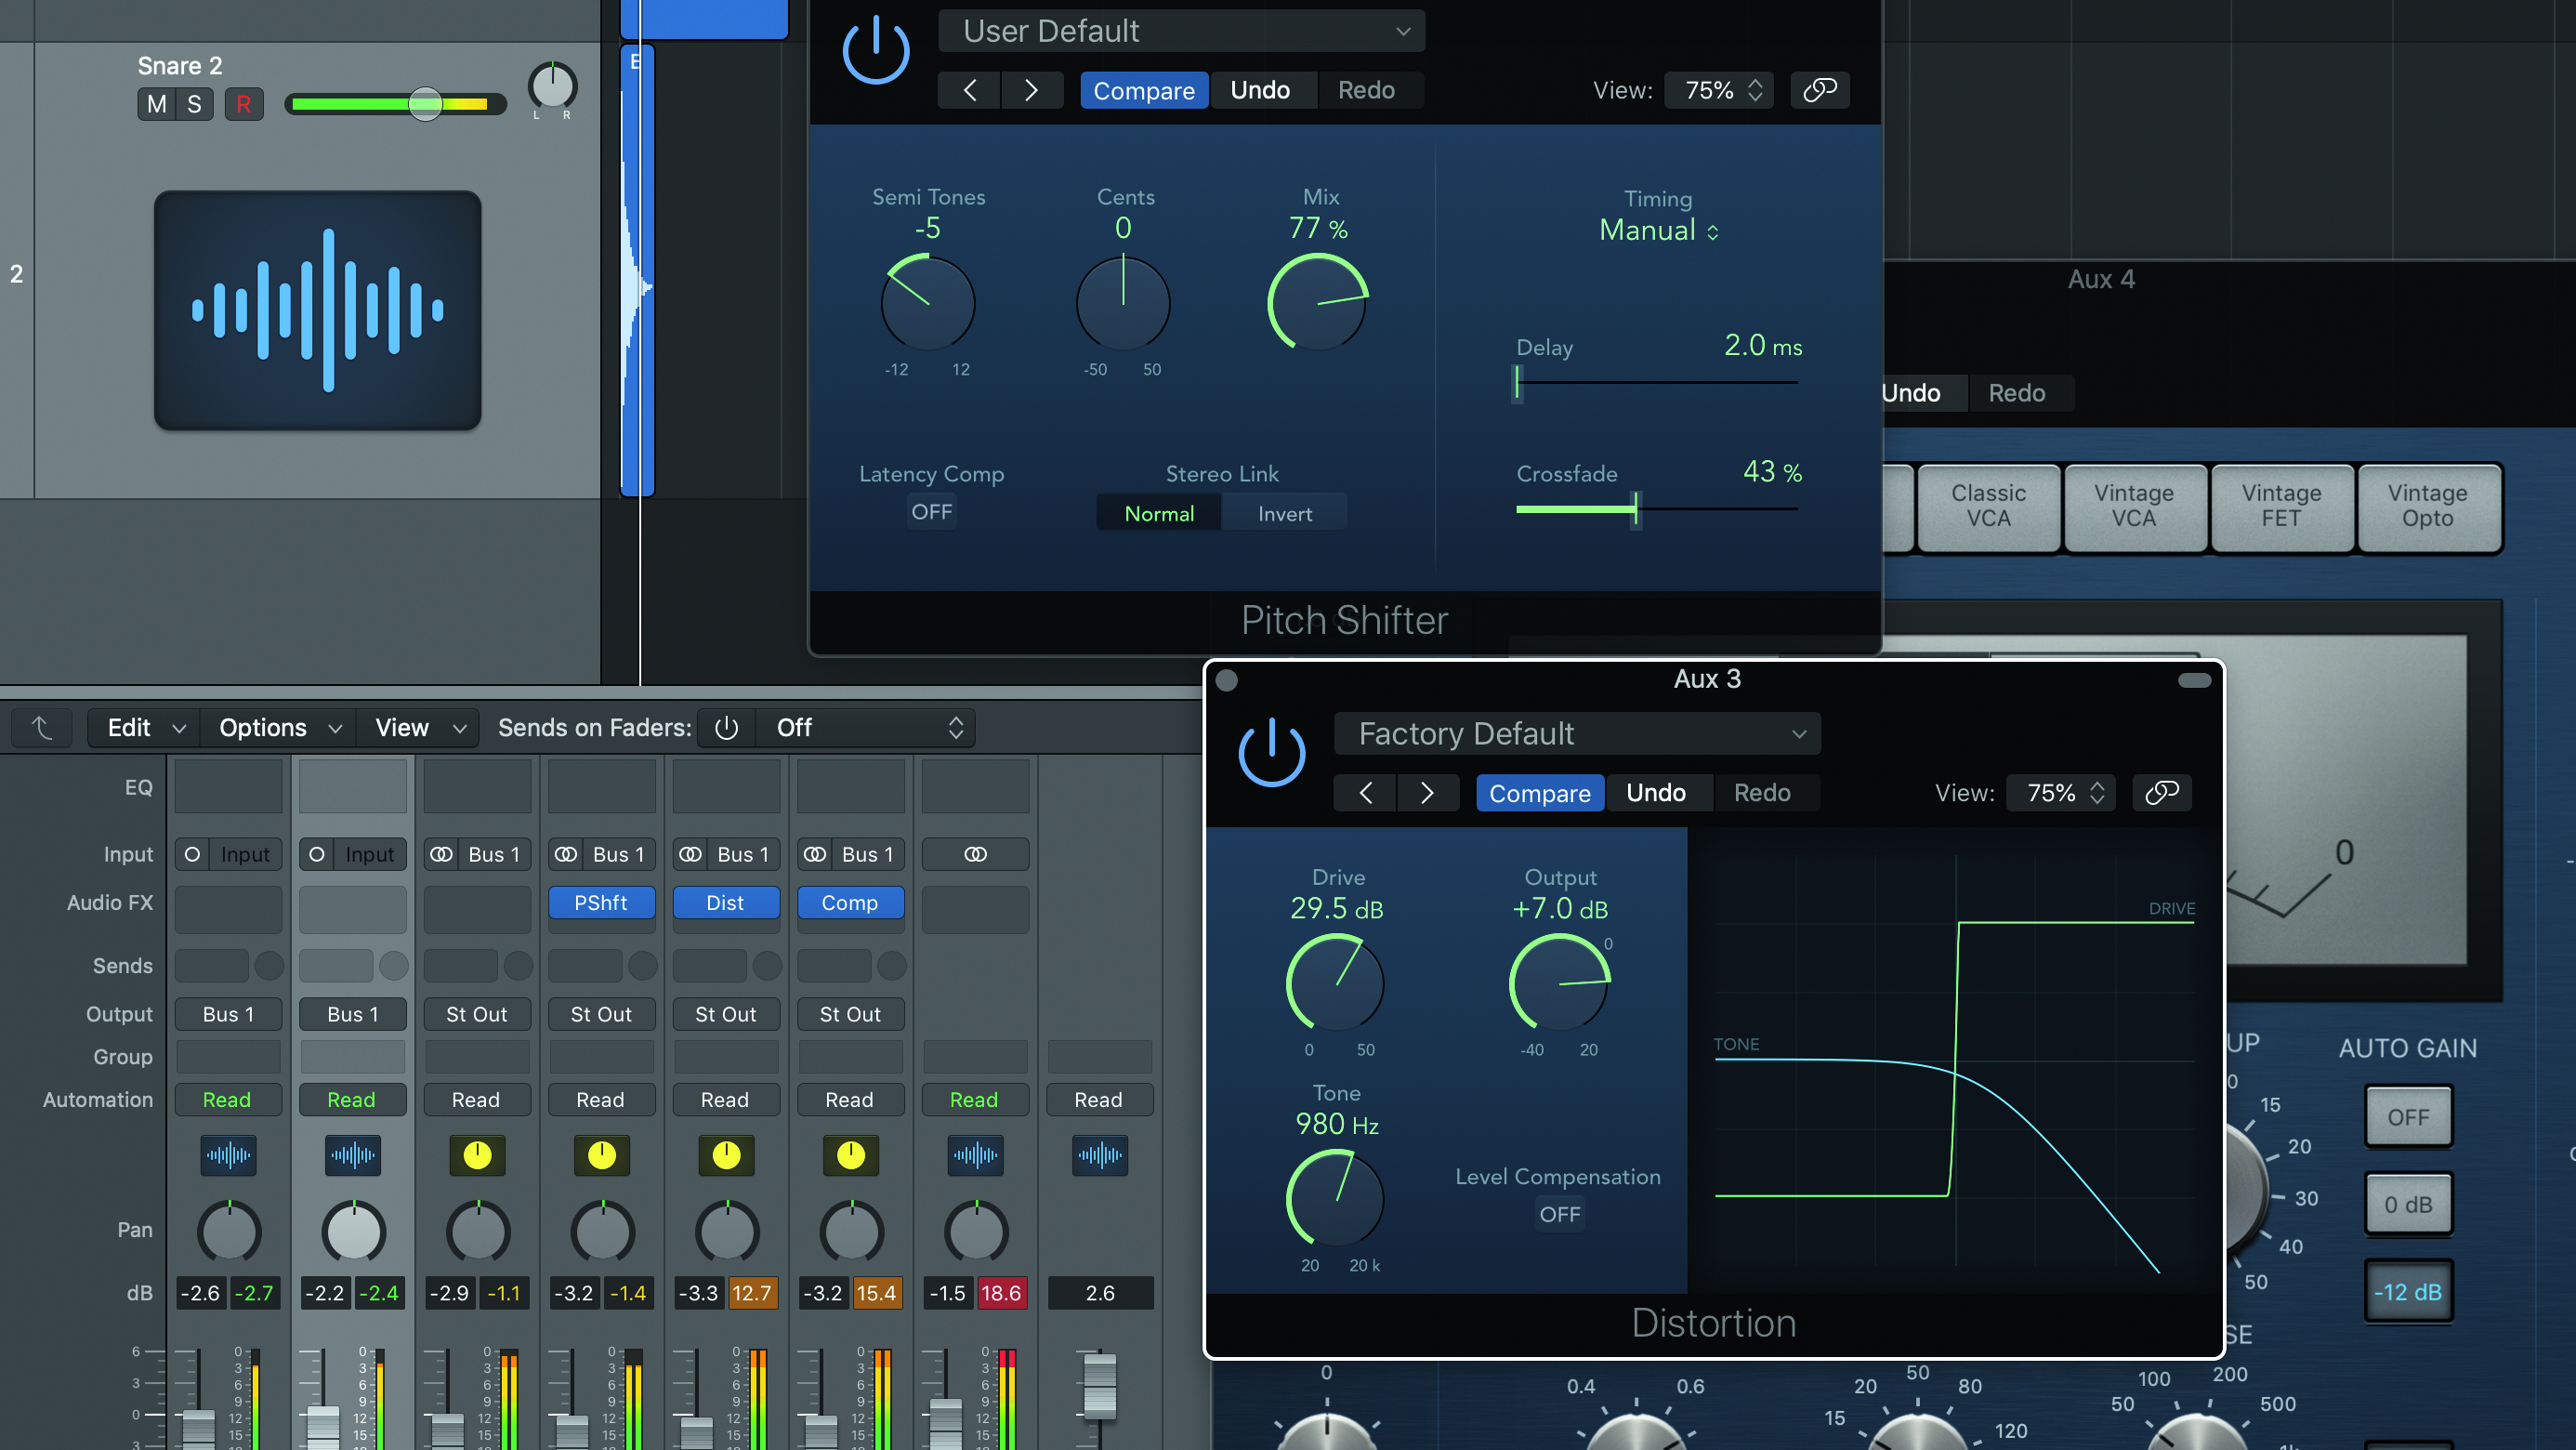
Step 3: Keep the first channel clean. Insert a pitchshifter into the second and down-tune by 3-4 semitones. Insert a distortion plugin into the third one and crank it to the point of filth, then pull it back a bit so that it adds excitement rather than decimates the sound. On the last channel, add a quality compressor with a fairly low Threshold and a high Ratio.
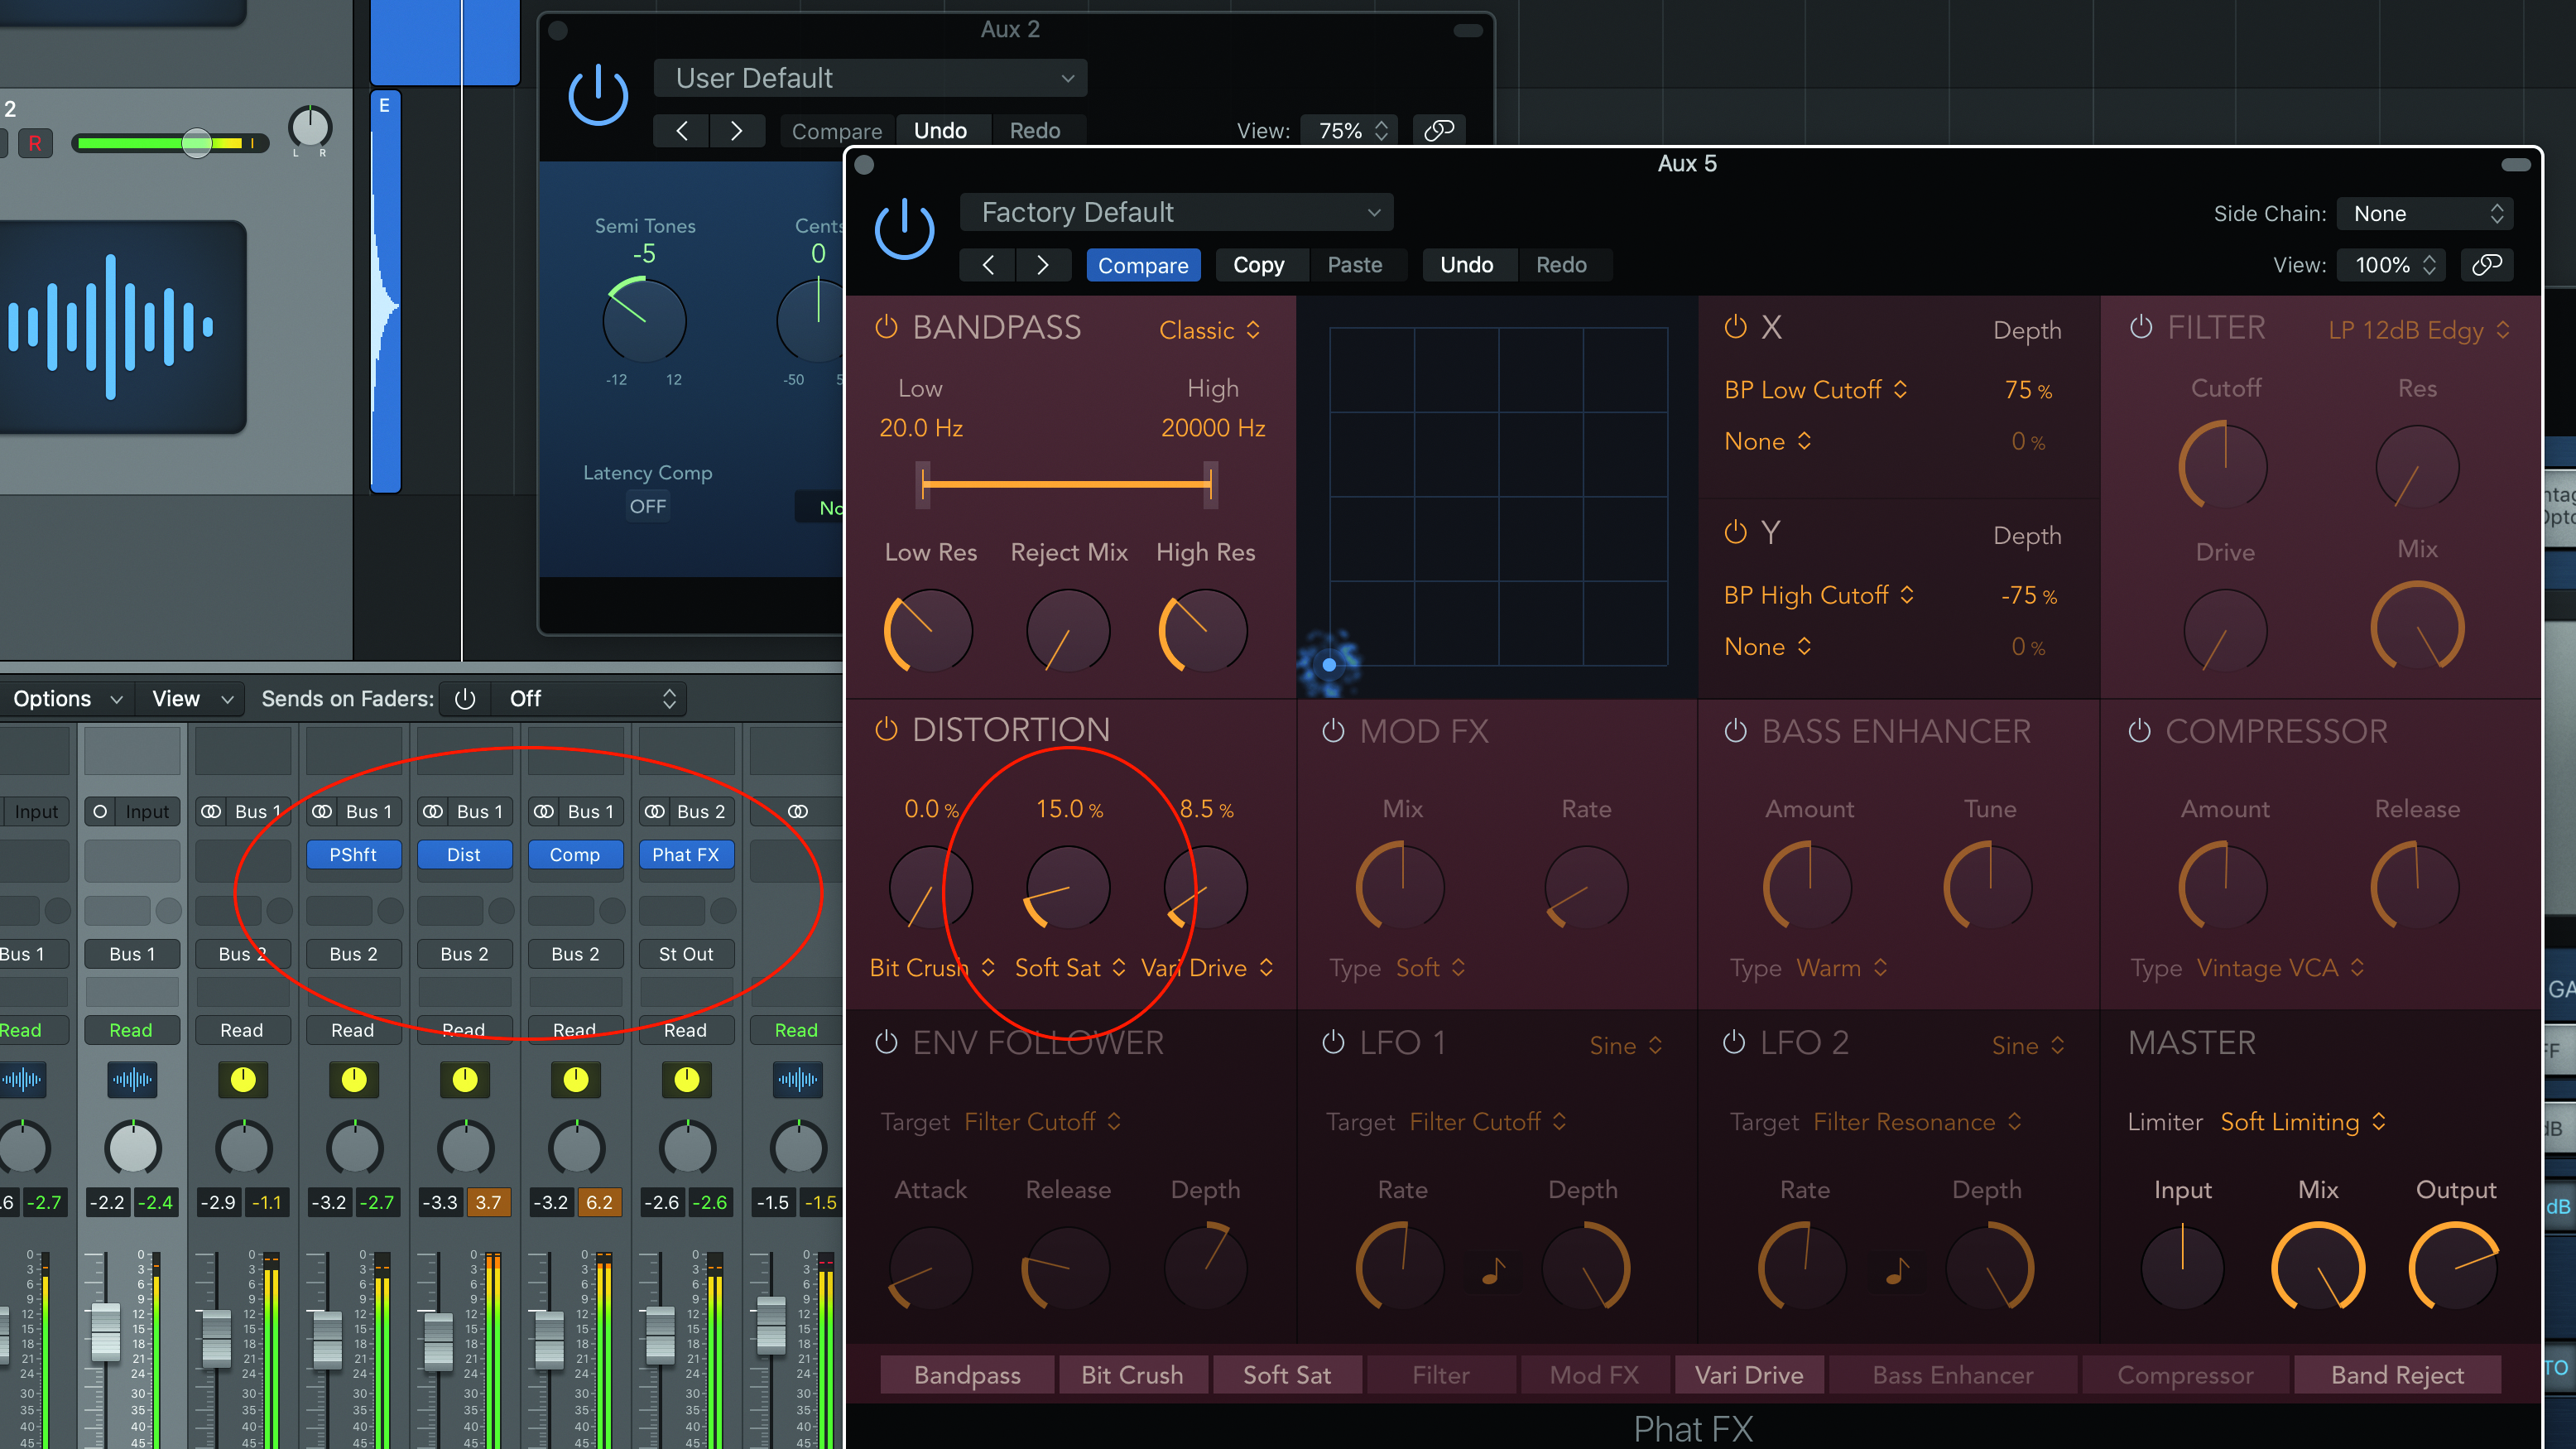
Step 4: Now combine the outputs of all four snare aux channels on a new bus – Buss 2. All the effected snares will now appear together at this new master channel. The final touch is to add a subtle saturation plugin to ‘glue’ all of the snare elements together (we’ve used a little soft saturation via Phat FX). Balance the four aux channels for a monster snare sound.
Six ways to beef up a snare drum
Pitch
Duplicate your snare sound, pitchshift it up or down and blend it with the original for instant depth and texture. It can also be worth pitchshifting ambient mics down on a kit recording for extra fatness.
Layer and replace
If your recorded acoustic drum track is giving you problems, layer in some samples over the close mic channel and blend with your overhead mics. Andy Wallace did this to devastating effect on Nirvana’s Nevermind album, and it’s now common practice. Various drum replacement plugins can help with this, such as WaveMachine Labs Drumagog and Slate Digital Trigger.
Double and delay
Boost the size of a snare sound by adding in a different snare sample 40 or 50ms later, softening the attack time and blending it in. This will give the impression of more ambience.
Parallel compression and EQ
Route your snare to two identical auxiliary busses. Keep one of the busses clean and insert either a compressor, an EQ or both into the other one. Try some radical treatments and blend the clean and effected sounds in together so that the natural sound is still preserved.
Distortion
Gentle distortion or overdrive can make a huge difference to the presence of a snare and is always worth trying.
Add more bottom
Most snare drums benefit from a bit of low-frequency boost. Try a dedicated bass enhancement plug-in or simply apply an EQ boost from 80-120Hz.
Computer Music magazine is the world’s best selling publication dedicated solely to making great music with your Mac or PC computer. Each issue it brings its lucky readers the best in cutting-edge tutorials, need-to-know, expert software reviews and even all the tools you actually need to make great music today, courtesy of our legendary CM Plugin Suite.
