Music Radar MusicRadar The No.1 website for musicians
  • Guitars
  • Amps
  • Pedals
  • Drums
  • Synths
  • Software
  • Pianos
  • Controllers
  • Recording
  • Buyer’s guides
  • Live
  • DJ
  • Advice
  • Acoustic
  • Bass
  • About Us
  • More
    • Reviews
Magazines
  • Computer Music
  • Electronic Musician
  • Future Music
  • Keyboard Magazine
  • Guitarist
  • Guitar Techniques
  • Total Guitar
  • Bass Player
More
  • Take our survey to win a £300/$350 Ticketmaster gift card
  • Type beats
  • 86000+ free music samples
  • How to make an AI cover song
  • Three-chord trick

When you purchase through links on our site, we may earn an affiliate commission. Here’s how it works.

  1. News

The Workshop: How to change your drum head

By Tom Bradley
published 24 November 2016

In ten easy steps!

1. Choose the right drum head

1. Choose the right drum head

In order to bring the best sound out of our drums, it is important not only to keep them in tune, but also replace the heads from time to time.

Even good quality heads will eventually become tired and begin to sound dull. The batter head will tend to be replaced more regularly as, obviously, that’s the one you hit, but it is still important to change the resonant head from time to time in order to keep things sounding fresh.

To show you how to do this, we’ve changed a snare batter in our workshop. Follow our simple steps, below, and new heads will be a cinch.

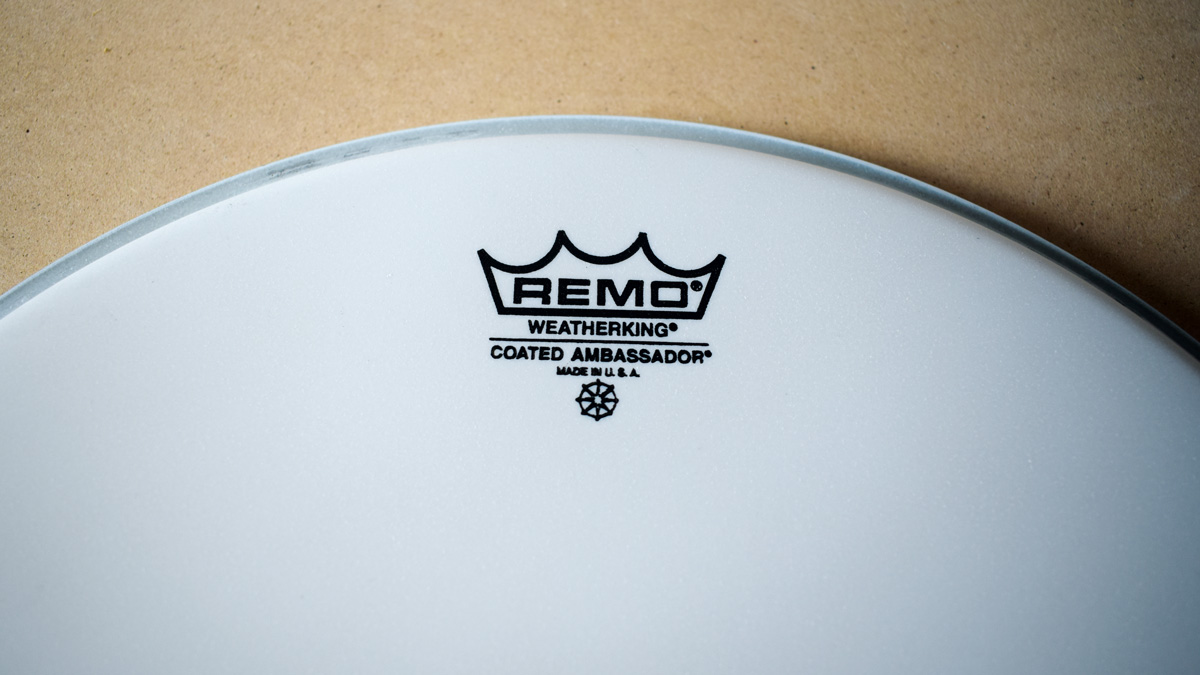
Your choice of drumhead will have an enormous impact on the sound of your drums. Try experimenting between clear and coated heads or single-ply versus double-ply. Base your decisions on your stylistic needs and ultimately, your overall sound preference. Here I have a single-ply coated ambassador.
Page 1 of 9
Page 1 of 9
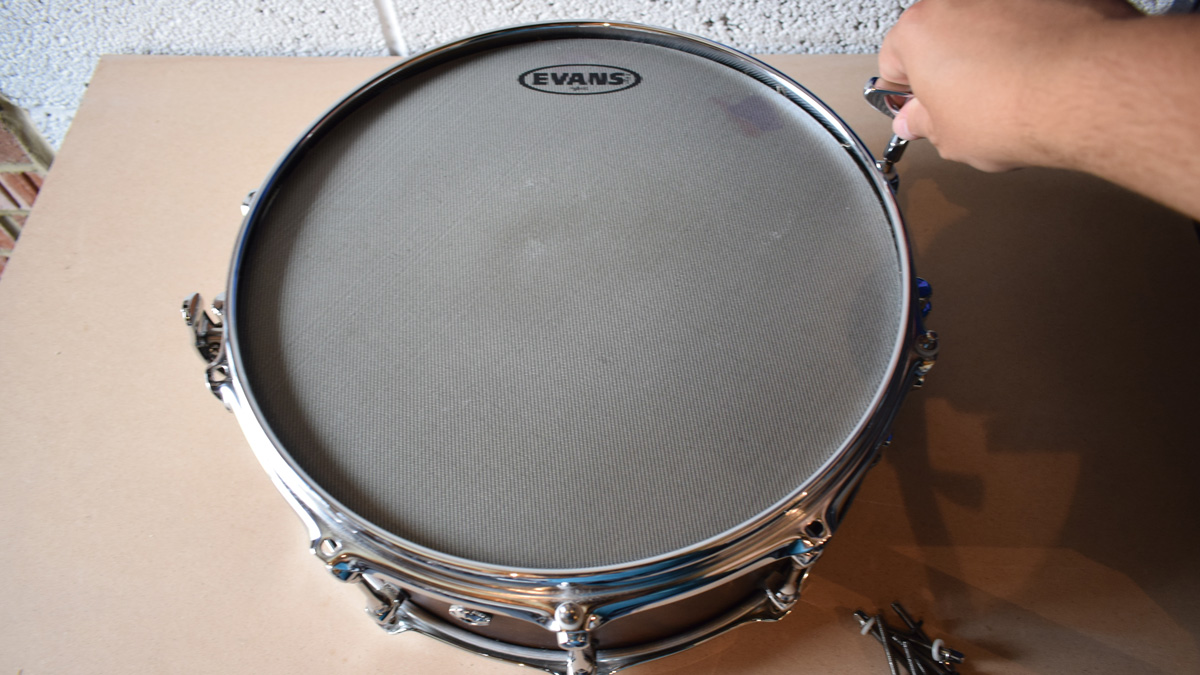
2. Unscrew the tension rods

2. Unscrew the tension rods

Use your drum key to evenly de-tune the drum head, working no more than a quarter-turn at a time.

It is important to do this gradually in order to not put undue strain on the lugs, particularly on one side as this can warp or even completely buckle the hoop.

Page 2 of 9
Page 2 of 9
3. Remove the hoop

3. Remove the hoop

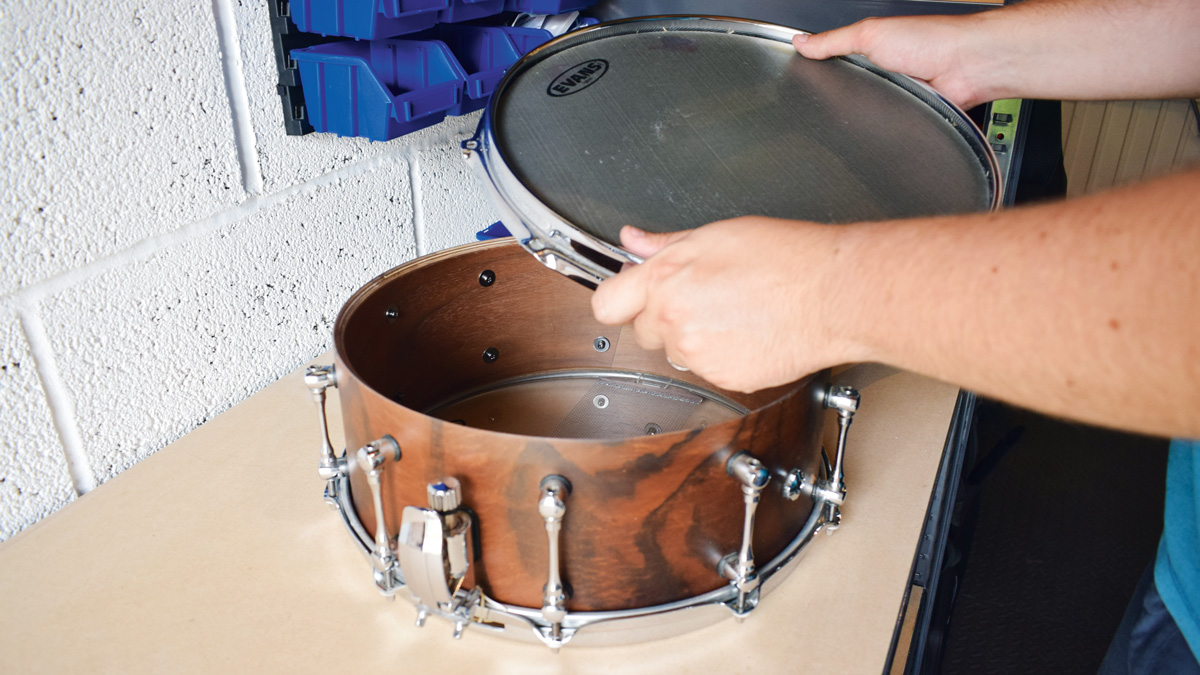
Once the tension rods have been removed and set aside, lift the hoop and drum head away from the shell.

We usually take them away together as there is often a collection of sawdust trapped between the head and the rim. This way it doesn’t all empty into the inside of the drum!

Page 3 of 9
Page 3 of 9
4. Ensure everything is clean

4. Ensure everything is clean

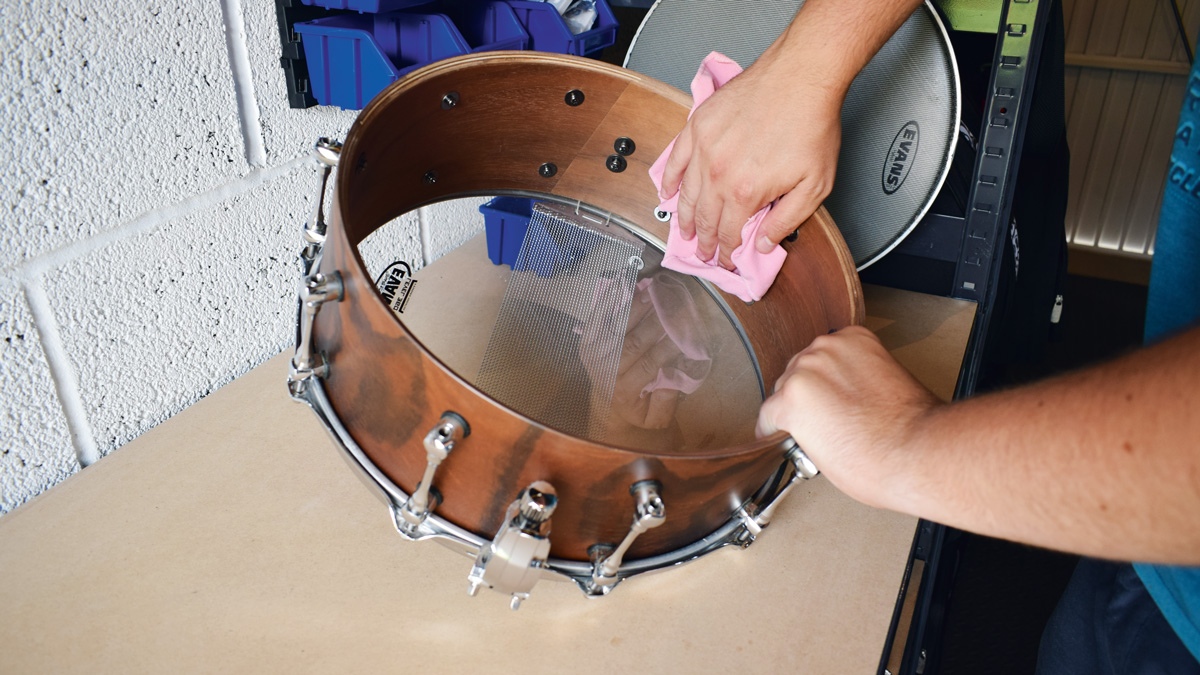
If any debris has managed to find its way into the drum, now is your chance to remove it and give it all a good sprucing.

We like to use a microfibre cloth to give a quick once-over around the inside of the drum shell and bottom head. Give the hoops a good rub-down too, getting rid of any fluff, dust and stick debris.
Page 4 of 9
Page 4 of 9
5. Check your bearing edges

5. Check your bearing edges

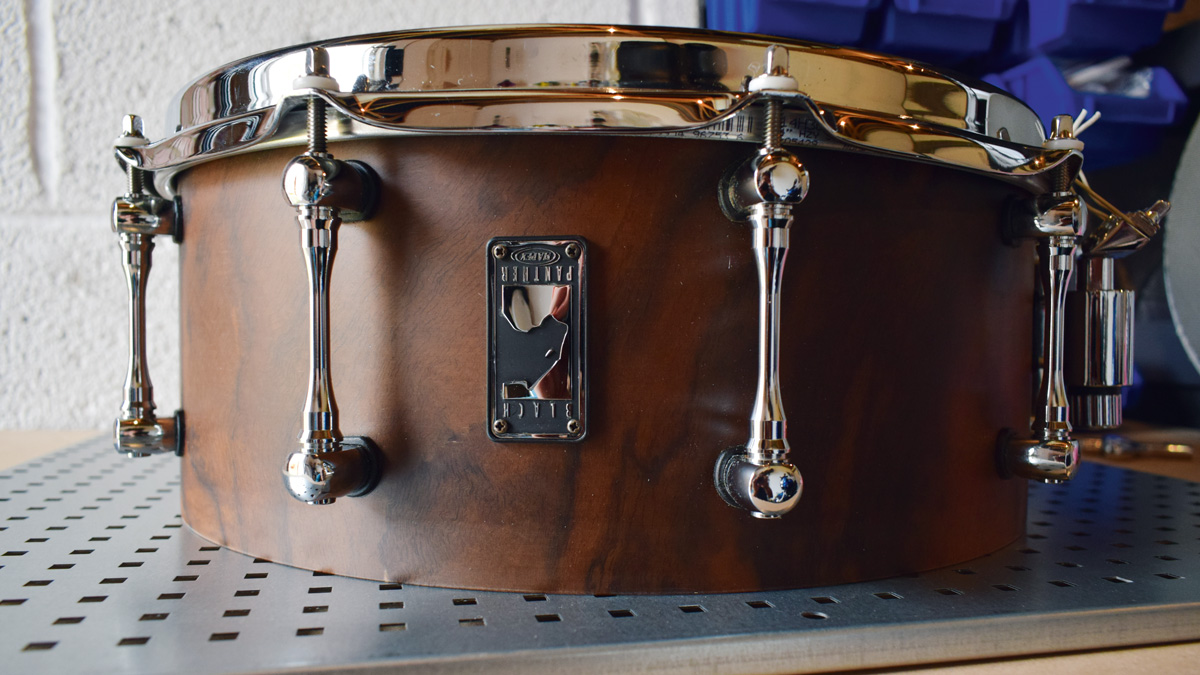
Now is the perfect opportunity to check your drum’s bearing edges for any imperfections.

Place the drum on a flat surface and inspect for any raised points. It is possible to sand down any minor flaws but larger problems may require the edges to be re-cut.

Page 5 of 9
Page 5 of 9
6. Position the new head

6. Position the new head

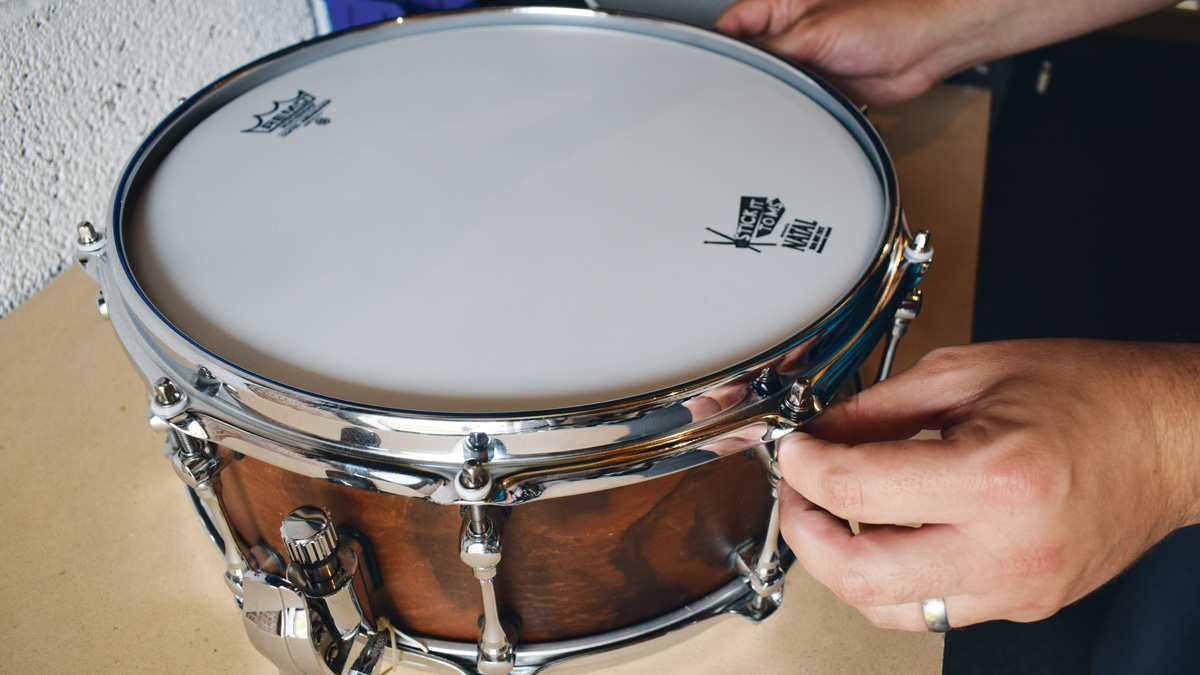
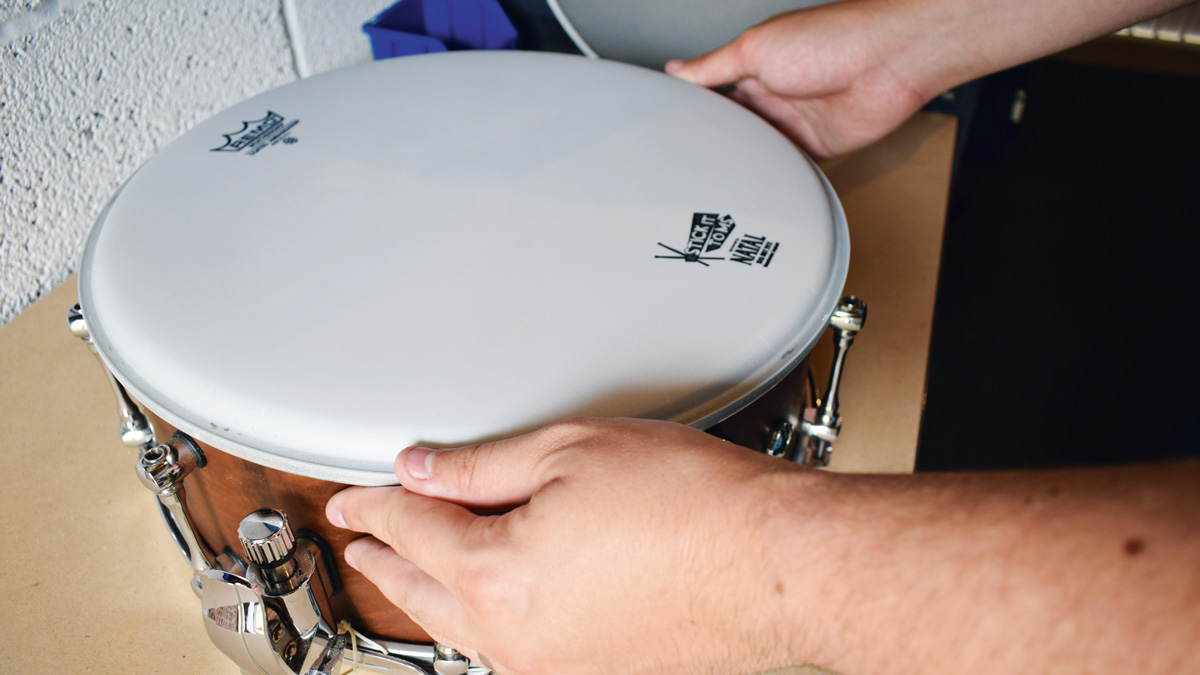
Some people like to run around the bearing edge with some kind of lubricant – often candle wax.

This allows the drum head to move a little more freely over the bearing edge. If you’re at all like me, you’ll want to ensure that the logo is facing the right way in relation to the respective snare throw-off or tom mount.
Page 6 of 9
Page 6 of 9
7. Seat the head

7. Seat the head

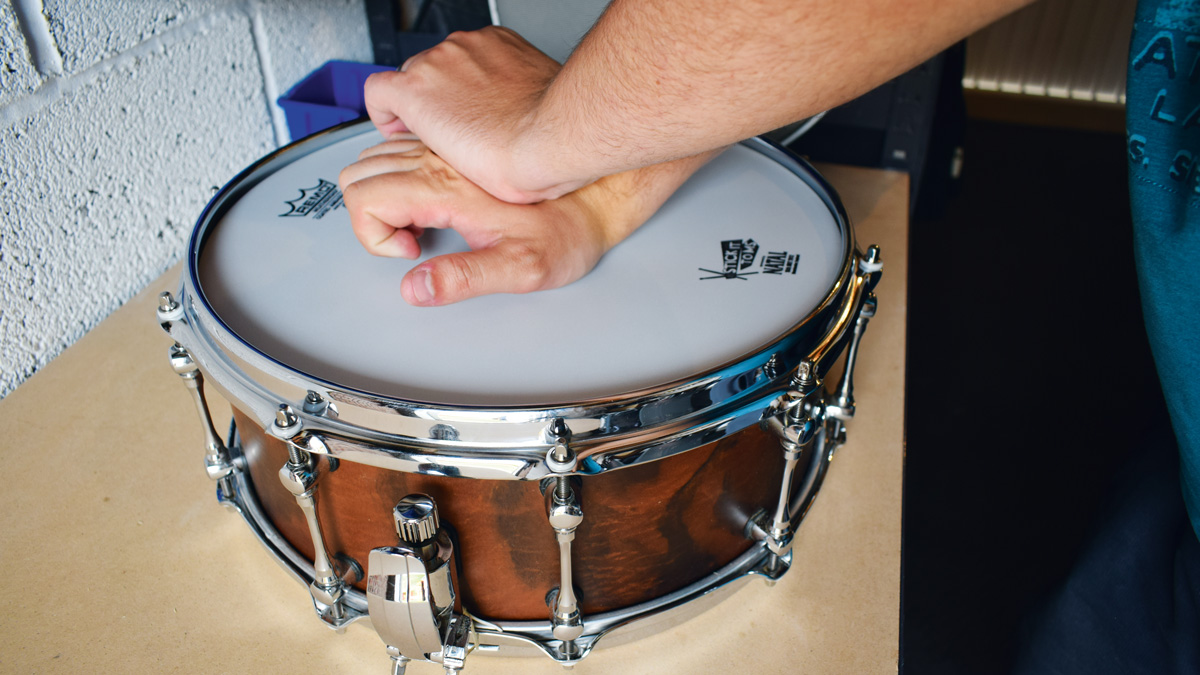
After replacing the hoop and tension rods, the tradition is to ‘seat’ the head by evenly cranking it up to a very high tension in order to stretch it in.

If you hear cracking as you tighten, don’t worry, it’s just the glue in the drum head and this is perfectly normal.

You can then push down on the head to stretch and crack the glue further. Some people like to leave it for a few hours or even overnight.
Page 7 of 9
Page 7 of 9
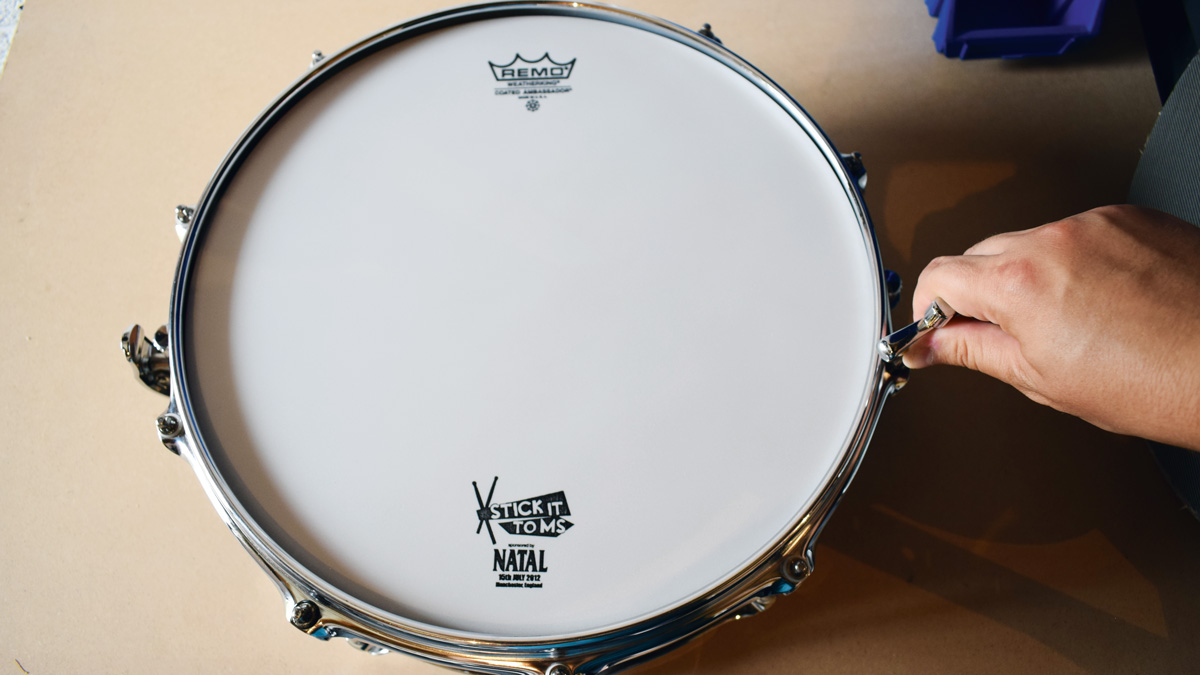
8. Finger-tighten the tuning rods

8. Finger-tighten the tuning rods

Once the head is sufficiently seated, evenly loosen off the tension rods (as step 2) and then tighten them back up using your fingers. this will provide an even starting point for the tuning of the head.

Page 8 of 9
Page 8 of 9
9. Initial tuning

9. Initial tuning

Tighten each rod by a small amount, gradually increasing the tension of the head.

You could start at a quarter or half-turn at a time, depending on how high you want to tune the drum. Most people favour the use of opposite tuning, although we personally prefer to move around in a clockwise direction, making small adjustments.

10. Fine tuning

Rest the drum on something soft to mute the reso, this way you’ll only hear the pitch of the batter head.

A towel or hoodie will work well if you don’t have a fluffy drum case like ours. Using a stick or mallet, play the head an inch or so away from each tension point, finely tuning each one up to the same pitch as the highest note.

Page 9 of 9
Page 9 of 9
Tom Bradley
Tom Bradley
Social Links Navigation

Tom is a professional drummer with a long history of performing live anywhere from local venues to 200,000 capacity festivals. Tom is a private drum tutor, in addition to teaching at the BIMM Institute in Birmingham. He is also a regular contributor to MusicRadar, with a particular passion for all things electronic and hybrid drumming.
More about drums
Natal Zenith vintage-inspired drums

Natal launches Zenith: a vintage-inspired, modern drum kit in five finishes

Close-up of music keyboard

Yamaha, Korg, Roland and Casio face legal action from customers seeking compensation after all four companies were found to have engaged in price fixing in the UK

Latest
Prashant Aswani with his new Charvel signature guitar

Prashant Aswani on his guitar journey: “My brain was ready… I was driven. Greg Howe could play anything, anytime. I wanted to achieve that, so I had a standard to get to”

See more latest ►
Most Popular
Jack White’s Third Man Hardware and CopperSound team up for a special anniversary edition of the Triplegraph Digital Octave pedal

By Jonathan Horsley29 September 2023

There’s no need to wait for Black Friday with these software savings - Waves just dropped a load of titles to $29.99

By Chris Barnes29 September 2023

Al Di Meola suffers heart attack onstage – guitar maestro in stable condition and plans return to the stage in 2024

By Jonathan Horsley29 September 2023

5 underrated DAWs that aren't Logic, Ableton or Pro Tools, and why you should consider switching

By Andy Jones29 September 2023

Modern life getting you down? Here are 10 atmospheric DnB tracks that keep the ‘90s dream alive

By Tim Cant28 September 2023

“For pianists, it's a magical feature”: StaffPad can now generate sheet music just by ‘listening’ to your acoustic piano playing, which sounds like an AI-powered tool we could get on board with

By Ben Rogerson28 September 2023

Best Christmas gifts for piano players 2023: the ultimate festive gift guide for pianists

By Daryl Robertson28 September 2023

Moog Music breaks its silence on rumours of layoffs at its US headquarters: “We are looking forward to getting past this painful phase with renewed energy and enthusiasm”

By Ben Rogerson28 September 2023

Bored at work? This Max for Live device will turn your spreadsheets into music

By Matt Mullen28 September 2023

IK Multimedia puts a piano on Mars (sort of), as it announces that its new Pianoverse plugin was created with the help of a “sampling robot” that has an almost human finger

By Ben Rogerson28 September 2023

AIAIAI launches 'first ever' wireless pro studio monitors (the 'first' being ultra-low latency)

By Andy Jones28 September 2023

  1. DAWproject
    1
    Bitwig and PreSonus’s new open file format enables you to save projects in one DAW and open them in another, but will other developers support it?
  2. 2
    7 effects pedals that synth players need to try
  3. 3
    The missing piece for your ultimate pedalboard rig? Universal Audio announces the OX Stomp Dynamic Speaker Emulator pedal
  4. 4
    Harley Benton Fusion-T 25th review
  5. 5
    The Vaporizer 2 wavetable synth plugin is now free and open-source: a commercial-quality instrument you can download for nothing?
  1. hologram microcosm pedal
    1
    7 effects pedals that synth players need to try
  2. 2
    Venus Theory sampled $50k of gear at a synth convention to make this free plugin
  3. 3
    Yamaha, Korg, Roland and Casio face legal action from customers seeking compensation after all four companies were found to have engaged in price fixing in the UK
  4. 4
    Harley Benton Fusion-T 25th review
  5. 5
    The Vaporizer 2 wavetable synth plugin is now free and open-source: a commercial-quality instrument you can download for nothing?

MusicRadar is part of Future plc, an international media group and leading digital publisher. Visit our corporate site.

  • About Us
  • Contact Future's experts
  • Terms and conditions
  • Privacy policy
  • Cookies policy
  • Accessibility Statement
  • Careers

© Future Publishing Limited Quay House, The Ambury, Bath BA1 1UA. All rights reserved. England and Wales company registration number 2008885.