Back to basics: the beginner's guide to headroom and levels
Where’s your head(room) at? Why do you have to be careful with levels? Here’s our guide to signal-to-noise ratio, gain staging, headroom and a lot more

Want all the hottest music and gear news, reviews, deals, features and more, direct to your inbox? Sign up here.
You are now subscribed
Your newsletter sign-up was successful
RECORDING WEEK 2022: Digital headroom is the breathing space we leave in a track, as opposed to trying to push all our levels as high as possible. But do peak indicators matter? Is it OK to clip channels? How do you set the master output level? We’ll be answering these questions and more.
There are two major aspects of digital headroom we need to look at: recording and mixing.
If we’re using summing stages and effects as part of our production technique we also need to consider the effect they’re having on headroom and the overall sound
Recording is straightforward: you get an analogue signal into your DAW as a digital recording, so for example, you sing into a microphone and it’s recorded in your computer. Next comes mixing, which in this case doesn’t just refer to the final mixdown process after composing and producing your track.
Article continues belowMost electronic music producers mix as they go to some extent, so if we’re using summing stages and effects as part of our production technique we also need to consider the effect they’re having on headroom and the overall sound. Let’s start off with getting the sound into your DAW in the first place and see exactly how headroom affects recording.

The recording stage
Headroom is important from the moment you start recording signals. To understand digital headroom, let’s first look back to the analogue days. Most of us are now recording digitally, but we can still learn a lot from the analogue recording process.
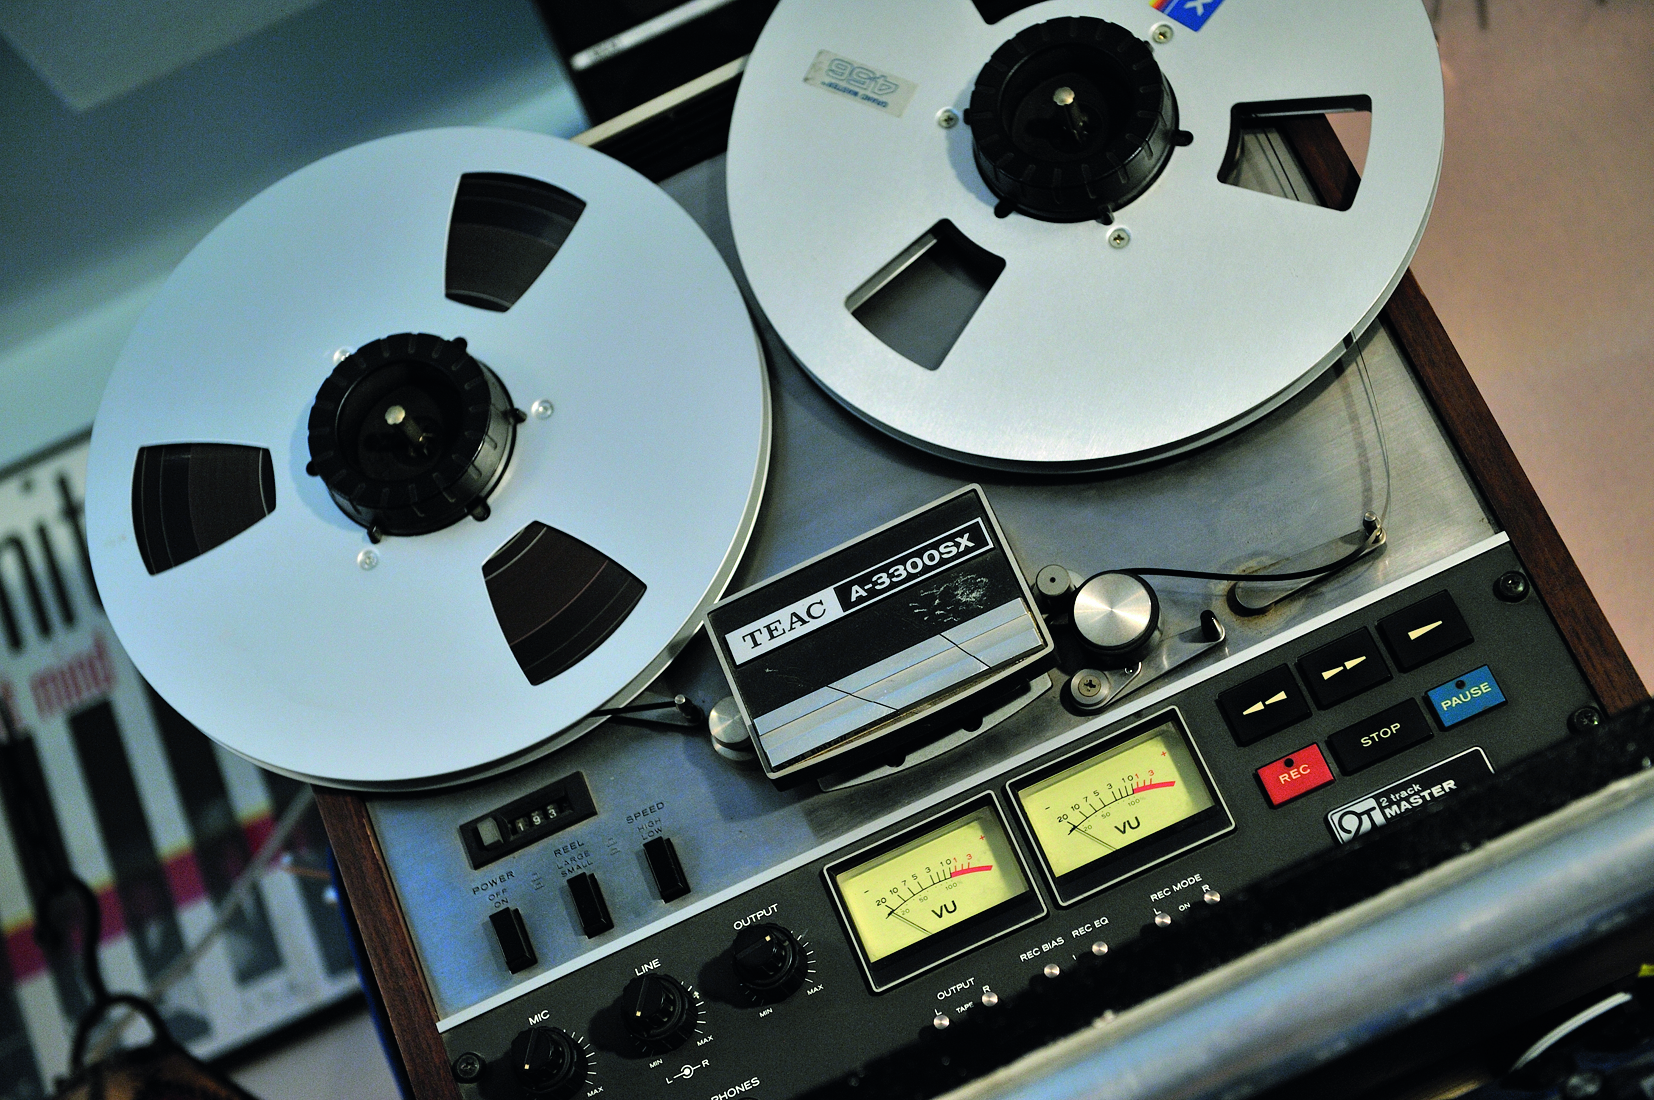
When tracking to tape it’s crucial to set the gain of each channel to maximise the signal-to-noise ratio. If a track is recorded too quietly, it’ll be necessary to increase the gain at a later stage in order to bring it up to a suitable level. Doing so would also increase the volume of the tape’s inherent noise. On a multitrack recording, the cumulative effect of boosting this inherent noise can be severely detrimental to the overall signal-to-noise ratio.
So, how does this relate to digital recording? Essentially, the key factor to consider when recording digitally is similar: higher signal levels result in better signal-to-noise ratios, lower quantisation error and more accurate representation of the analogue wave.
Want all the hottest music and gear news, reviews, deals, features and more, direct to your inbox? Sign up here.
However, whereas tape compresses, saturates and gradually overloads when the input level exceeds a certain nominal maximum level, digital is much less forgiving. If the input level of the signal exceeds the maximum level of the analogue-to-digital converter, you will find you’ll get clipping.
Clipping is the condition that occurs when a digital signal attempts to exceed the maximum level
Clipping is the condition that occurs when a digital signal attempts to exceed the maximum level. Since the maximum possible amplitude of a digital waveform is fixed at 1, any signal which attempts to go above this level is truncated (limited) to 1. The waveform is distorted and depending on how badly clipping occurs you’ll hear anything from a short click or pop to a harsh, undesirable digital distortion.
Back when 24-bit recording took over from the previous 16-bit standard, many users failed to understand the point of 24-bit recording if their tracks were destined for the 16-bit 44.1kHz format defined by the Red Book audio CD standard.
One significant part of the answer is that although 24-bit recording produces larger files and is unlikely to result in major increases in sound quality by itself, it solves the headroom conundrum when recording. By recording in 24-bit, we can achieve the dynamic range and accuracy of 16-bit while keeping the input level low enough to avoid any chance of clipping.
Generally speaking, an average level of around -18dBFS with peaks hitting no higher than -6dBFS is a good rule of thumb. Of course, in some cases you’ll be limited by your preamps or the dynamic range of your sound source, but trial and error should help you to determine the best settings.

Signal-to-noise ratio explained
It’s important to maintain the highest possible signal-to-noise ratio. In simple terms, this means keeping the signal as loud as possible while keeping background noise as quiet as possible. The perfect example is tape hiss. When music was recorded to analogue tape, a gentle hiss in the background of a recording was an inevitable side effect. Recording engineers learned that a certain technique could make it less prominent in the final mix.
If we record our tracks to tape at a relatively low level, the first thing we’re likely to do when mixing the recording down is to amplify those recorded signals. But when we amplify playback from the tape, we’re not just boosting the signals we were trying to capture, we’re also boosting the tape hiss. That could add up to a noticeable background noise.
The solution is to record those signals at a higher level, meaning they don’t have to be amplified as much. We can then achieve the same overall mix at the same level with a lower level of hiss.
Signal-to-noise ratio means keeping the signal as loud as possible while keeping background noise as quiet as possible
The same approach applies no matter what type of audio signal we’re dealing with. Most of us now record digitally, so tape hiss probably isn’t an issue, but there are still unavoidable elements of noise that exist in a nominally ‘digital’ recording setup. Ultimately, you might be recording to a digital medium (your DAW and computer’s hard drive) but there are analogue signals along the way – every piece of equipment could introduce noise.
The general approach of most recording engineers in the analogue tape era was to hit the tape as hard as possible without overloading it, guaranteeing the signal-to-noise ratio was as high as possible. One principle to consider is starting with a relatively hot signal, making it quieter where needed rather than starting with a quiet signal and amplifying it along with its noise.

Whenever we amplify a signal, we’re amplifying every part of it. If we’re amplifying to compensate for a weak signal that could have been boosted earlier in the chain – before the introduction of unwanted background noise – we’re not getting the best signal-to-noise ratio.
With so much equipment on the market it’s impossible to give a 100% foolproof formula for setting input and output levels. Gain staging is a balancing act – it’s about juggling input and output level settings on each piece of equipment until you find what gives the best results.
Thankfully, it’s a relatively easy process, but one you should run through before you start recording. Hook up all your gear – whether it’s a synth into an interface or a complex chain of preamps, compressors and effects – start with a loud signal from your source, determine the overall combination of settings that give the cleanest sound, and then start the recording process.
Optimum signal levels
The temptation is to crank up the volume to get a loud, hot signal, but if you follow that approach you’ll run into trouble. All audio hardware or software is designed with a specific operating range in mind.
Let’s take an analogue compressor as an example. If we hit it with a quiet signal, immediately we have a problem. The meters and range of the threshold setting are designed for a signal within a certain range. If the signal is too quiet, it will be hard to monitor its level on the meters.
In extreme cases, it may even be impossible to set a low enough threshold to achieve the level of gain reduction we need. Some compressors have an input gain stage, but trying to fix our mistake by boosting the signal at that time also boosts the noise that came with it. The correct approach is to ensure the signal arrives at the compressor at the optimal level in the first place.
Every signal processor has a limit beyond which it can no longer operate in the way the designer intended
So what happens when we feed an overly loud signal into a piece of equipment? Every signal processor has a limit beyond which it can no longer operate in the way the designer intended. Above 0dBFS in a digital system we get clipping (a harsh form of distortion). Analogue devices tend to break up more gradually as the signal exceeds the optimal level, but distortion is still introduced. Generally speaking they’re undesirable unless you are deliberately choosing to overdrive the equipment.
Once inside the DAW, the rules change. The majority of DAWs and plugins tolerate overly hot signals in most cases. It’s also much less likely that processing will introduce noise. However, we can still run into similar problems. Plugins designed to emulate the operation of analogue gear almost always need signals within a certain range.
Effects like tape saturation or overdrive are often designed to break up more noticeably when hit harder, emulating the way modelled analogue hardware would respond. Running signals outside their intended optimum range means they won’t work the way the developers intended.
Likewise, if we run overly loud signals we will eventually hit the master channel. Master output signals above 0dB will clip when they hit the DA converter of our interface. Trying to bounce the mix will lead to similar problems. So why not just pull down the master fader? We could, but that’s a workaround rather than a proper solution.
Whether working in the box or with hardware, maintain a logical approach to gain structure and signal levels
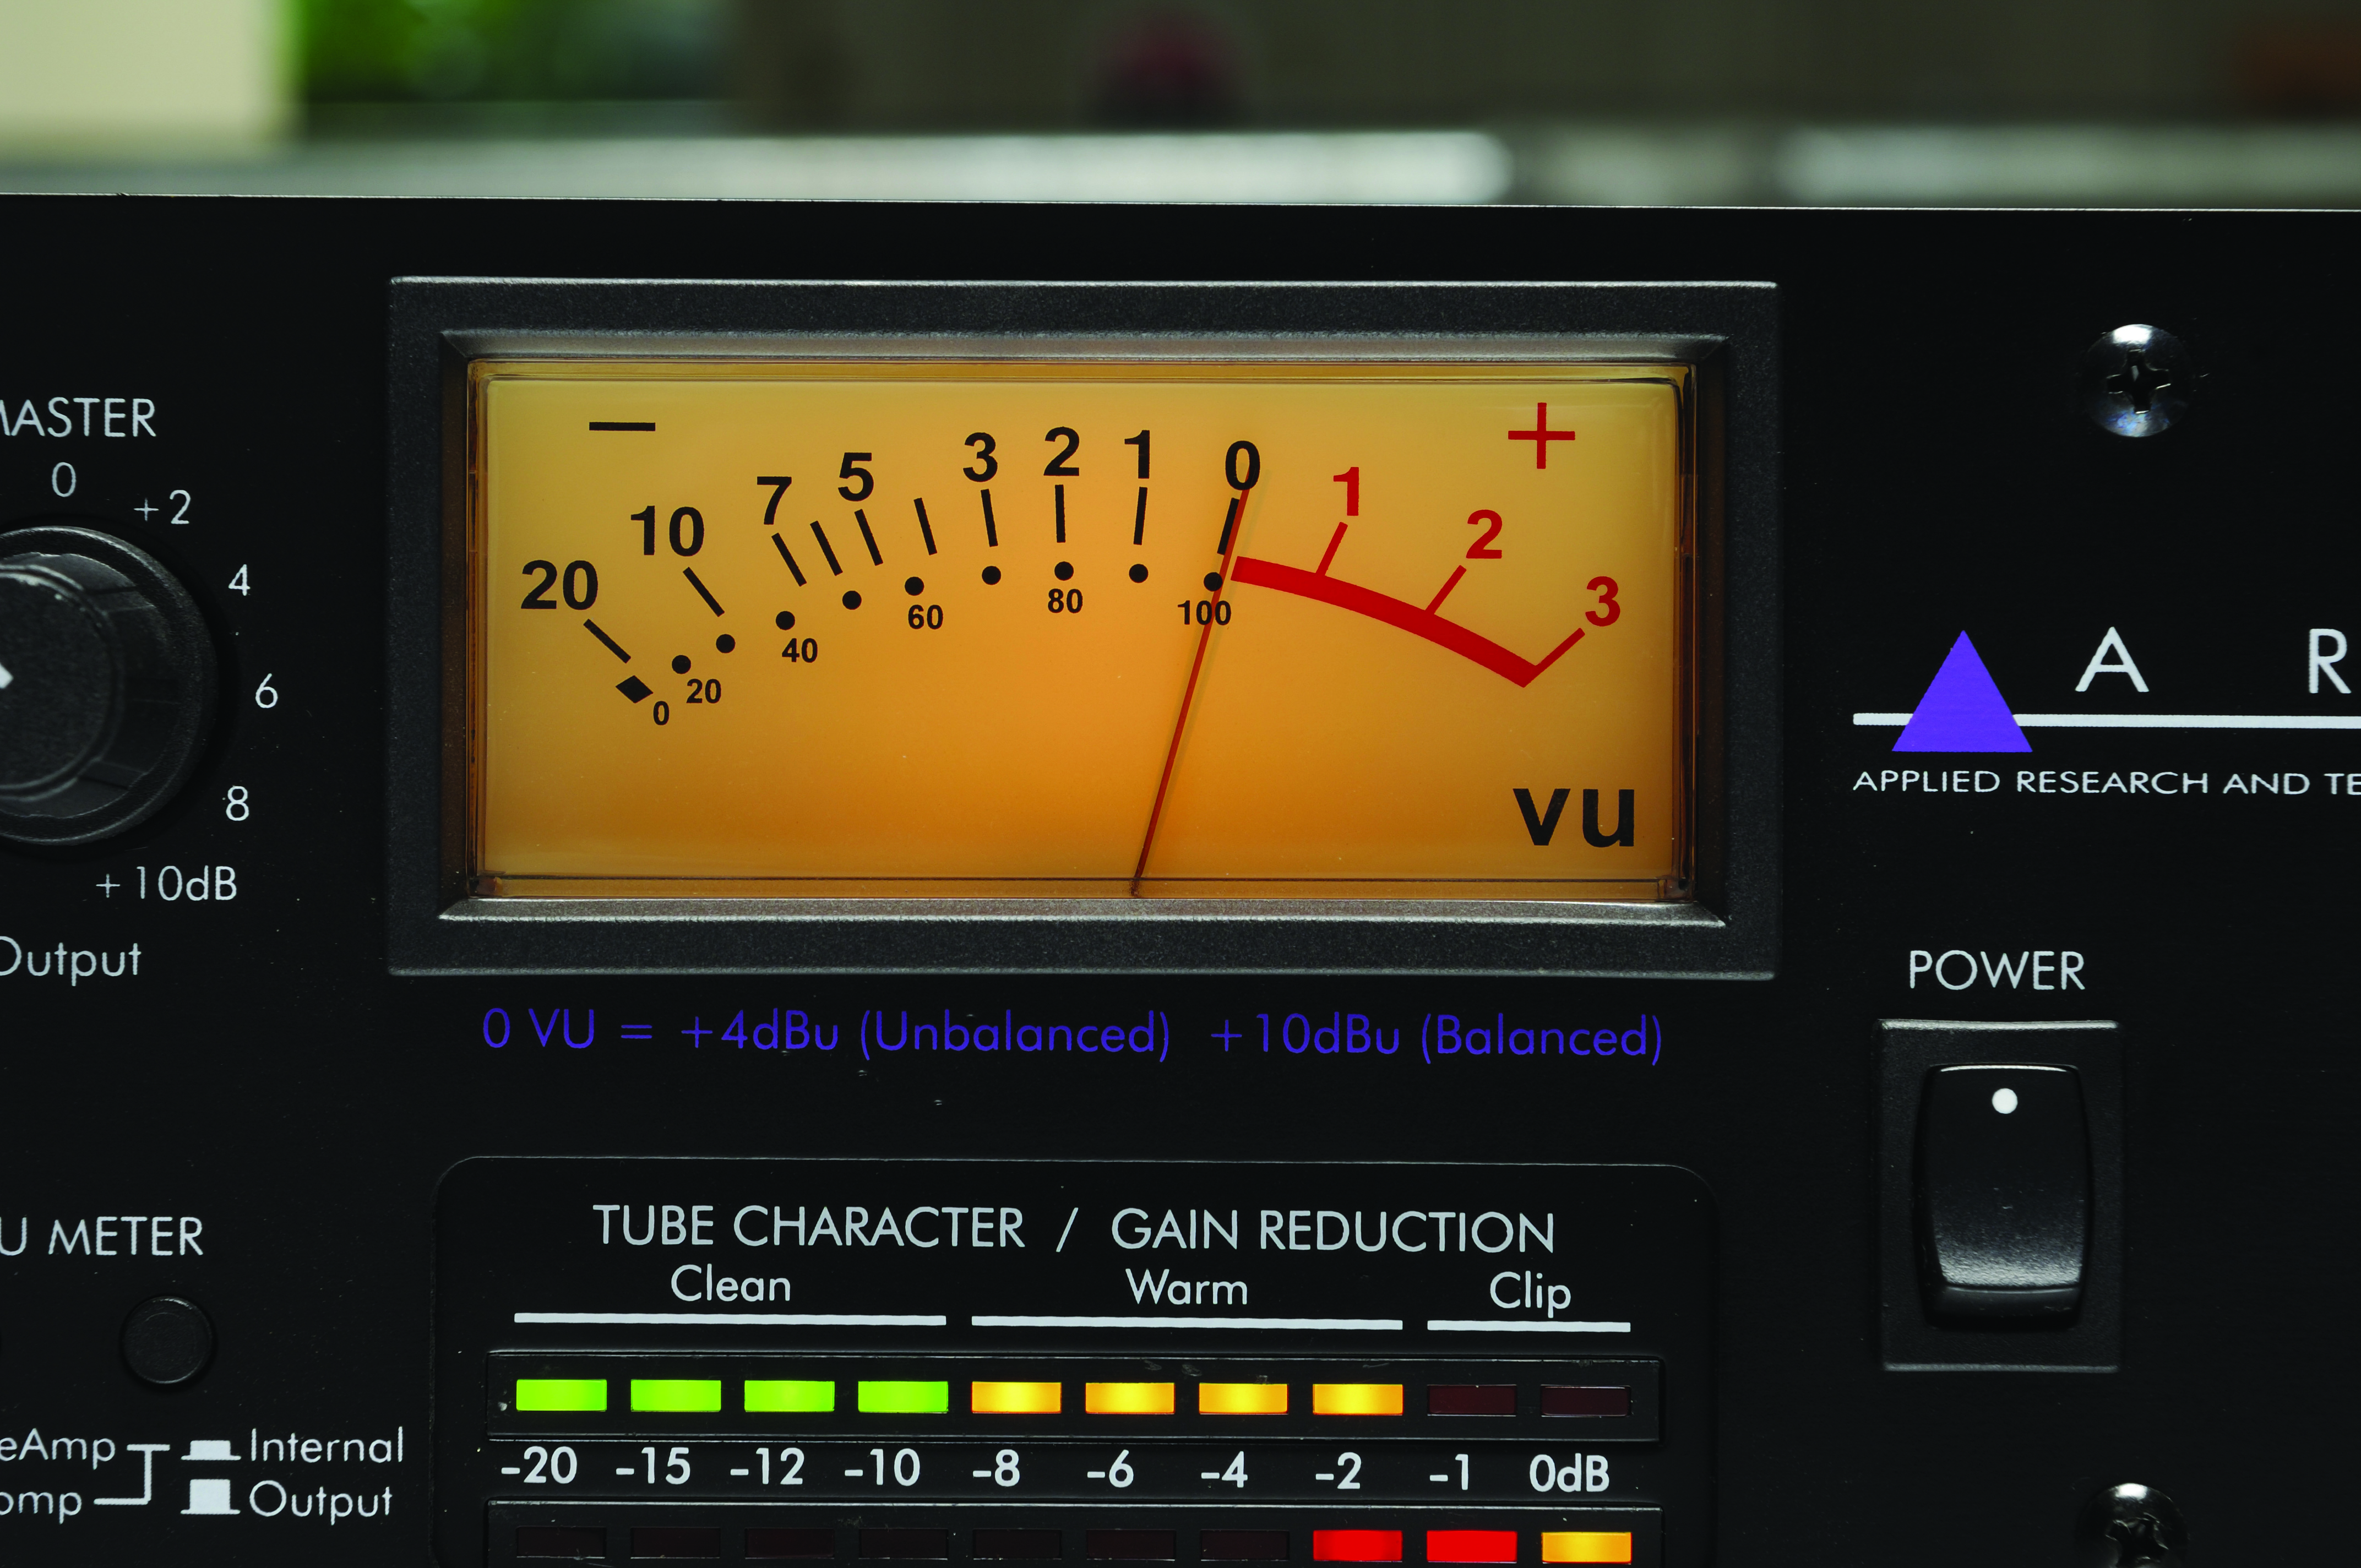
There are still compelling arguments for paying attention to signal levels and gain structure in the box. Even something as simple as a level meter relies upon an optimum signal level, whether that’s on a channel strip or inside a plugin. Most level meters are designed to be at their most accurate between around -20dB and 0dB. Run them outside that sweet spot and they become virtually redundant.
Let’s go back to the subject of rules changing in DAWs for a moment… Most DAWs and plugins use floating point processing, making them virtually impossible to clip no matter how loud your signal is, but that shouldn’t be taken to mean all plugins work flawlessly.
Even if you are confident that your DAW processes everything cleanly no matter how hard you slam a signal through it, are you 100% certain the same can be said for every third-party plugin you use? Probably not, and it will either harm your sound or take time to resolve when you do run into a problem.
Whether working in the box or with hardware, maintain a logical approach to gain structure and signal levels. A little attention to these will save you headaches further down the line.
Getting on stage
There’s one question that we get asked more than any other about headroom when mixing, and that is: do the peak indicators in my DAW matter? It might seem like a simple question, but as we’ll see, the answer isn’t entirely straightforward. In fact, it’s a multi-part answer that depends on exactly which peak indicators we’re talking about.
First, we need to break the DAW’s signal path down into chunks. Let’s assume that we have an audio recording or virtual instrument as our sound source. Most DAWs run the audio through a similar signal chain. Firstly, the signal runs through the effect chain on each channel strip (auxiliary sends carry out essentially the same function but with slightly more complex routing).
Secondly, the outputs of each channel get summed to a single (mono, stereo or multi-channel) output signal. Finally, this signal is sent through the master fader and to the output, which is either a digital-to-analogue converter or a digital audio file, depending on whether you’re playing back your mix or bouncing it. Let’s take those three stages and consider how each one affects the signal level and the sound.
Start at the end: mastering
It’s best to tackle the three stages in reverse order, mainly because the master channel gives us the easiest answer: do not, under any circumstances, let the master channel peak.
Let’s say you’re bouncing to a WAV file. Regardless of bit depth, your output level cannot exceed 0dBFS. Any signal over this level will be clipped and induce harsh digital distortion.
Likewise, the outputs of your audio interface have a fixed limit: 0dBFS. Anything above this and you’ll be clipping the signal. It might not be obvious at first, but as you push harder it’s likely to become very clear that something’s not right.
Do not, under any circumstances, let the master channel peak
Some producers choose to set a brickwall limiter to 0dB at the end of the master channel strip in order to ensure the signal can’t go any higher and avoid the output clipping problem altogether. A much better idea is to leave a few decibels of headroom and then save the limiting for the mastering stage.
This ensures that the output doesn’t clip but also doesn’t colour the sound or squash the dynamic range of your track. One notable exception is when playing live – a clean, neutral limiter on the output can be a useful safety net in this case.
Doing your sums
The summing stage of your DAW is where things get slightly more complex and it’s all due to the fact that most DAWs now use 32- or 64-bit floating point processing for internal calculations.
We aren't going to dive into the complexities of floating point data representation here, but essentially it means that the potential accuracy and resolution of a digital signal is much higher than with the older 16- or 24-bit integer standards.
32/64-bit floating point effectively means you can’t exceed the maximum signal level. Back in the days when everyone used analogue mixers to sum their sound sources, it was obvious that a flashing peak indicator on any channel meant it was being pushed too hard and the sound was likely to start breaking up soon. Likewise in a 24-bit integer system, there isn’t anywhere higher than maximum signal level so attempting to push a signal higher will lead to clipping.
Floating point audio processing eliminates this problem altogether. There is no clipping because there is no maximum – the digital value can represent a signal level from minus infinity up to infinity.

As an aside, floating point also has its benefits for low-scale signals since accuracy around zero is much higher than with fixed-point systems. Dynamic range is practically infinite, so signals can be attenuated until they’re inaudible, then amplified back up to their original level without any signal loss.
To all intents and purposes, pulling down the master fader has exactly the same effect as pulling down all of your channel faders (assuming there are no plugins on the master channel strip, of course). So, headroom isn’t really an issue at the summing stage. Does this mean you can just run your signals as hot as you like so long as you pull the master fader down to compensate for it afterwards? Well, the answer is: yes, and no…
The one potential problem with running hot signals during the mixing process comes from the third stage we identified: plugins. The issue here comes from the fact that not all plugins are created equal. While one effect plugin might happily take a +20dBFS signal and process it in just the same way as it would handle a -10dBFS signal, another might not be quite so predictable. In practice, it’s much easier just to avoid the situation altogether by keeping the signal low.
For the record
Recording audio is where the issue of headroom really requires some attention. Too low a signal and you’ll lose your dynamic range. Too high and you’ll ruin the take with pops, clicks and clipping. Following good recording practice and aiming to keep your signal somewhere around -18dBFS with peaks no higher than -6dBFS should ensure that you don’t have to worry about either problem.
Generally speaking, as long as you make sure not to clip inputs or outputs you won’t run into too many problems. Of course, there are a few exceptions to these rules but the lessons we’ve learned here can be applied to all situations. In some rare cases a plugin won’t use floating point processing and you’ll have to keep the levels down. Likewise, inputs and outputs for effects sends and returns should be treated just like the main stereo outs and mic inputs and be kept below 0dBFS at all times.
The ideal level
In the past, recording engineers would try to hit the tape as hard as possible in order to maximise the signal-to-noise ratio and take advantage of the full dynamic range of the tape. Gain staging remains vitally important when recording digitally but, whether we realise it or not, a lot of us are still clinging on to rather outdated ideas of optimum recording levels that have lingered around from the days of analogue tape recording.
The same principles still apply in terms of getting a hot enough signal to optimise the signal-to-noise ratio, but if we exceed the limit of an analogue recording device (0dBFS at the analogue-to-digital converter on the way into your DAW), we don’t get the pleasant saturation and compression we would likely hear with tape. Instead, ‘overs’ (peaks above 0dB) are clipped (squared off and distorted).
The introduction of 24-bit digital recording means we have more room to manoeuvre. Back when 16-bit recording was the industry standard, we had a much smaller target to aim at if we wanted to get a signal with a high dynamic range while avoiding the possibility of overs. The additional dynamic range of 24-bit over 16-bit enables us to record at a lower level and to achieve the same signal-to-noise ratio.
Recording engineers continue to debate what can be considered the optimum headroom for 24-bit recording
So, the obvious question would be, what’s the ideal level for a recorded signal? As close to 0dB as possible for maximum dynamic range, right? Erm, wrong… Not only does that run the risk of overs if you suddenly get even a small peak in the signal, but unless you’re making a song that only contains a couple of audio tracks it will also inevitably mean your master output peaks over 0dB and you will have to turn all your channel faders down anyway to compensate. The dynamic range of the now-ubiquitous 24-bit recording methods means that this is completely unnecessary (in fact, even if you are recording in 16-bit it’s still a bad idea).
Recording engineers continue to debate what can be considered the optimum headroom for 24-bit recording, but as a general rule of thumb they would say somewhere in the region of -16dB is a pretty good target to aim at as a starting point. That said, a couple of decibels in each direction won’t make a big difference so don’t get hung up on trying to hit precisely -16dB.
Bitcrushing and digital clipping: deliberately breaking the rules
Now that you’ve learned the principles of clean mixes and digital headroom, you are probably wondering what happens if you break the rules. Just because you know how to make nice, pleasant-sounding mixes doesn’t mean you have to, and overloading an input slightly or abusing a digital effect can lead to some seriously aggressive sounds.
In general, digital distortion is so harsh and abrasive that it’s best in small doses. Used as an effect on a breakdown or for special FX it can be seriously effective. Of course, you might want to go the whole hog and clip the master output, but don’t blame us if you send your audience running for the exits.
We’ve mainly looked at the software world in this article, but a lot of the same principles apply to digital hardware
We’ve mainly looked at the software world in this article, but a lot of the same principles apply to digital hardware. Most will operate with fixed point internal processing so it’s possible to clip various stages. Some of the filthiest sounds in industrial and techno come from abusing digital gear by overloading inputs and outputs.
For a more controllable take on distortion, consider bitcrusher plugins like Logic’s stock Bitcrusher. This underrated little plugin offers an excellent clipping option entirely independent of the bitcrushing and sample rate reduction features. Various modes allow the waveform to be folded, cut or displaced and the adjustable clip level allows the intensity of the effect to be fine-tuned or even automated.

Computer Music magazine is the world’s best selling publication dedicated solely to making great music with your Mac or PC computer. Each issue it brings its lucky readers the best in cutting-edge tutorials, need-to-know, expert software reviews and even all the tools you actually need to make great music today, courtesy of our legendary CM Plugin Suite.
