8 steps to a better-sounding home studio
Are you struggling to perfect sound of your studio? We have a bunch of tips to help you get things back on track

Want all the hottest music and gear news, reviews, deals, features and more, direct to your inbox? Sign up here.
You are now subscribed
Your newsletter sign-up was successful
Making your studio sound better isn't always about buying expensive gear. Often, the obstacles between you and a great-sounding set-up can be removed by switching up your workflow, changing your listening position, rearranging your space or tweaking the room's acoustics.
Read on for eight essential tips for a better-sounding home studio.
1. Room acoustics
In a domestic environment your space is already influenced by its contents and modifying the balance and type of contents can create a more suitable space. One of the most significant aspects is the floor, and bare hard floors such as laminate create a much more lively acoustic than carpet. If this is a problem, rugs can be a great solution.
Alternatively, if you’re recording and the carpet is making things too dead, position your performer on a large plywood board for added reflections. Similar modifications can be made with curtains or blinds, opening them for glass reflections and closing them for a deader sound.
2. Speaker position
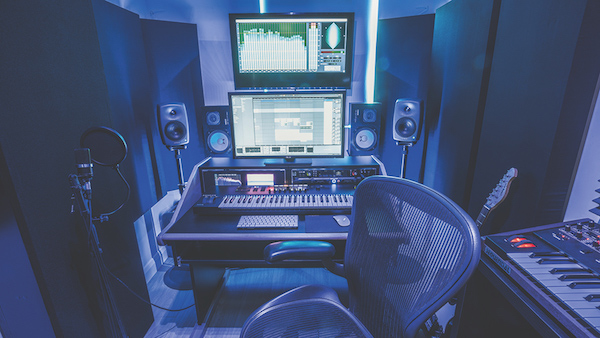
Once you have a good general position for your monitors, it’s important you orientate them correctly. This, along with correct height positioning will considerably improve your imaging and frequency delivery. The two speakers and your head should roughly form an equilateral triangle and your ears should be at the same level as the tweeters.
3. Analysis
Although room analysis won’t in itself improve your studio, it can help you understand it better and improve the consistency of your productions. Simply plugging your room dimensions into a room mode calculator can tell you not only which frequencies are problematic, but also where the loudest pressure zones are likely to be.
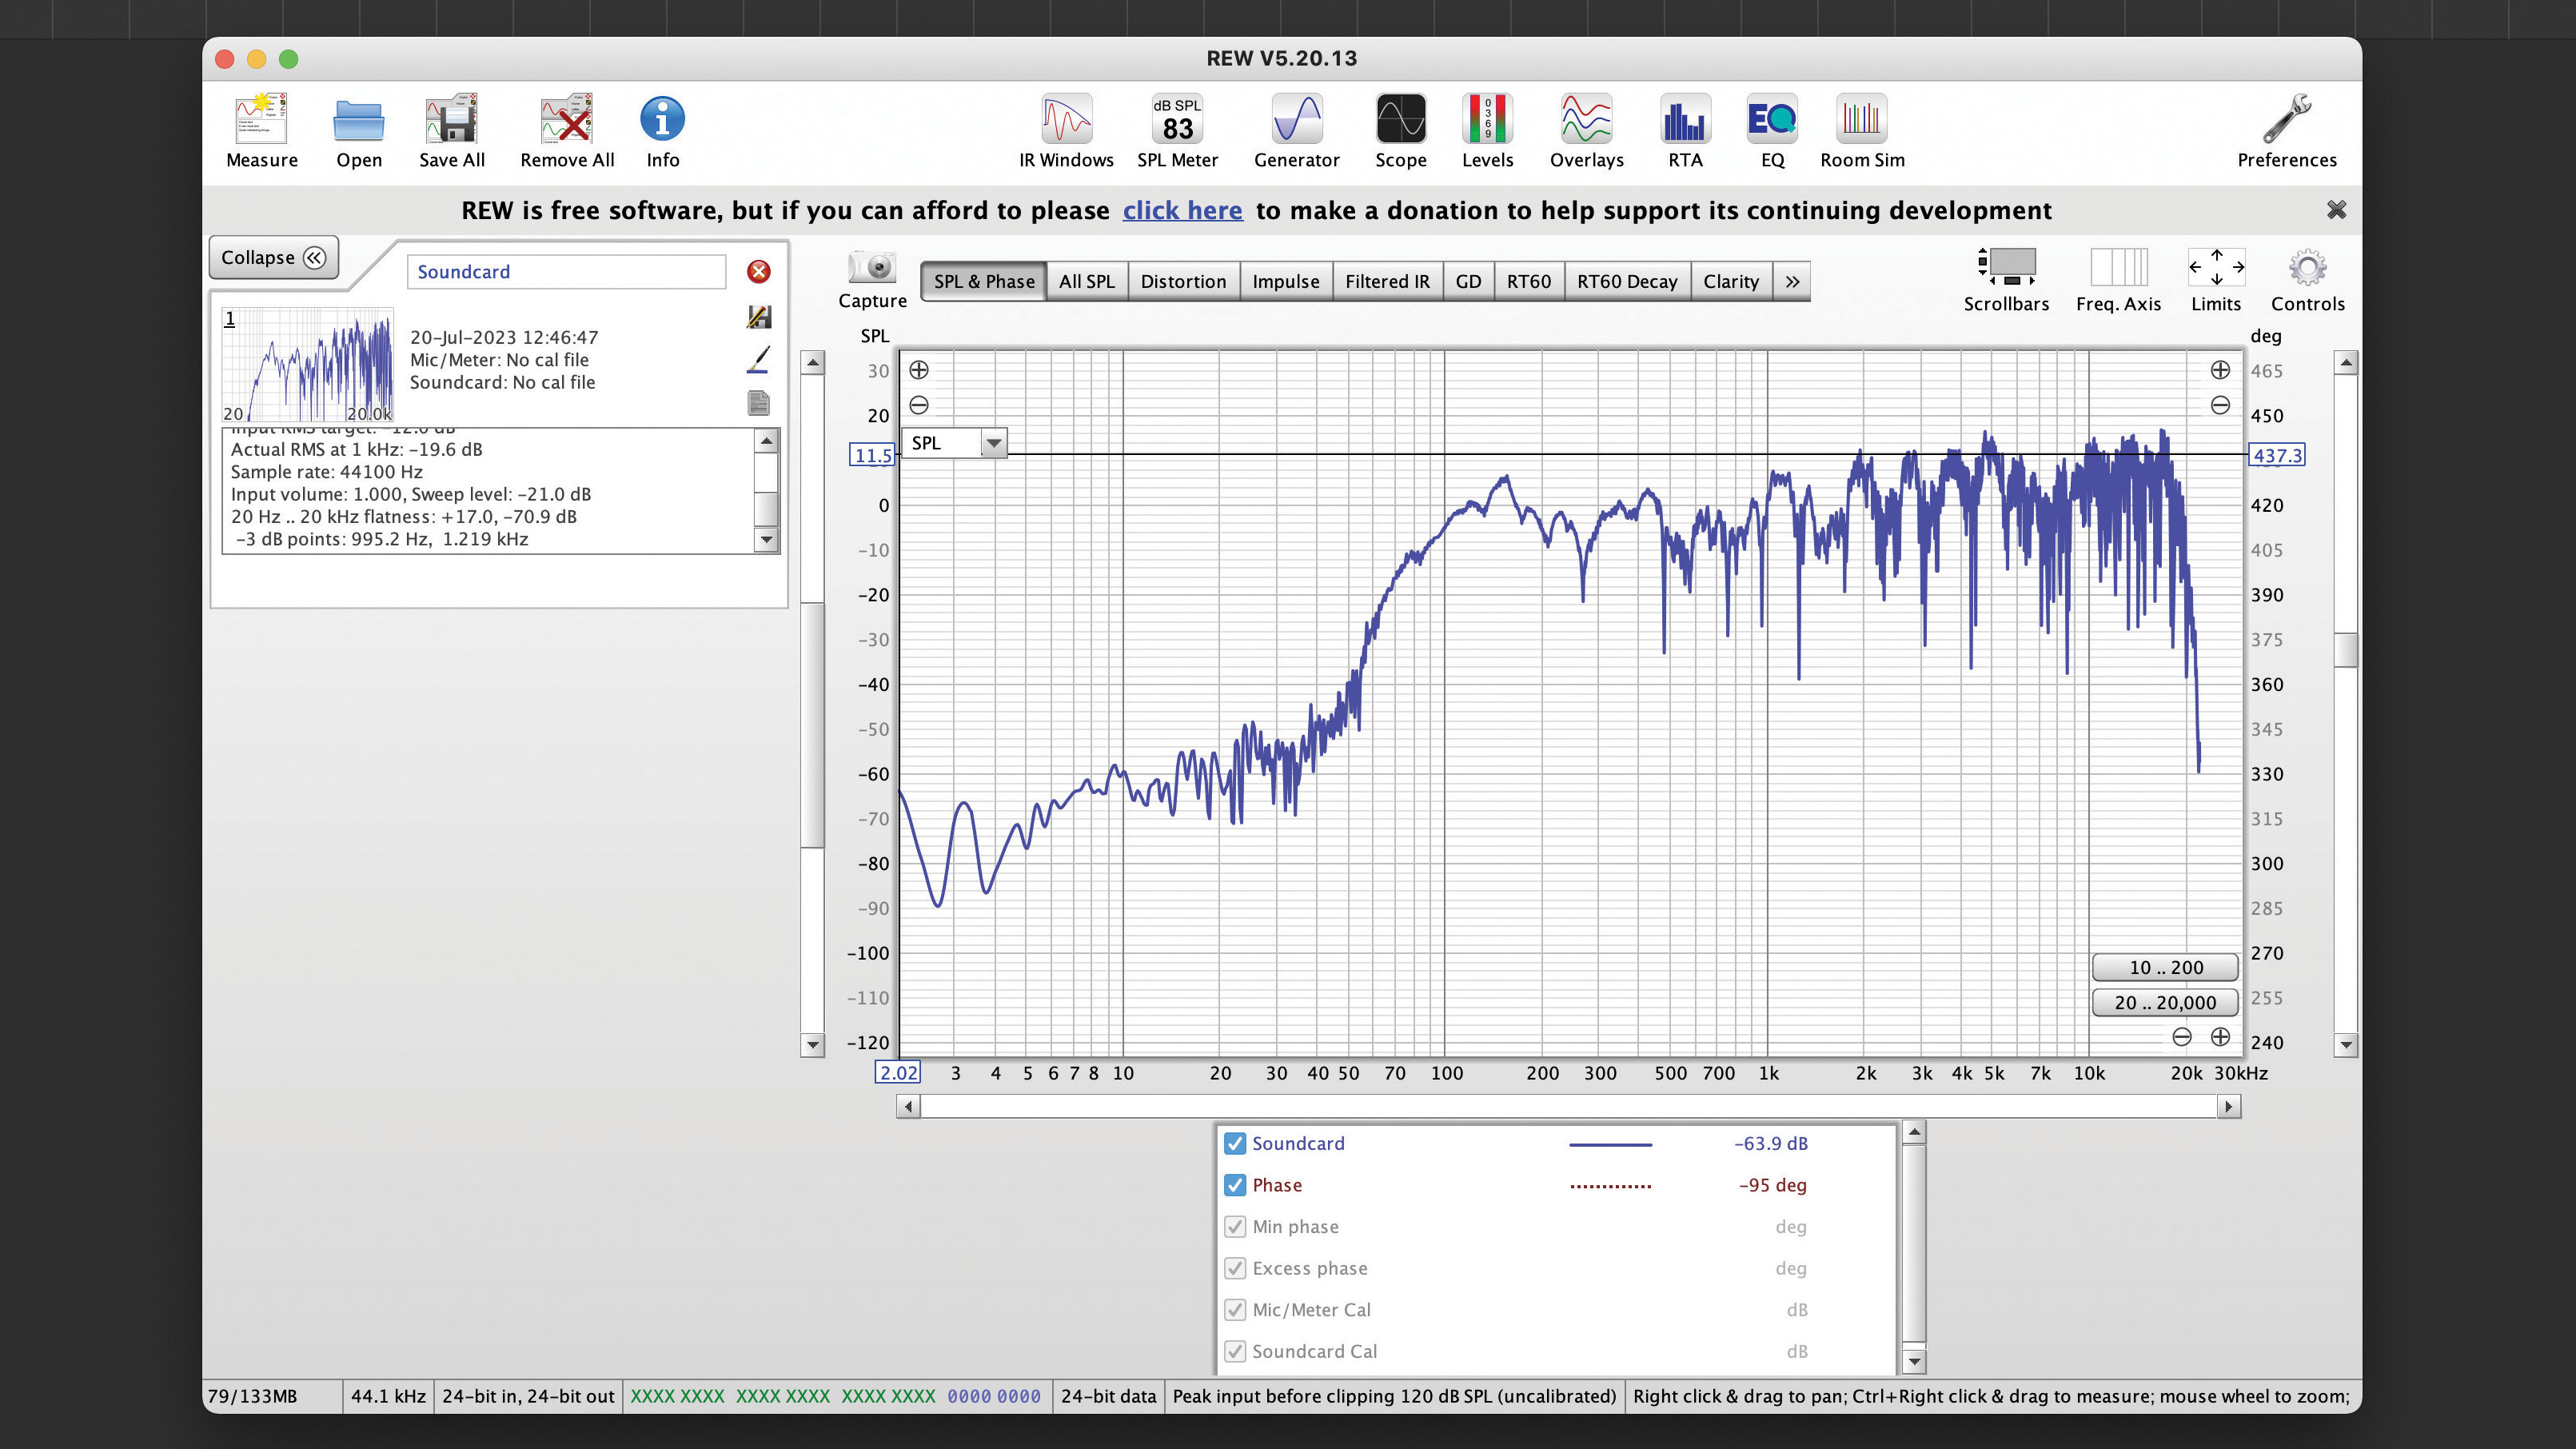
Using analysis software can be a great way to not only plot the specifics of your space but also see the effect of speaker positions. REW is a fantastic free software application for this (you can use your own interface and mic).
Want all the hottest music and gear news, reviews, deals, features and more, direct to your inbox? Sign up here.

4. Isolation
Preventing sound from coming in and out of your studio space can be tricky, and if you spend any time recording quieter sources such as acoustic guitars, singing or spoken word then you’ll probably have had recordings compromised by invasive noise.
Room location is a big factor, and in simple terms the more your room is connected to the outside world (eg a loft), the more noise you’ll have to deal with. However, the problem is frequency dependent, so although low frequencies (thunder, aircraft noise) are tricky to stop, you can keep a lid on mid and higher frequencies (eg birdsong) simply by closing doors and windows.
5. Sub bass
Perfecting the bass end of your mix is certainly not helped by a lumpy room acoustic. But your monitors play a part too, and if you’re using smallish nearfields you’re simply not hearing the lower frequencies.
Adding a sub bass speaker to your monitoring is a good option and doesn’t have to be expensive. Use your analysis software to help choose a good position.
6. Room correction
Monitor room correction now comes in many formats and can be a great way to improve your monitoring. At the simplest level, many monitors include onboard EQ or even more complex software-driven room correction, so if you have any options like this, ensure you’re making the most of them.
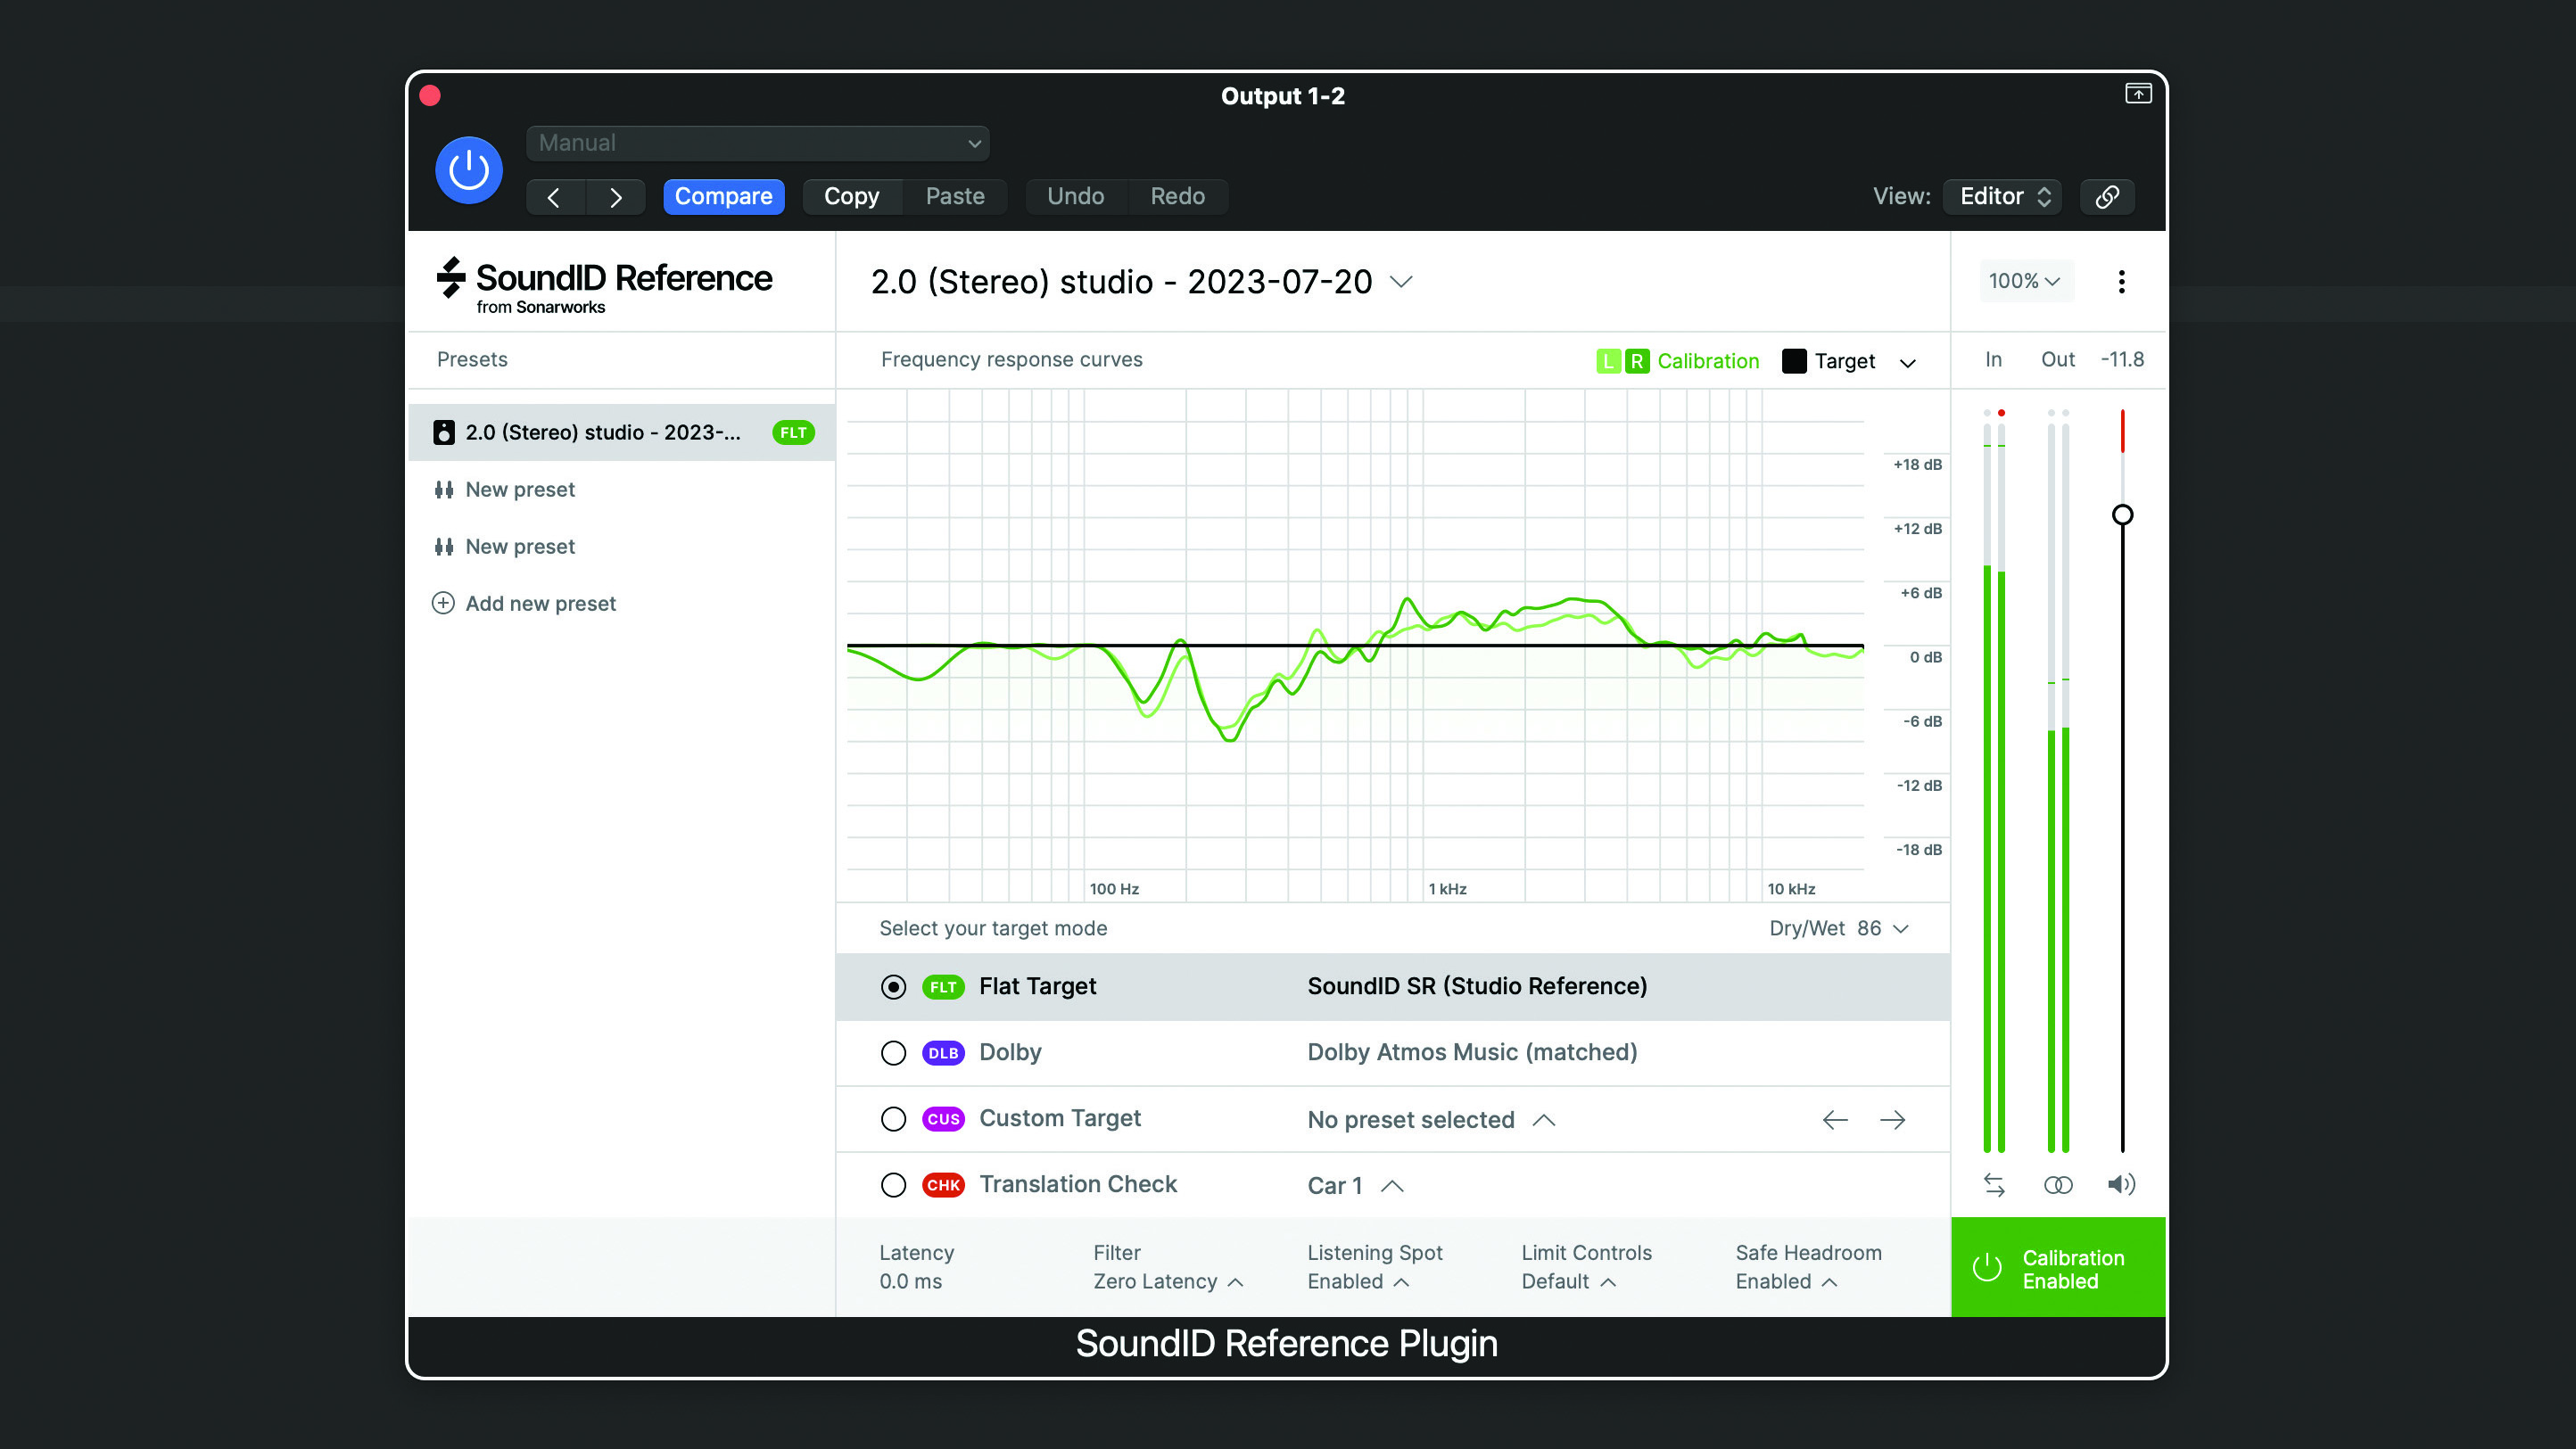
Beyond this, there are a few dedicated room analysis and correction systems available. The hardware-based ones are expensive (Trinnov and Dirac for example), but software options such as IK Multimedia’s ARC System 3 and SonarWorks SoundID can be worth the modest investment as they can seriously help mix consistency.

7. Room layout
Room layout is a combination of acoustics, ergonomics and basic practicalities. As we have suggested you can use analysis to find the ideal monitoring and speaker positions, but this may not be practical. Instead, why not use the same tools to tweak your existing speaker or sitting position. Often you’ll find moving things only half a metre can have a beneficial outcome.
- Read more: How to plan your studio's layout
8. Mic technique
A microphone captures a combination of direct and room sound, but the balance of these elements will depend on the pickup pattern and how close the mic is to the source. Although we can improve the sound of our studio we can also improve the way we record.
Techniques include miking slightly closer, choosing a mic with a tighter pickup pattern (tight cardioid or hypercardioid) and also adding acoustic treatment around the sound source. Temporarily positioning a duvet behind and to the sides of the source can be very effective if you want a drier sound.


Jon is a London based platinum award winning mixer, producer, composer and club remixer with a diverse CV that spans dance, pop, rock and music for media. He’s also a long term contributor to MusicRadar's music technology tutorials and reviews. Whether working alone or collaborating he usually handles final mixdowns, so you’ll also find MusicRadar peppered with his handy mixing tips.
