5 quirks and imperfections of vintage gear that producers ended up loving - and are now recreated in software
The gear of yesteryear might have been costly and often unreliable, but an entire industry has sprung up around emulating its beloved idiosyncrasies using digital technology

Want all the hottest music and gear news, reviews, deals, features and more, direct to your inbox? Sign up here.
You are now subscribed
Your newsletter sign-up was successful
Few would disagree that being able to produce a hit with nothing but a laptop in your bedroom has been a positive thing for the music industry. Once upon a time, you needed a professional studio full of expensive, noisy and often unreliable analogue equipment to record and mix a single track.
Computing power grew exponentially through the tail-end of the 20th century, and music equipment manufacturers began to take advantage of the clarity and convenience that digital audio could offer their customers. The answer was more precision, reliability and efficiency, and producers and musicians jumped into the digital domain with both feet.
Fast forward to today, and we’ve reached a unique situation in which music producers now seek to incorporate some of the sonic quirks of older equipment back into their productions. In this article, we’ll walk you through some of the sorely-missed characteristics of vintage analogue hardware that have come back in vogue in today’s music technology.
1. Wow and flutter
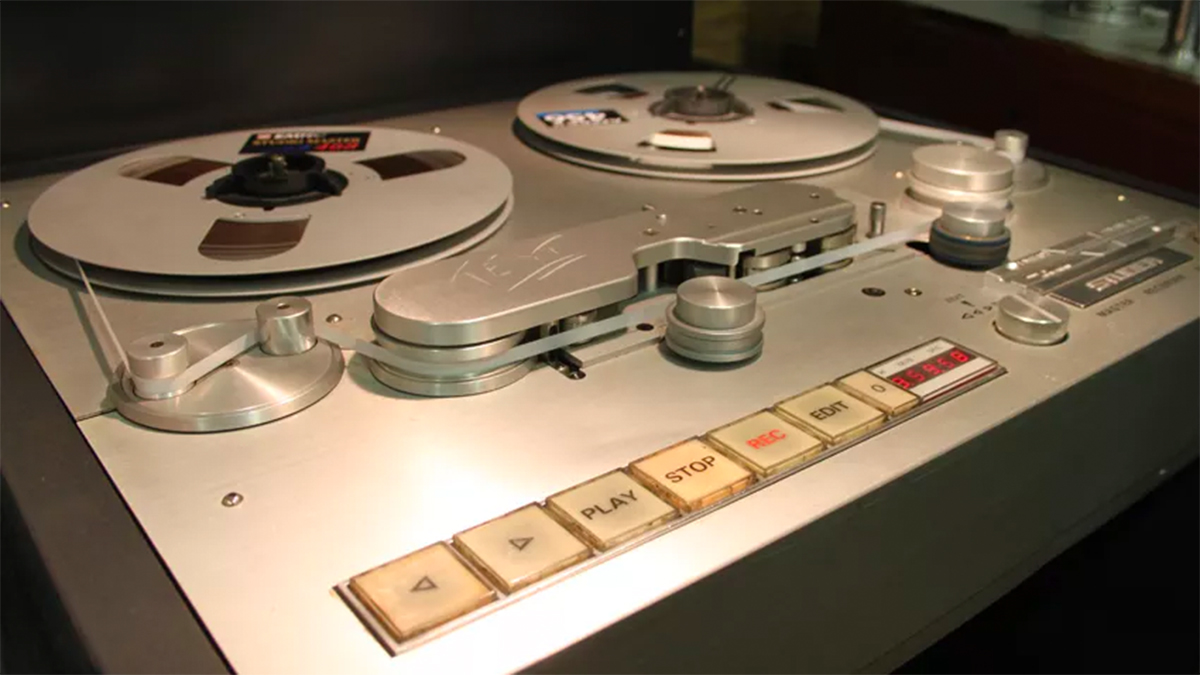
Before the arrival of digital recording in the 70s, audio was recorded to tape. As a result of inconsistent tape machine motor speeds, tape recordings were susceptible to slow and fast pitch fluctuations, known as wow and flutter respectively. Pitch movement was particularly noticeable in sustained tonal elements, such as vocals, pianos and strings. This made wow and flutter undesirable characteristics for most artists and engineers.
When digital recording came along, artists could record with the complete precision of binary code, rendering wow and flutter as problems of the past. This represents one of the many advantages of digital equipment, in that it offers audio recording of a higher stability. Today, one of the complaints about digital audio is that it’s too static and sterile, so adding some of that subtle pitch movement is a great way to add interest and character.
It’s no surprise then that the relatively recent resurgence of the lo-fi scene has gone in the complete opposite direction, with artists making liberal use of plugins designed to emulate the wow, flutter and noise found in traditional tape machines.
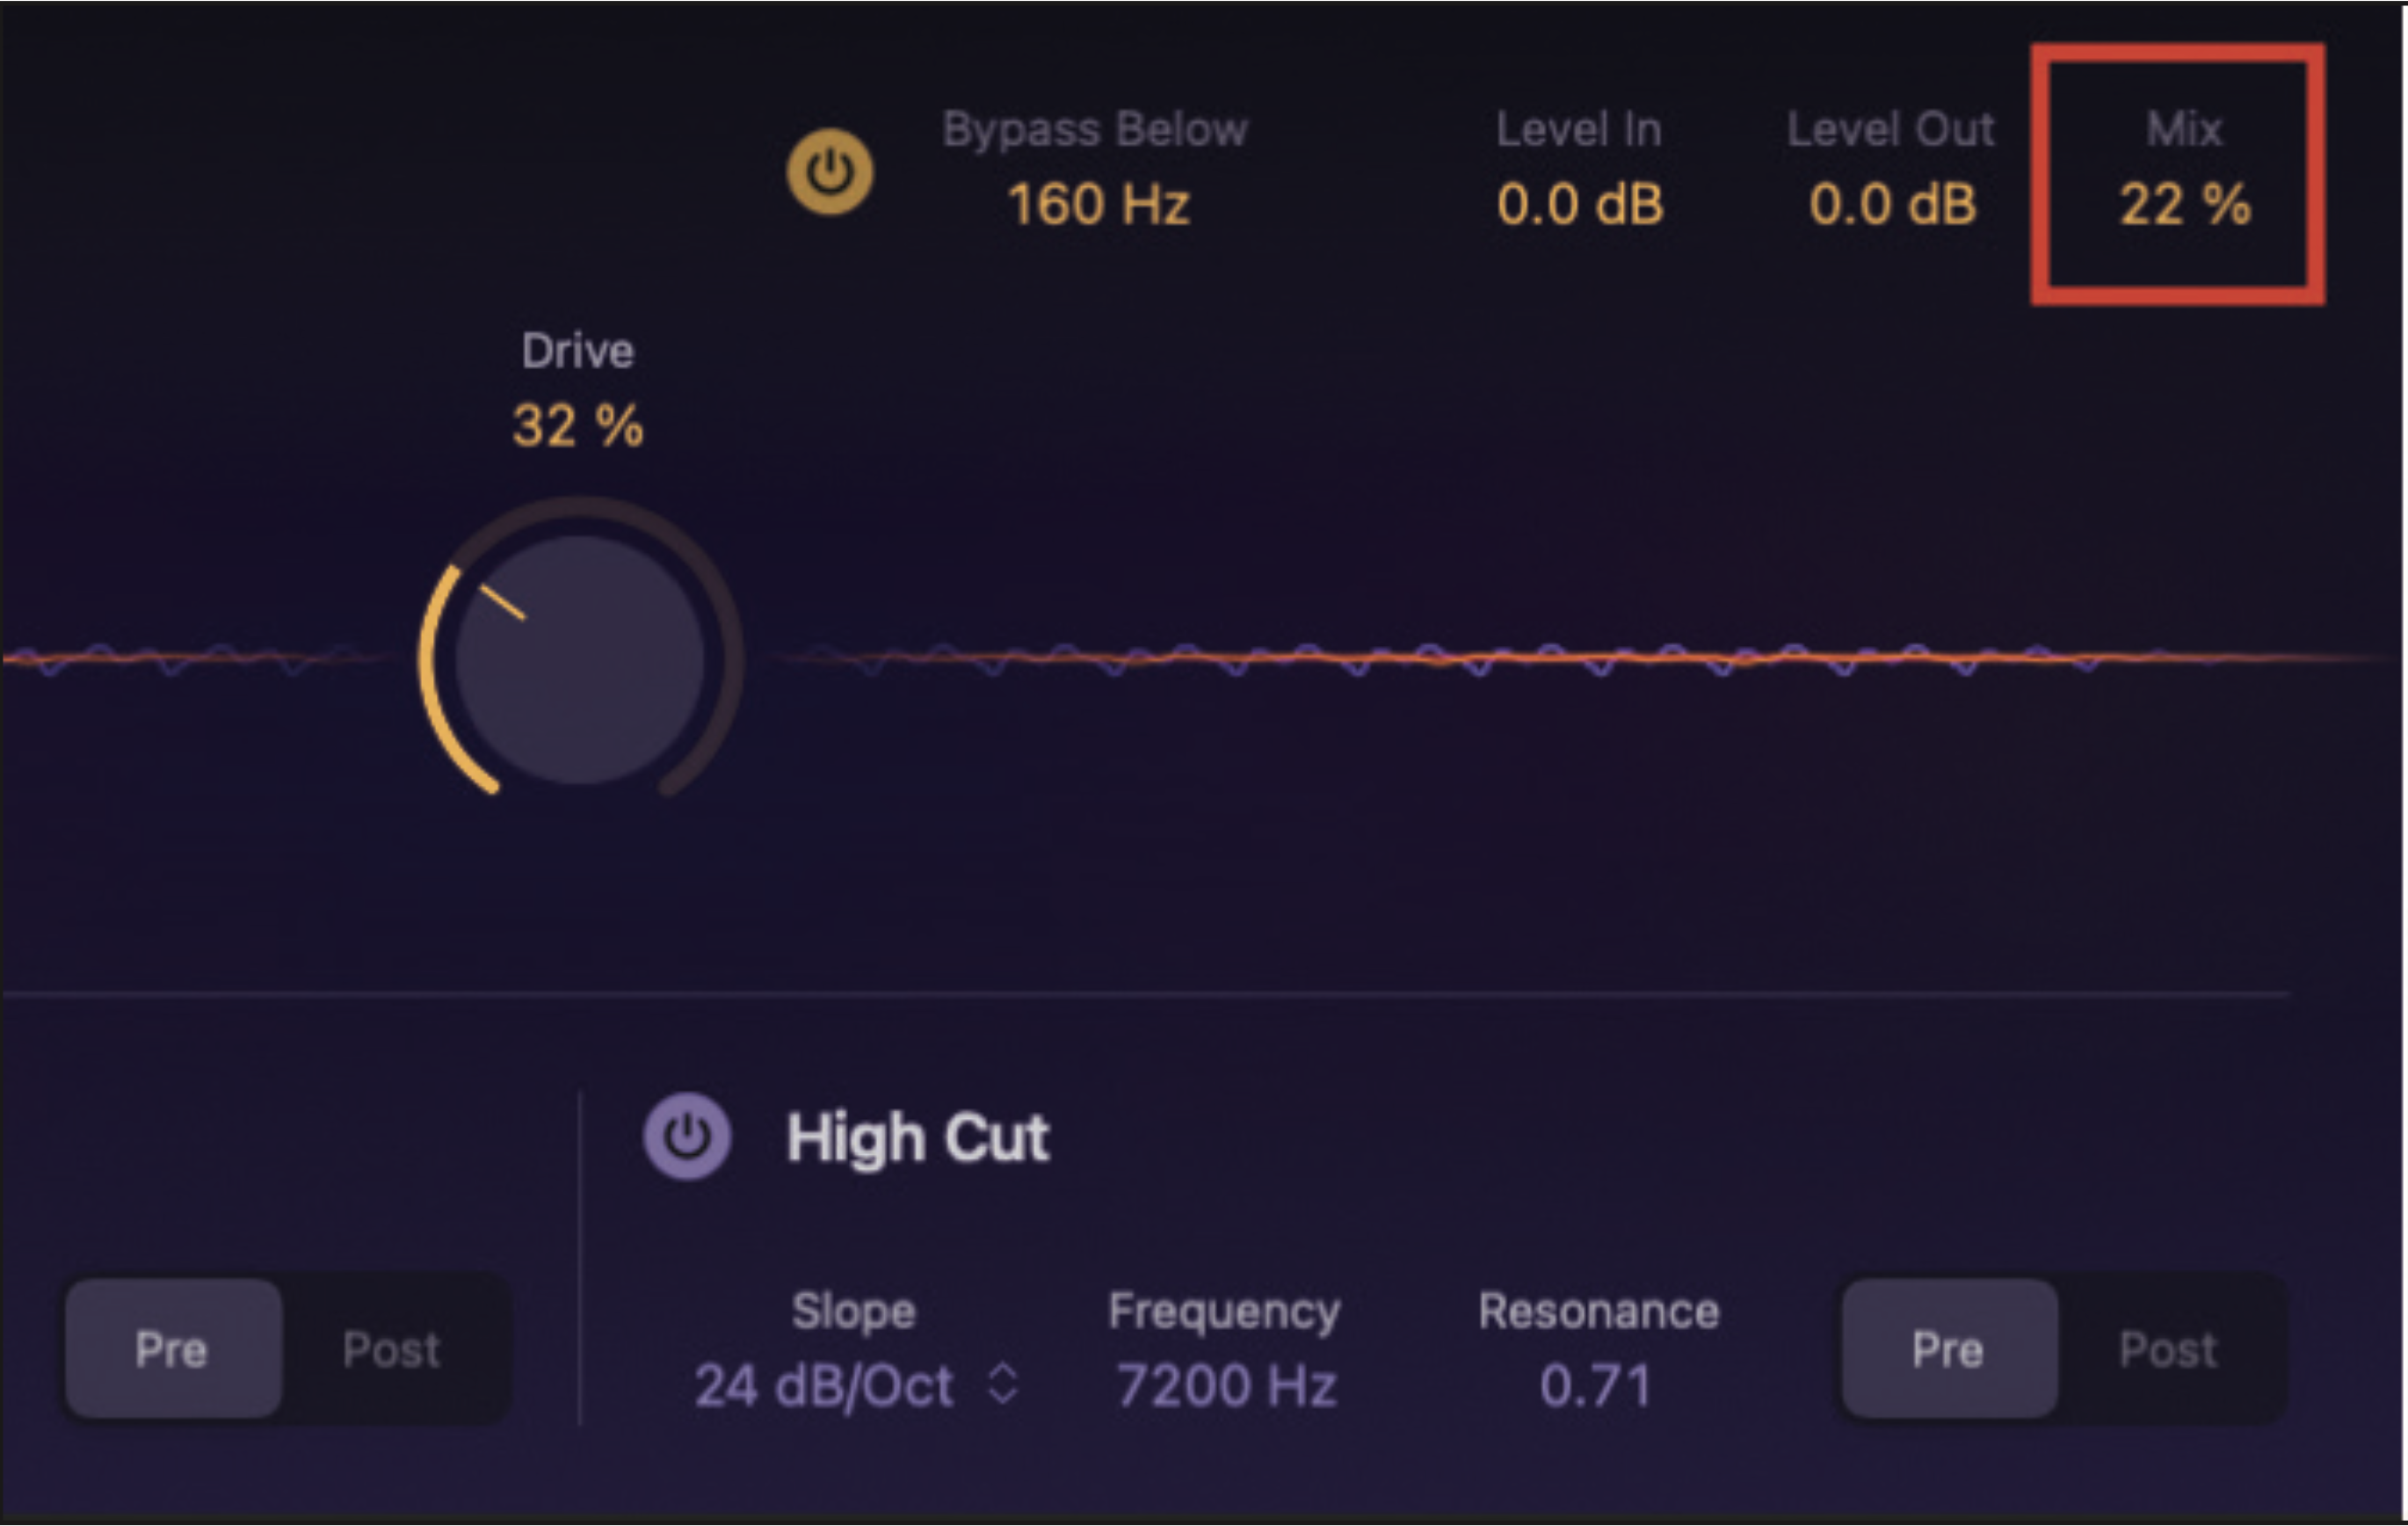
Plugins of this nature are bountiful, with Aberrant DSP’s Sketch Cassette II, Arturia’s TAPE Mello-Fi and Waves’ J37 Tape being popular choices with all manner of music producers. As well as controls for wow and flutter, many tape emulation plugins also offer noise and saturation controls for achieving a more authentic tape flavour.
Want all the hottest music and gear news, reviews, deals, features and more, direct to your inbox? Sign up here.
2. Tape, tube and transistor saturation

We briefly touched on tape saturation in the previous section, which occurs when audio is recorded at a higher level than the tape’s ability to record, thus causing it to distort. Saturation can likewise occur in tubes and transistors that receive a particularly hot signal. Examples of hardware units that contain tubes or transistors that may saturate under load include mixing consoles, amplifiers, equalisers and compressors.
Turning down the level of a signal can help to avoid unwanted saturation at the recording stage, but then you run the risk of introducing the noise floor when increasing a recording’s level during mixing. The process of setting the appropriate level at each step of your signal chain is known as gain staging, but that’s a subject for another article.
Best saturation plugins: Bring your mix to life with these studio secret weapons
What’s important to remember is that digital recording isn’t subject to the same limitations. Digital signals have a significantly lower noise floor, and are much harder to push into unwanted clipping territory. So what are the advantages of analogue circuit behaviour over the more transparent medium of digital recording? To some ears, the subtle distortion and dynamic compression caused by saturation can sound pleasing, and helps to add a unique flavour to a signal.
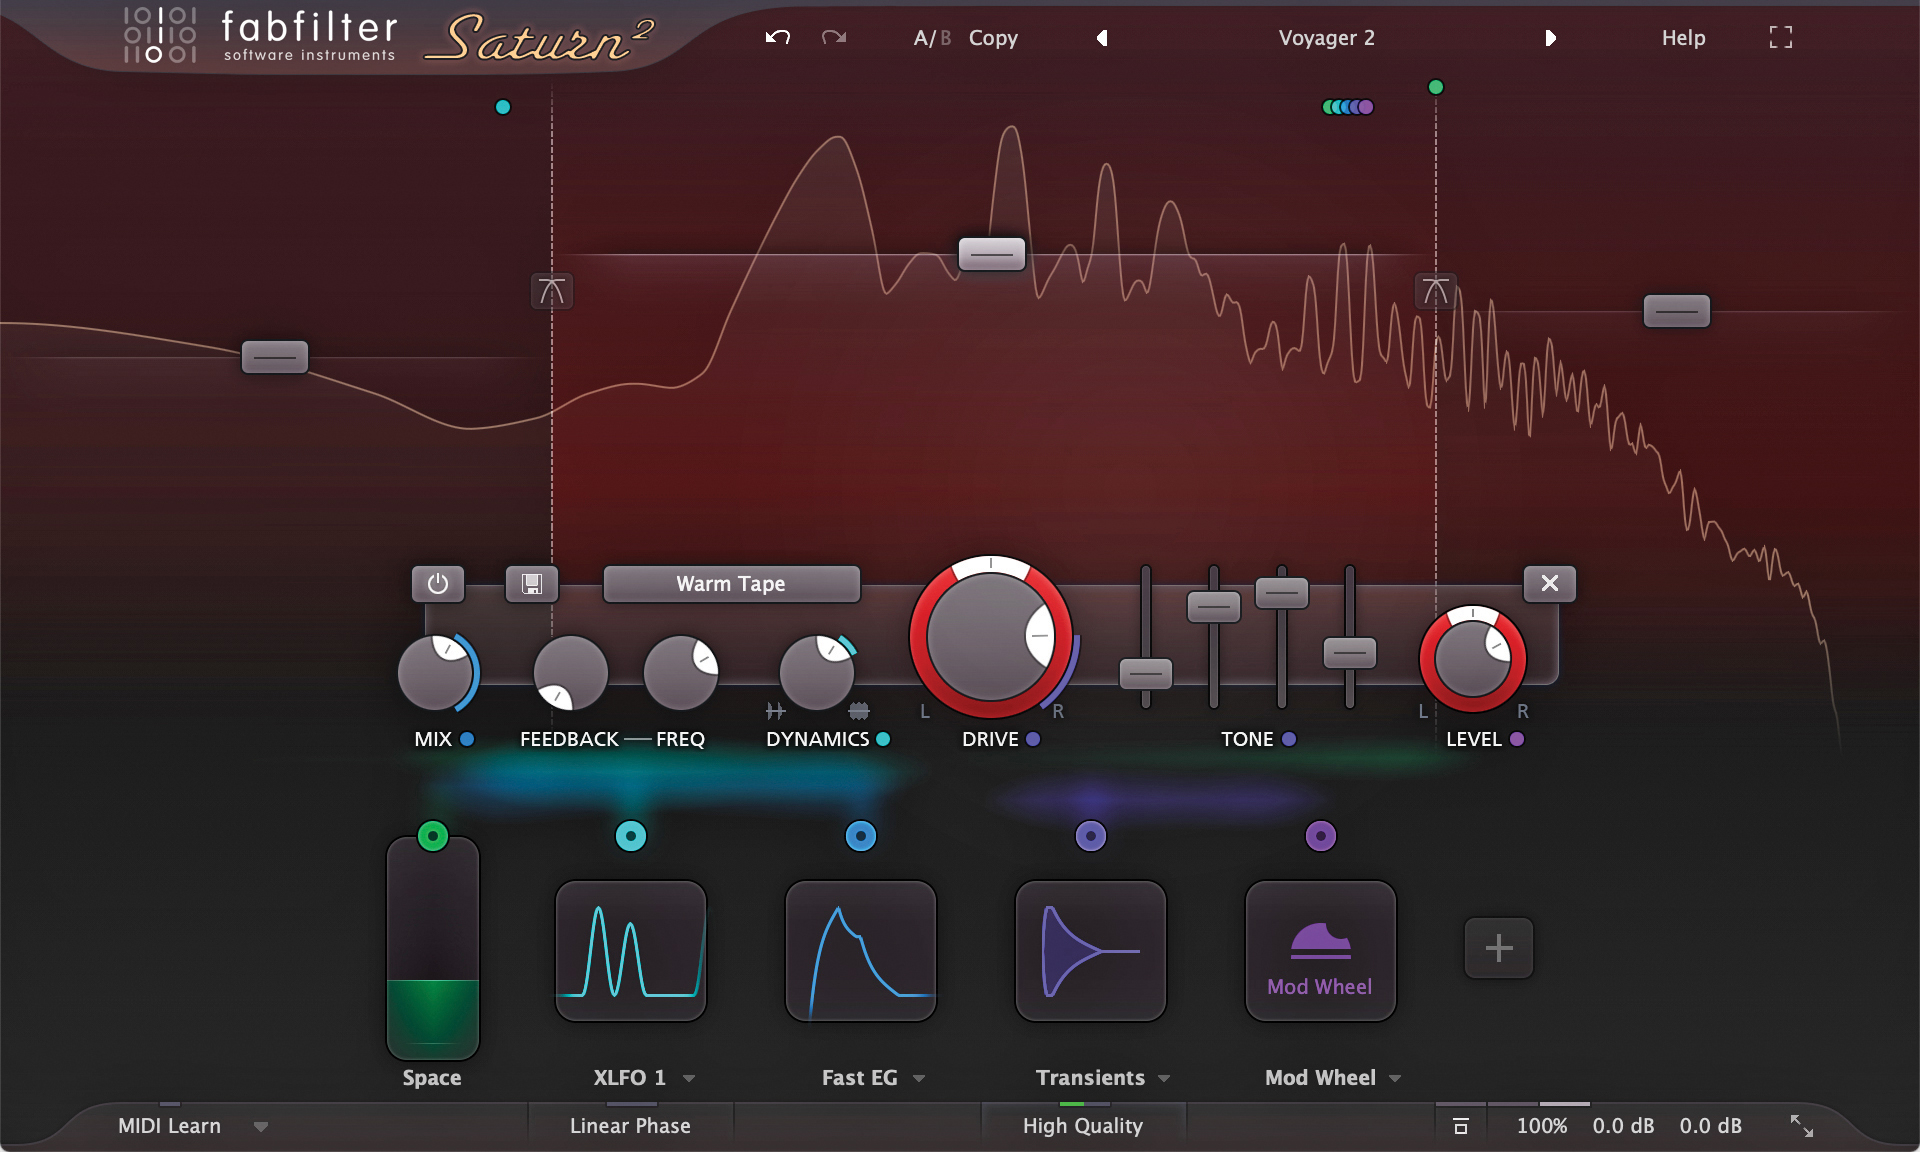
Want to experiment with saturation but don’t have any analogue gear to push a signal through? There are countless saturation plugins on the market today that let you simulate that process, including the tape emulation plugins mentioned earlier.
Soundtoys’ Decapitator is a popular choice thanks to its five unique saturation styles, each modelled on legendary vintage hardware such as the Neve 1057 and Thermionic Culture Vulture. If it’s tube saturation you’re looking for, Brainworx’s Black Box Analog Design HG-2 puts two types of tube saturation, pentode and triode, at your fingertips.
3. Sample rate and bit depth
The next item on this list relates to another perceived restriction of older recording equipment, which was most notably found in '80s and '90s hardware samplers. You may have heard the terms bit depth and sample rate, but how do they affect the quality and character of an audio recording?
Sample rate refers to the number of samples of an analogue signal that are taken in a digital audio recording per second. Bit depth refers to the number of amplitude values that can be captured per sample. You can think of these settings as the equivalent to megapixels in photography: higher values equal higher resolution.
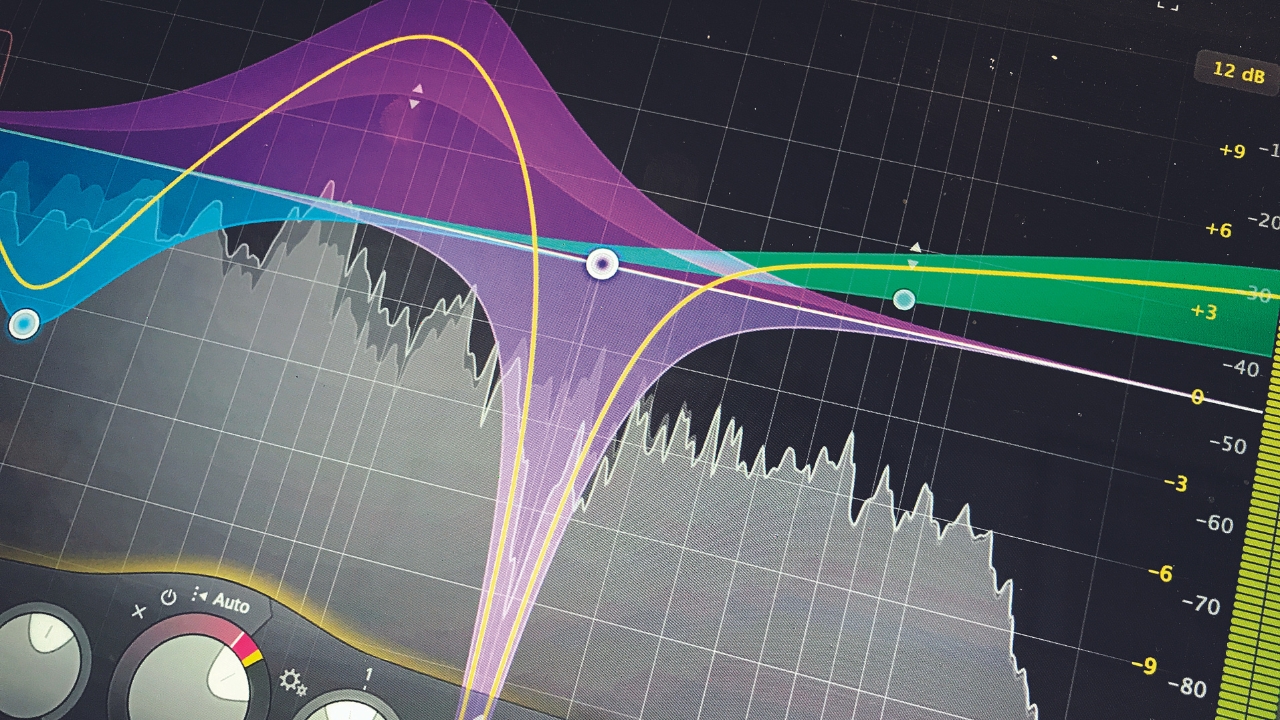
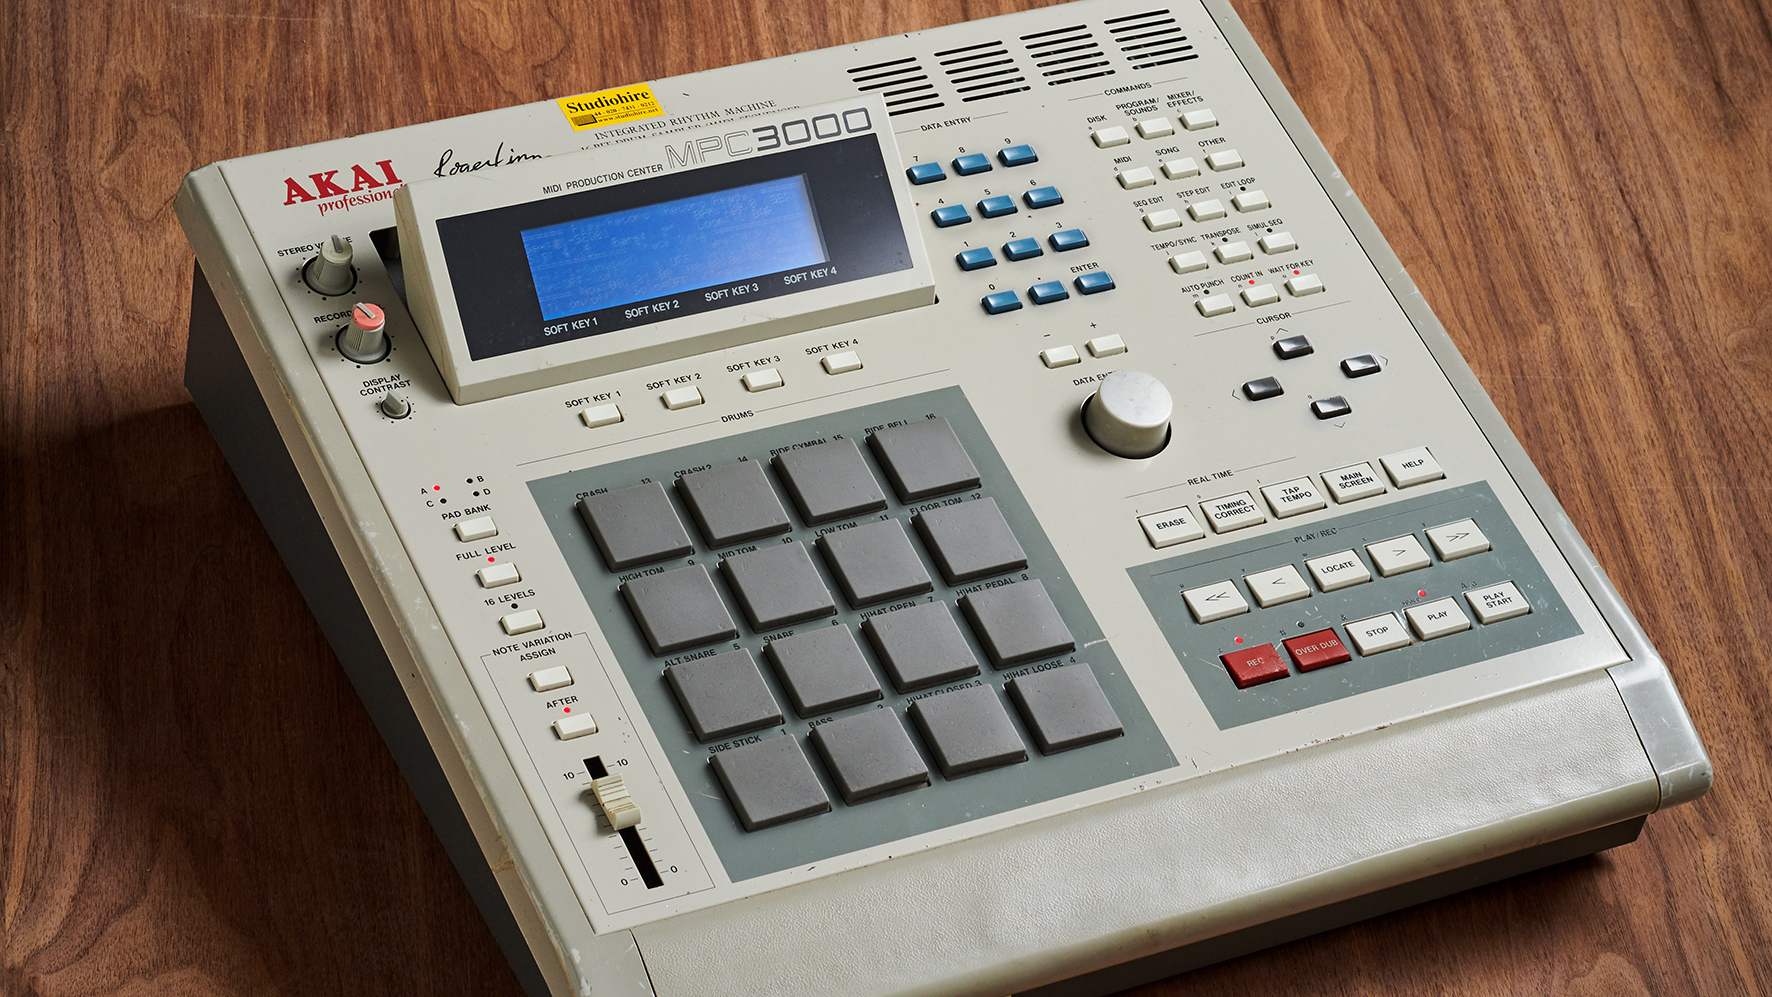
Due to technical limitations, hardware samplers such as the early Akai devices and the E-mu SP-1200 could only record with up to 16, 12 or eight bits, and sample rates of anything between 7.5kHz and 40kHz. This gave these samplers a distinctively textured sound that is often described as ‘crunchy’. Each step forward in digital audio processing brought producers closer to the clean and true sound they were longing for.
Modern recording tools can generally record at sample rates of up to 192kHz and bit depths of up to 32 or even 64 bits, giving the highest-fidelity audio you could possibly wish for. But that doesn’t stop some producers from trying to go back in time to replicate the grit of those original hardware samplers.
Most DAWs ship with some form of native bitcrushing device which can reduce both bit depth and sample rate. For more control, specialist bitcrushing plugins such as D16 Group Decimort 2 and Softube OTO Biscuit might get you closer to the sound of the '90s.
4. Movement and instability
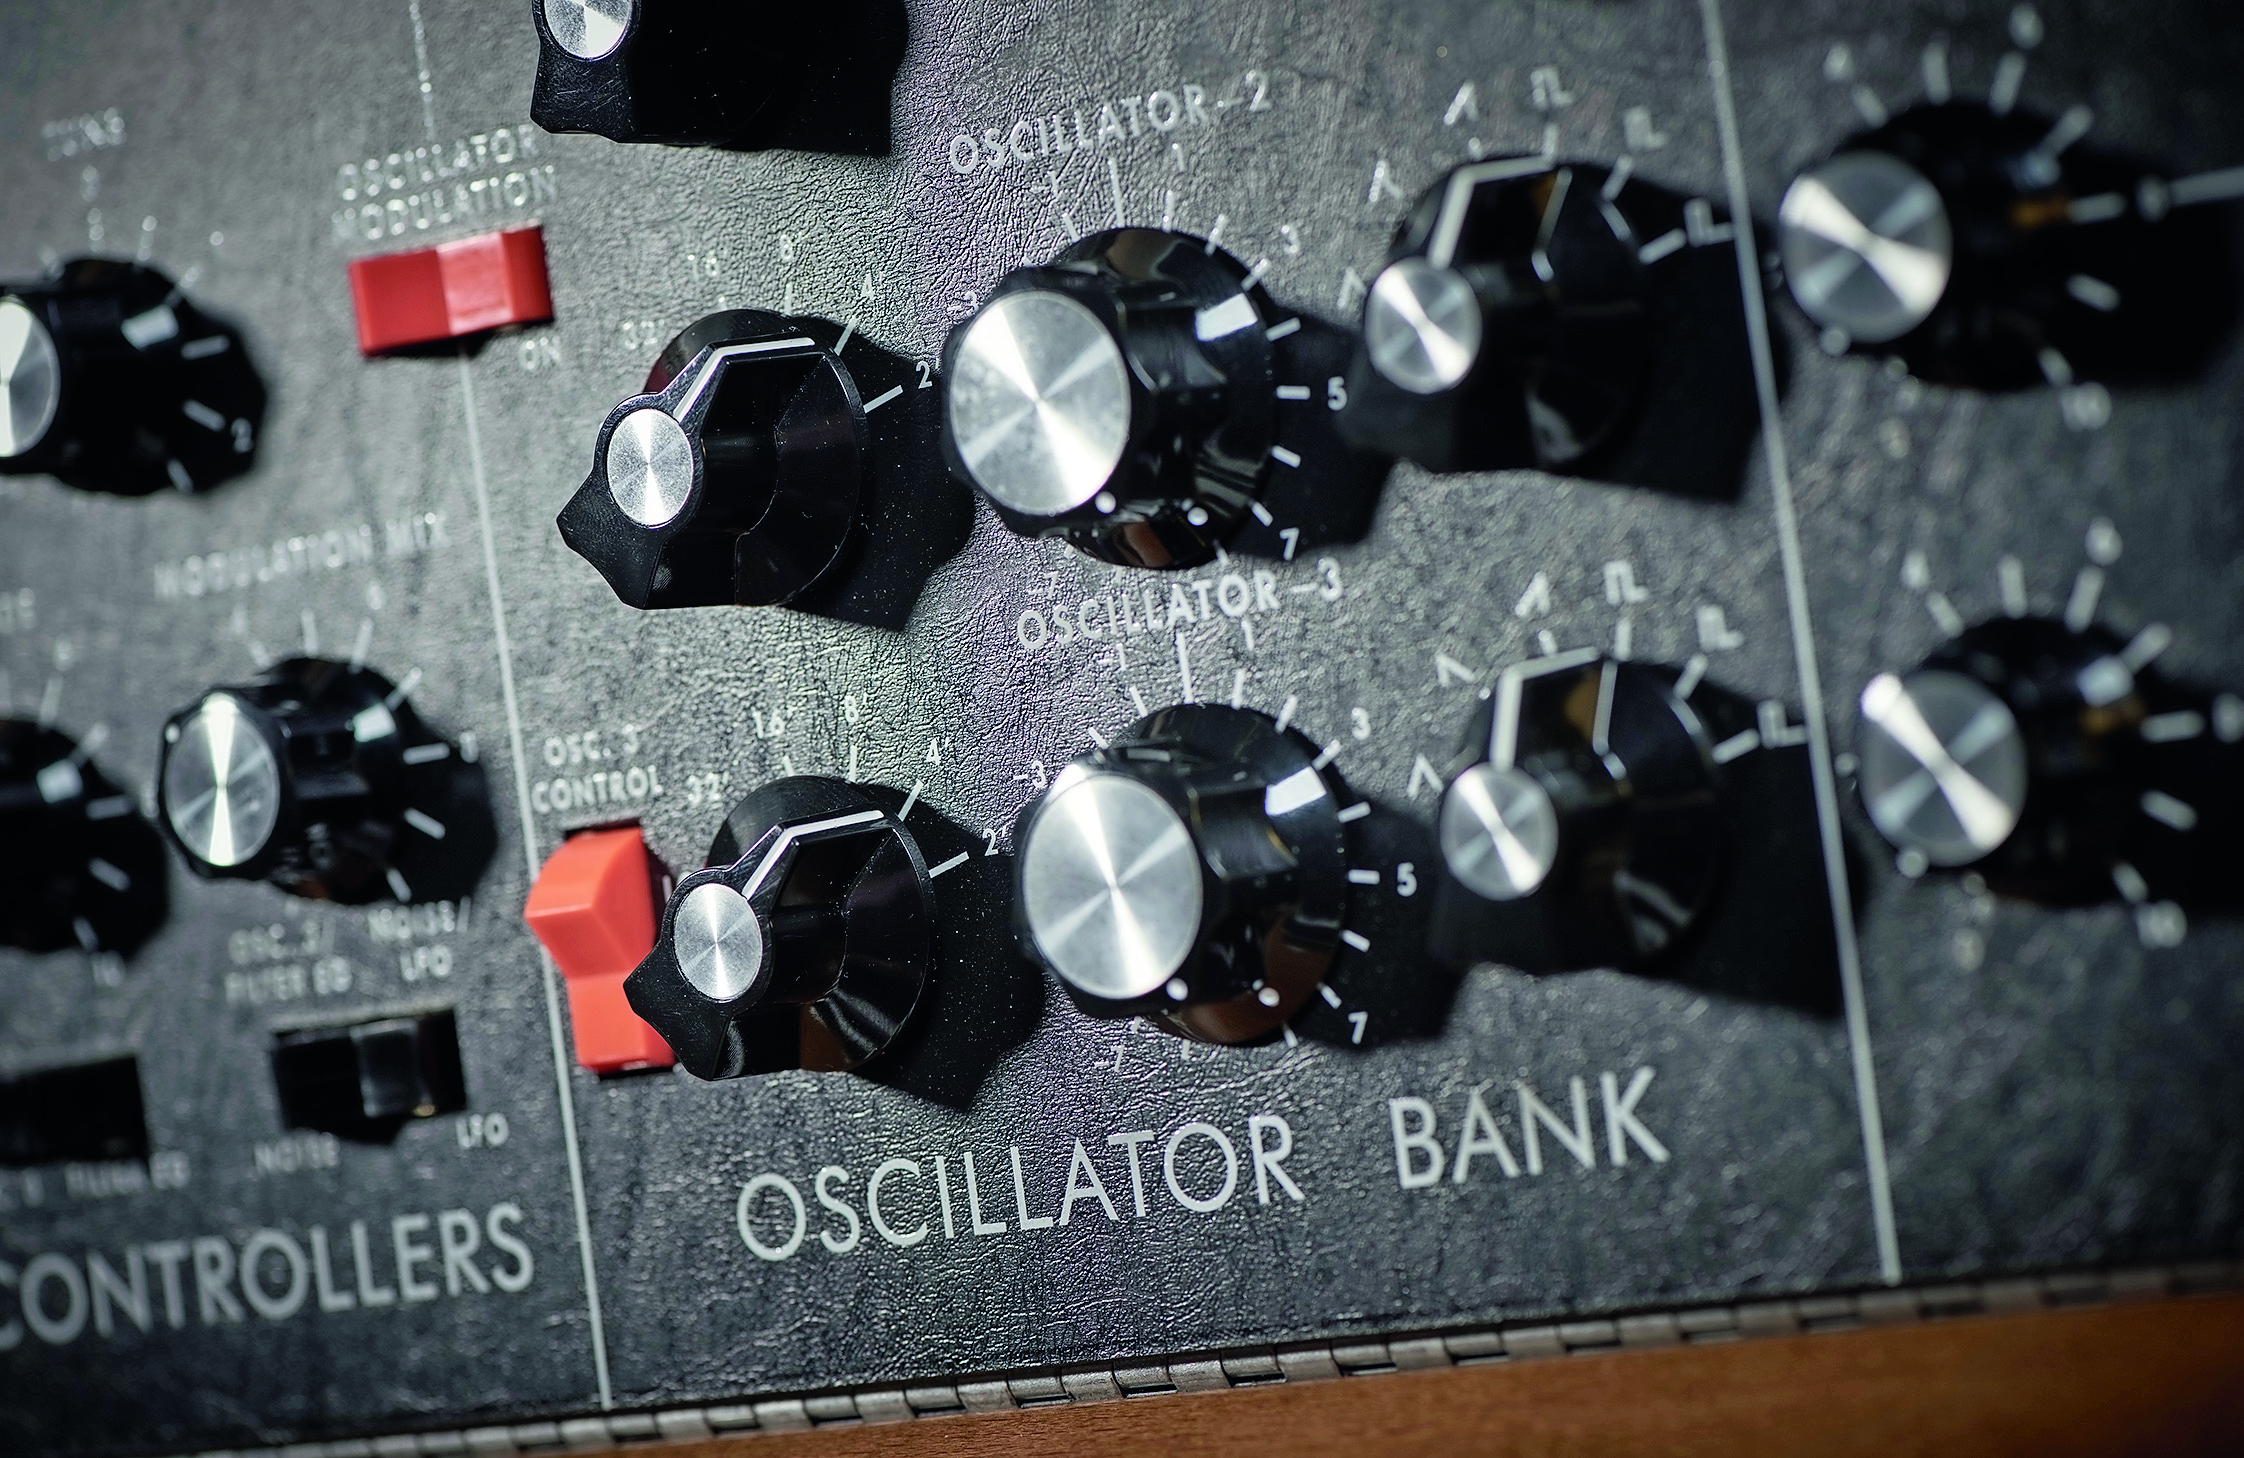
By now, you might have identified the common theme that runs through each of these points; in order to imitate the sound of music hardware of the past, you need to introduce movement, texture and imperfection to your audio. So far, we’ve mostly explored the sound of audio recording and processing hardware, but the same concept is also true in analogue instruments.
While digital synthesisers operate using binary code and rarely falter, analogue synthesisers are controlled by voltages in physical components. This leaves them open to slight (and sometimes not-so-slight) sonic variances. Oscillator level and pitch, filter cutoff and resonance, and even envelope behaviour are all subject to subtle per-voice discrepancies in analogue synths.
One of the key attractions of early commercial digital synthesizers was their stability compared to analogue synths. The likes of the Casio VL-1 and Yamaha DX7 were unapologetically digital. 40 years later, digital and software synth manufacturers are now using analogue modelling to recreate the instability that analogue synths are known for.

The likes of Arturia and Softube have developed emulations of classic analogue hardware, including the Sequential Prophet 5 and Moog Model D. Software synths such as Ableton’s Drift and Native Instruments’ Super 8 aren’t based on a particular analogue instrument, but still try to capture the essence of vintage equipment. Both boast an inbuilt ‘Drift’ control, which adds per-voice frequency and volume variation for a more analogue feel.
There are even modern analogue hardware synths that give you the option to increase the analogue vibe. While the Sequential Take 5’s oscillators and filter are analogue, the modern design makes these components extremely stable by default. The inbuilt Vintage control gives you the option to introduce some analogue-style movement and variation to your patches.
5. Analogue 'warmth'
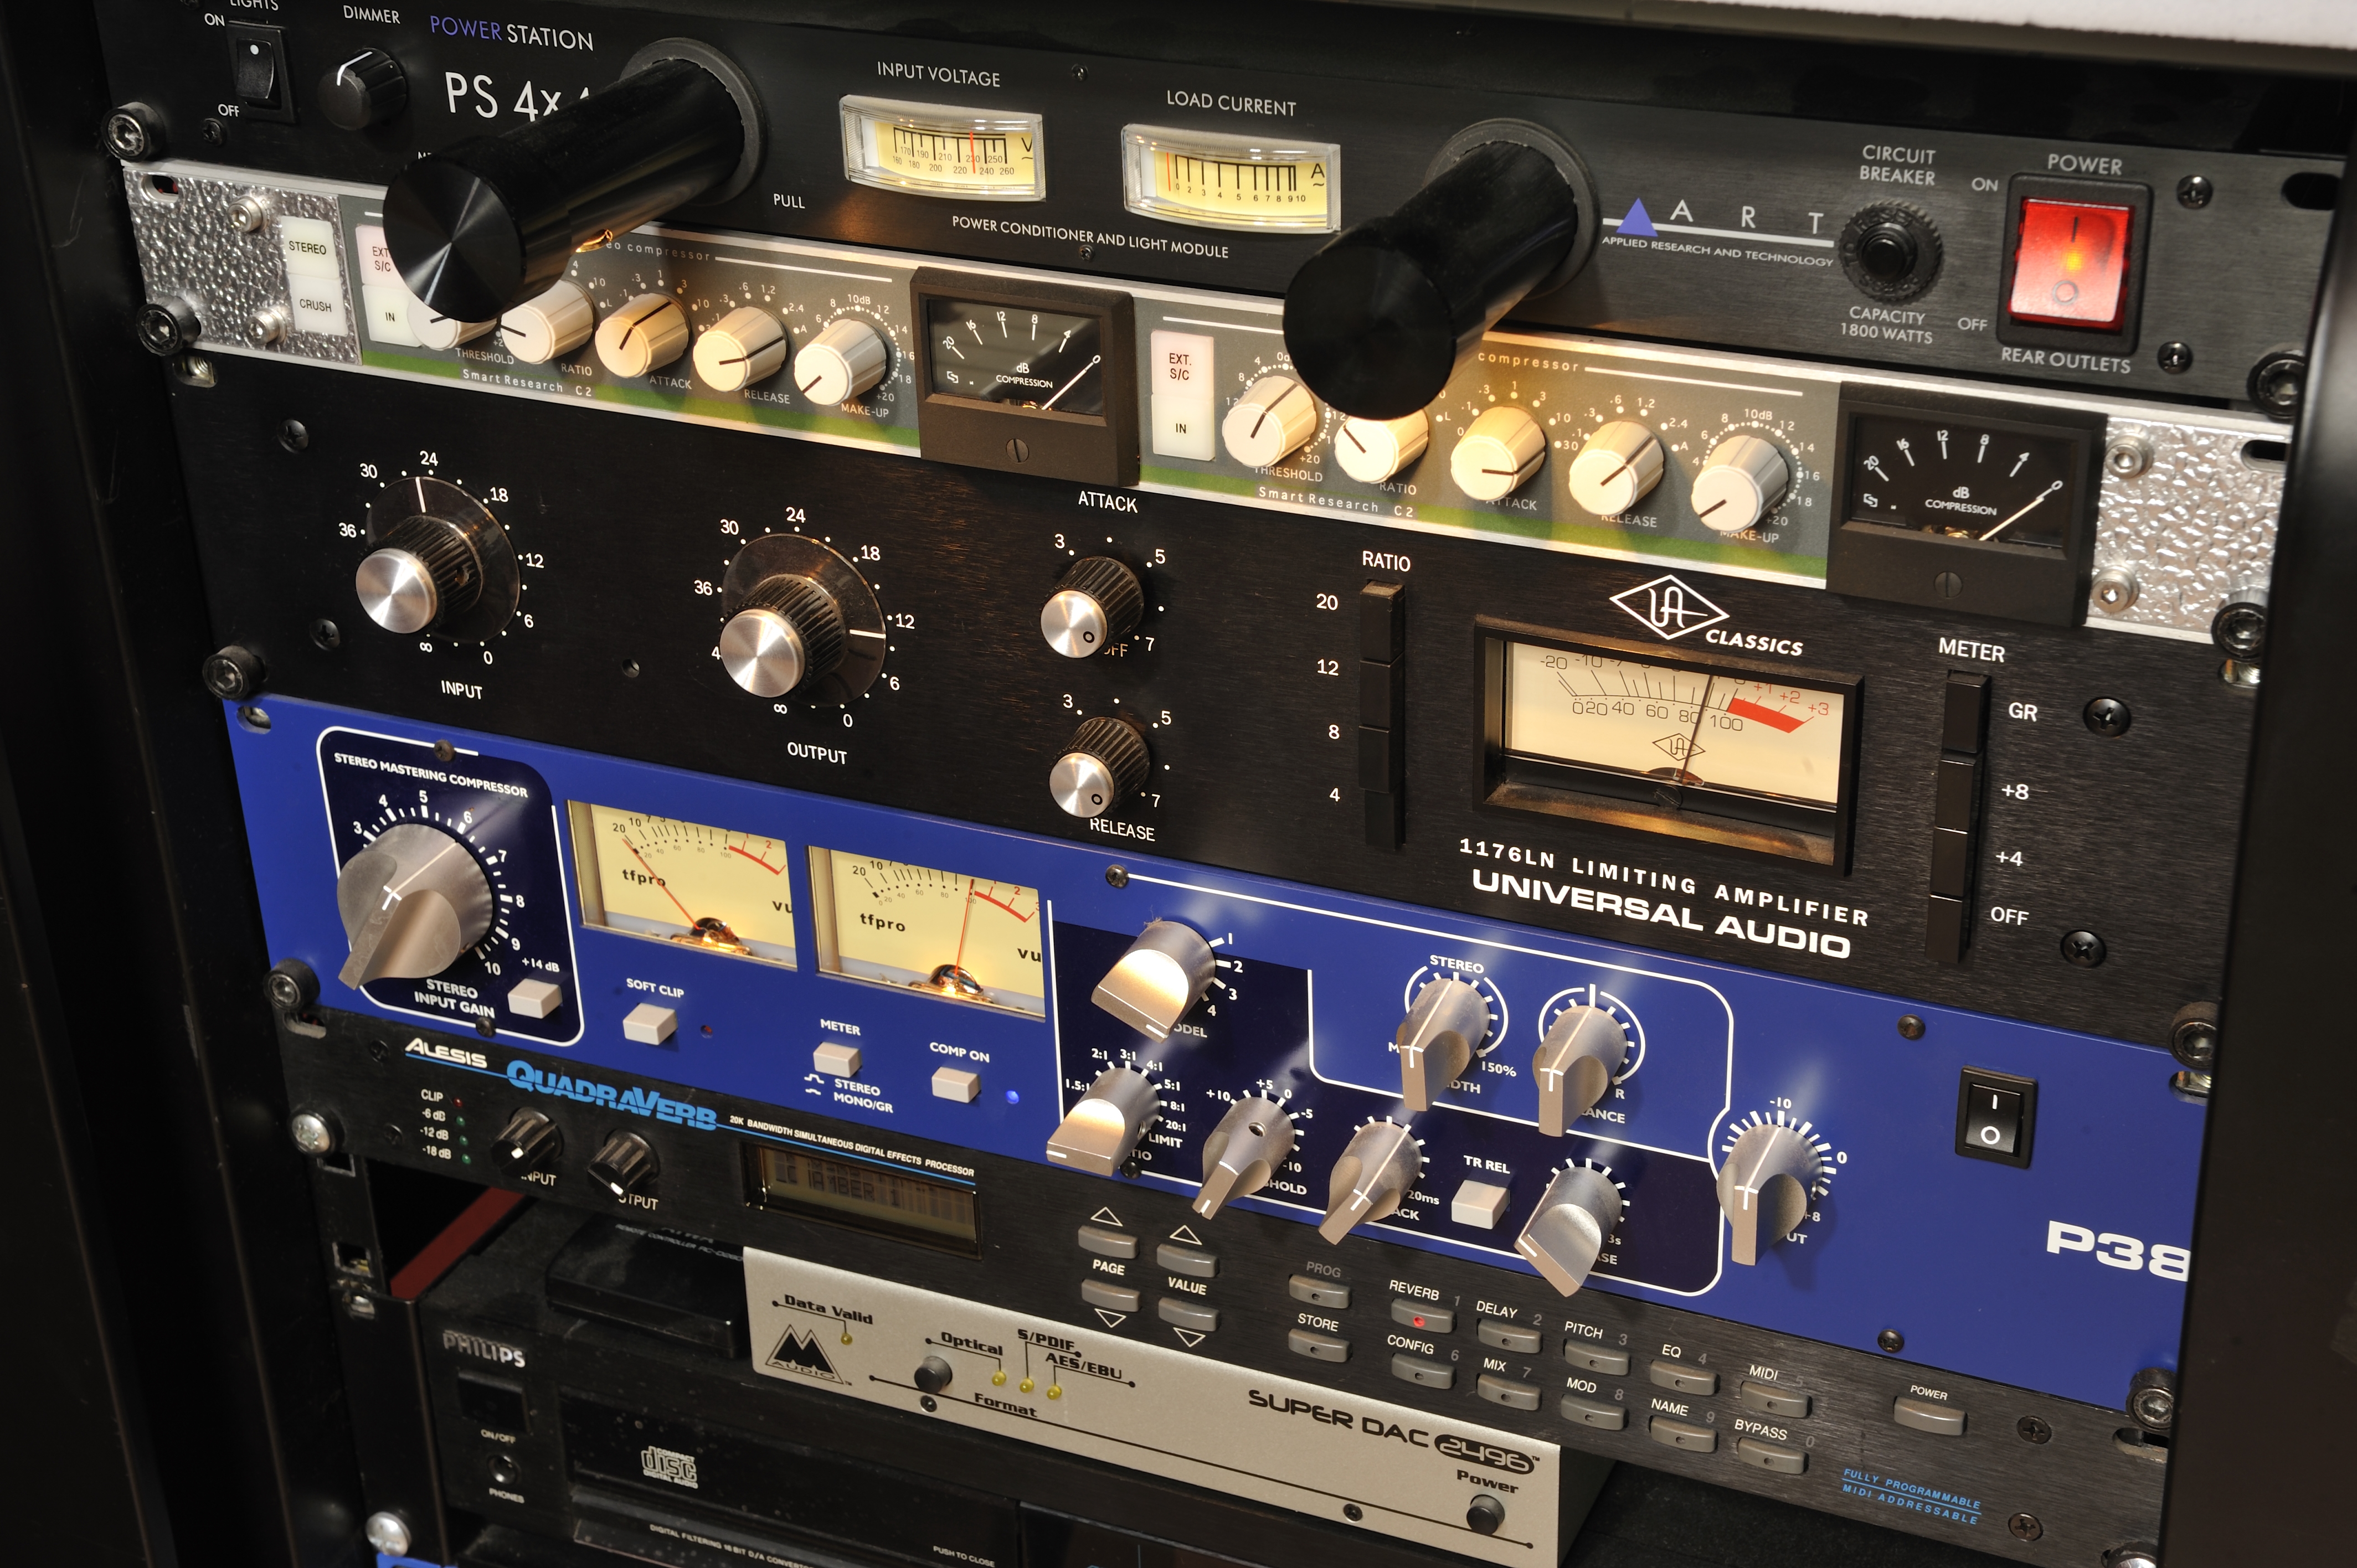
Although the final subject we’re discussing in this article might not be considered to be a quirk to some people, it does come with a sacrifice in other characteristics. Analogue warmth is challenging to define, and has been the source of much internet debate over the years.
Generally, when we describe something as ‘warm’, we mean its low and low-mid frequencies are more pronounced, while higher frequencies are often attenuated. As well as frequency content, the use of the term ‘warm’ might also refer to a signal’s dynamic qualities and transient information. Due to the subtle saturation that can occur in analogue equipment, ‘warm’ signals often have softer transients and less dynamic range. This is where the trade-off comes in.
Giving something a sense of analogue warmth might mean attenuating the high frequencies, transients and dynamic range of a signal. This can affect a signal’s perceived clarity, which might be undesirable in situations when you want to retain the signal’s presence and air, such as on lead vocals.
If you’ve participated in any electronic music production discourse in recent years, you’ll be familiar with the seemingly never-ending pursuit of ‘analogue warmth’ in the digital world. We’re not going to delve into how to achieve pseudo-analogue warmth in this article - if that's what you're after, this excellent video from Thomann would be a great place to start - but the techniques we've outlined above should help you to infuse your electronic productions with the character and unpredictability of classic hardware.


Jake Gill is a journalist, content writer and music producer based in Bristol, UK. Having studied marketing as well as music production, he's gone on to write for some of the industry's leading software developers, instrument manufacturers and publications. Alongside his writing work, he produces and DJs all manner of electronic music under his Yanari alias.
