The ultimate guide to sequencing: step up your sequencing abilities with modulation, randomisation and more
There are as many methods of sequencing as there are reasons to use it. In this tutorial we’ll introduce a few, to help you understand not just the how, but the why
Want all the hottest music and gear news, reviews, deals, features and more, direct to your inbox? Sign up here.
You are now subscribed
Your newsletter sign-up was successful
The one constant in musical production is that you need a way to get your musical ideas from your brain to your listeners. There are clearly many methods for this but there’ll always be a need to get the notes into the instrument and, performance aside, the most common method is through sequencing.
Sequencing itself has a touch of the artform about it, as it can be far more than simply plotting out pitches over time, with possibilities abounding for adding nuance and humanisation.
If you’re new to production, or have never toyed with sequencing, it might feel like a strange land, where no plucking of strings, or beating of drums is needed. Rest assured though, that this doesn’t make it any less musical. It’s still your musical decisiveness that creates the end result.
Sometimes sequencing can be used as a helper: if you want to perform at a gig, you may use sequenced elements to free up your hands for other tasks, like playing an improvised line on keys, or lining up other channels or tracks.
There are as many methods of sequencing as there are reasons to use it, so in this tutorial we’ll be introducing a few, in a bid to spark an idea for you, or help you understand not just the how but the why. Our musical journeys are as much about experimentation as anything else and we’re hoping the tools and techniques shown here inspire you to try new things.
The type of sequencing we’re exploring here is associated with classic analogue hardware but – as shown in one of our walkthroughs below – the basic ideas have filtered through to software too.
Many synths, even modular or semi-modular, come equipped with built-in sequencers. This is great but don’t feel you’re restricted to that alone. You can use combinations too.
Want all the hottest music and gear news, reviews, deals, features and more, direct to your inbox? Sign up here.
We often use the Keystep Pro to sequence a Mother-32. Not only does it mean we’re using keys but it’s way easier to sync up other tracks, with its four-channel abilities. It's got three melodic and one drum sequencers in one, some great features for performing with a sequence, and as much I/O as you could need, including CV for modular.
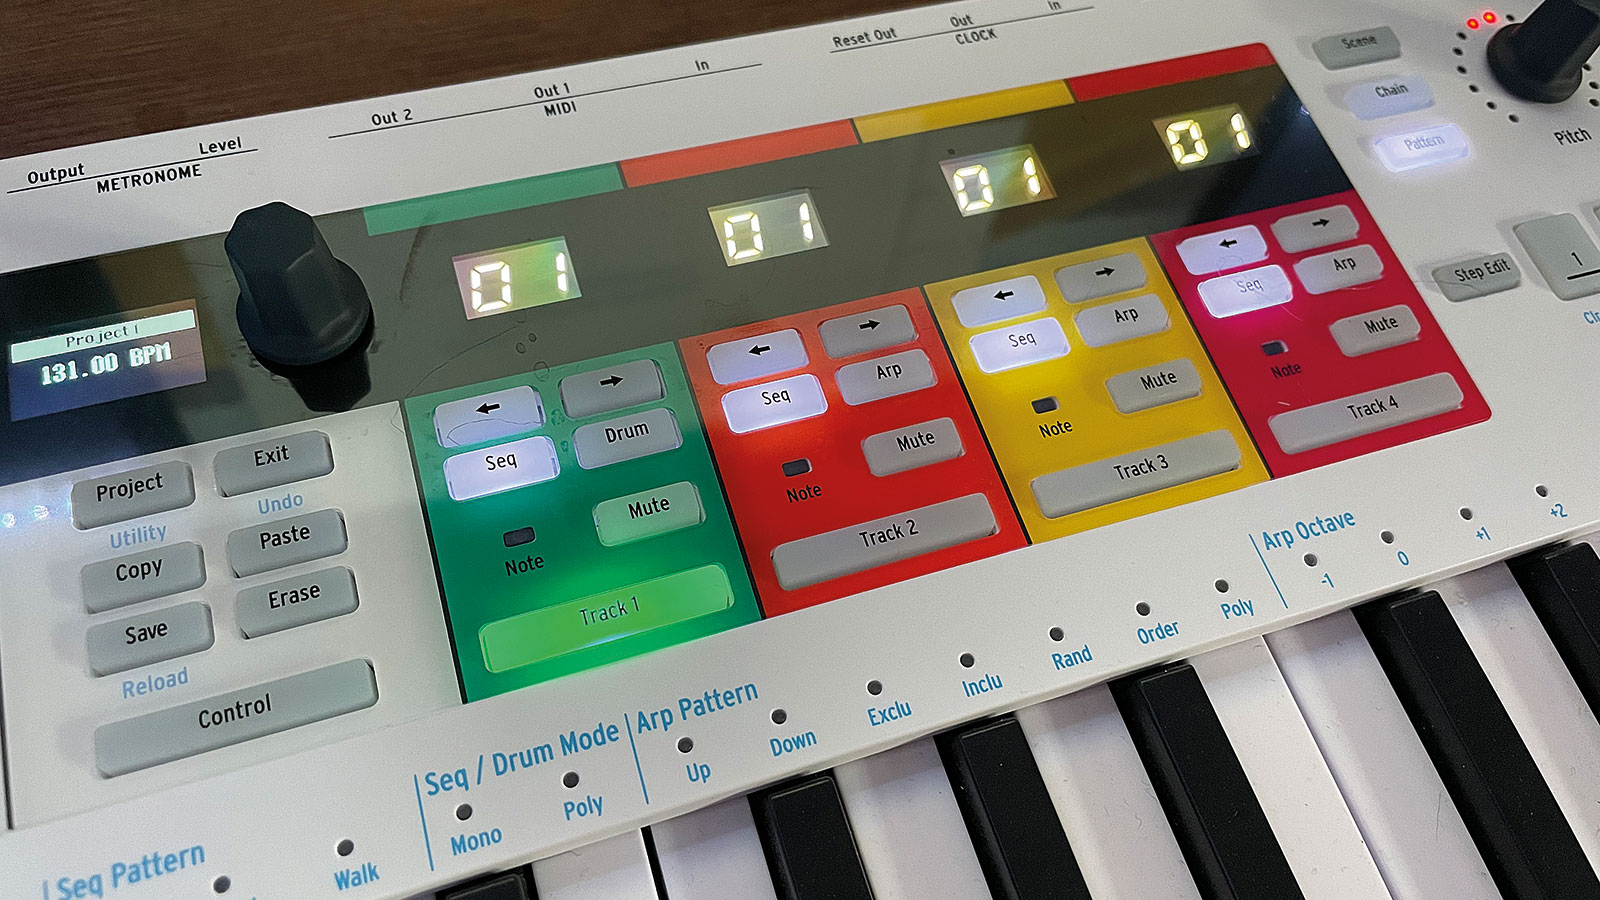
Sequencers in hardware offer such a diverse range of methods and features that there’ll be something for everyone. Most synths now offer at least the ability to tap out some notes and play them back.
Then again you might want something more generative, eschewing more traditional timing. For that, modular is the way to go, with many modules using chance and/or quantisation to self-sequence in musical ways.
No matter what your genre of choice or workflow preferences are there will be a sequencer that fits the bill, so grab a coffee and a synth and let’s get started.
Four essential features
1. Pitch
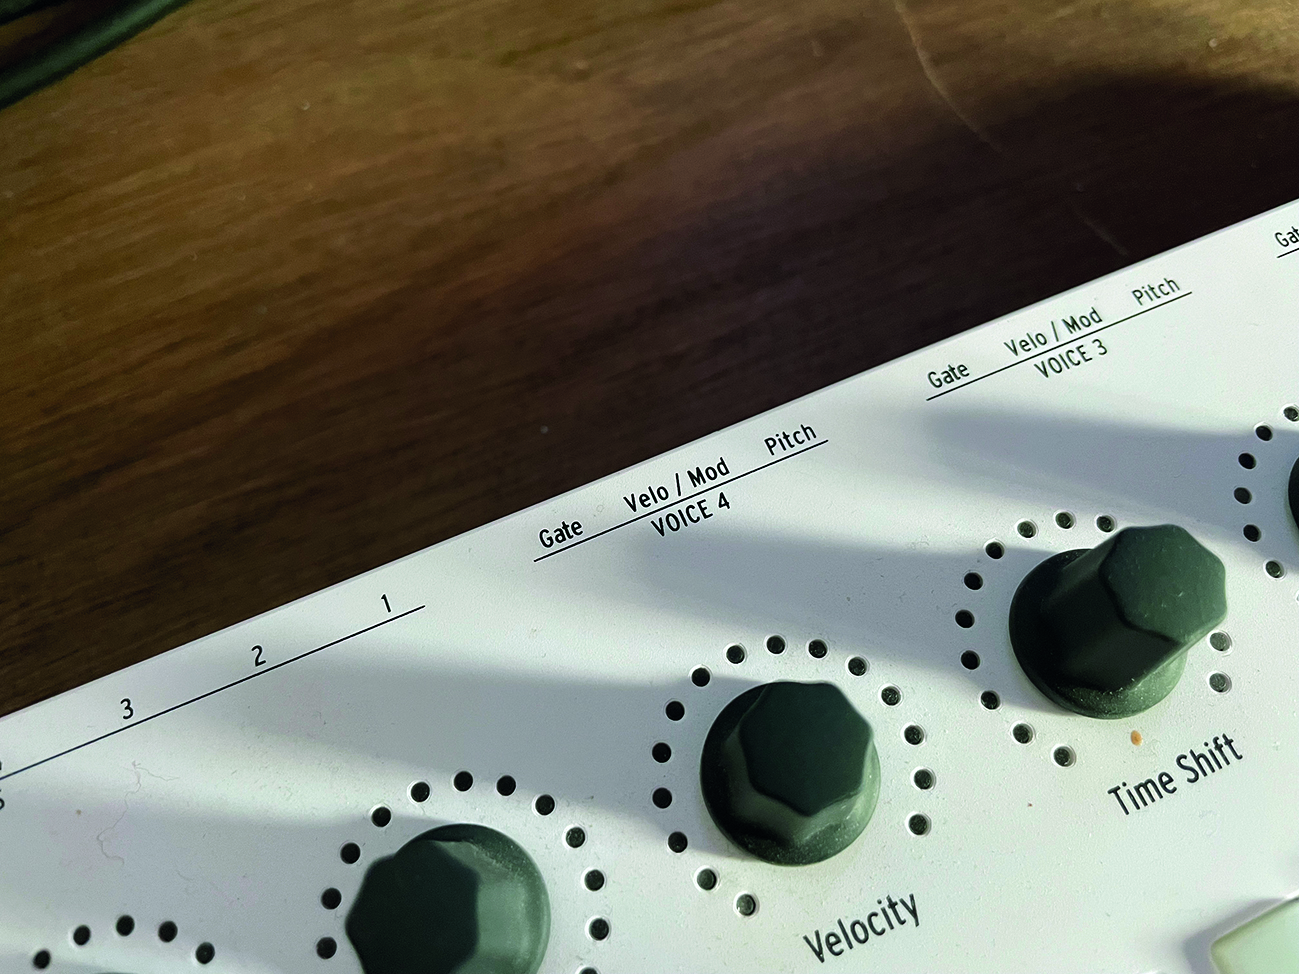
There are a few standard sequencer features and almost all of them will share a few basics. First up will be pitch. A pitch output is necessary for the sequencer to tell your audio source which notes to play. This could be a CV patch point, as in the image, done internally (for a desktop synth) or via MIDI.
2. Gate/trigger
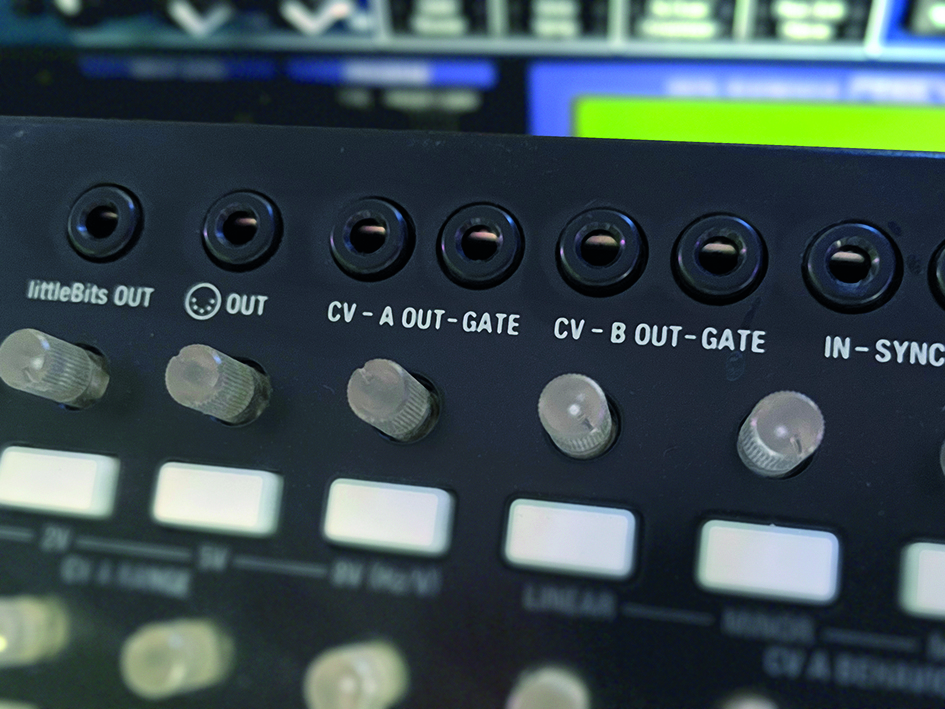
The next most common feature is the gate or trigger. These send a signal to launch an event, often the start of a note or drum. Often they’re teamed with VCAs/envelopes to control note volume. Triggers are a point in time (perfect for drums), whereas gates can stay open for a set time.
3. Modulation
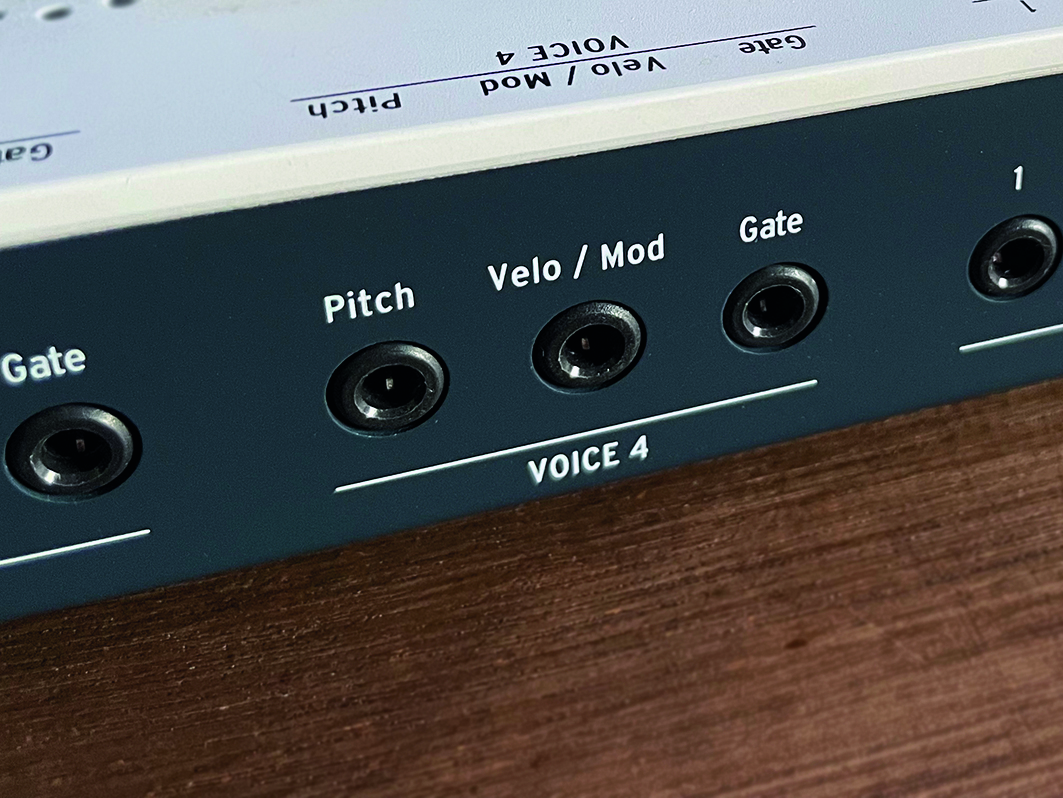
Many sequencers also feature an output for modulation. Commonly this is a CV output, where a controlled variable voltage can be sent to another device. The obvious example is using a mod wheel or an XY pad to adjust an attribute of some secondary gear, like adjusting an LFO effect’s intensity.
4. Clock
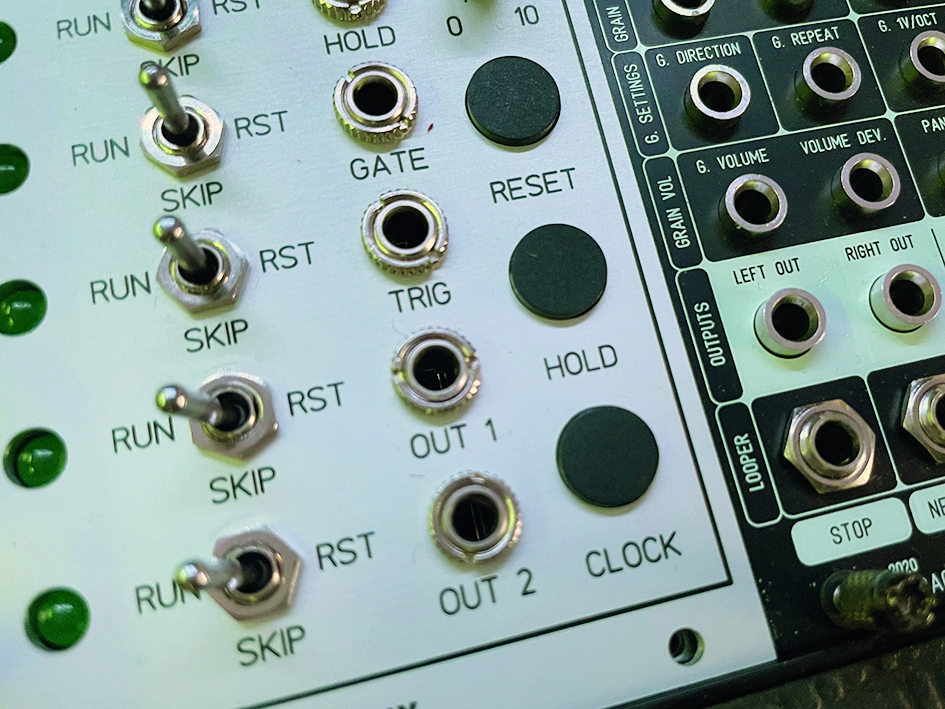
Sequencers exist to make life easier and counter restrictions on step count, so often have a clock and reset button. The clock button lets you play each step when it fits your performance. The reset button takes you back to the first step. Both useful for straying outside strict bounds.
It all starts with the first step...
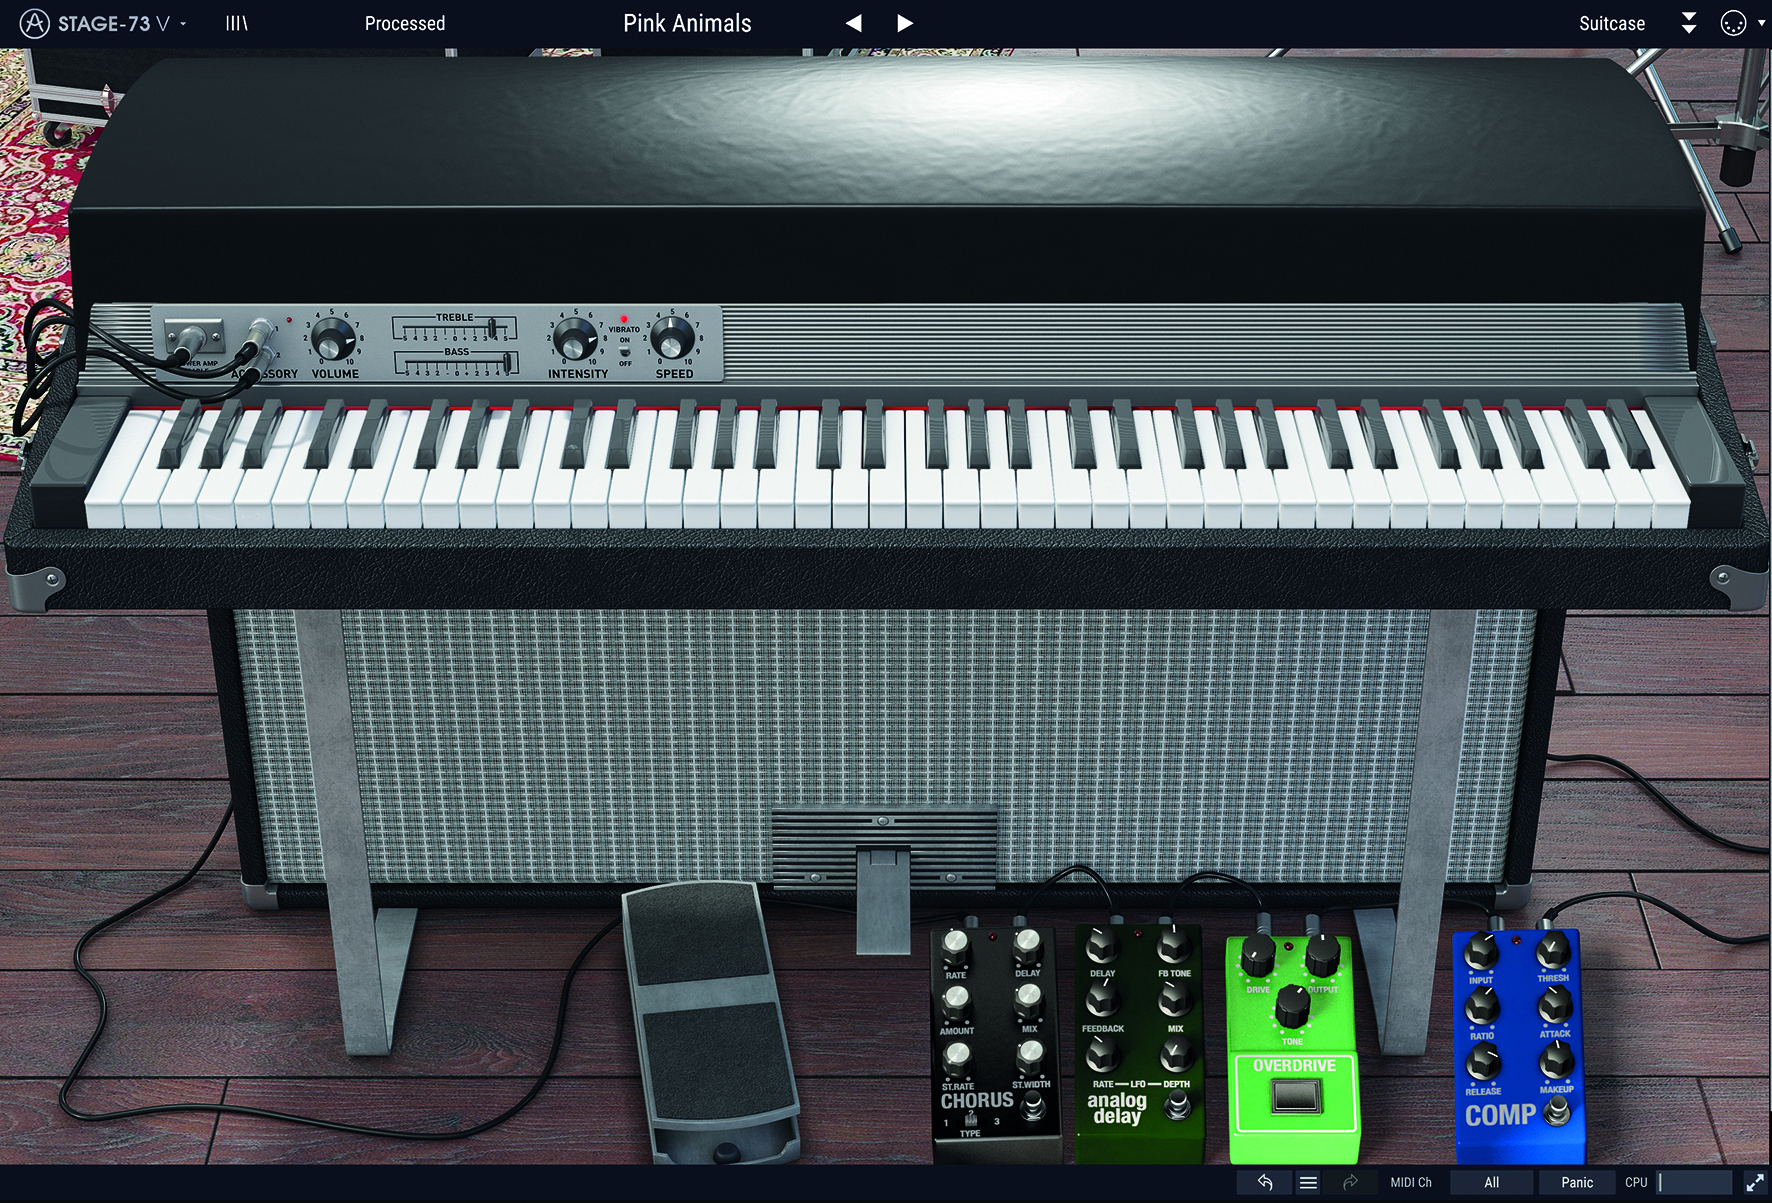
Step 1: For a fundamental look at step sequencing, let’s start by exploring the core ideas in software. We’ll move onto proper sequencing hardware shortly, but for now launch Logic, open a new project and setup a melodic instrument track of your choice. We went with a Rhodes-type electric piano.
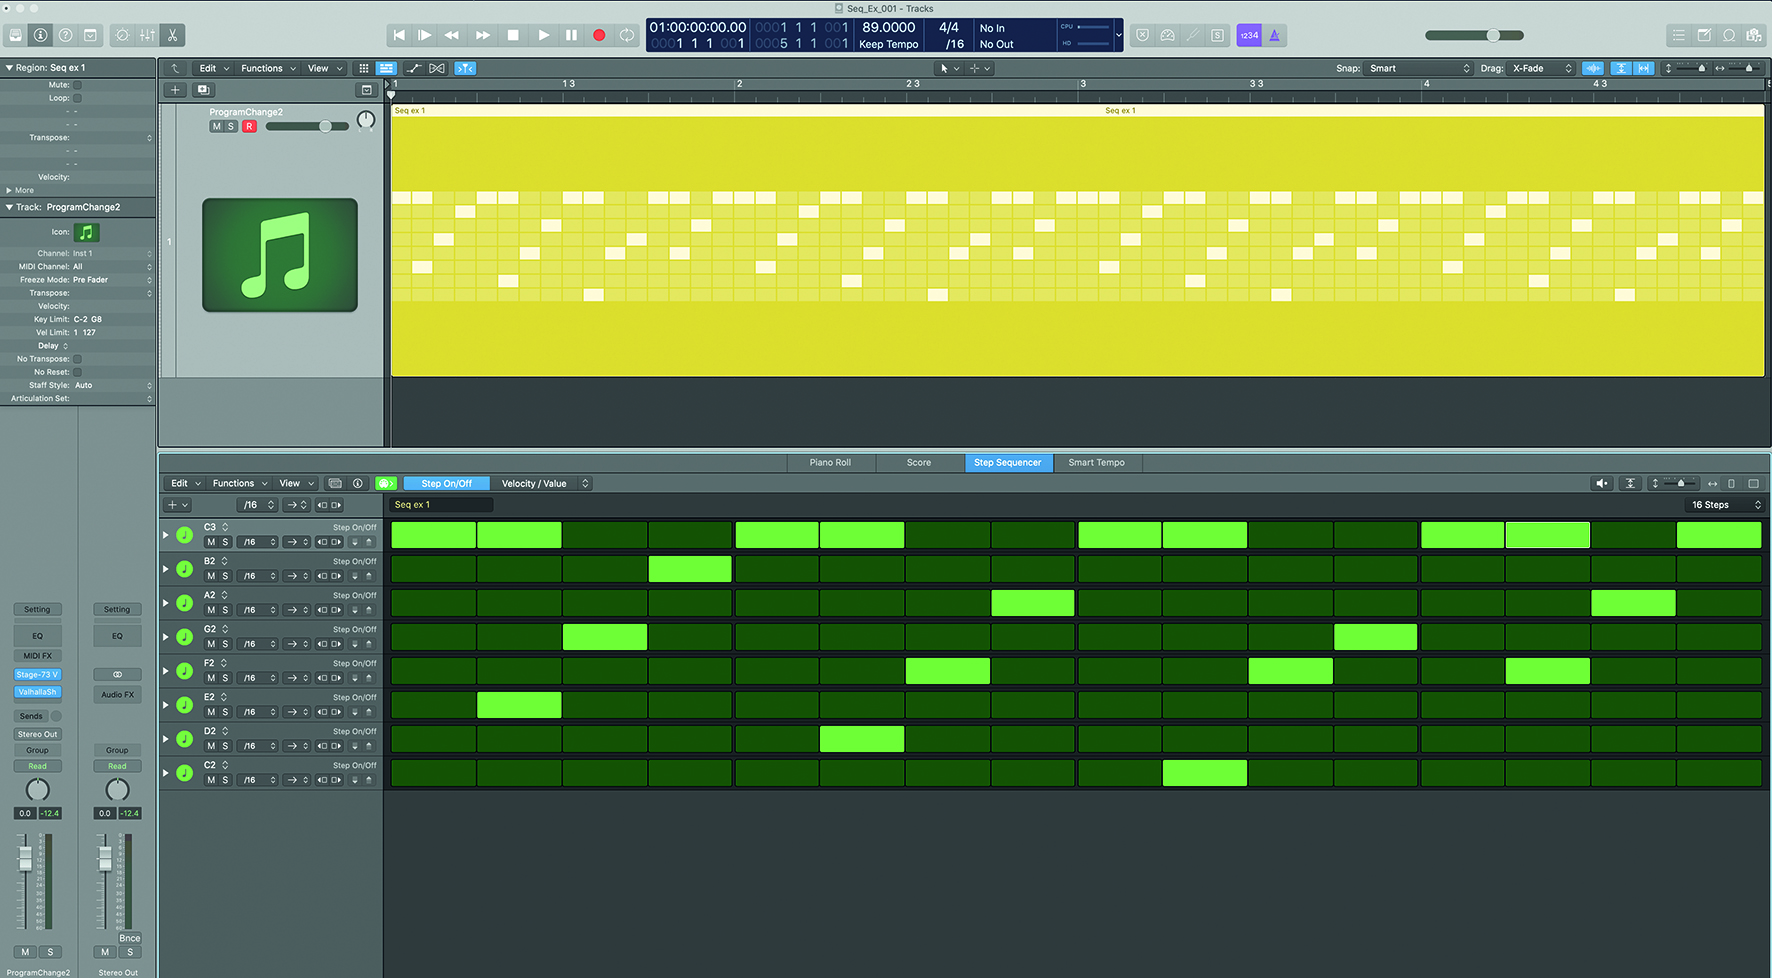
Step 2: To start plotting out notes, go to Window/Open Step Sequencer, which will also create a section on that track. In the step sequencer window you can start plotting notes. Each channel’s pitch can be defined using the dropdowns on the left. We created a simple pattern using the default pitch settings.
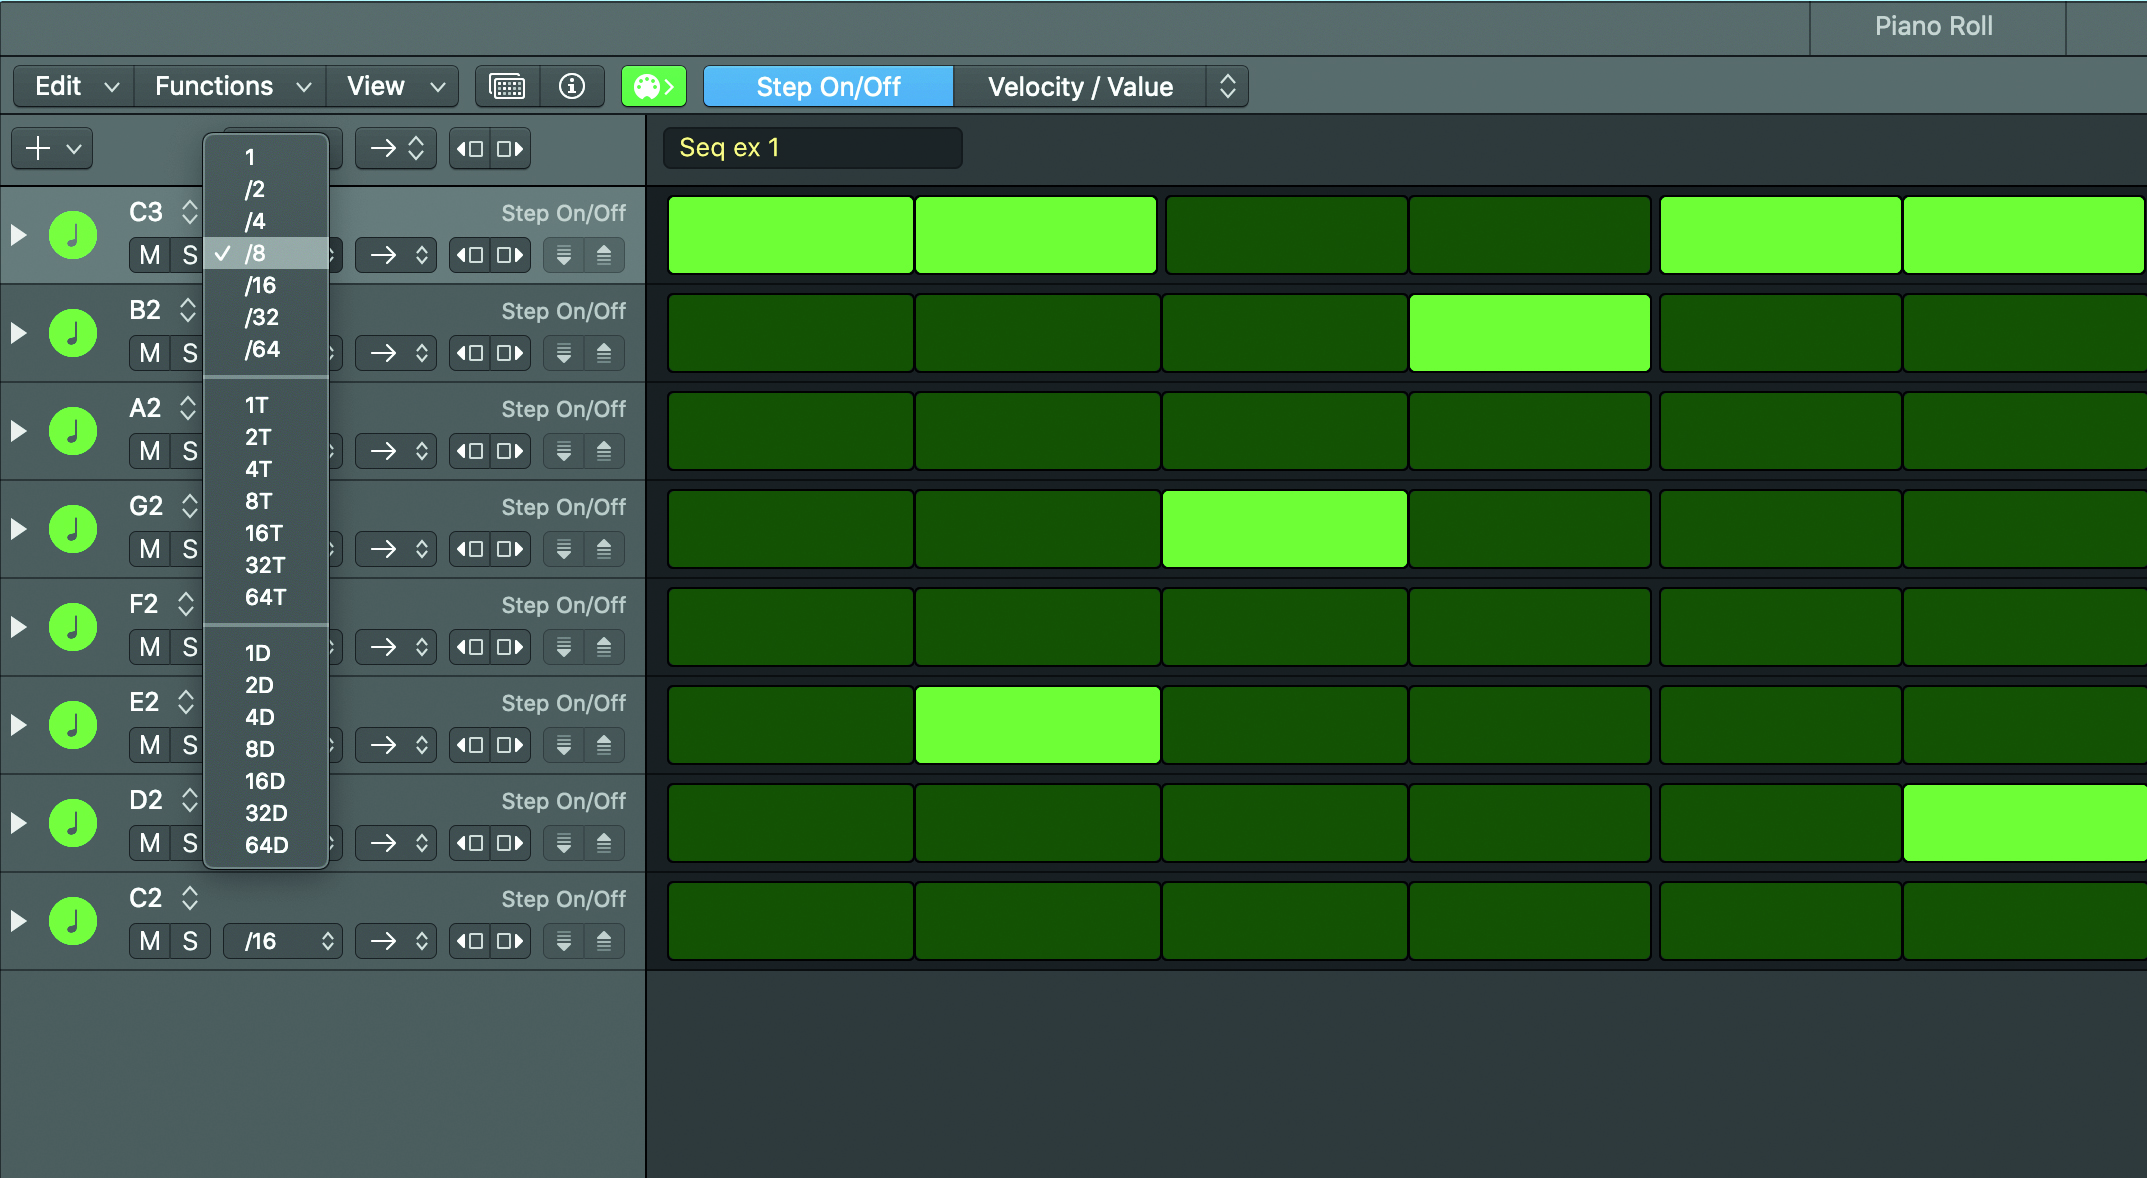
Step 3: Each channel has a clock divider, which we used to help add rhythmic interest to the sequence, by dropping the first channel from the default 16th note to an 8th. The main sequencer window menu allows global changes to this too. These settings can be used for division or multiplication.
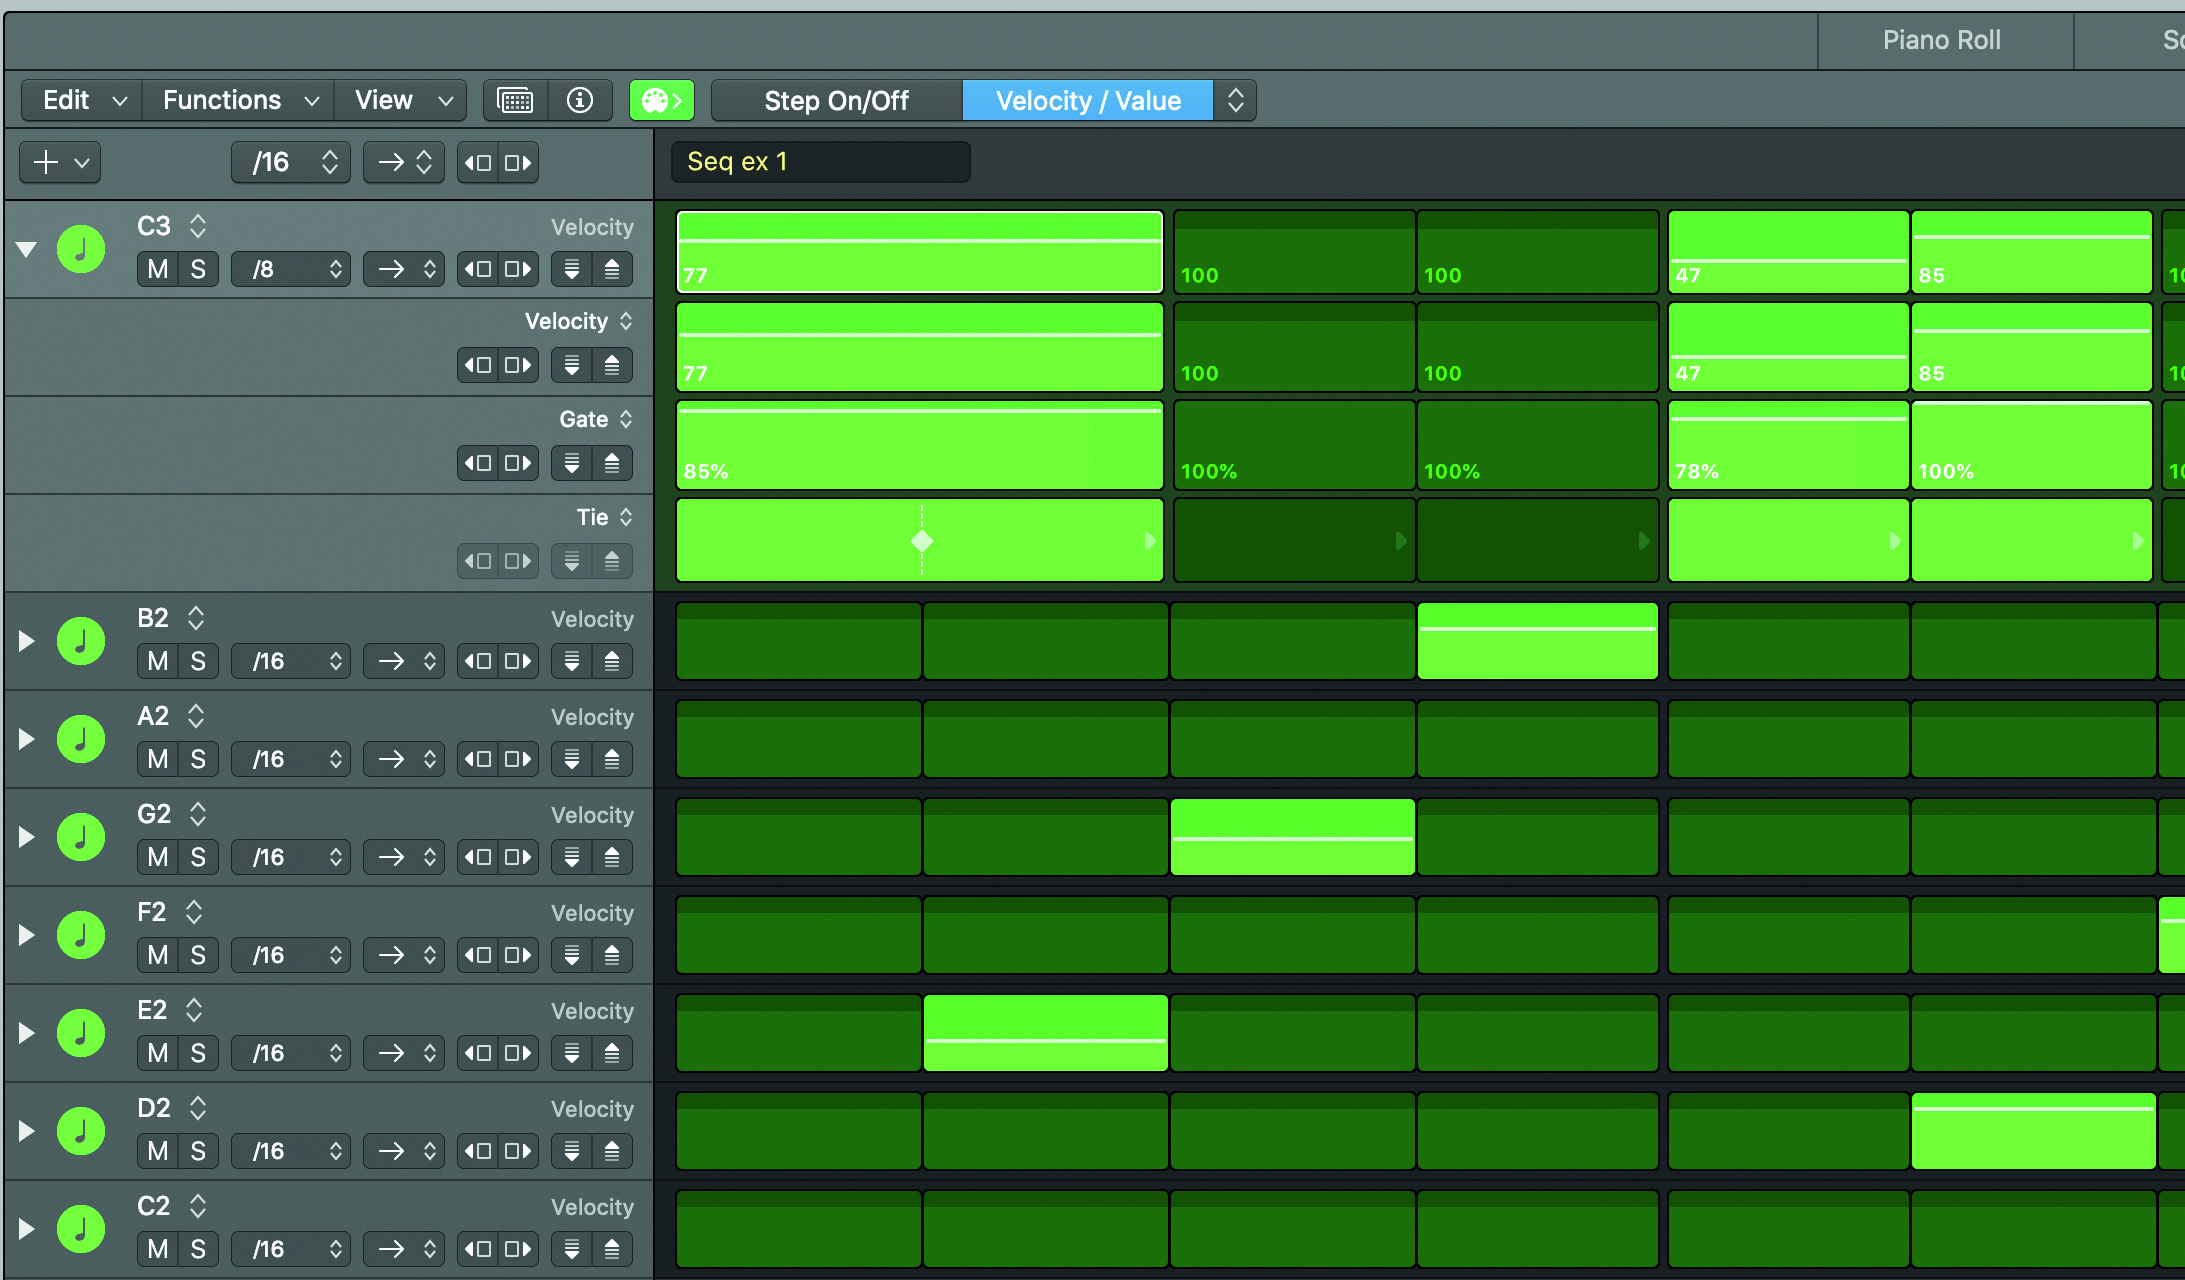
Step 4: One thing that can put people off is the precision. To add humanisation, open the drop-down for a channel, where you’ll see additional steps for velocity, gate and tie. Add randomisation here, or have the notes build in a pattern. The tie control lets you combine adjacent notes.
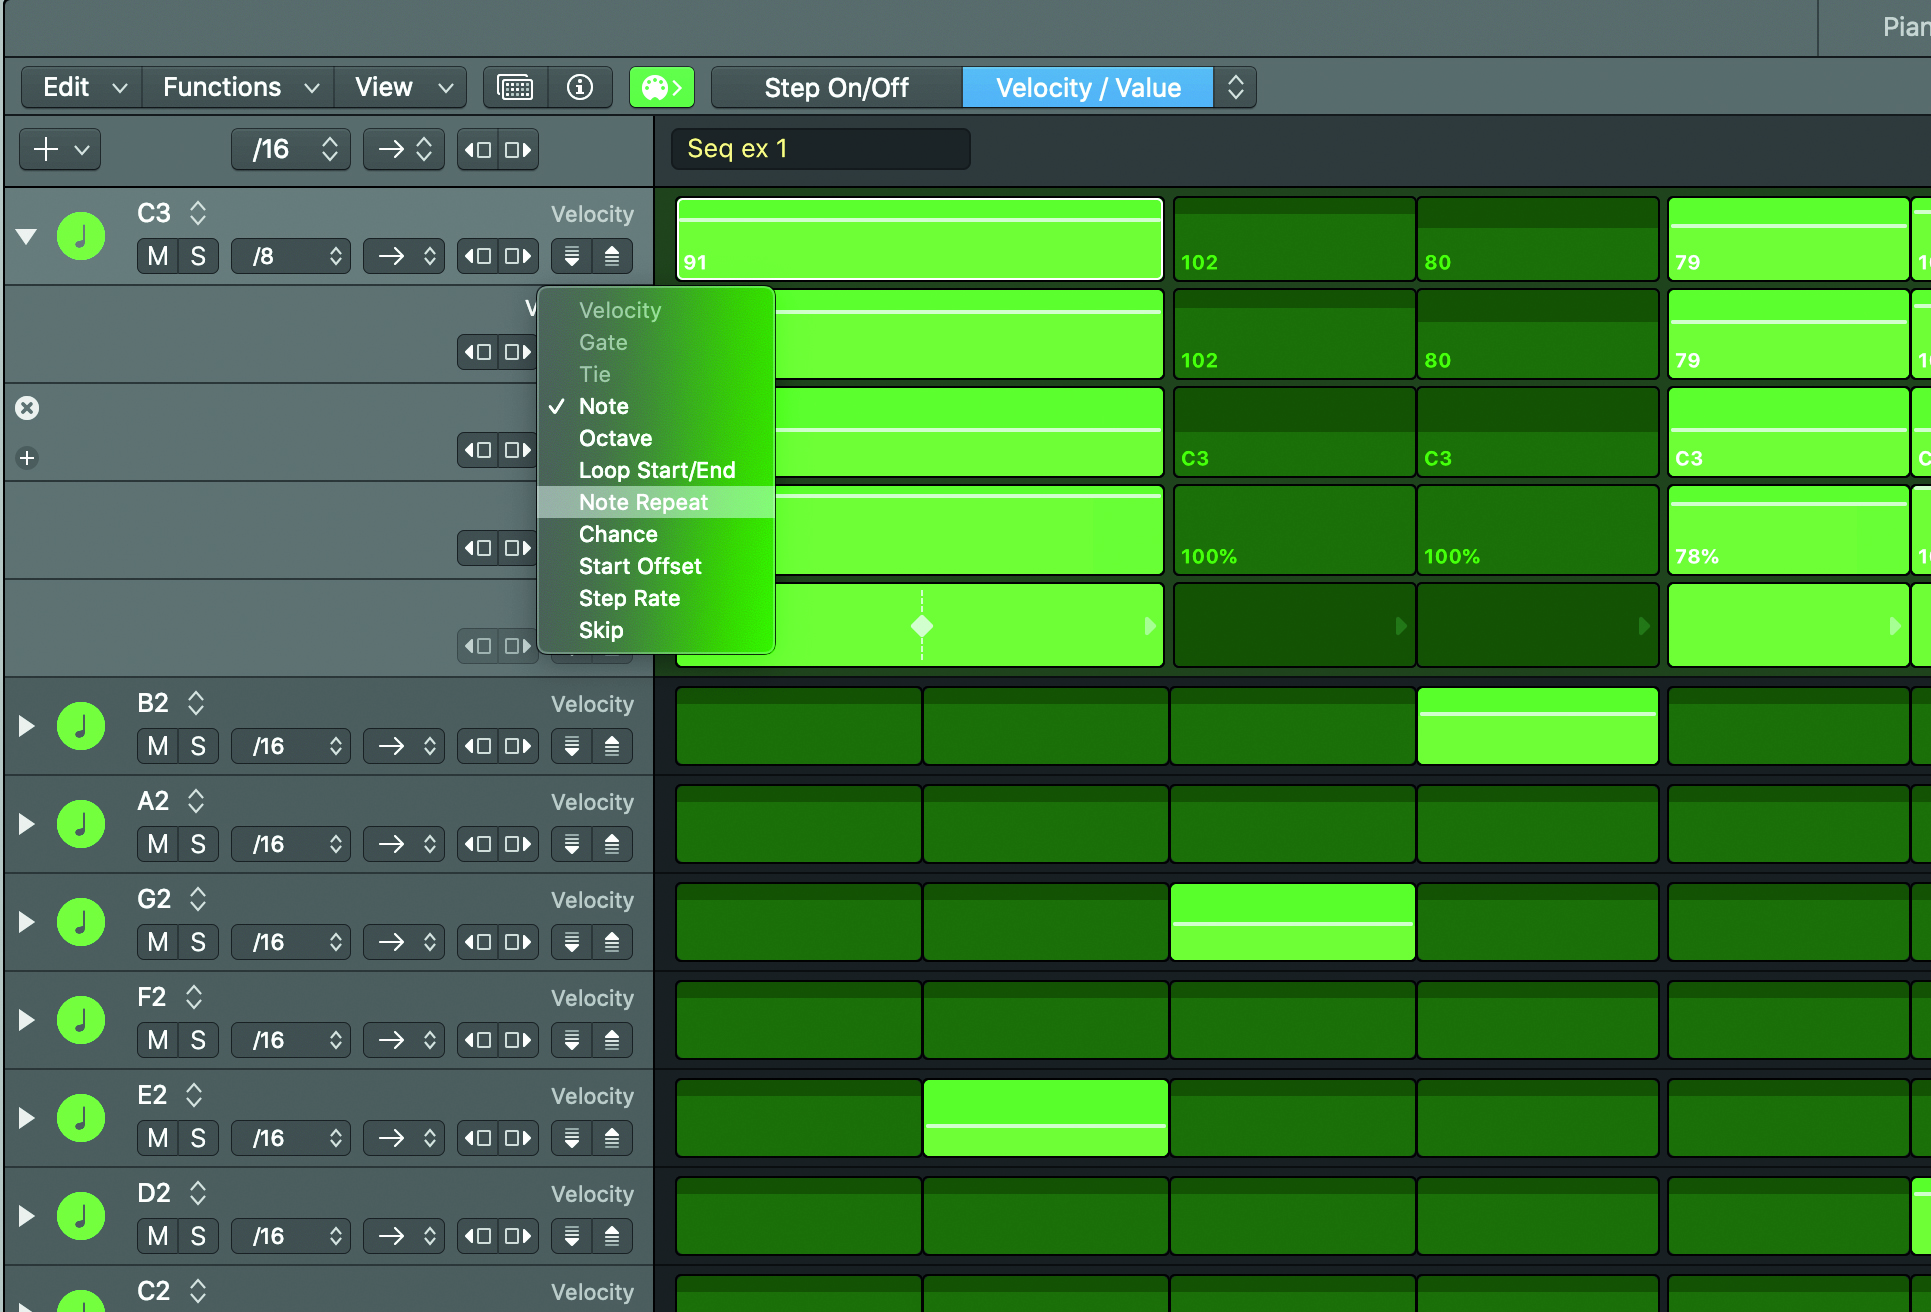
Step 5: For variety you can add ratchets, or note repeats. Choose the channel you want to effect, then either add a note repeat lane using the little + button to the left, or click on Velocity, Gate or Tie and choose what that lane is. Once done you can drag in a step to add repeats.
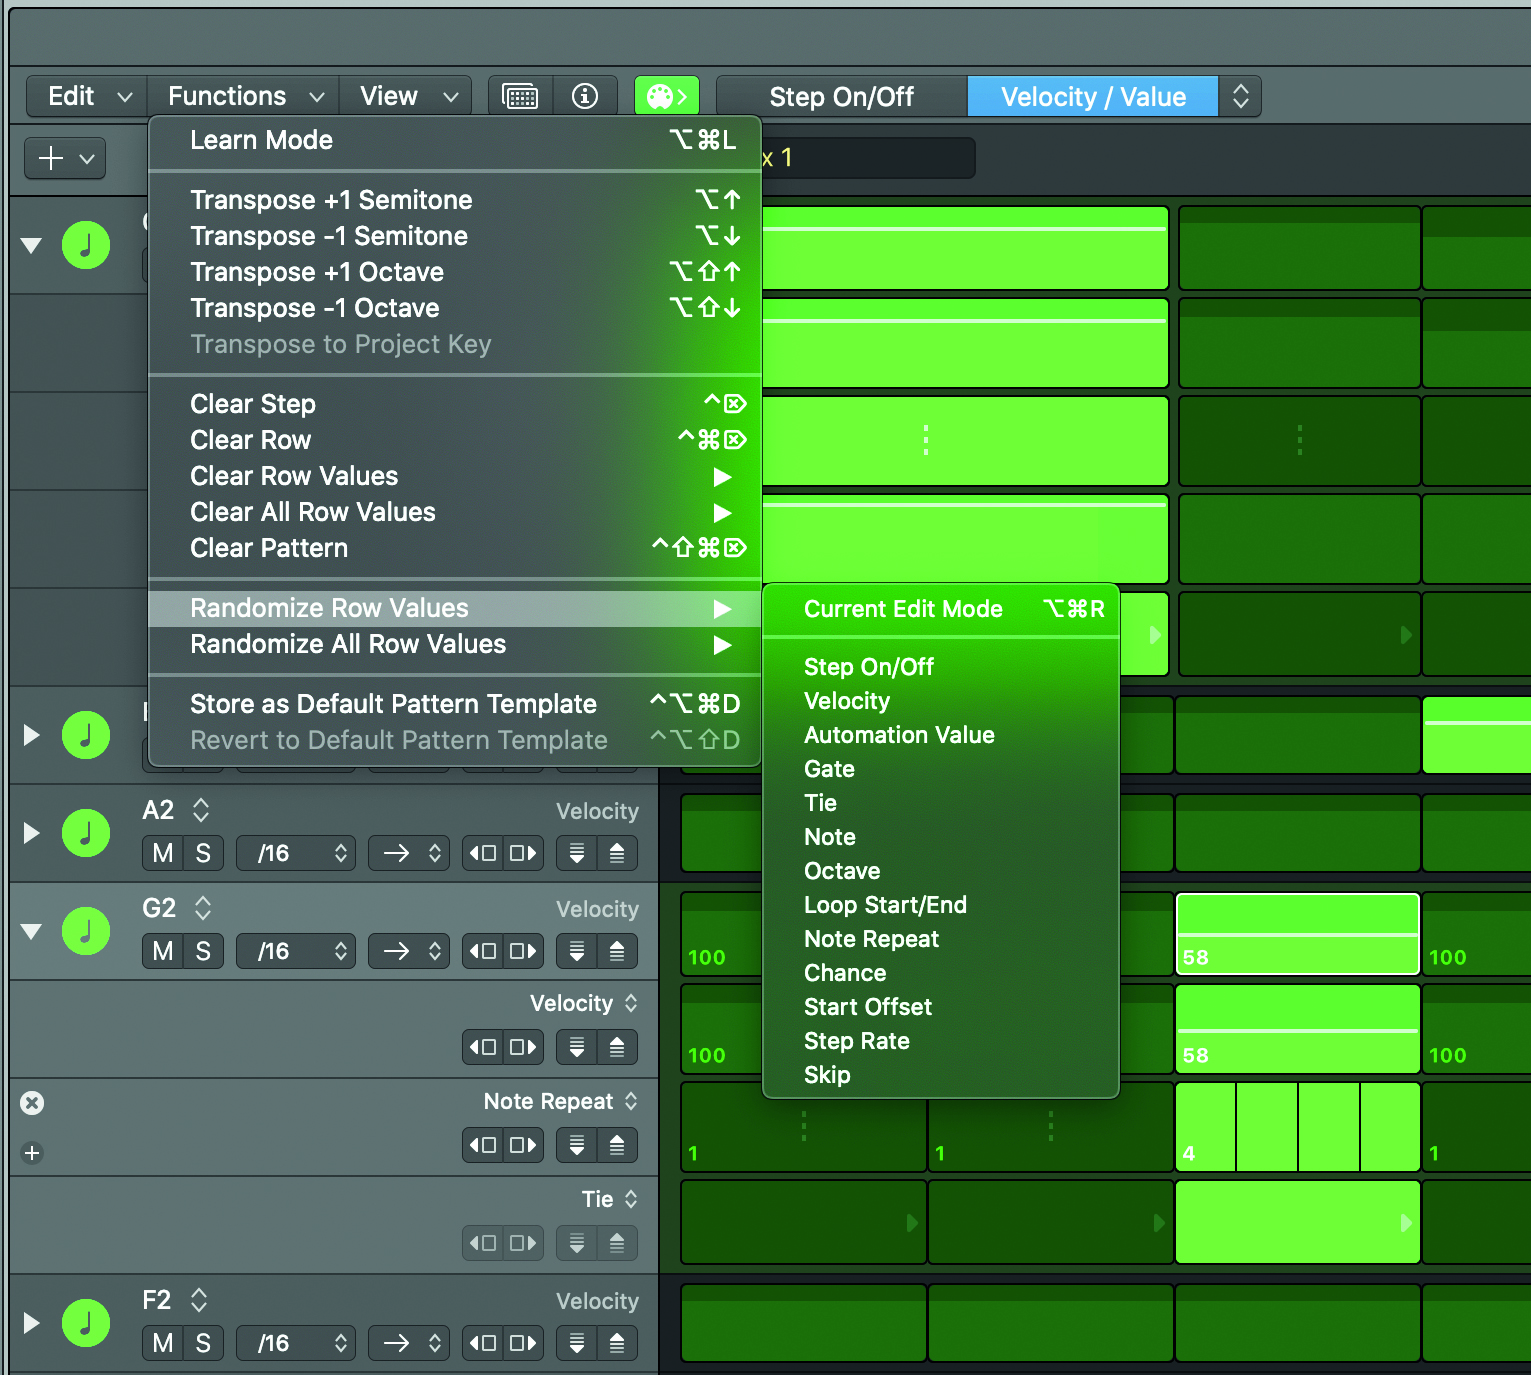
Step 6: If the thought of going through each lane or each channel, adding variation horrifies you, but you really want that variation, go to Function/Randomize Row Values (or all rows) and let Logic do the work. This is a more efficient way to add spice, at the expense of forfeiting some control.
What's all the noise about?
Sometimes it isn’t all about individual note choice, or plotting things out step by step. It can often be inspiring to give your gear the opportunity to shine and possibly spark some unplanned magic.
While sequencing step by step can be a very fulfilling past-time, why not let go of the reins a little now and then and see what your hardware spits out. Many synths have a sample-and-hold function that can be used for various things but here we suggest it as a pitch modulation.
You can still sync it to the clock, so you remain rhythmic; just relinquish note-choice control and see what happens. Often you’ll get something retro-sounding in a good way, that may spark an idea.
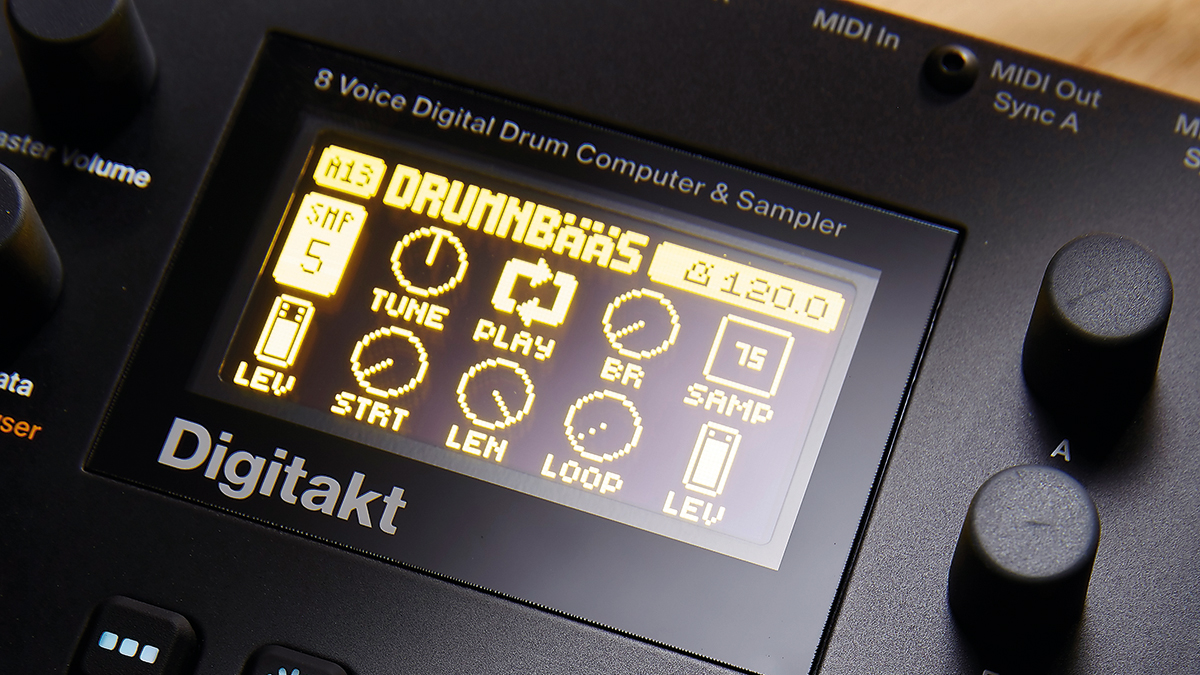
There are as many methods for doing this as there are synths that support it, so we won’t spend too much time going over it. You could start simply, by making an LFO modulate the pitch of an oscillator, then set that LFO’s waveshape to sample and hold.
In some cases that might be done with noise, or a separate sample-and-hold function but the premise is the same and the results will be very similar. If you have a quantiser you can gain a further level of control and make it stay within musical scales.
Go old-school with the Wavefonix 8-step sequencer
Classic workflow and results, in Eurorack format: the 8-step sequencer has two outputs, two separate glide controls and CV-addressable clock, through, reset and hold, in just 16hp. Let's take a look at how it works.
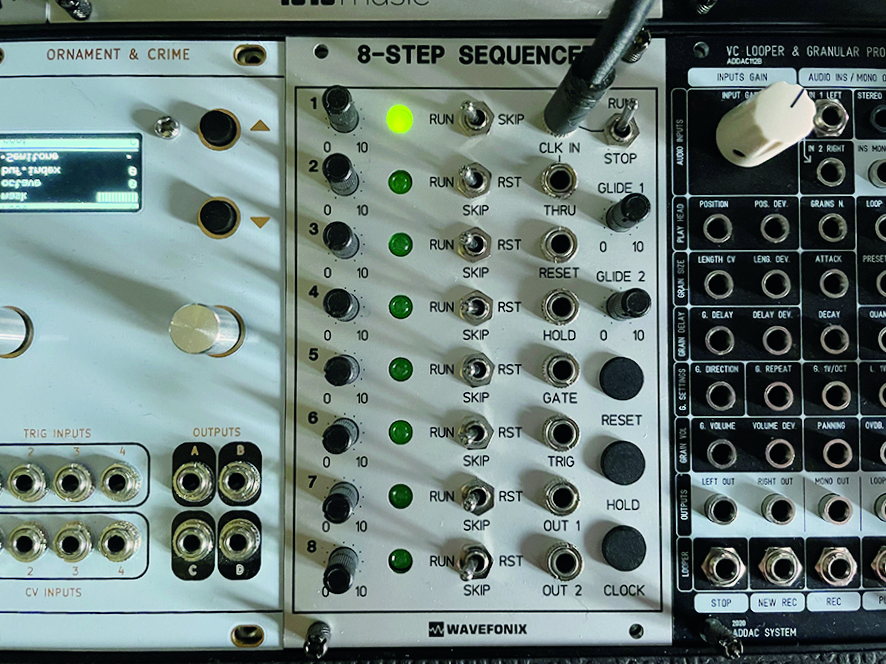
Step 1: Sequencers have been around for some time and there’s still a lot of love for old school types, even in the world of Eurorack, so we loaded up a Wavefonix 8 step, which is fairly typical of this type of device. A master clock from Pam’s provides tempo but you can tap tempo too, with the clock button.
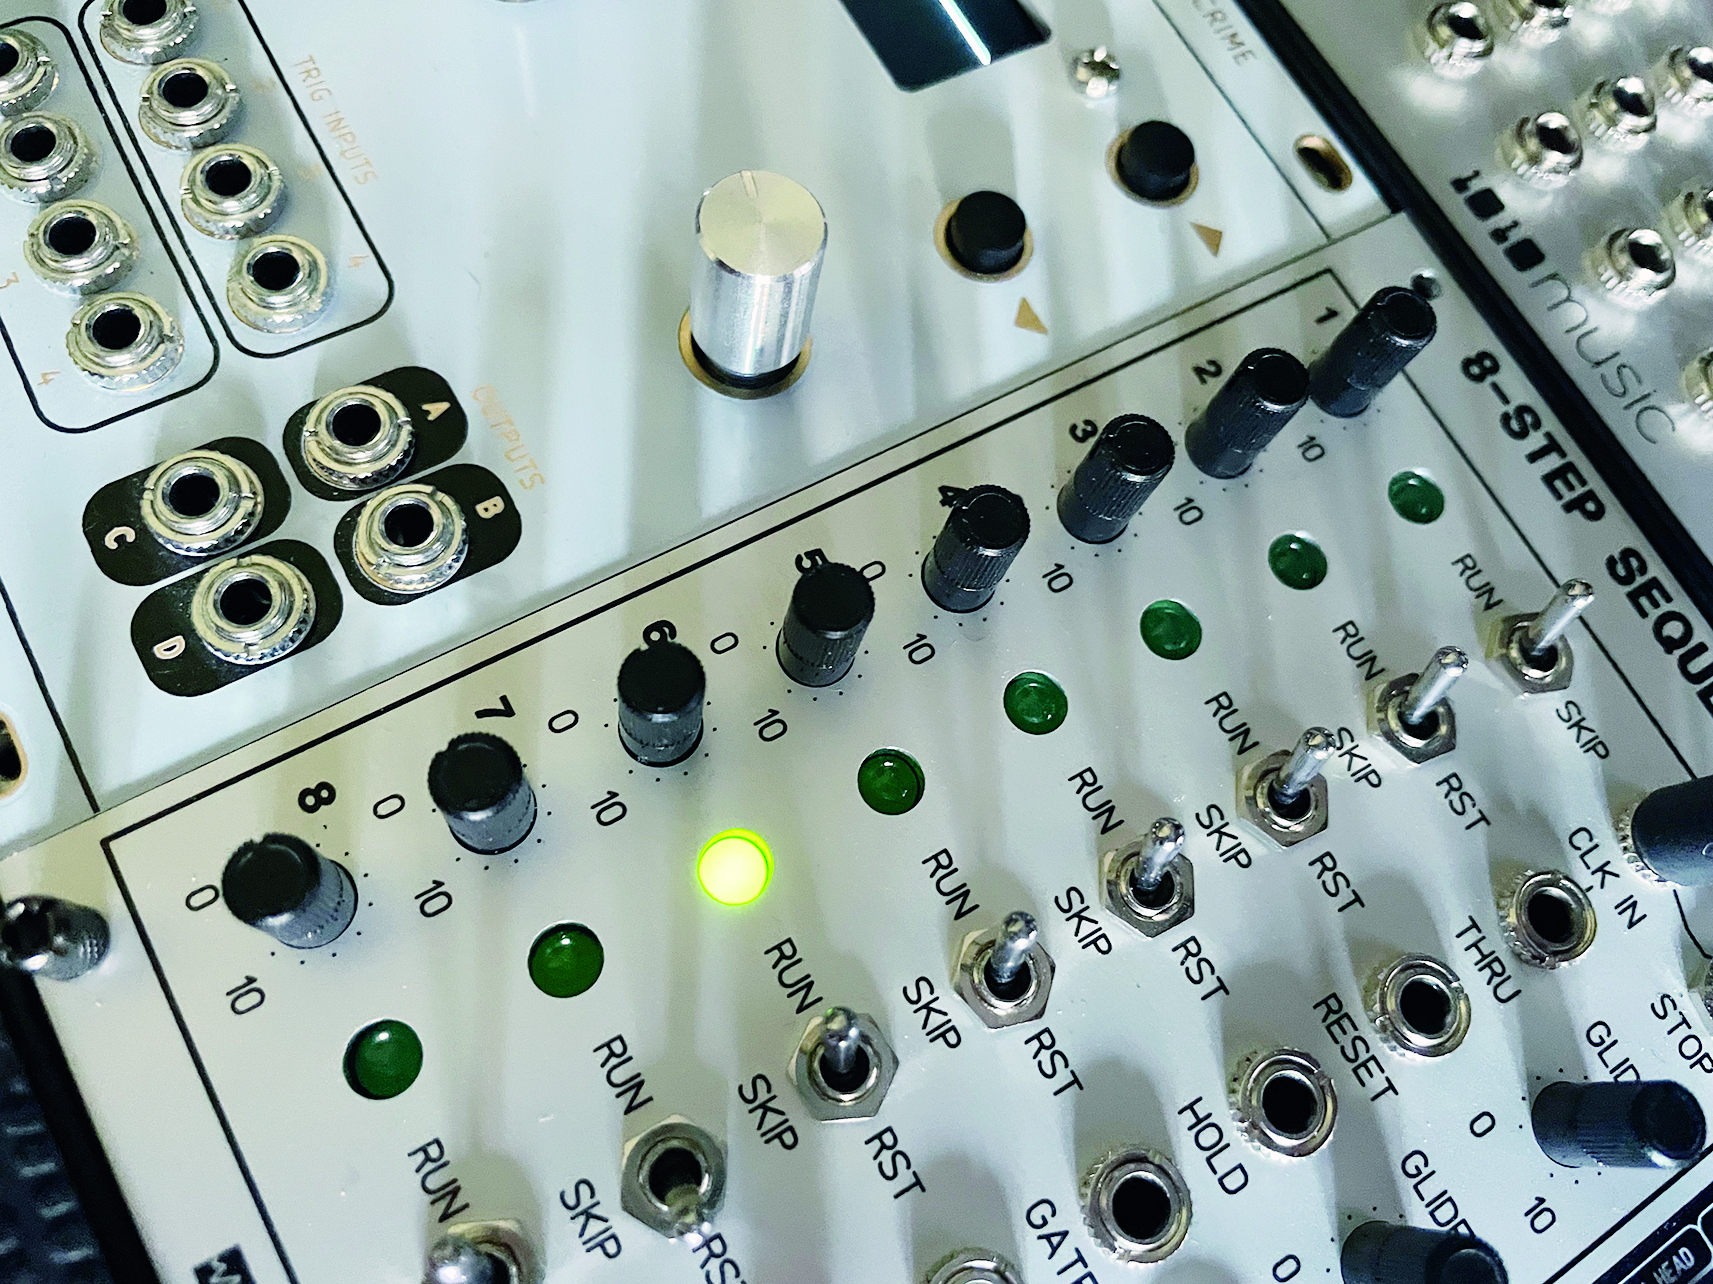
Step 2: Setting the pitch for each step is done by way of turning the black knob for each step. It can be quite tricky to be totally precise but that’s part of the vibe – plus it gives the opportunity for straying away from semi-tones. Great for vintage horror movie music.
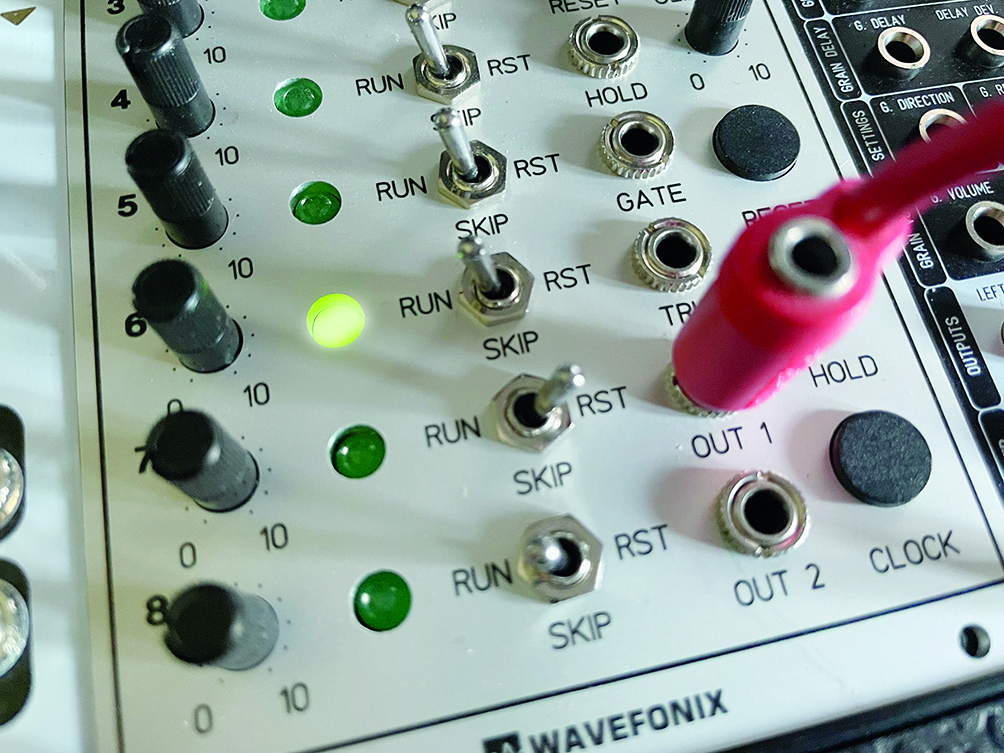
Step 3: Although it’s an 8-step sequencer you can always shorten the step count. Simply flick the switch to reset on the desired last step and the sequence will return to step 1. This is handy for adding variation on the fly. The skip button will also allow variation, missing out a step, but staying in time.
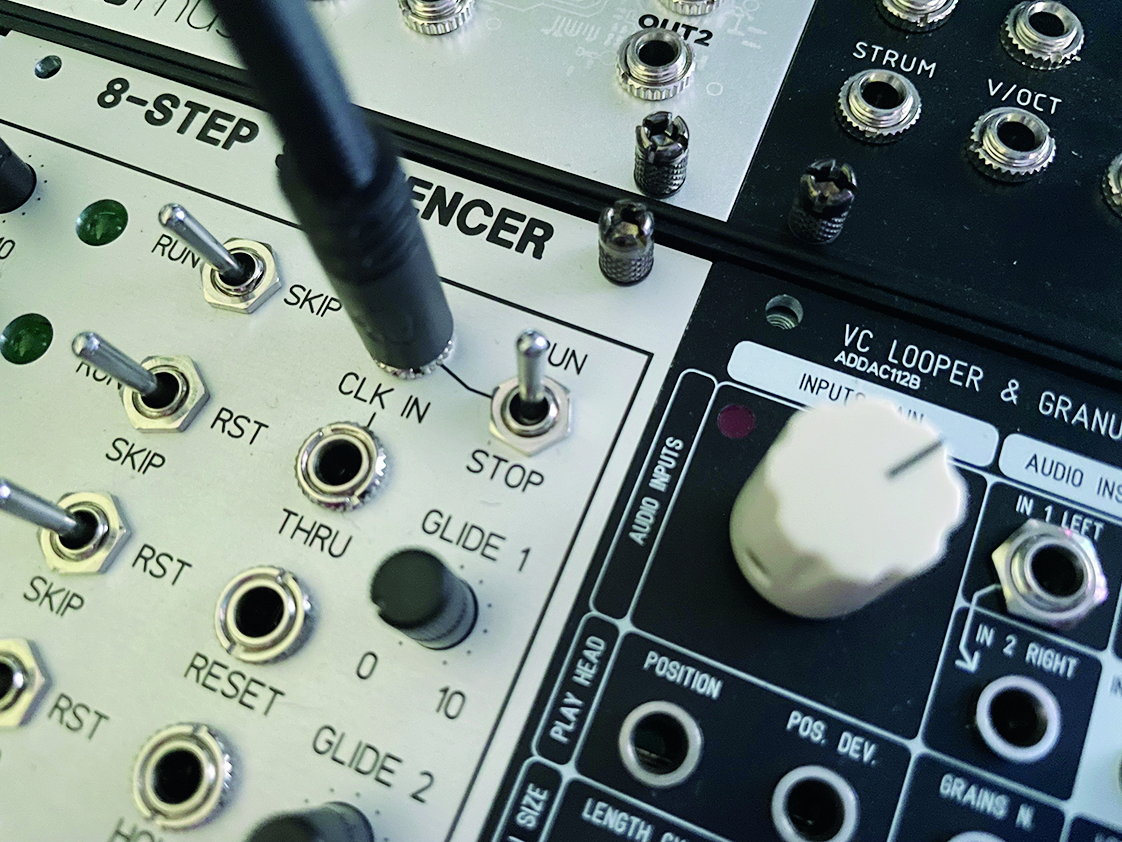
Step 4: You may want to stop the sequence for part of a track but if you are using a master clock you may well need that to continue. Luckily the Wavefonix has a run/stop toggle, so you can independently switch it off without affecting the rest of your patch.
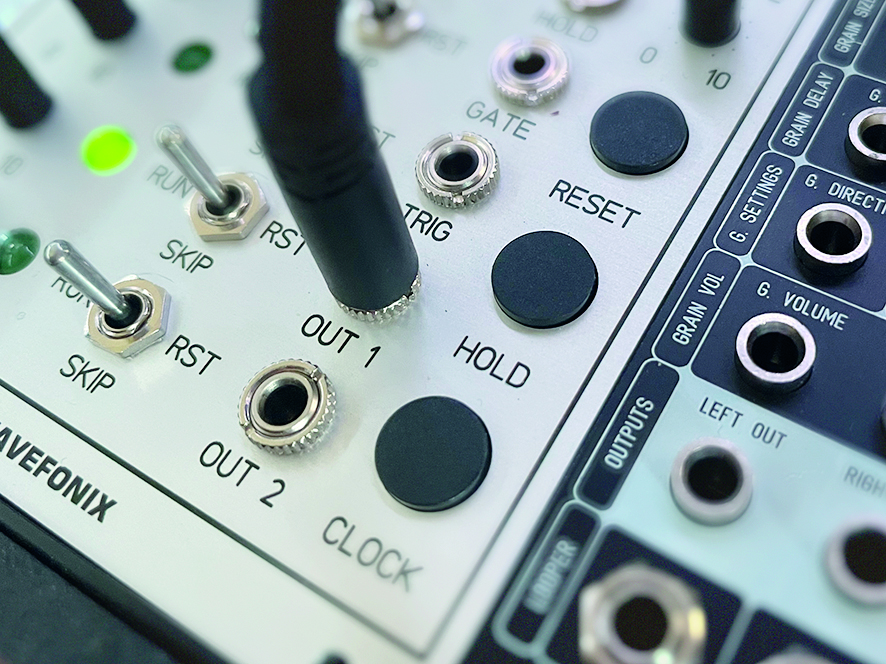
Step 5: Another useful performance feature that this style of sequencer has is the hold function, which acts to repeat a step, in time, for as long as you hold it. This is useful for basslines, where we can hold a note for a big drop. The reset button enables a restart from step 1, without individual toggles.
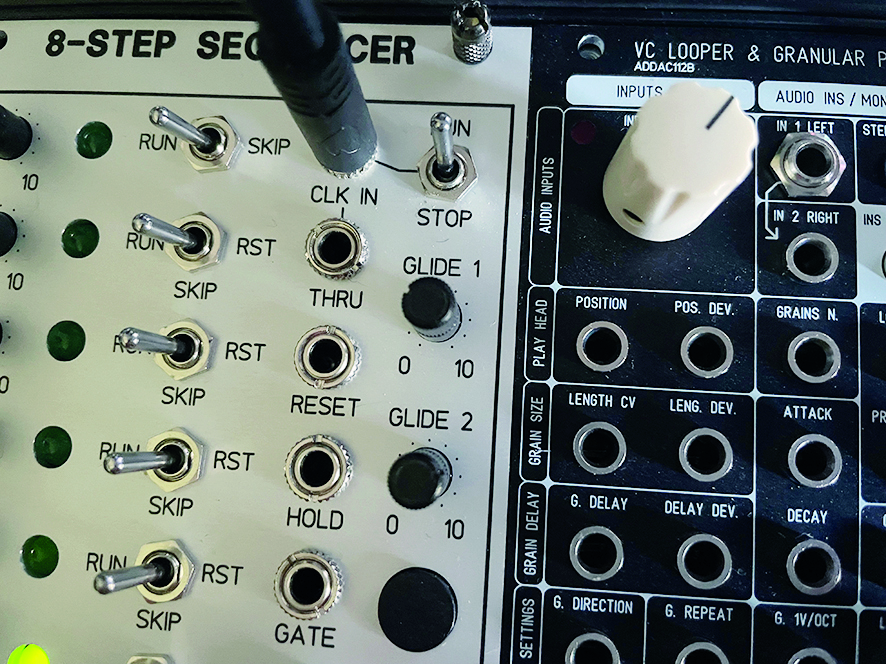
Step 6: This module has two sequence outputs, which share the settings, except for glide. Having a per-output glide means you can drive to voices differently, getting a crisp precise lead and a nice squelchy bass that share pitch and timing information (other musical options are available).
Get your jam on with Metropolix
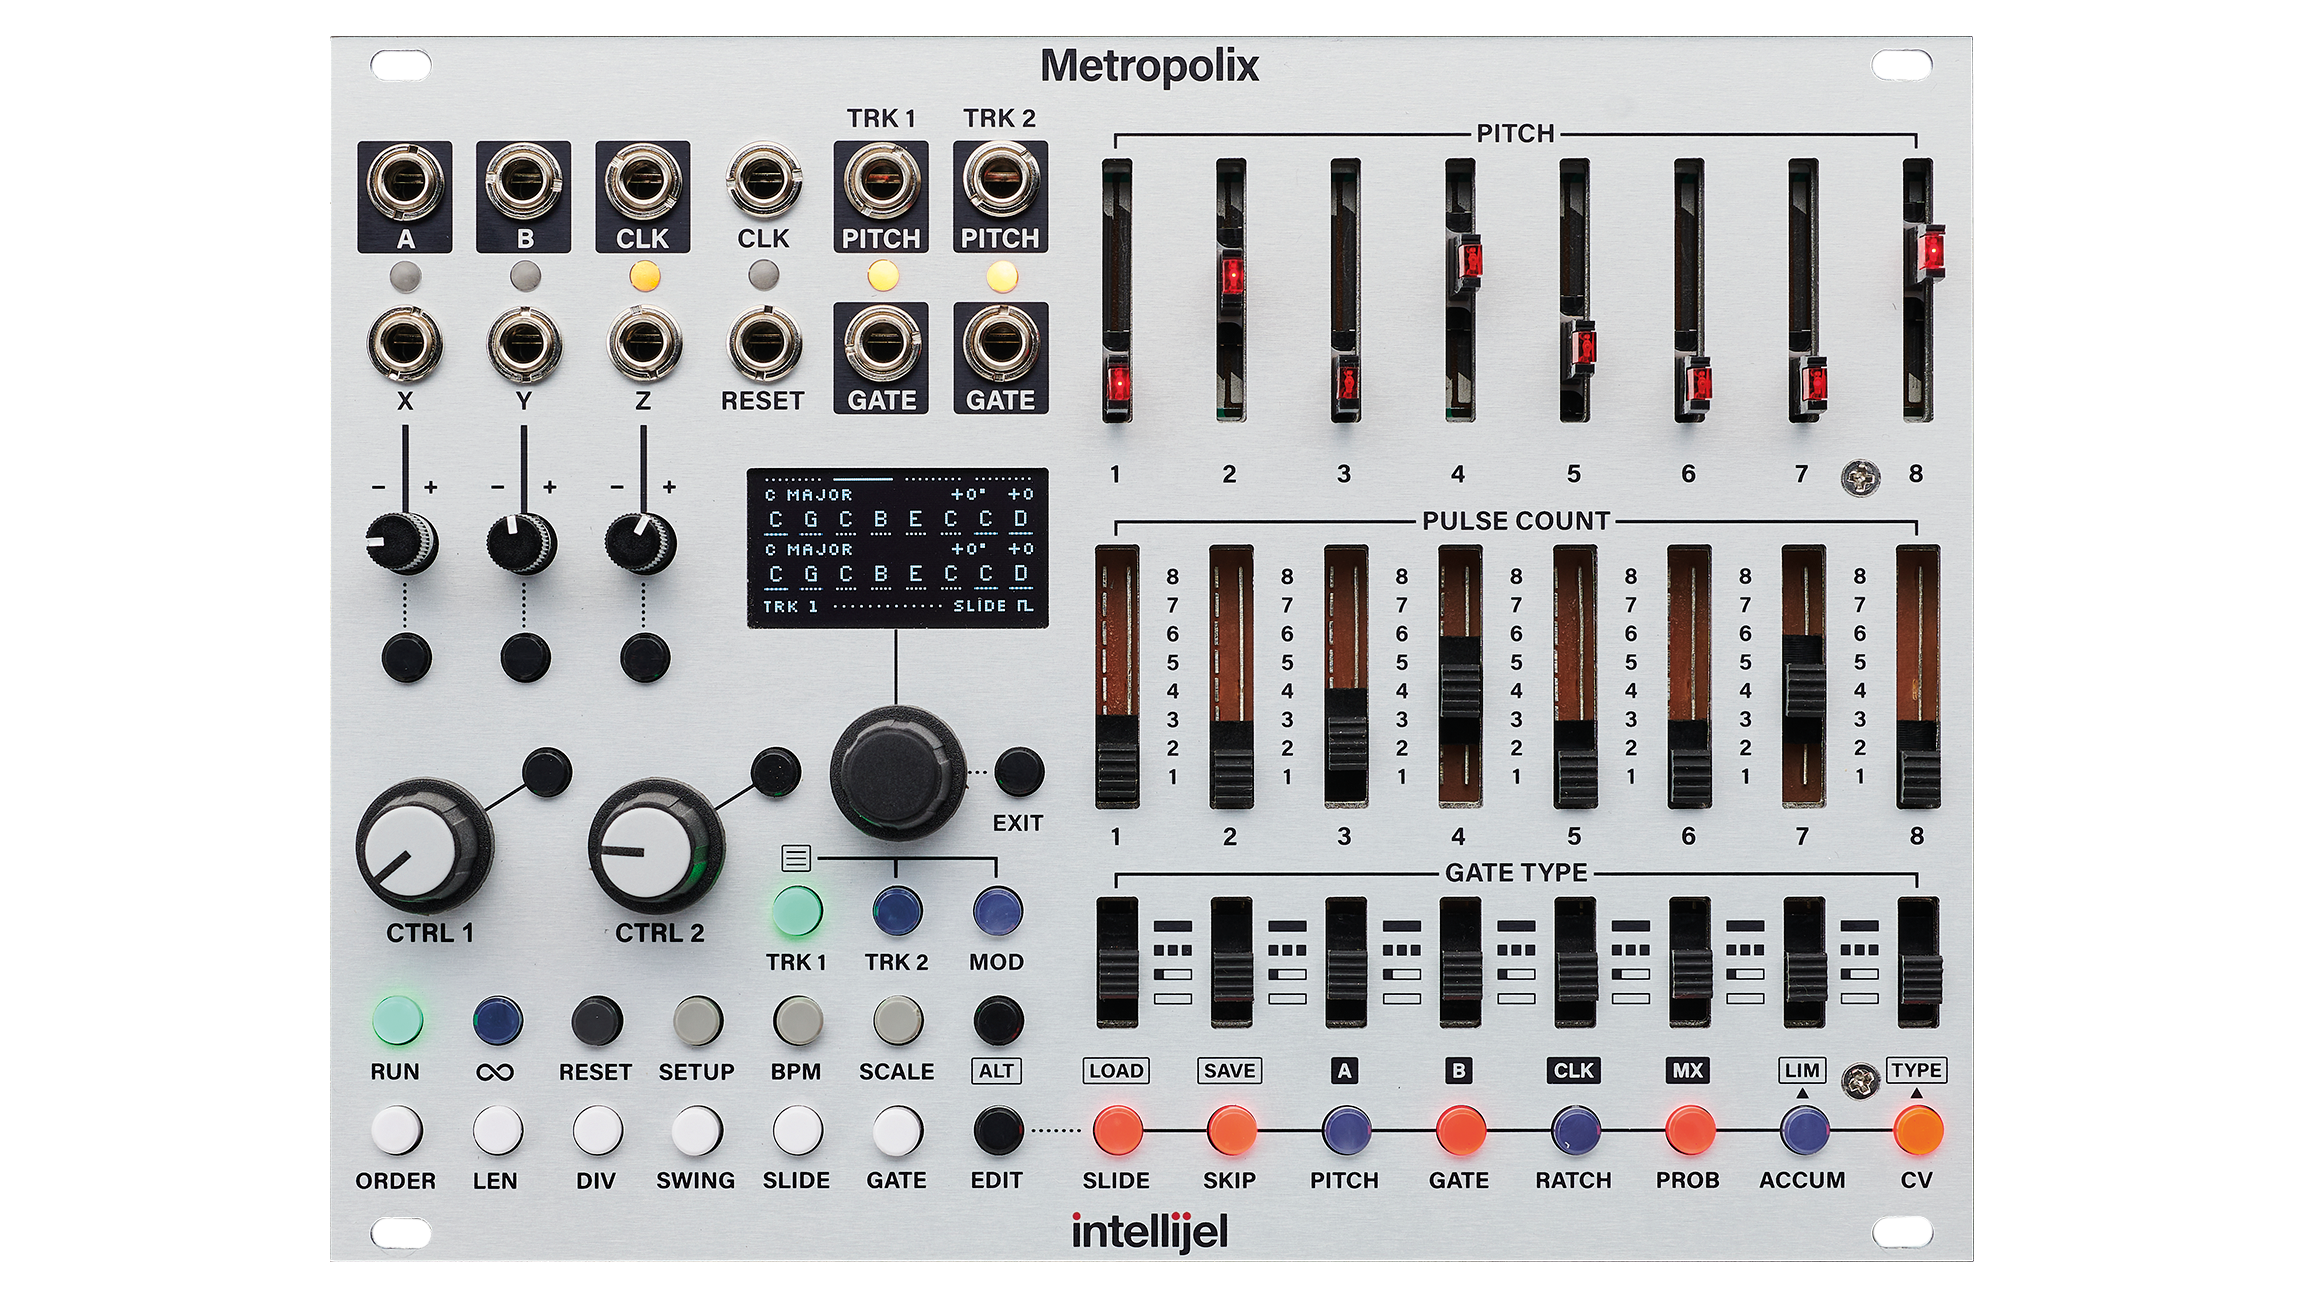
The popular update to their original Metropolis, the Metropolix has two tracks, endless opportunity for experimentation on the fly and the accumulator is the best innovation to hit sequencing in years. Let's see how to get a quick jam going with this next-level sequencer.
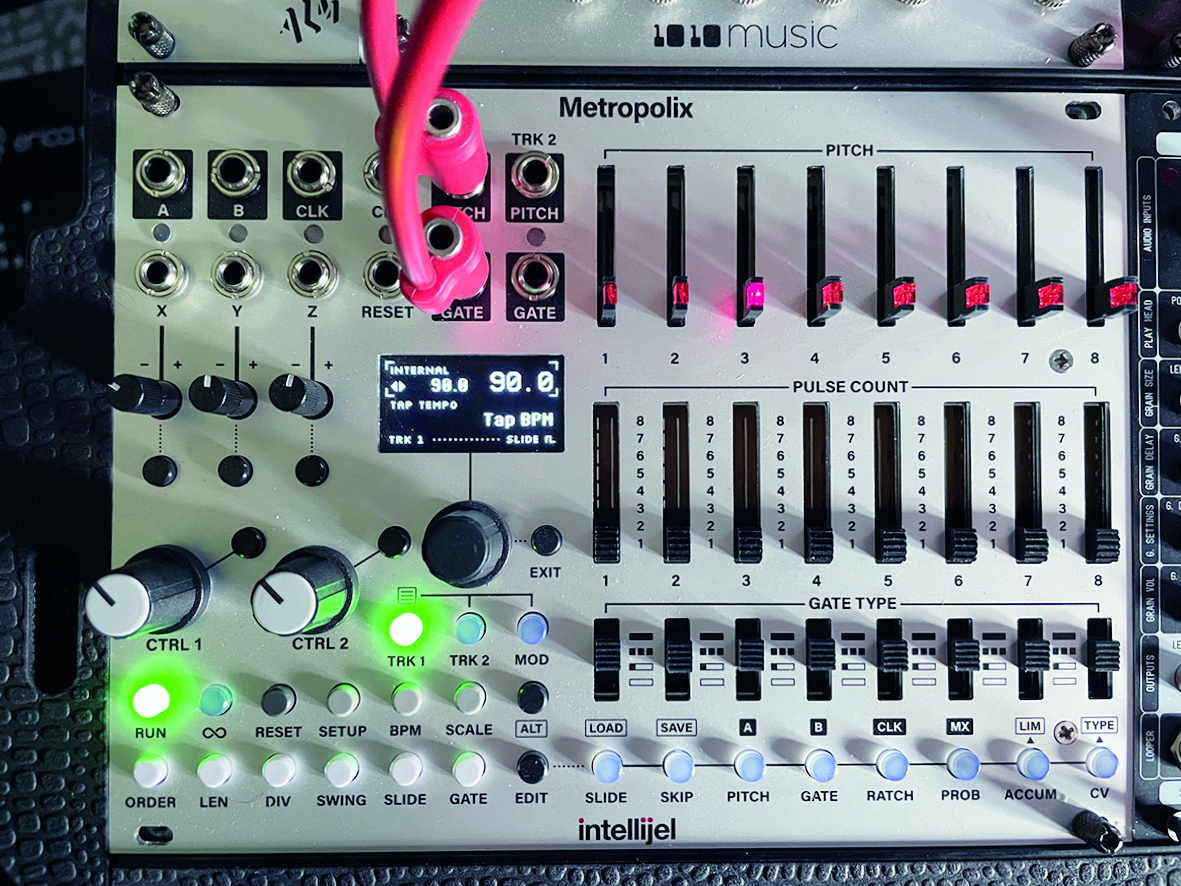
Step 1: We decided to take a look at using a sequencer as more of a jamming tool and the perfect choice for this is Metropolix, which has a few features that make it perfect for more playful interactivity. We started off by resetting it, moving all the sliders to their bottom positions and deactivating any modulation.
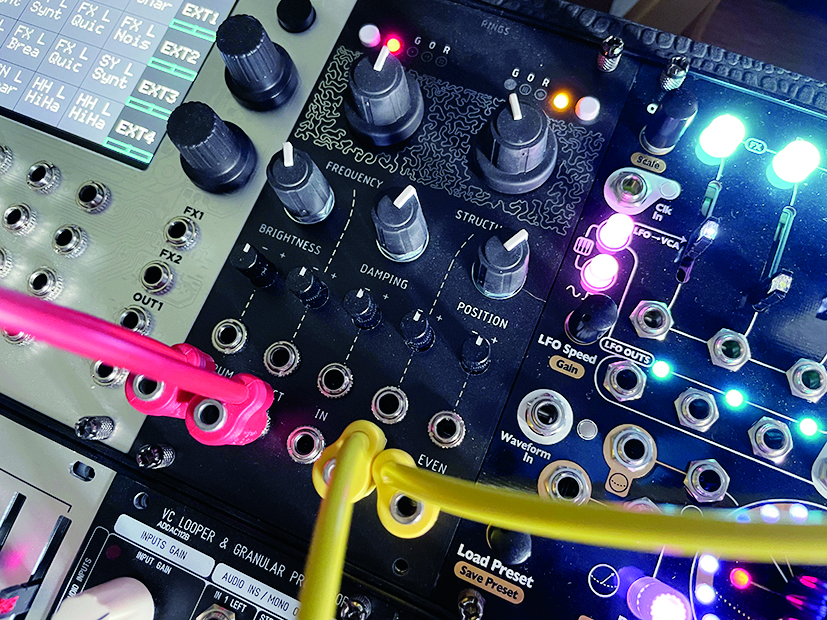
Step 2: Next up we chose a scale (Mixolydian in our example) and set a few notes using the sliders. Pitch and gate were sent to Rings, which was in sympathetic strings mode. We ignored any modulation of Rings, to really focus on the sequencer. We did add a touch of reverb in Logic to add some space.
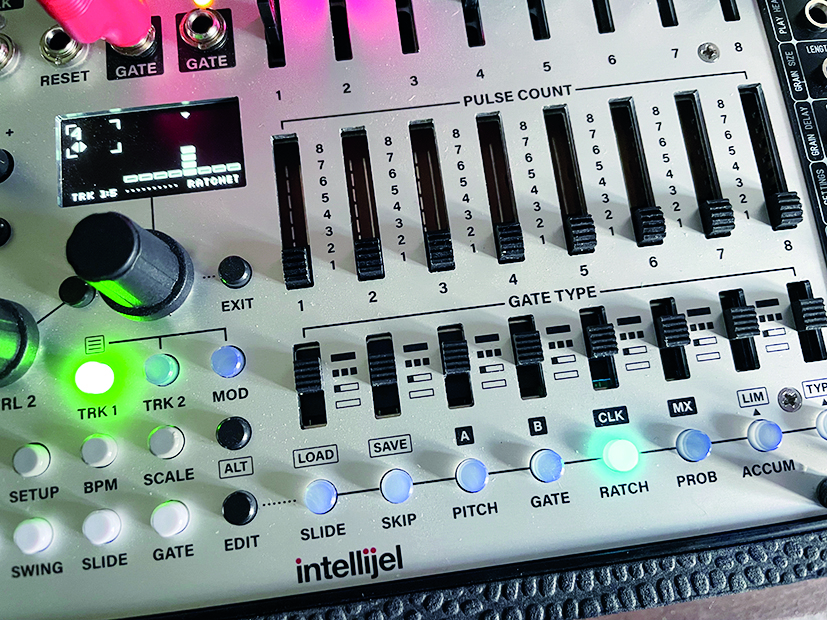
Step 3: To add a little ratchet to our fifth note, we pressed edit and ratchet, then the fifth button, turning the main encoder to set the number of ratchets. In this example we used three, for a total of four notes played in that one step.
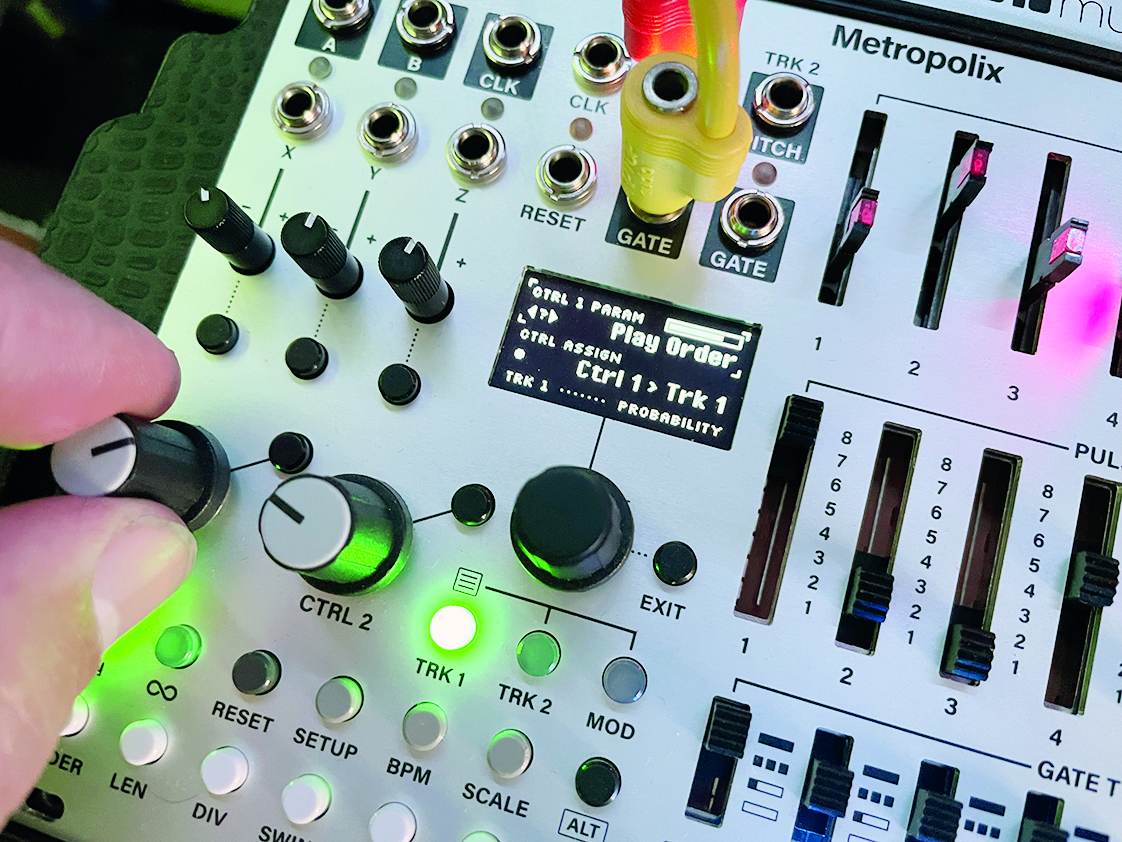
Step 4: Many sequencers have features that enable you to break the repeating pattern for extra musical interest. One such would be the ability to change the play order of sequenced notes. We can choose to reverse or randomise the sequence, which keeps things fresh, while staying synced and in key.
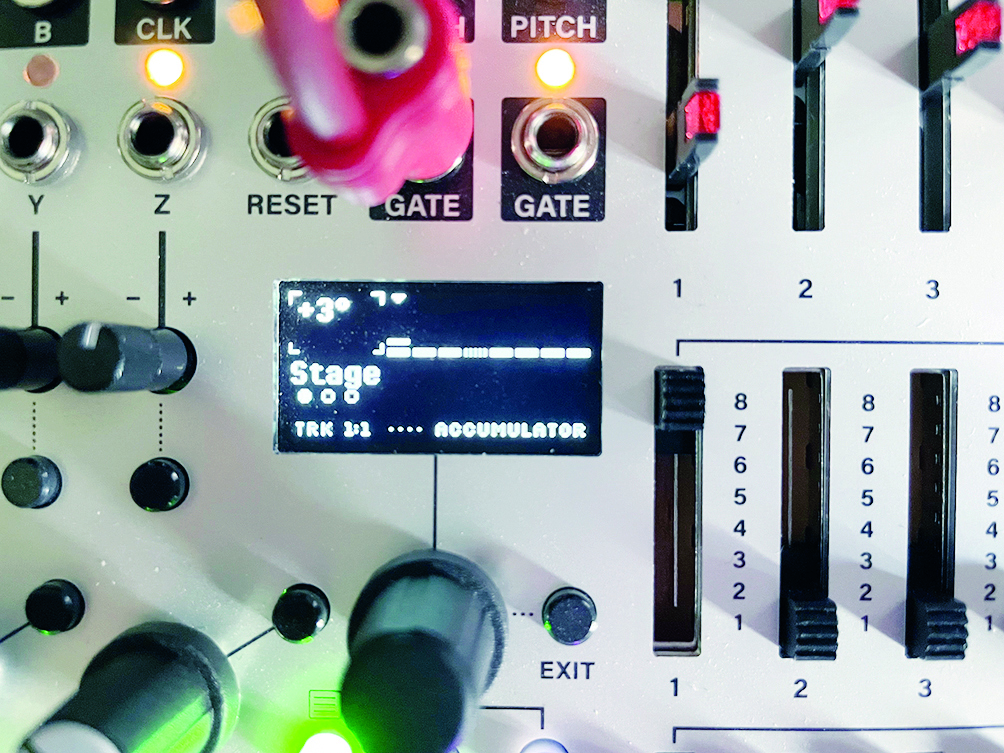
Step 5: One of the best features of any sequencer is Metropolix’ Accumulator. Activate this with the edit button like any other mod and choose a step to effect. You can set this to take that note up or down in pitch by any amount, each time the sequence hits that step.
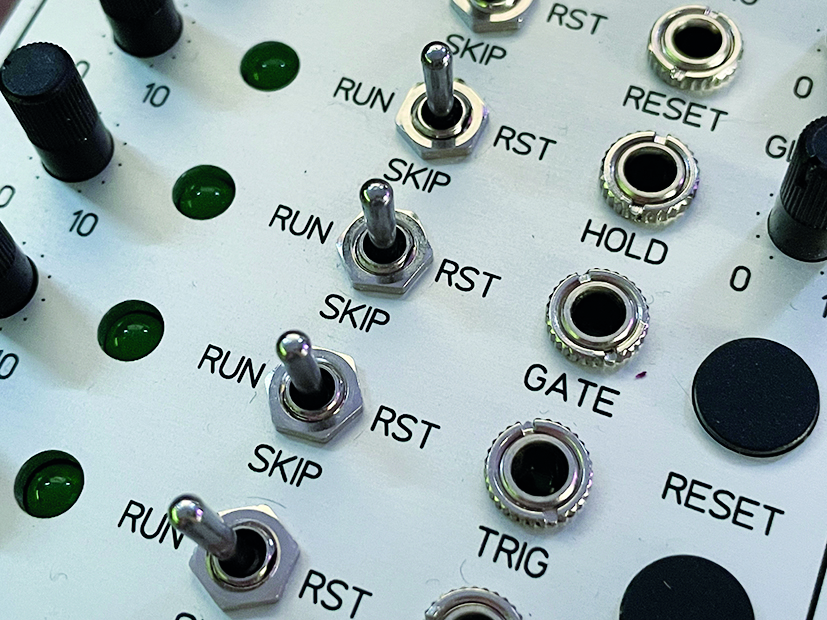
Step 6: Another way to keep the listener engaged is to vary step lengths, combine steps, or skip some entirely. This can make for very organically melodic-sounding sequences and most devices offer a way of doing this. The image here shows a simple skip switch for this purpose.
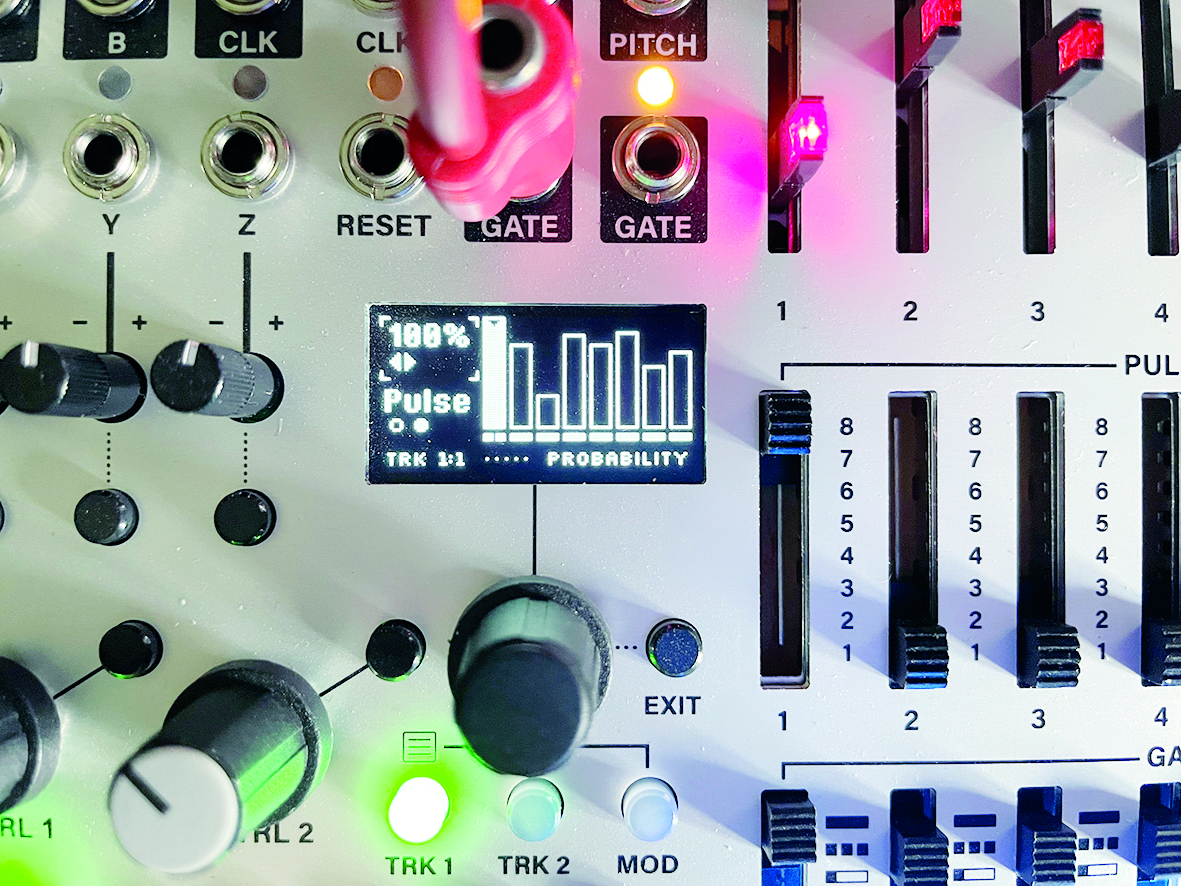
Step 7: Music can be about what isn’t played as much as what is and sequencers with a probability control make this easy. We hit edit and prob, then set random values for each step. Those values define the likelihood of that step’s gate being opened. We chose to leave step one at 100 so that ringing note always plays.
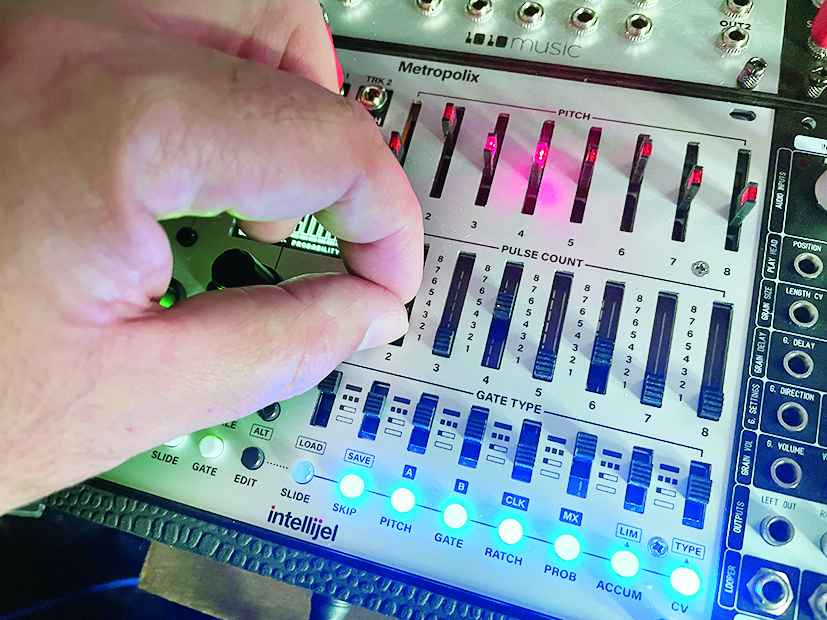
Step 8: This process has been about programming a sequence but some hardware thrives on being jammed with live, so we recommend getting hands on and tweaking things on the fly. You will either just enjoy creating or might stumble upon the core of your next hit.
Future Music is the number one magazine for today's producers. Packed with technique and technology we'll help you make great new music. All-access artist interviews, in-depth gear reviews, essential production tutorials and much more. Every marvellous monthly edition features reliable reviews of the latest and greatest hardware and software technology and techniques, unparalleled advice, in-depth interviews, sensational free samples and so much more to improve the experience and outcome of your music-making.
