
There’s never a good time for a headstock to break, and it can be surprising just how little impact it can take for it to happen.
The headstock is a weak point on many guitars, particularly ones made from mahogany, and every Gibson owner will be privy to the dangers! But why?
The headstock’s weakness can be due to a variety of factors: a change in the direction of the timber grain, weakening due to the truss rod access hole, heavy tuners and the fact that mahogany is not that dense can all be to blame.
Compared with a maple Fender Strat neck, we have a denser timber, a no-grain direction change and only that small sculpting behind the nut.
Here’s the good news, though: if it’s the first break and no one else has ‘had a go’ at it before, your guitar can bounce back to full health. Getting its looks back is always challenging, so this guide covers the ‘honest repair’ method.
A word of caution before you begin: absolutely use wood glue only - not No More Nails, epoxy or Super Glue. Nope. You have timber, so use wood glue. Our favourite for all applications is Titebond Original Wood Glue.
Right, let’s get to work…
What you need

- Titebond Original Wood Glue
- G clamps
- F clamps
- Brown parcel tape
- Clamping cauls - scrap timber to suit the guitar’s shape
- Tweezers
- Damp rags/ blue roll
- Water mister
- A guitar pick
- PH1 screwdriver
- 10mm spanner
Step 1

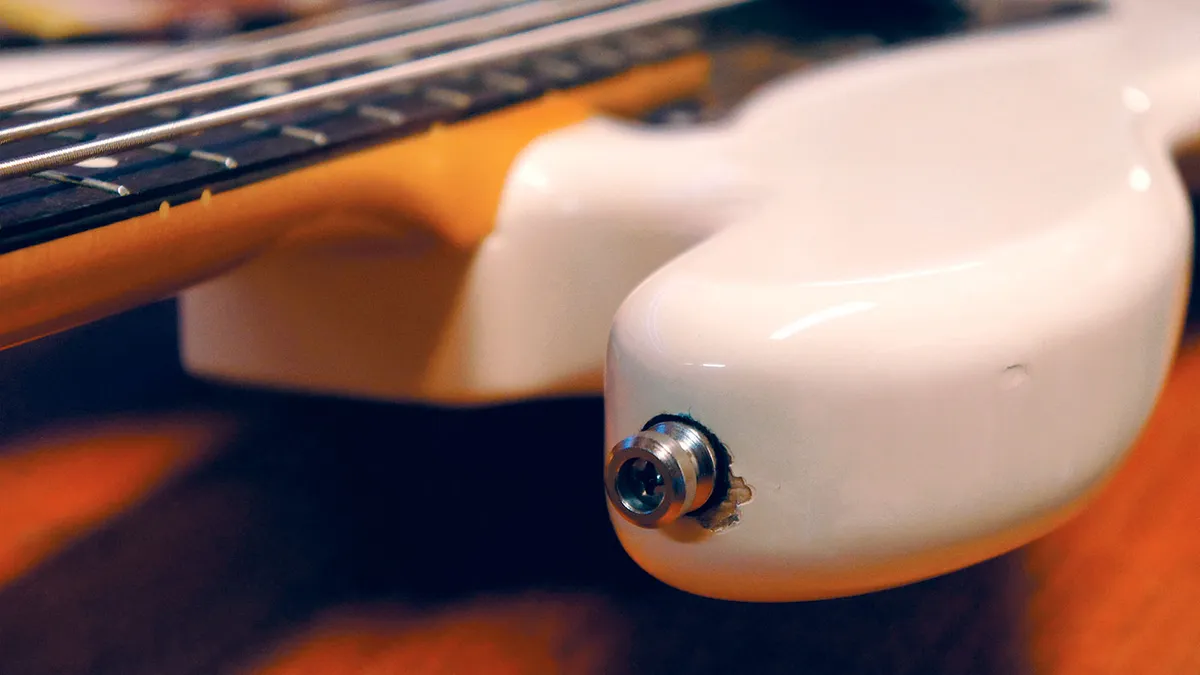
Let’s get started - we’ve got nothing to lose! First, let’s strip off the tuners and old strings; they’ll just get in the way. Also, the tuners’ weight can skew the glue job as it’s drying.
Stash all the parts so they don’t get lost, and if the nut will come off easily then take that off, too.
Step 2

In our case, the guitar headstock was hanging on by a few fibres only! This meant that we’ve finished the break off to get a clean look at it. Each break will be different, of course, but when we tried to close up the gap, the headstock face split apart - nasty. Let’s have a look at the surfaces and get prepping.
Step 3

We’ll need to get the two pieces fitting together as perfectly as possible with no air gap in-between the two rough edges. These splinters are going to get in the way, so we’ll pull them away with tweezers. Look out for splinters and deformed pieces of timber that will stop this two-piece puzzle going together correctly.
Step 4

This was useful to us in this repair job: a wooden block shaped to the headstock tip and then faced in rubber. This allowed us to knock the headstock with a hammer to test-fit the parts together! Be aware that your break might not require a large amount of force, though.
Step 5

Our dry run is working out great - this is a no-glue test run. Running your fingertips over the join means you can inspect how well it’s fitted. Be aware that you may have to settle for not-quite-perfect. We have a 0.1mm lip on the edge of the lacquer to deal with, but that’s fine.
Step 6

Still in the testing and prepping phase, let’s get our clamps and cauls organised. We’ll be using two G clamps; they offer more than enough pressure for this job.
The clamping cauls we’re using are nice and thick and faced in brown parcel tape - no glue will stick to those. Check they’re the right size and they will work nicely for you.
Step 7

The next stage will involve a small amount of panic and probably swearing, so let’s try and get ourselves ready!
Cauls prepped, clamps selected, damp blue roll pre-squirted for clean up - keep the mister handy. Our weapon of choice is proper wood glue, Titebond Original. Use your finger to apply glue to the two surfaces.
Step 8

As we’ve prepped everything like crazy, the two parts will go back together just like in the dry run.
What you want is a nice fit with plenty of squeeze out glue - this proves that the joints are fully covered and excess glue has been expelled. Wipe away the worst of the squeeze out and check that the edge of the joints is in place.
Step 9

Bear in mind that you’re against the clock, so work quickly. Cleaning up the joint from extra glue helps get a look at it but you must avoid getting too much water into the glue joint - that will swell the open timber. It’s really important that the edges feel good - that’s where they’ll stay, after all.
Step 10

Clamp ahoy. Get those cauls in place and clamp up. Check that the pressure has not made the joint slip and, of course, we’ll get more squeeze out hopefully - that’s a good thing.
Don’t go mad with pressure as you can dent the timber. Clamping hard doesn’t mean it will be a better joint.
Step 11

Clean up excess glue with more damp rags; a little left on isn’t hard to get rid of. Store the guitar somewhere out of harm’s way and make sure that the clamps’ weight isn’t going to become a problem; they can tip your guitar over or worse pull the joint into a funny angle. Leave it a full 48 hours just to be sure before removing the clamps.
Step 12

With the clamps off you can do a clean up now. Flakes of Titebond won’t really stick to lacquer so they can be persuaded off with something dull - a guitar pick is perfect. Too stubborn? Try a light misting of water to re-moisten the wood glue then it should come off a treat.
