How to perfect a mix’s punch with pro-grade transient shaping
Add impact to your tracks by enhancing its transients - we show you how…
Want all the hottest music and gear news, reviews, deals, features and more, direct to your inbox? Sign up here.
You are now subscribed
Your newsletter sign-up was successful
MIXING WEEK: Popularised by SPL’s iconic Transient Designer, the transient shaper is one of the simplest yet most effective tools for shaping a signal’s punch and impact, usually via just two controls: attack and sustain. In contrast to a compressor, which only acts when the threshold level is exceeded, transient shaping plugins act on an input signal in a consistent way, regardless of the incoming signal level.
This behaviour often makes them a more reliable choice than a compressor for adding or removing punch, for a number of reasons. One example is mixing live drum recordings: a live drummer won't typically hit the drums at a completely consistent level, so a compressor won't shape the signal in a completely consistent way. A transient shaper, on the other hand, analyses the entire amplitude envelope of the signal passing through it, and reacts to every hit uniformly - not just those that exceed a predefined threshold.
Not only can transient shaping raise or lower a signal’s attack, but it’s also a great tool for adjusting sustain. If you’re looking to reduce a sound’s sustain, for example, you could use a gate to drop the level after a the envelope has decayed to a certain point… but gates can sound a bit truncated or obvious if not set up carefully. A transient shaper will typically give cleaner, more transparent results when used for the same job.
Article continues belowNow let’s take a closer look at some of the great ways we can add punch and power to a signal with transient design.
For more mix-improving tutorials and advice, check out the full Punch & Power cover feature in the June edition of Computer Music.
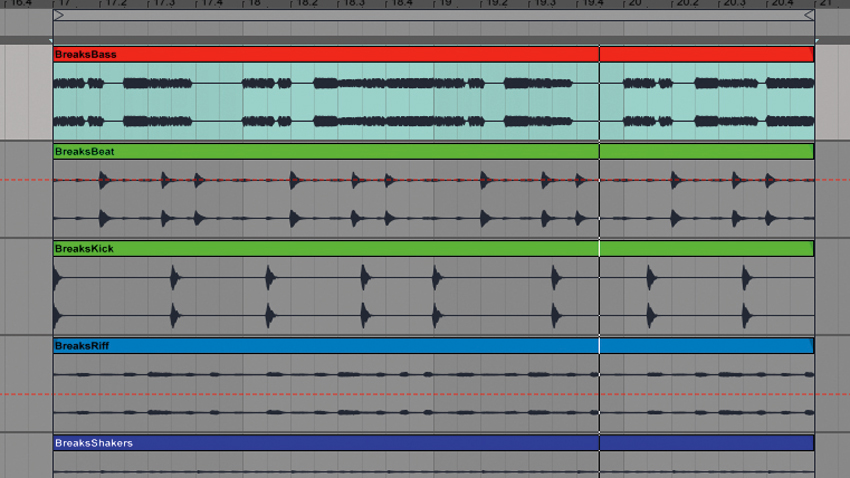
Step 1: Transient shaping is a great way of adding punch, power or tightness to individual parts in the mix in a more precise manner than compression - let’s see how it’s done. To follow along, import the files beginning “Breaks…” onto audio tracks in any DAW (click here to download). First, we’ll add some punch and body to the drum break using Melda Production’s MTransient.
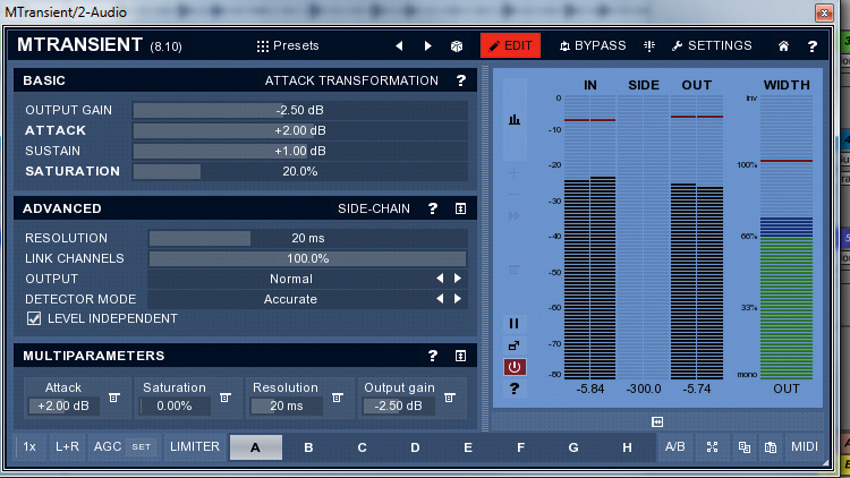
Step 2: Call up MTransient on the BreaksBeat channel, then hit the Edit button to start tweaking. Push the Attack up to 2dB with the Sustain at 1dB - this brings out the drum break’s punch and body. Next, push the Saturation up to 20% to excite the transients a little more, and set the Output gain to -2.5dB to match the wet and dry levels.
Want all the hottest music and gear news, reviews, deals, features and more, direct to your inbox? Sign up here.
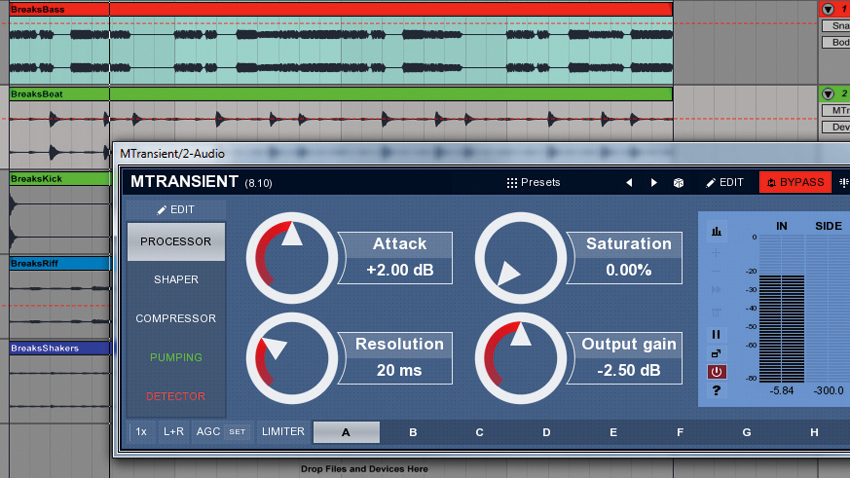
Step 3: Now we’ve processed the drum break, try bypassing MTransient a few times to hear the difference it’s made. You’ll notice that the break sounds more focused, with a punchy and thickened snare, while leaving room in the mix for other elements to become apparent. Let’s turn our attention to beefing up the bass using SKnote Snap, from CM Plugins.
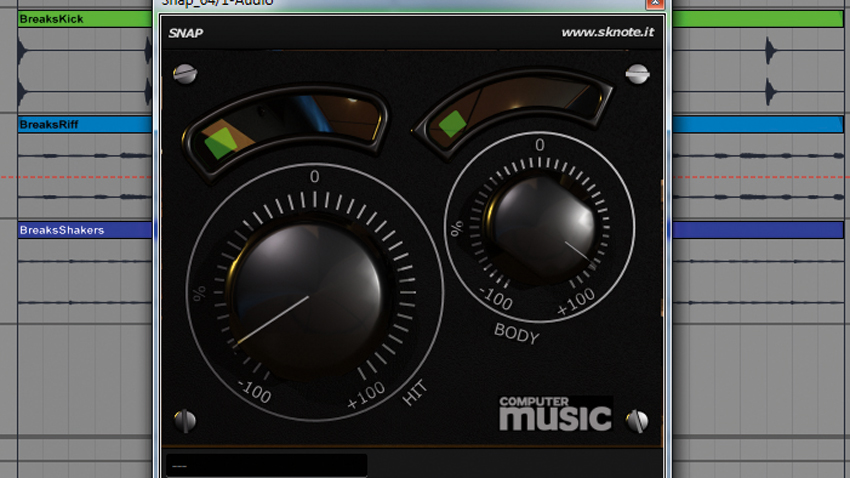
Step 4: Load Snap onto the BreaksBass channel, then set the Hit dial to around -80. This dulls the attacks of the bass notes, freeing up some midrange space in the mix for the synth riff and drums to come through. Push the Body dial all the way to +86 to give the bass extra sustain and grunt.
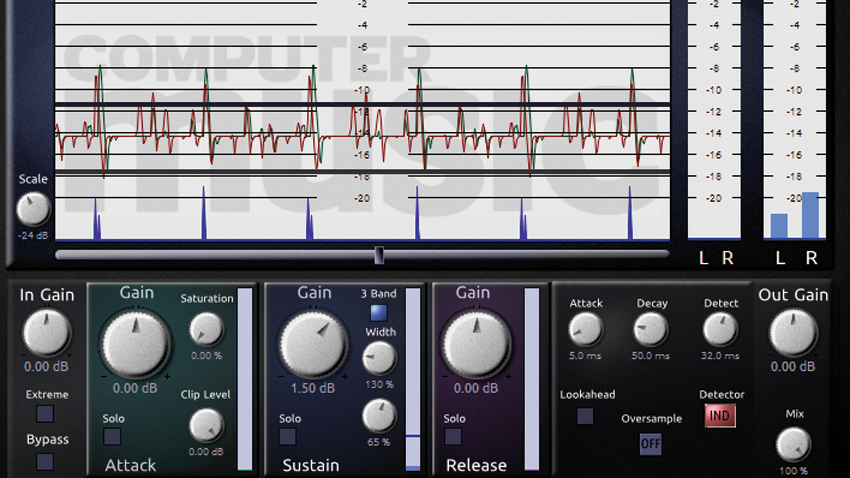
Step 5: Now we’ve added some punch to the drum break and fattened up the bass, we’ll use LVC Audio’s Transector CM to add density to the high-mid frequencies by bringing out the shaker loop’s sustain. Insert it onto the BreaksShaker channel, with a 1.5dB boost applied to the Sustain gain. Pushing the Width control to 130% will make the stereo spread louder, adding width to our drums.
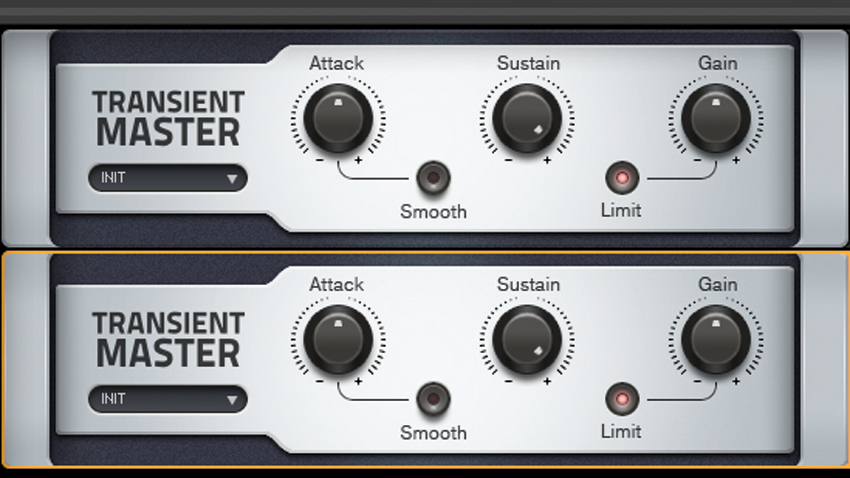
Step 6: Transient shaping is also ideal for creative dynamics manipulation tasks, such as adding synth-like release effects to a track’s static synth riff. Add two instances of any transient shaper (we’re using NI’s Transient Master) to the BreaksRiff channel, then assign both Sustain dials to a single MIDI knob; turning that dial will make the riff swell just like pushing a synth’s amp release to maximum.
MusicRadar's Mixing week is brought to you in association with Softube. Check out the Mixing week hub page for more mixing tutorials and tips.
Computer Music magazine is the world’s best selling publication dedicated solely to making great music with your Mac or PC computer. Each issue it brings its lucky readers the best in cutting-edge tutorials, need-to-know, expert software reviews and even all the tools you actually need to make great music today, courtesy of our legendary CM Plugin Suite.
