How to get the most out of the Novation Peak
Peek under the hood to master this powerful synth
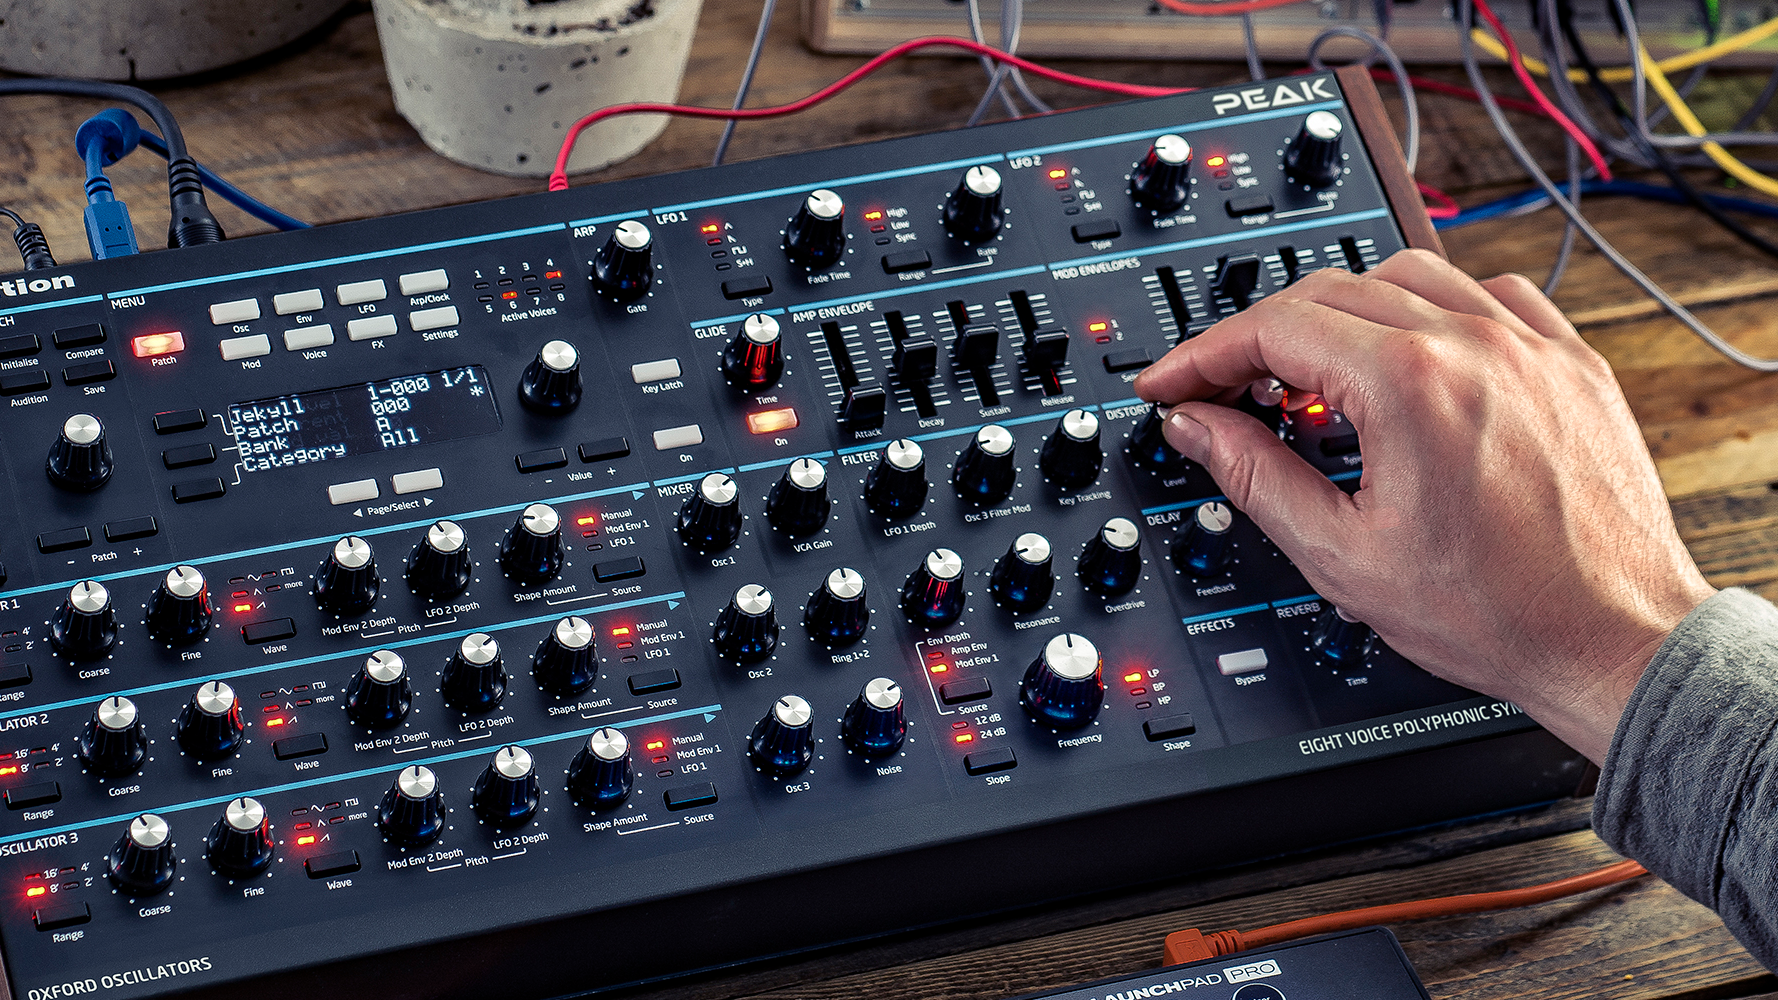
Novation Peak has generated a serious buzz in the synth community by combining its innovative Oxford oscillators that deliver analogue-grade resolution with a fully analogue signal path, as well as modulation options such as polyphonic aftertouch and a pair of Animate buttons capable of real-time patch morphing.
With a front panel packed full of familiar controls, Peak gives you direct access to these and many other important functions. But digging deeper into the synth unveils a world of functionality that sets it apart from many modern polysynths. This month, we’ll investigate those options.
Oscillators
Peak’s architecture runs digital oscillators through fully analogue filters and VCAs, followed by a digital effects section. While combining digital oscillators with analogue filters is a time-honoured approach (the classic PPG and Prophet VS both employed this architecture), Novation’s new Oxford oscillators are capable of a high level of detail, thanks to digital-to-analogue converters that operate at 24 MHz. A full examination of this technology can be found on the Novation website.
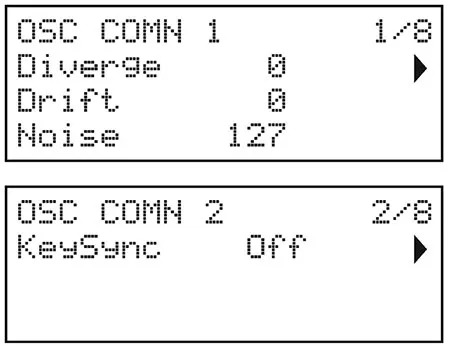
Before we get into their tone-shaping features, it’s worth examining the parameters that give Peak’s oscillators their surprisingly analogue flavour. These are located in the Common Oscillator pages and they affect all oscillators equally within a given patch (see Figure 1).
Diverge. Many of the classic analogue polysynths were based on a set of multiple monophonic voice cards, each with an identical synth that was assigned to notes as they were played. Because the voice cards were discrete entities, individual tuning (and filter) discrepancies were inherent. Peak’s Diverge parameter lets you dial in the amount of variation for every note played. Extreme values add a convincing old-school flavour.
Drift. As synths age, oscillator tuning often exhibits a small amount of deviation, even over the course of a single note as if there was a slow LFO modulating pitch by fractions of Hertz. The Drift parameter simulates this effect, further decreasing the tuning coherence of a given oscillator.
Key Sync. Unlike fully analogue units, early digital synths often restarted their oscillator waveforms from the same phase point, giving every note a sameness that was often identified as sounding sterile. Turning Key Sync off switches the oscillators into free-running mode, for a more authentic analogue vibe. The downside is that phase is no longer locked, so that sound is largely a matter of preference.
Want all the hottest music and gear news, reviews, deals, features and more, direct to your inbox? Sign up here.
Timbral options
Peak’s standard analogue waveforms (sine, triangle, saw, and variable pulse) include shaping controls that allow precise timbral adjustments in addition to traditional pulse-width modulation. A fifth selection, labelled More, accesses 17 wavetables that extend their tonal range considerably. This shape parameter also accepts front-panel modulation from either Mod Envelope 1 or LFO 1, and if you dig into its matrix, you can assign other envelopes or LFOs to create more complex harmonic shifts.
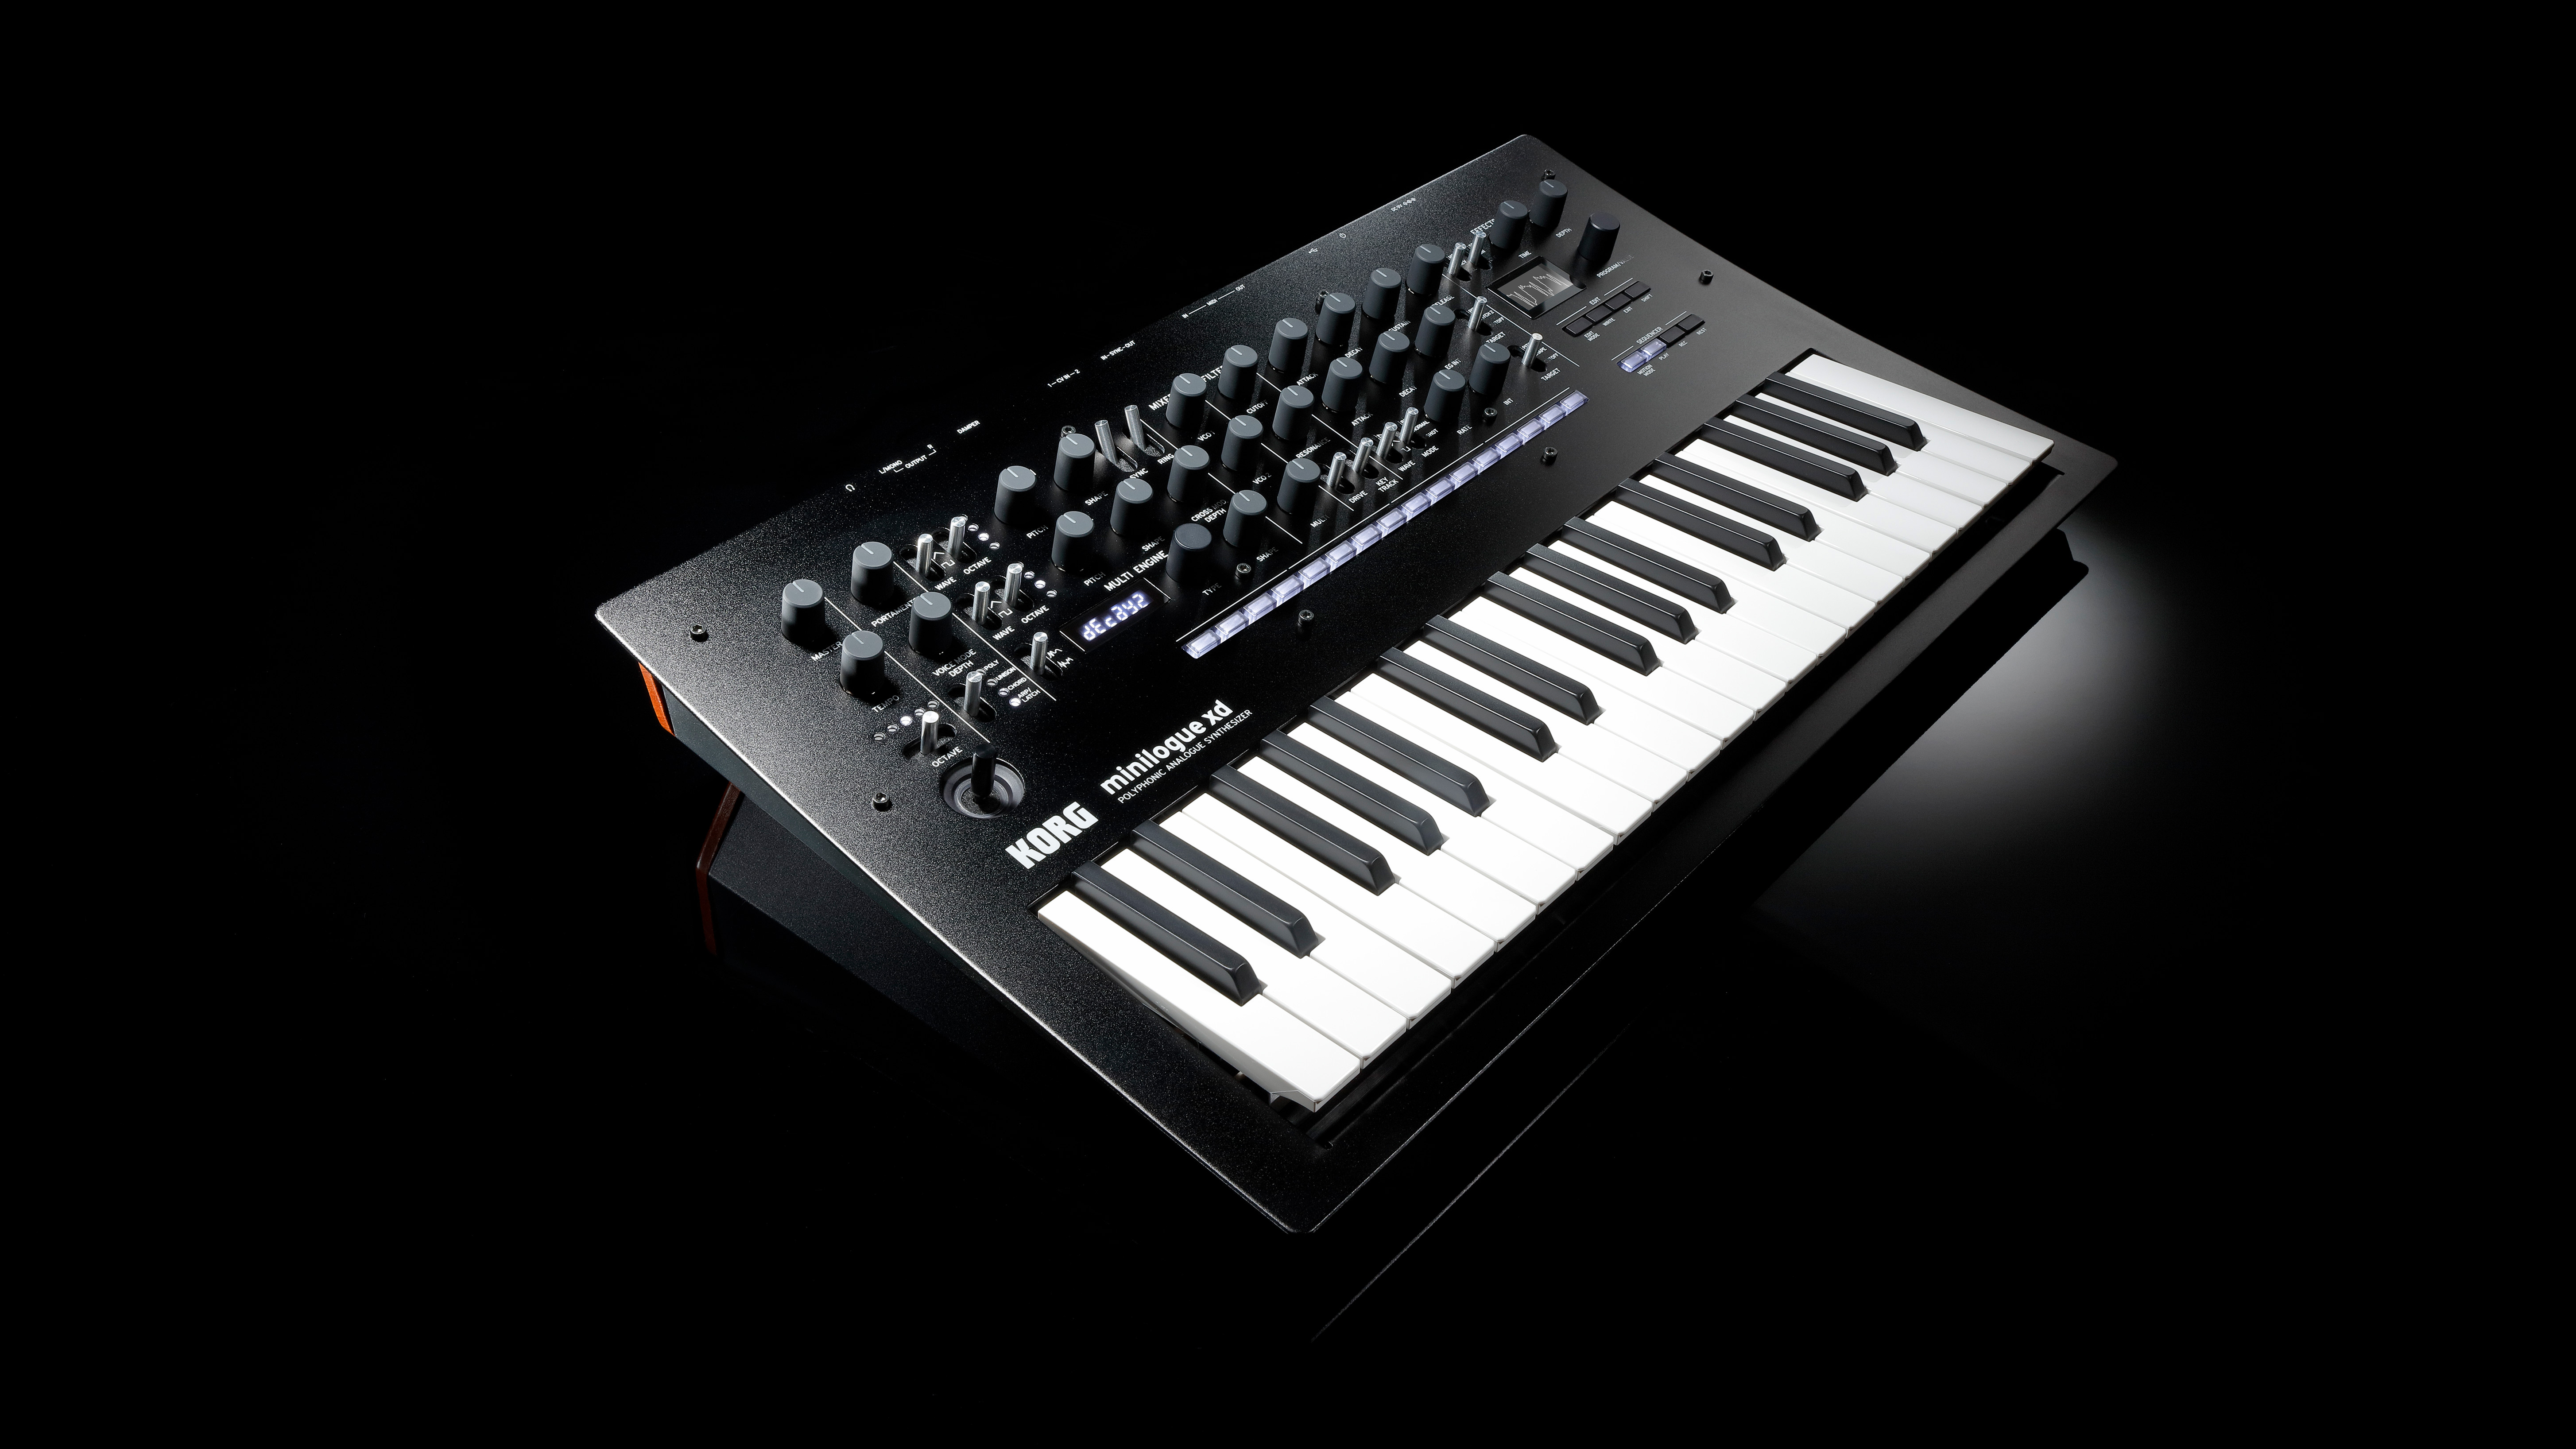
The 18 best synthesizers 2020: keyboards, modules and semi-modular synths
Pro Tip: As with filter envelopes, it’s important to pay attention to release times when applying the envelope to wave shape. If the release time is significantly shorter than the amp envelope’s release time, you’ll hear a sudden jump in timbre on releasing a key, which can itself be useful for adding transients to note-offs, much like that of a harpsichord tone.
Vsync. The absence of a front-panel oscillator-sync button can be annoying to savvy synthesists, but Peak’s implementation is actually more flexible for many applications. Within each oscillator is a Vsync parameter that offers an independent virtual oscillator that can be used to retrigger the wave cycle, just like traditional hard sync. This parameter controls the tuning of the virtual oscillator, so if you’re looking for old-school sync sweeps, just apply an envelope to it within the mod matrix.
Pro Tip: Within a single oscillator, try applying two different modulation sources to wave shape and Vsync. Then apply similar techniques to a second oscillator. Combined, these shifting timbres are striking. Additionally, you can reinforce the fundamental or bass of these patches by setting up the third oscillator as a single sine wave.
Sawtooth Density & Detune. While the feature is only available to the sawtooth wave, this is the parameter that delivers that “EDM power chord” effect. Peak’s implementation stacks three sawtooth oscillators and facilitates extreme detuning. Because it is available discretely on all three oscillators, with a bit of planning you can get up to nine detuned sawtooth waves on a single voice, without resorting to unison.
Pro Tip: For rich, evolving pad textures, use a single detuned saw on one oscillator, while using the other two for slowly modulated shapes or Vsync, then adjust the filter to taste.
Fixed Note. This parameter turns off keyboard tracking, so the oscillator plays the same pitch across the entire keyboard—handy for adding transients to percussive sounds. Here, the secret is to apply one of the mod envelopes to that oscillator’s volume with a very fast decay, no sustain and immediate release.
Bend Range. Each oscillator includes its own pitch-bend range parameter, which facilitates wild THX effects and big room “rises.” This parameter has a four-octave range (±24 semitones in either direction).
For chords, set the first oscillator’s bend range to 0, the second oscillator’s bend range to +3 or +4 (minor and major thirds, respectively), and the third oscillator’s bend range to +7 (a perfect fifth). Pushing the pitch bend wheel up to maximum will then result in a three-note chord “bloom,” which is impressive for both techno and rock leads.
You can also use octaves if you want to re-create the iconic THX sweep. This is accomplished by setting the bend ranges as follows: +7 for oscillator 1, +24 for oscillator 2, and -24 for oscillator 3. Now when you pitch bend upward, the three-note spread will be two octaves up, two octaves down, and a fifth up. Adding delay and reverb to this configuration completes the effect.
Mixer
In addition to oscillator blending, Peak’s mixer includes a few more options such as ring mod for oscillators 1 and 2 and a noise source. The noise spectrum can be further tailored with an integrated lowpass filter accessed in the Oscillator Common pages.
Additionally, the mixer’s internal headroom allows for clipping effects if desired. Some users may avoid it, while others will see it as a plus. Either way, it’s available and noteworthy.
There’s also a master VCA in this section that can be used to maintain consistency between patch volumes, as well as interacting with the amp envelope behaviour.
Filter
The analogue filter circuit is based on Novation’s popular Bass Station series, with lowpass, bandpass, and highpass modes that include 12 and 24dB options for each. These all behave as expected, but are set apart by Peak’s dual overdrive circuits.
The post-mixer/pre-filter overdrive is accessed from the front panel, whereas a second analogue-distortion effect, between the filter and the VCA, is available in the Voices Menu, aptly named Filter Post Drive. Note that these circuits are distinct from the distortion effect at the end of the signal chain.
The cutoff frequency of Peak’s filter can also be modulated at audio rates via oscillator 3. The best way to experiment with this feature is to use a single sawtooth from oscillator 1, with a cutoff frequency of 50% and resonance at 0, making sure that no other sources are sent from the mixer. From there, increase the amount of Osc 3 Filter Mod to max. The result will be added timbral shimmer from its frequency modulation. To experiment further, change Osc 3’s octave settings and adjust the shape knob (triangle is a great choice).
Pro Tip: Since Peak’s filter resonance will self-oscillate, adding FM from oscillator 3 with the resonance at maximum (and your speakers set at a sensible volume) is a great way to create bell-like tones.
Like the oscillators, you can emulate the erratic behaviour of old filters with the Diverge parameter, also on the Voice page, giving each voice’s filter a slightly different cutoff value.
Pro Tip: Vintage SH-101 and Juno-style sounds can be achieved by switching the filter modulation source to the Amp envelope on the front panel, a thoughtful design decision. While many of the modulation depth and routing tools (filter envelope, wave shaping, and amp envelope) are accessible from the front panel, Peak’s
Modulation
Modulation Matrix is so deep in the parameter hierarchy that we hope a software editor is in the works. Fortunately, the four-line LCD is friendly enough that you can quickly achieve patching goals with a little forethought.

It’s no exaggeration to say that virtually every sonically significant parameter can be modulated, as a quick trip to the manual will attest (see Figure 2). Of special interest is the fact that linear FM synthesis tools are also located here; each oscillator is able to modulate the next in the series, with Osc 3 looping back to Osc 1, like a 3-operator FM synth. There’s also an option to modulate the filter cutoff with noise for grungy effects.
The common MIDI control sources (velocity, mod wheel, and so on) are all available here. Of particular note is the inclusion of polyphonic aftertouch, which makes Peak particularly well suited as a companion to the Roli Seaboard line of controllers and Novation’s own Launchpad Pro. It’s hard to overstate the performance possibilities of polyphonic aftertouch when applied to timbral destinations on a per-note basis, as the results are nuanced and musical.
Peak’s implementation of synthesis modulation sources, such as its three envelopes and dual LFOs are a bit more flexible than the front panel implies, with additional features accessed from the menus.
For the ADSR envelopes, there’s a dedicated velocity-sensitivity parameter with both positive and negative values, which can be quite exotic sounding when applied as secondary modifiers for other routings.
The LFOs include the typical waveforms, triangle, saw, square, and sample-and-hold, with selectable frequency ranges, including an audio rate option that reaches 1.6 kHz for sideband effects. There’s also a dedicated Fade Time knob for delayed vibrato.
Pro Tip: By applying an audio-rate LFO to amplitude, you can simulate an additional ring modulation source, as the two effects are closely related.
The front-panel LFO options just scratch the surface of what Peak offers. Secondary options, such as the ability to invert the fade time for decayed effects (which sounds spectacular with audio-rate modulation), can create a burst of timbral change at the beginning of a note. Digging further, you can also adjust the slew of the LFO, which functions a bit like glide on a keyboard. That is, increasing the slew value of a square wave will soften the transitions, adding a sine-like curve as the waveform reaches its extremes. Applying Slew to a slow sample-and-hold waveform, which has been routed to waveshaping, is a great way to add drift-like characteristics to the timbre of a patch.
LFO phase can also be freely adjusted and even synced to tempo in Common mode, which makes it monophonic in the context of polyphonic patches. This is essential when re-creating Deadmau5’s trademark eighth-note sawtooth filter pulses, as adding additional notes to chords won’t desynchronize the rhythm.
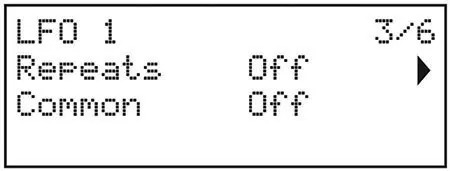
Another uncommon LFO feature is Peak’s ability to set the number of cycle repeats for each LFO (see Figure 3). When set to off, the LFO functions traditionally, but turning it on lets you set the number of repetitions from 1 to 127. Trivia buffs take note: The famous 808 handclap begins with three quick sawtooth repetitions applied to the noise volume. Apply that technique, in addition to a bandpass filter, and you’ll be pleasantly surprised by the similarity.
Pro Tip: Setting a sawtooth LFO to a single repeat, with 0 degrees of phase, allows it to be used as an additional rudimentary envelope, with rate controlling the decay time (faster rates equal shorter decays). This technique is also good for adding transients to patches without sacrificing an envelope.

The innovative Animate buttons on Peak’s front panel offer instant parameter transformations by way of the modulation matrix. At their simplest, you can use them to toggle LFOs or momentarily introduce ring modulation as you perform. But if you map multiple parameters (like filter cutoff, wave shape, and envelope decay) to a single Animate button, you can momentarily switch to a drastically different patch with a single button. While this feature is deceptively simple, it’s packed with potential.
Pro Tip: Setting both Animate buttons to different amounts of synced LFO-rate modulation lets you quickly switch between note values. This is great for performing syncopated dubstep “wubs.”
Effects
Peak’s effects section offers four effects that will be familiar to most users, distortion, chorus, delay, and reverb. Here are a few highlights of Peak’s implementation:
Although distortion is fixed at the beginning of the chain, the three delay-based effects can be reordered in six different serial configurations, as well as parallel.
You can use the chorus for flanging effects by increasing its feedback.
Increasing the chorus highpass-filter cutoff allows it to be used in bass patches without creating unwanted phase artefacts in the low-frequency range.
Lowering the delay’s LP Damp value is useful for analogue-and tape-echo effects, whereas increasing its HP Damp value thins out the repeats. In combination, these can be used for a wide variety of analogue and circuit-bent effects.
The Reverb includes its own LFO for creating lush chorused ambiences.
Electronic Musician magazine is the ultimate resource for musicians who want to make better music, in the studio or onstage. In each and every issue it surveys all aspects of music production - performance, recording, and technology, from studio to stage and offers product news and reviews on the latest equipment and services. Plus, get in-depth tips & techniques, gear reviews, and insights from today’s top artists!
