How to edit multiple MIDI clips in one view in Ableton Live 10
At last, you can now work on those beats and basslines together. Allow us to elaborate…

Want all the hottest music and gear news, reviews, deals, features and more, direct to your inbox? Sign up here.
You are now subscribed
Your newsletter sign-up was successful
Other DAWs may have had comparable functionality for years, but Live 10’s new-found ability to edit multiple MIDI clips in a shared piano roll is a huge deal when it comes to programming multitrack drum parts, beats and basslines together, or any other layered compositional elements.
In this quick walkthrough, we'll show you how easy this powerful feature is to use. For lots more Live 10 tutorial action, get your mitts on the February 2018 edition of Computer Music.

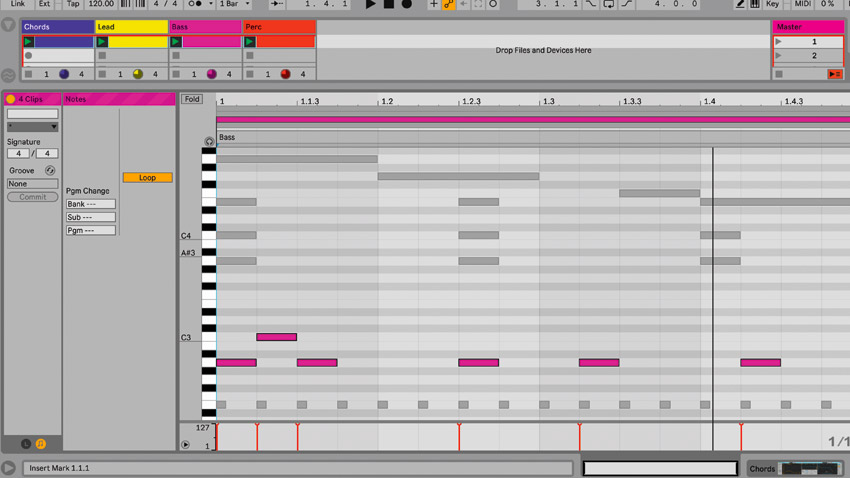
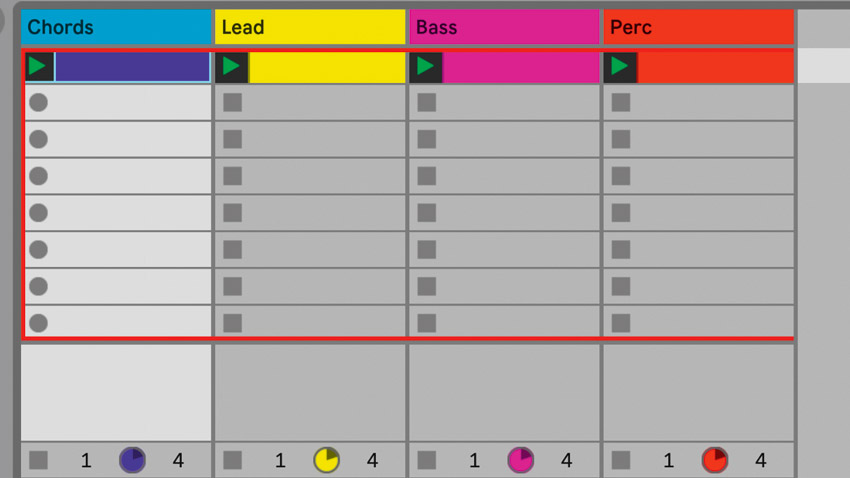
Step 1: A common complaint by longtime Live users has always been the fact that you could only edit one track’s MIDI information at once, meaning you’d have to jump back and forth between MIDI clips as you compose, say, a bassline in conjunction with a kick drum pattern. Well, complain no more, as Live 10 can now display up to seven MIDI clips on the same piano roll. Here’s a project with four MIDI channels.
Article continues below 
Step 2: If we select all four MIDI clips across the four channels, then double-click to open the MIDI Note Editor, all the MIDI notes from the four clips are shown together. Our pink Bass clip is the currently-selected one, and all the other notes are greyed out.

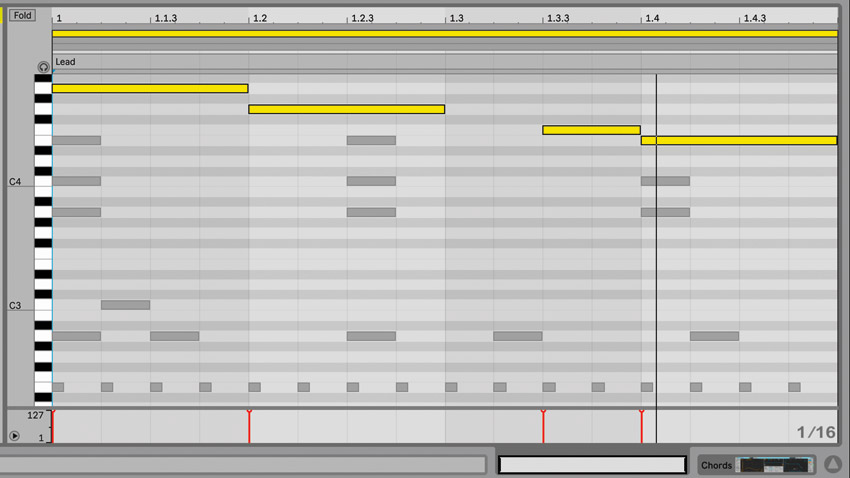
Step 3: Click a greyed-out note, or one of the coloured loop ranges at the top, to bring that MIDI clip’s notes to the front for editing - like we’ve done here with our yellow Lead part. This is useful when you’re working on multilayered melodic ideas or drum tracks, as you don’t have to jump between different channels and clips.

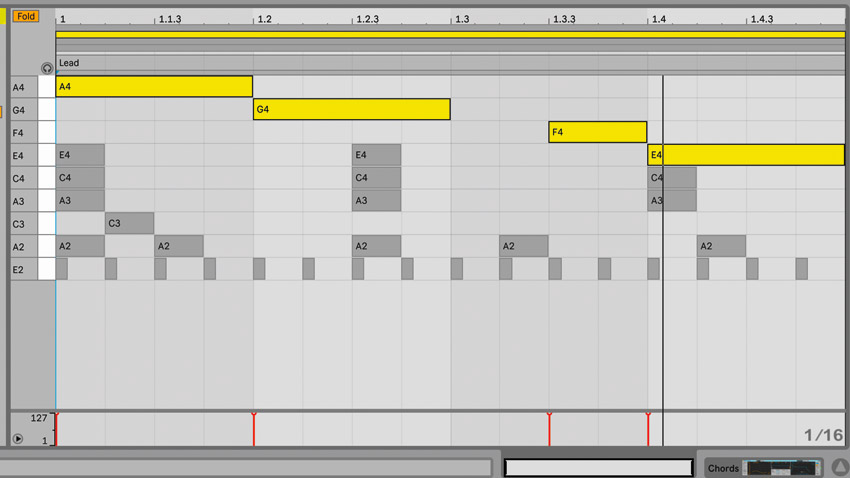
Step 4: To hide unwanted information and keep things tidy, click the top-left Fold button to show only the currently-used MIDI notes globally across the four clips. The Fold button can now be MIDI- or key-mapped, and the top left Preview (headphone) switch applies across all selected clips.
Want all the hottest music and gear news, reviews, deals, features and more, direct to your inbox? Sign up here.
Computer Music magazine is the world’s best selling publication dedicated solely to making great music with your Mac or PC computer. Each issue it brings its lucky readers the best in cutting-edge tutorials, need-to-know, expert software reviews and even all the tools you actually need to make great music today, courtesy of our legendary CM Plugin Suite.
