How to create a classic '90s hoover sound
Put some vacuum in your tune with NI's Massive and Kontakt
A firm favourite among hard house and trance producers, the Hoover sound was popularised in the early '90s, and got its name because of its supposed resemblance to the sound of a vacuum cleaner.
If you want to learn how to create a floor filling hoover bass sound with Massive and Kontakt, read on.
Click here to download the files you need to complete this tutorial.
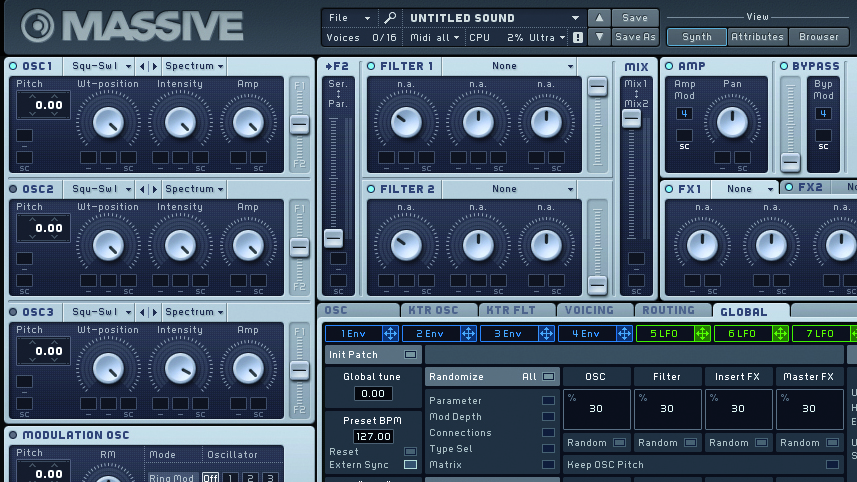
Step 1: The hoover is a perennial dance music sound. We’re going to use NI’s Massive to make one, but any synth with a pitch envelope will do the trick. Create a 127bpm project, load Beat.wav and Bass.wav, then call up Massive on a new MIDI track. Load the initialised patch and draw a one-bar C note into the piano roll.
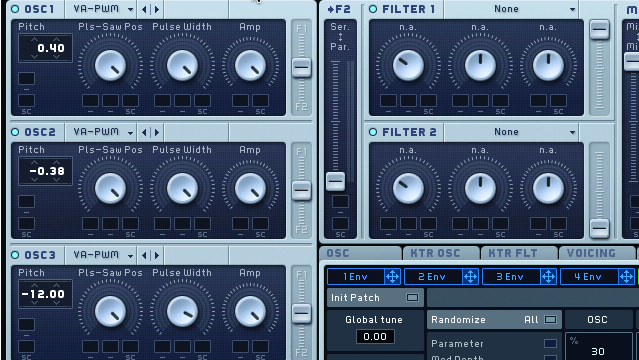
Step 2: Turn on all three of Massive’s oscillators, and set them all to Pulse-Saw PWM to mimic the pulse saw on the Roland Alpha Juno (the synth responsible for the original hoover sound). Detune Oscs 1 and 2 by 40 cents in opposing directions, then tune Osc 3 down to -12 semitones. This is fairly buzzy already!
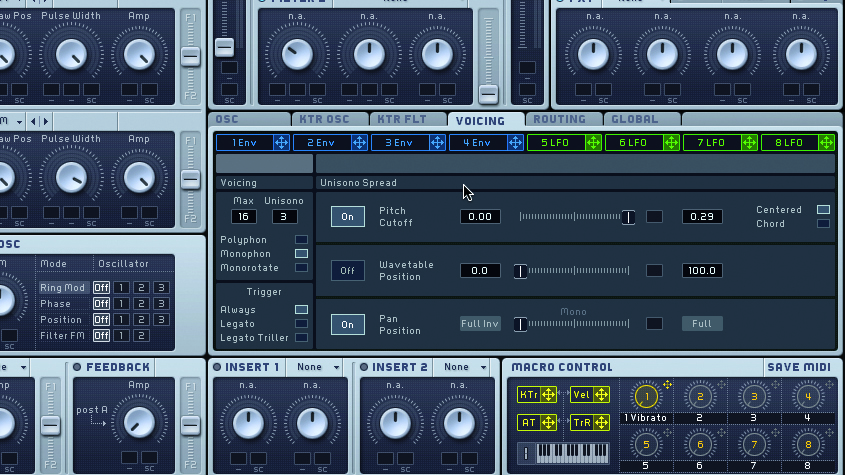
Step 3: Head to the middle Voicing page in the middle, set Voices to 1, and increase the number of Unisono voices to 3. To set the amount of detuning, turn on Pitch Cutoff, then push the slider all the way to the right and turn the amount down to around 0.3 for a buzzing, bee-like timbre. Use Pan Position to spread the voices.
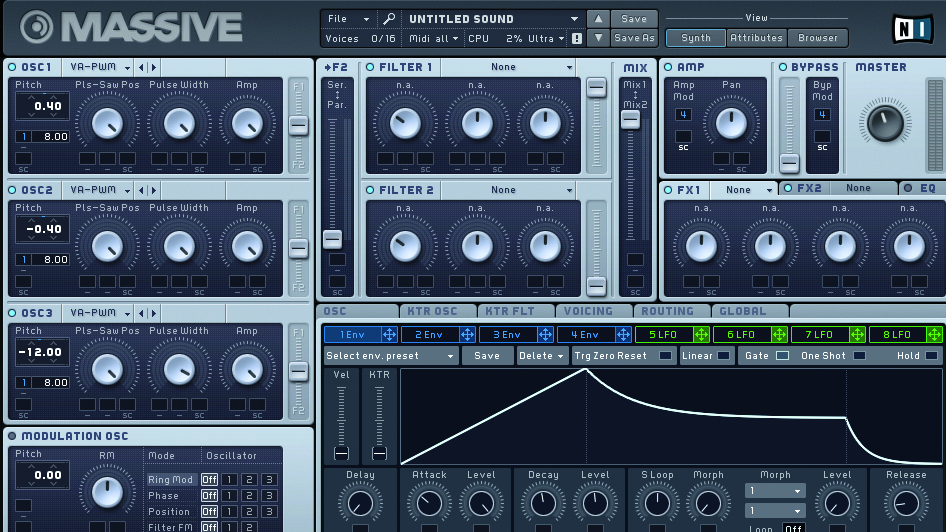
Step 4: Let’s use an envelope to modulate pitch, hoover-style. Drag the Envelope 1 tag to all three oscs and increase modulation to 8 semitones. The pitch should now rise and fall with each note. Adjust the envelope’s shape until you get a distinctive rise and gentle drop – we like Attack at 10 o’clock, Decay at 12 o’clock and Release at 9 o’clock.
Want all the hottest music and gear news, reviews, deals, features and more, direct to your inbox? Sign up here.
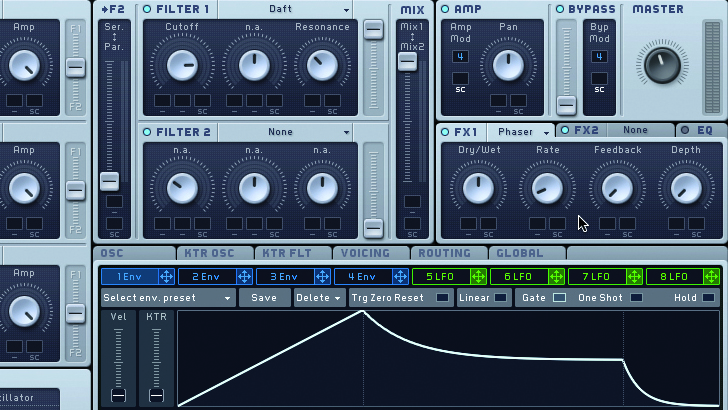
Step 5: Our sound is a little bright. Load up the Daft filter, set Cutoff to around 3 o’clock and Resonance to 10. The sound’s timbre needs flavour, so call up the Phaser in effects slot 1. Turn Rate, Feedback and Depth down to almost 0 – we just want the effect’s colour, not any overt swirling.
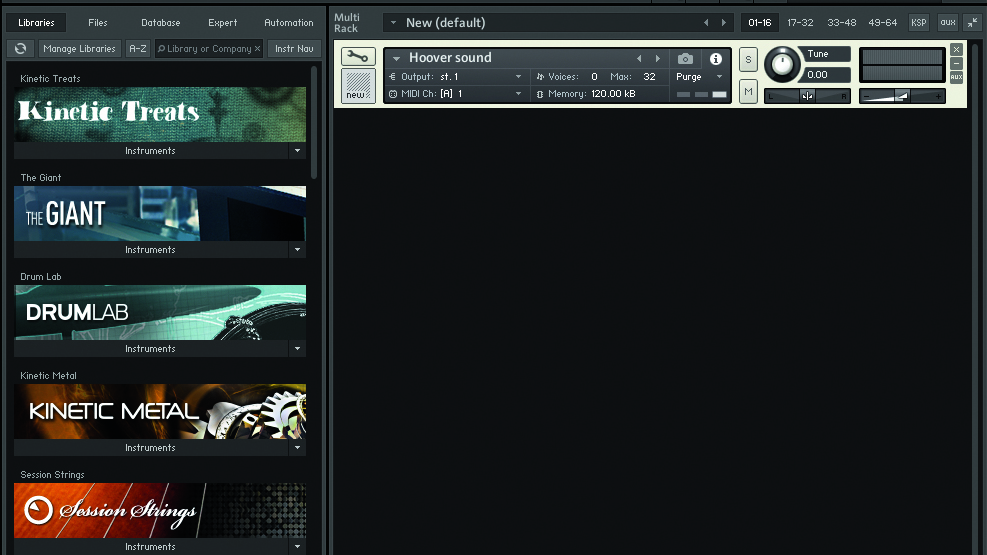
Step 6: Once you’re happy with the hoover, bounce it out as a separate audio file, then open a sampler in your DAW. We’re using Kontakt, but any sampler will work. Load the hoover file into the sampler and use Hoover.mid from Tutorial Files to trigger the sound.
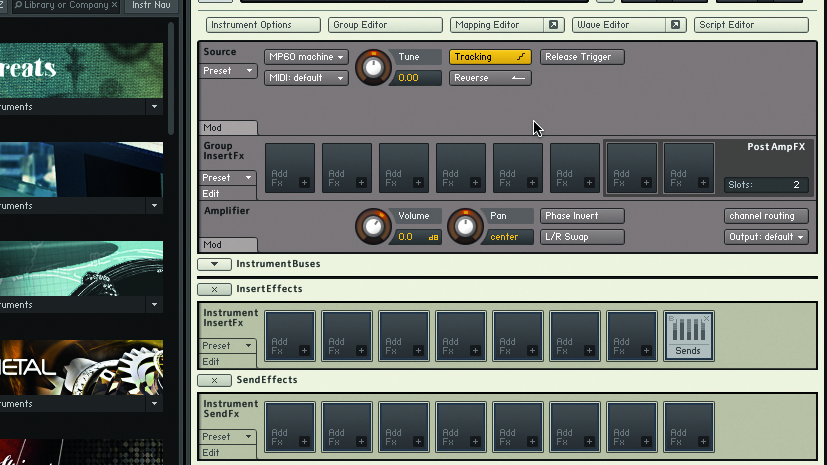
Step 7: Click the wrench to open Kontakt’s editing pages. In the Source section, change the sample mode from DFD to MP60 Machine – this’ll dirty up the hoover and make it sound like it’s playing through digital hardware circuitry. At the bottom, bring the amplitude envelope’s Release down to 0.
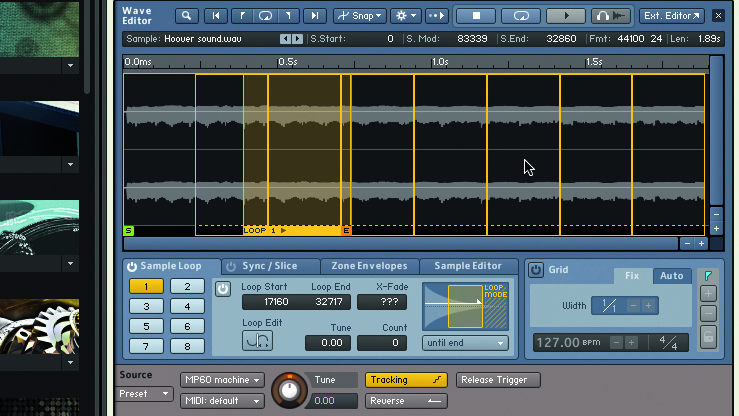
Step 8: Our hoover is a little long, so click on the Wave Editor tab at the top and drag the end point to about 1.75 seconds. Next, turn on Sample Loop at the bottom and drag the loop point end to match the sample length. It should now loop. Move the start point to the four-second point for a shorter loop.
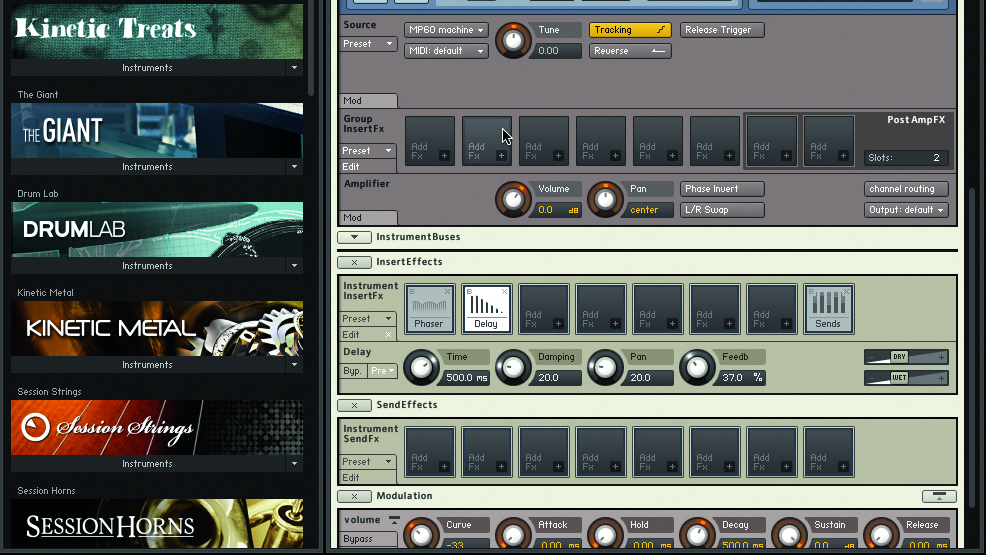
Step 9: Loop-point editing was primitive on hardware samplers, so feel free to leave the non-zero crossing ‘pops’ in. If you’d like a more modern sound, however, turn on Snap Loop To Zero Crossing at the top to cull those glitches. Lastly, process with phaser and delay effects for authentic flavour.
Computer Music magazine is the world’s best selling publication dedicated solely to making great music with your Mac or PC computer. Each issue it brings its lucky readers the best in cutting-edge tutorials, need-to-know, expert software reviews and even all the tools you actually need to make great music today, courtesy of our legendary CM Plugin Suite.
