How to create a 'one-key chord' patch on a virtual Minimoog
This nifty workaround lets you summon polyphonic sounds from the iconic monosynth (and its virtual counterpart)

Want all the hottest music and gear news, reviews, deals, features and more, direct to your inbox? Sign up here.
You are now subscribed
Your newsletter sign-up was successful
This pad-like patch utilises the power of the Minimoog’s three oscillators to create a beautiful chordal texture, very popular with early electronic pioneers who often lacked polyphonic synths, capable of producing chords.

Step 1: In much the same way that we did for our Thriller patch, we’ll start by initiating a starting point. Go to the presets menu, and select the 1 Osc patch. This will give us a single sawtooth, with a wide open filter.

Step 2: Next we’ll adjust the pitch range of Osc 1. As we are going to construct a three-note chord, we will start by using this first VCO as our bass note in the formation. Set the range selector to 16’. Think of this as our foundation or fundamental to the chord we create.

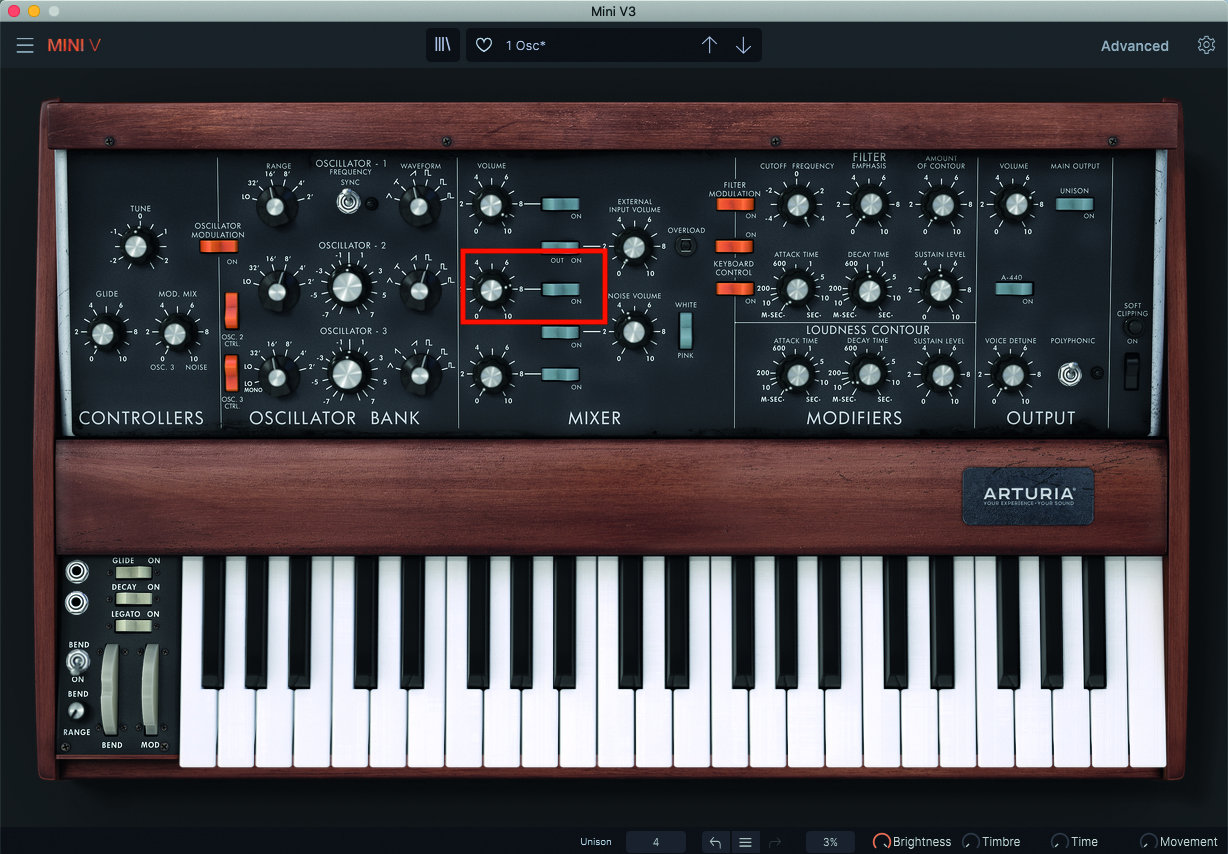
Step 3: Now it’s time to set up Osc 2; this will be easier to do if we can hear it, so let’s start the process by moving across to the mixer section, specifically the pot relating to Osc 2, and turn up the Level to around 80%. When you do so, if you audition the sound, you’ll hear a thick texture.

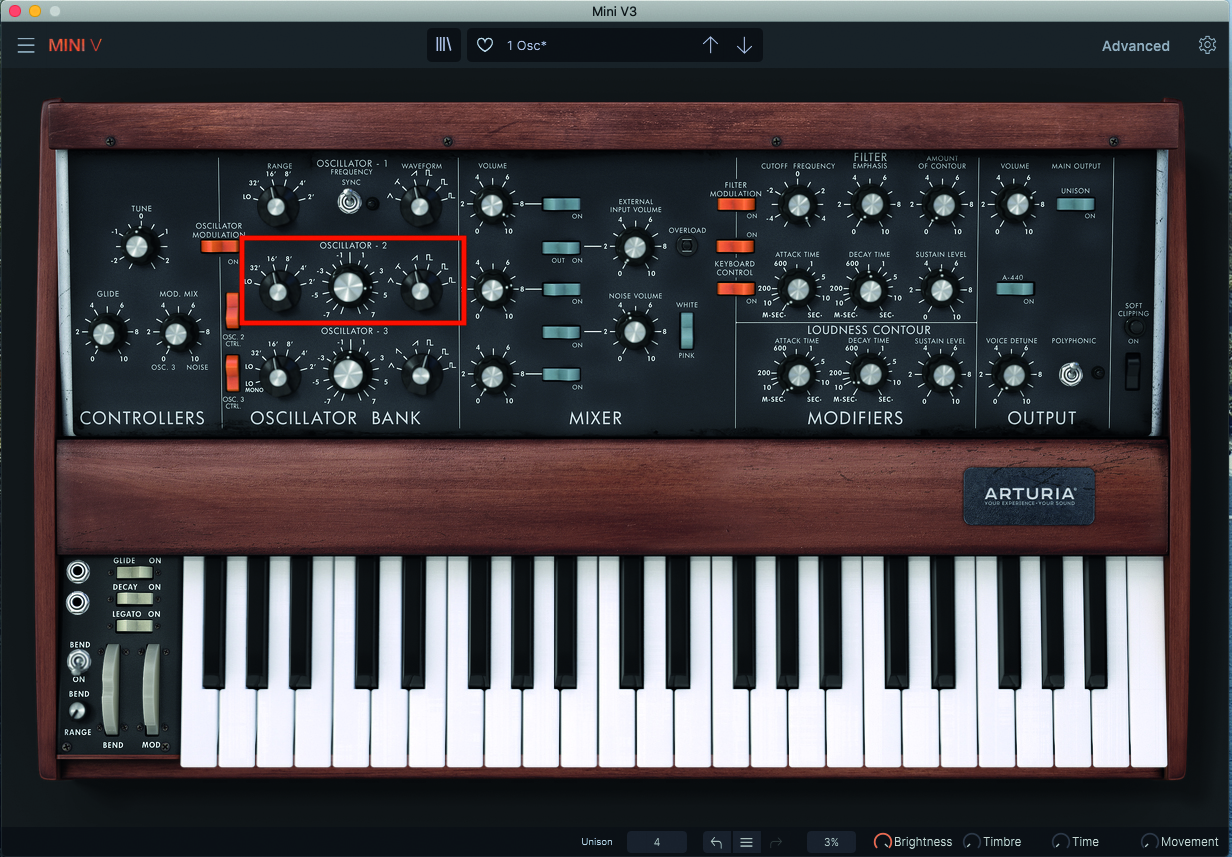
Step 4: Now it’s time to make some alterations to the pitch and wave of Osc 2. Switch the range to 16’, but then move to the Tuning pot, and create a value of +7 semitones for a very pleasing 5th texture. Finally, change the wave to a saw, instead of the default square wave.

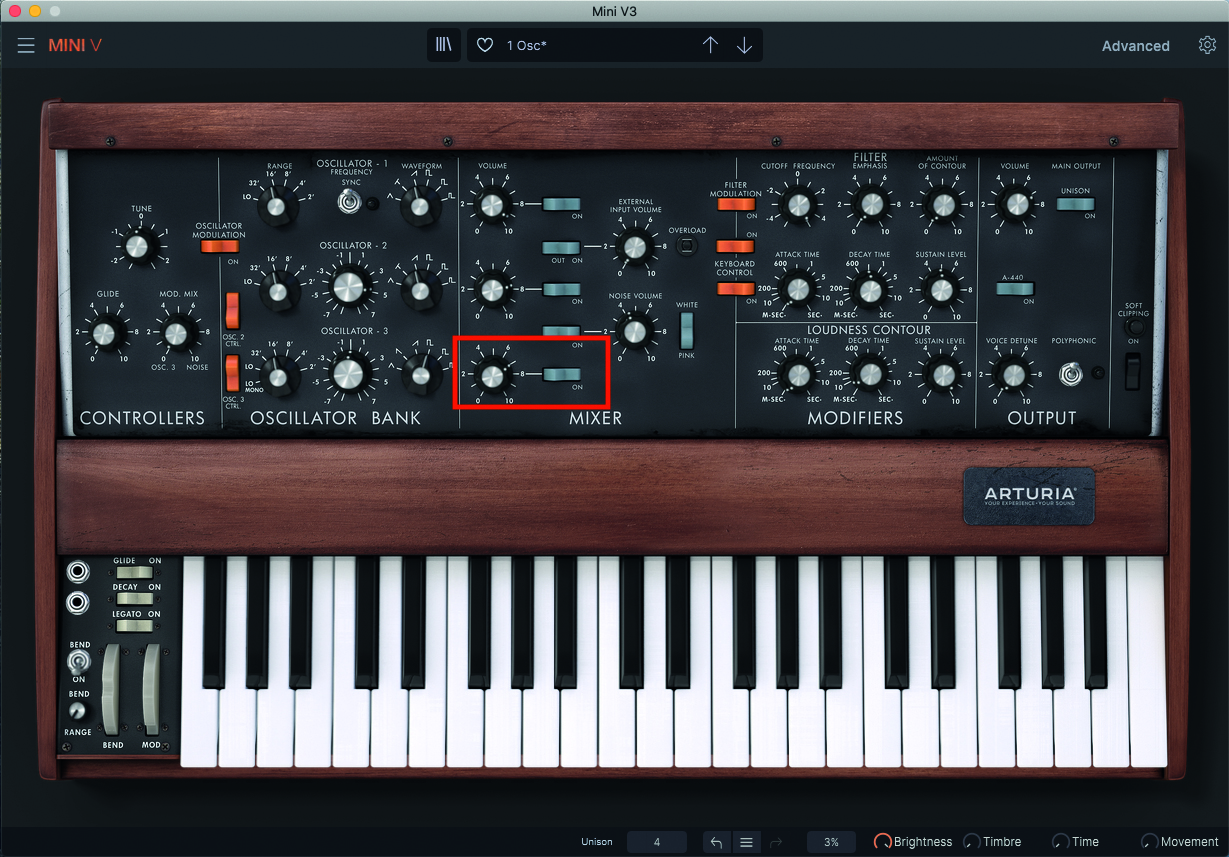
Step 5: Now it’s time to apply similar credentials to Osc 3. We’ll begin by visiting the mixer section again, but this time we’ll be activating Osc 3 and turning the Volume up to around 70%. At this stage, should you audition your sound, the pitch will sound off. (See next point!)

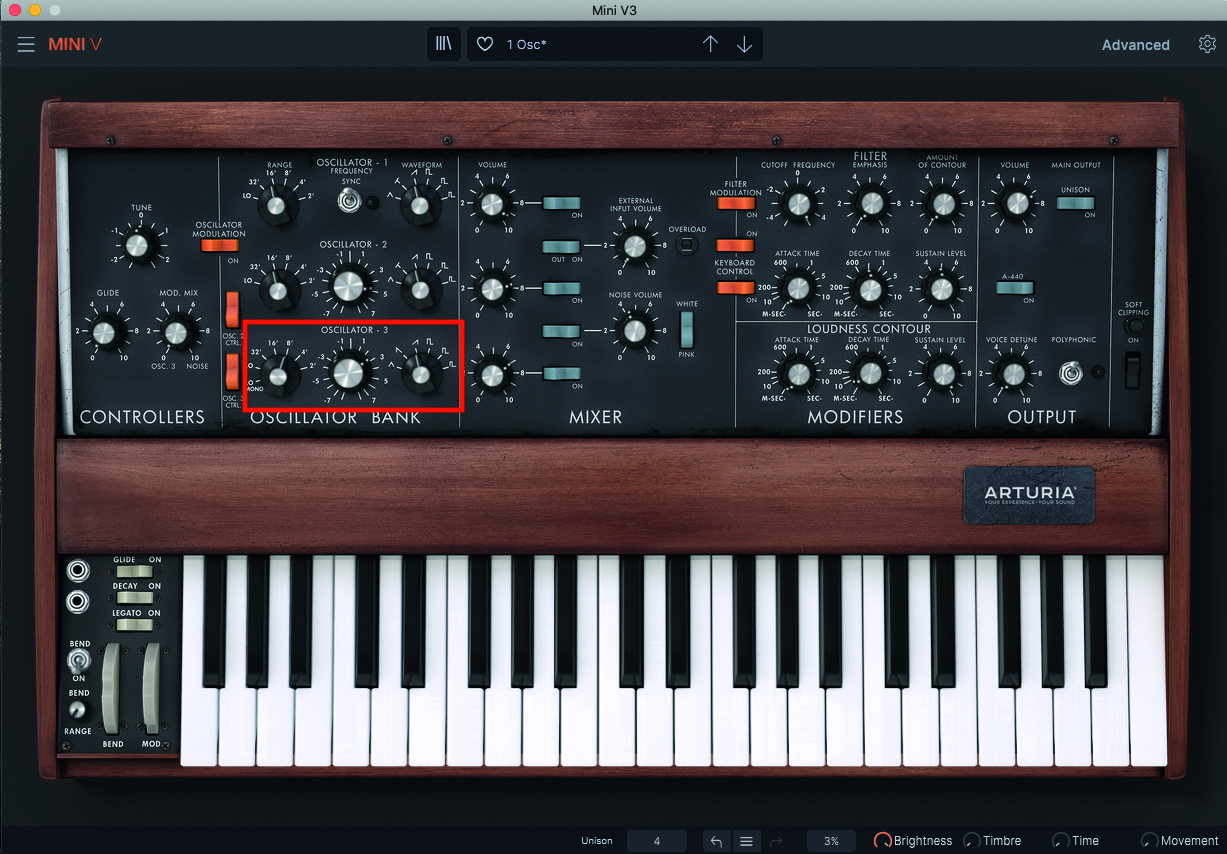
Step 6: This is because the Osc 3 Ctrl switch prevents it from responding to the keyboard’s input value, used for modulation duties, where you might not want the frequency of the Osc to change. We however do want to use it for pitch, so flick the switch upward, to turn it off.
Want all the hottest music and gear news, reviews, deals, features and more, direct to your inbox? Sign up here.

Step 7: Now we have control over the pitch of Osc 3, we’ll make some alterations to place the highest note on our oscillator tree. Set the Osc range to 8’, then adjust coarse tuning to +4 semitones, which will offer a major 3rd, on the top of our chord. Finally, change the wave to a saw, so that it matches the other two oscillators.

Step 8: Now we have our chord in place, we can move to the filter to adjust our tonal colour. Adjust the Cutoff pot to around the 0 mark, or 12 o’clock if you prefer. We shall also exploit the filter envelope, so set the Amount pot to around the 11 o’clock position, which correlates with No 4 on the legend.

Step 9: Finally, adjust the attack and decay phases of both the filter envelope and the amplitude envelope, described on the Mini V as Loudness Contour. In this setting, the decay phase also acts as a release phase, but note that increasing the time of both will give a musical result. Adjust to suit your music or playing style.
Computer Music magazine is the world’s best selling publication dedicated solely to making great music with your Mac or PC computer. Each issue it brings its lucky readers the best in cutting-edge tutorials, need-to-know, expert software reviews and even all the tools you actually need to make great music today, courtesy of our legendary CM Plugin Suite.
