How to compress your mix bus
The mix bus provides the final stage to tweak your mix. Today we look at how to compress it
Want all the hottest music and gear news, reviews, deals, features and more, direct to your inbox? Sign up here.
You are now subscribed
Your newsletter sign-up was successful
Mixing is typically a spiral process where we gradually make smaller and smaller adjustments as we return to different aspects of the track. Processing the mix bus can play an important role in this and help achieve a finished mix that’s ready for mastering.
That said, opinions differ considerably about how much a mix should rely on overall mix bus processing, and specifically within this processing chain, whether a mix bus compressor is a good idea at all.
What’s clear is that poorly executed mix bus compression can both ruin your mix and massively compromise the mastering stage. These considerations can easily make us shy away from mix bus compression. However, properly executed mix bus compression can really help bring your mix components together, providing the mix ‘glue’ that makes everything sound cohesive and finished.
In this tutorial we’re going to focus on the best way to achieve this, looking at not only what we can expect from our mix bus compression, but also a couple of different approaches and also the type of compressor we’re using. By the end of the tutorial you should be more confident in your ability to select the right compressor, adjust the settings and add mix bus compression that will benefit your mix.
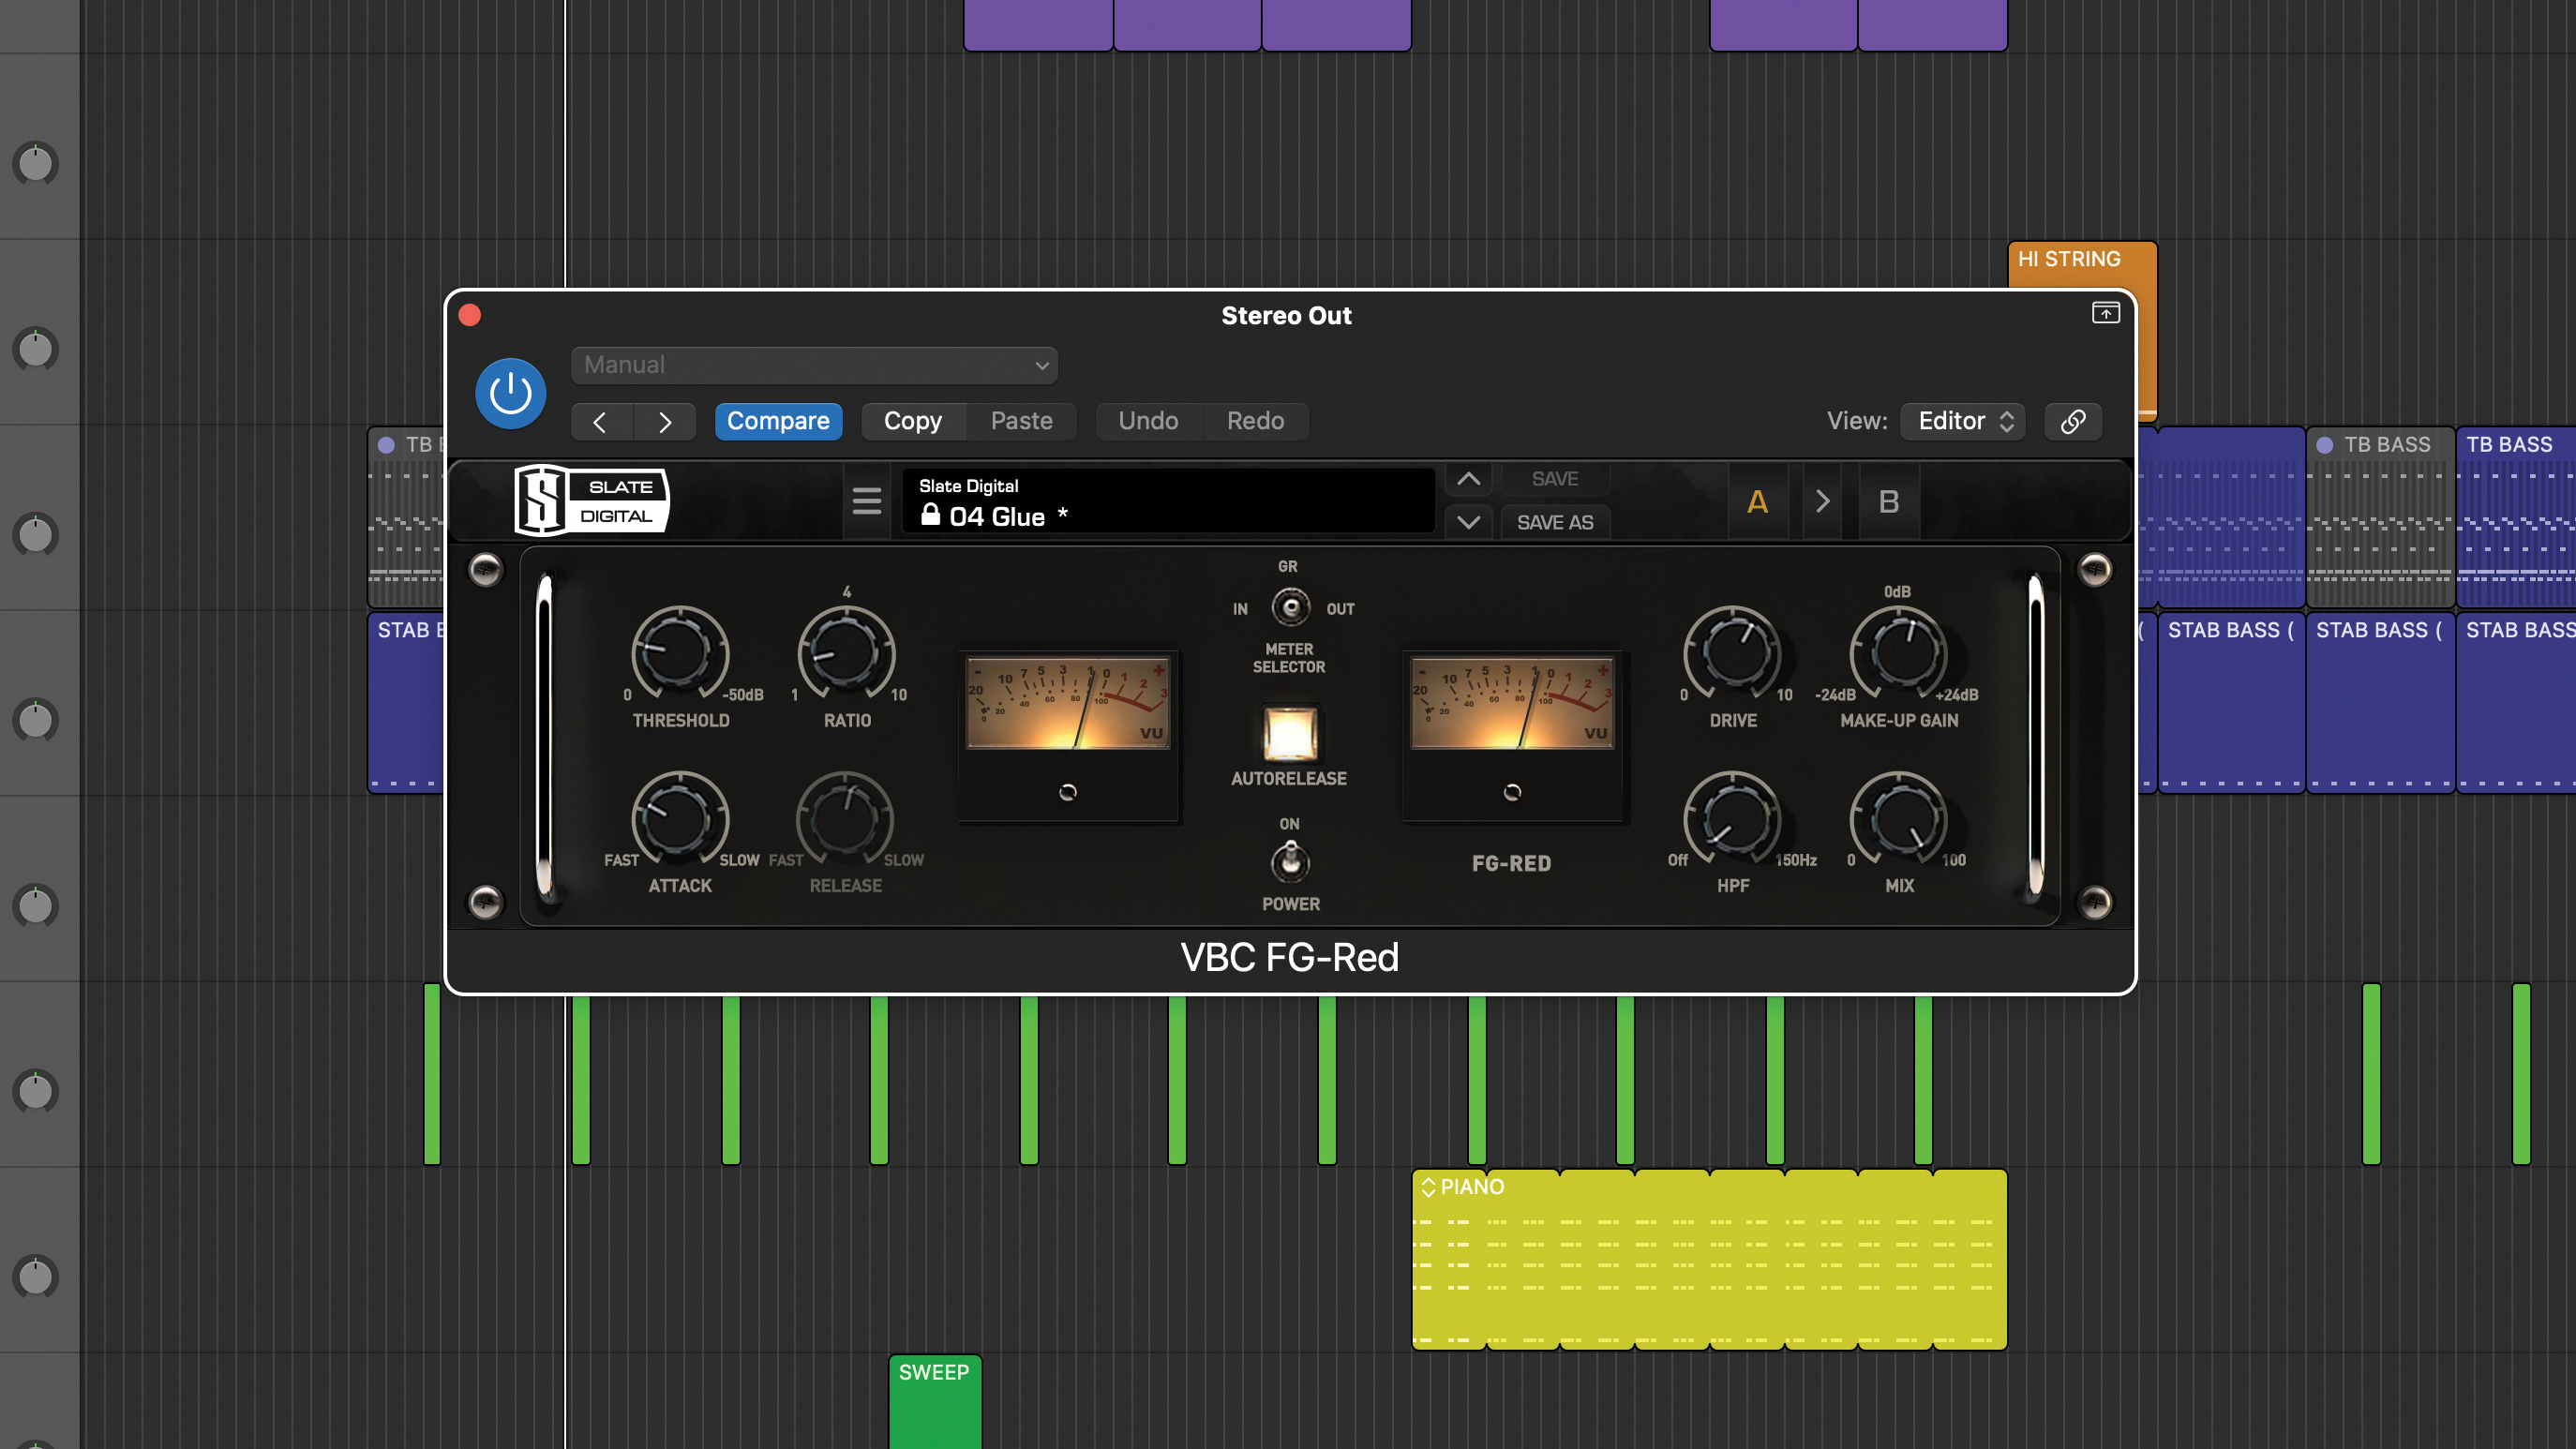
To get started, ideally you need a mix bus or mastering style compressor and in the Pro Tip we discuss this in more depth. This may seem like an unnecessary expense, and over time you may learn to coax the behaviour you want from a wider selection of compressors. Nevertheless, a tailored design is simply easier to use.
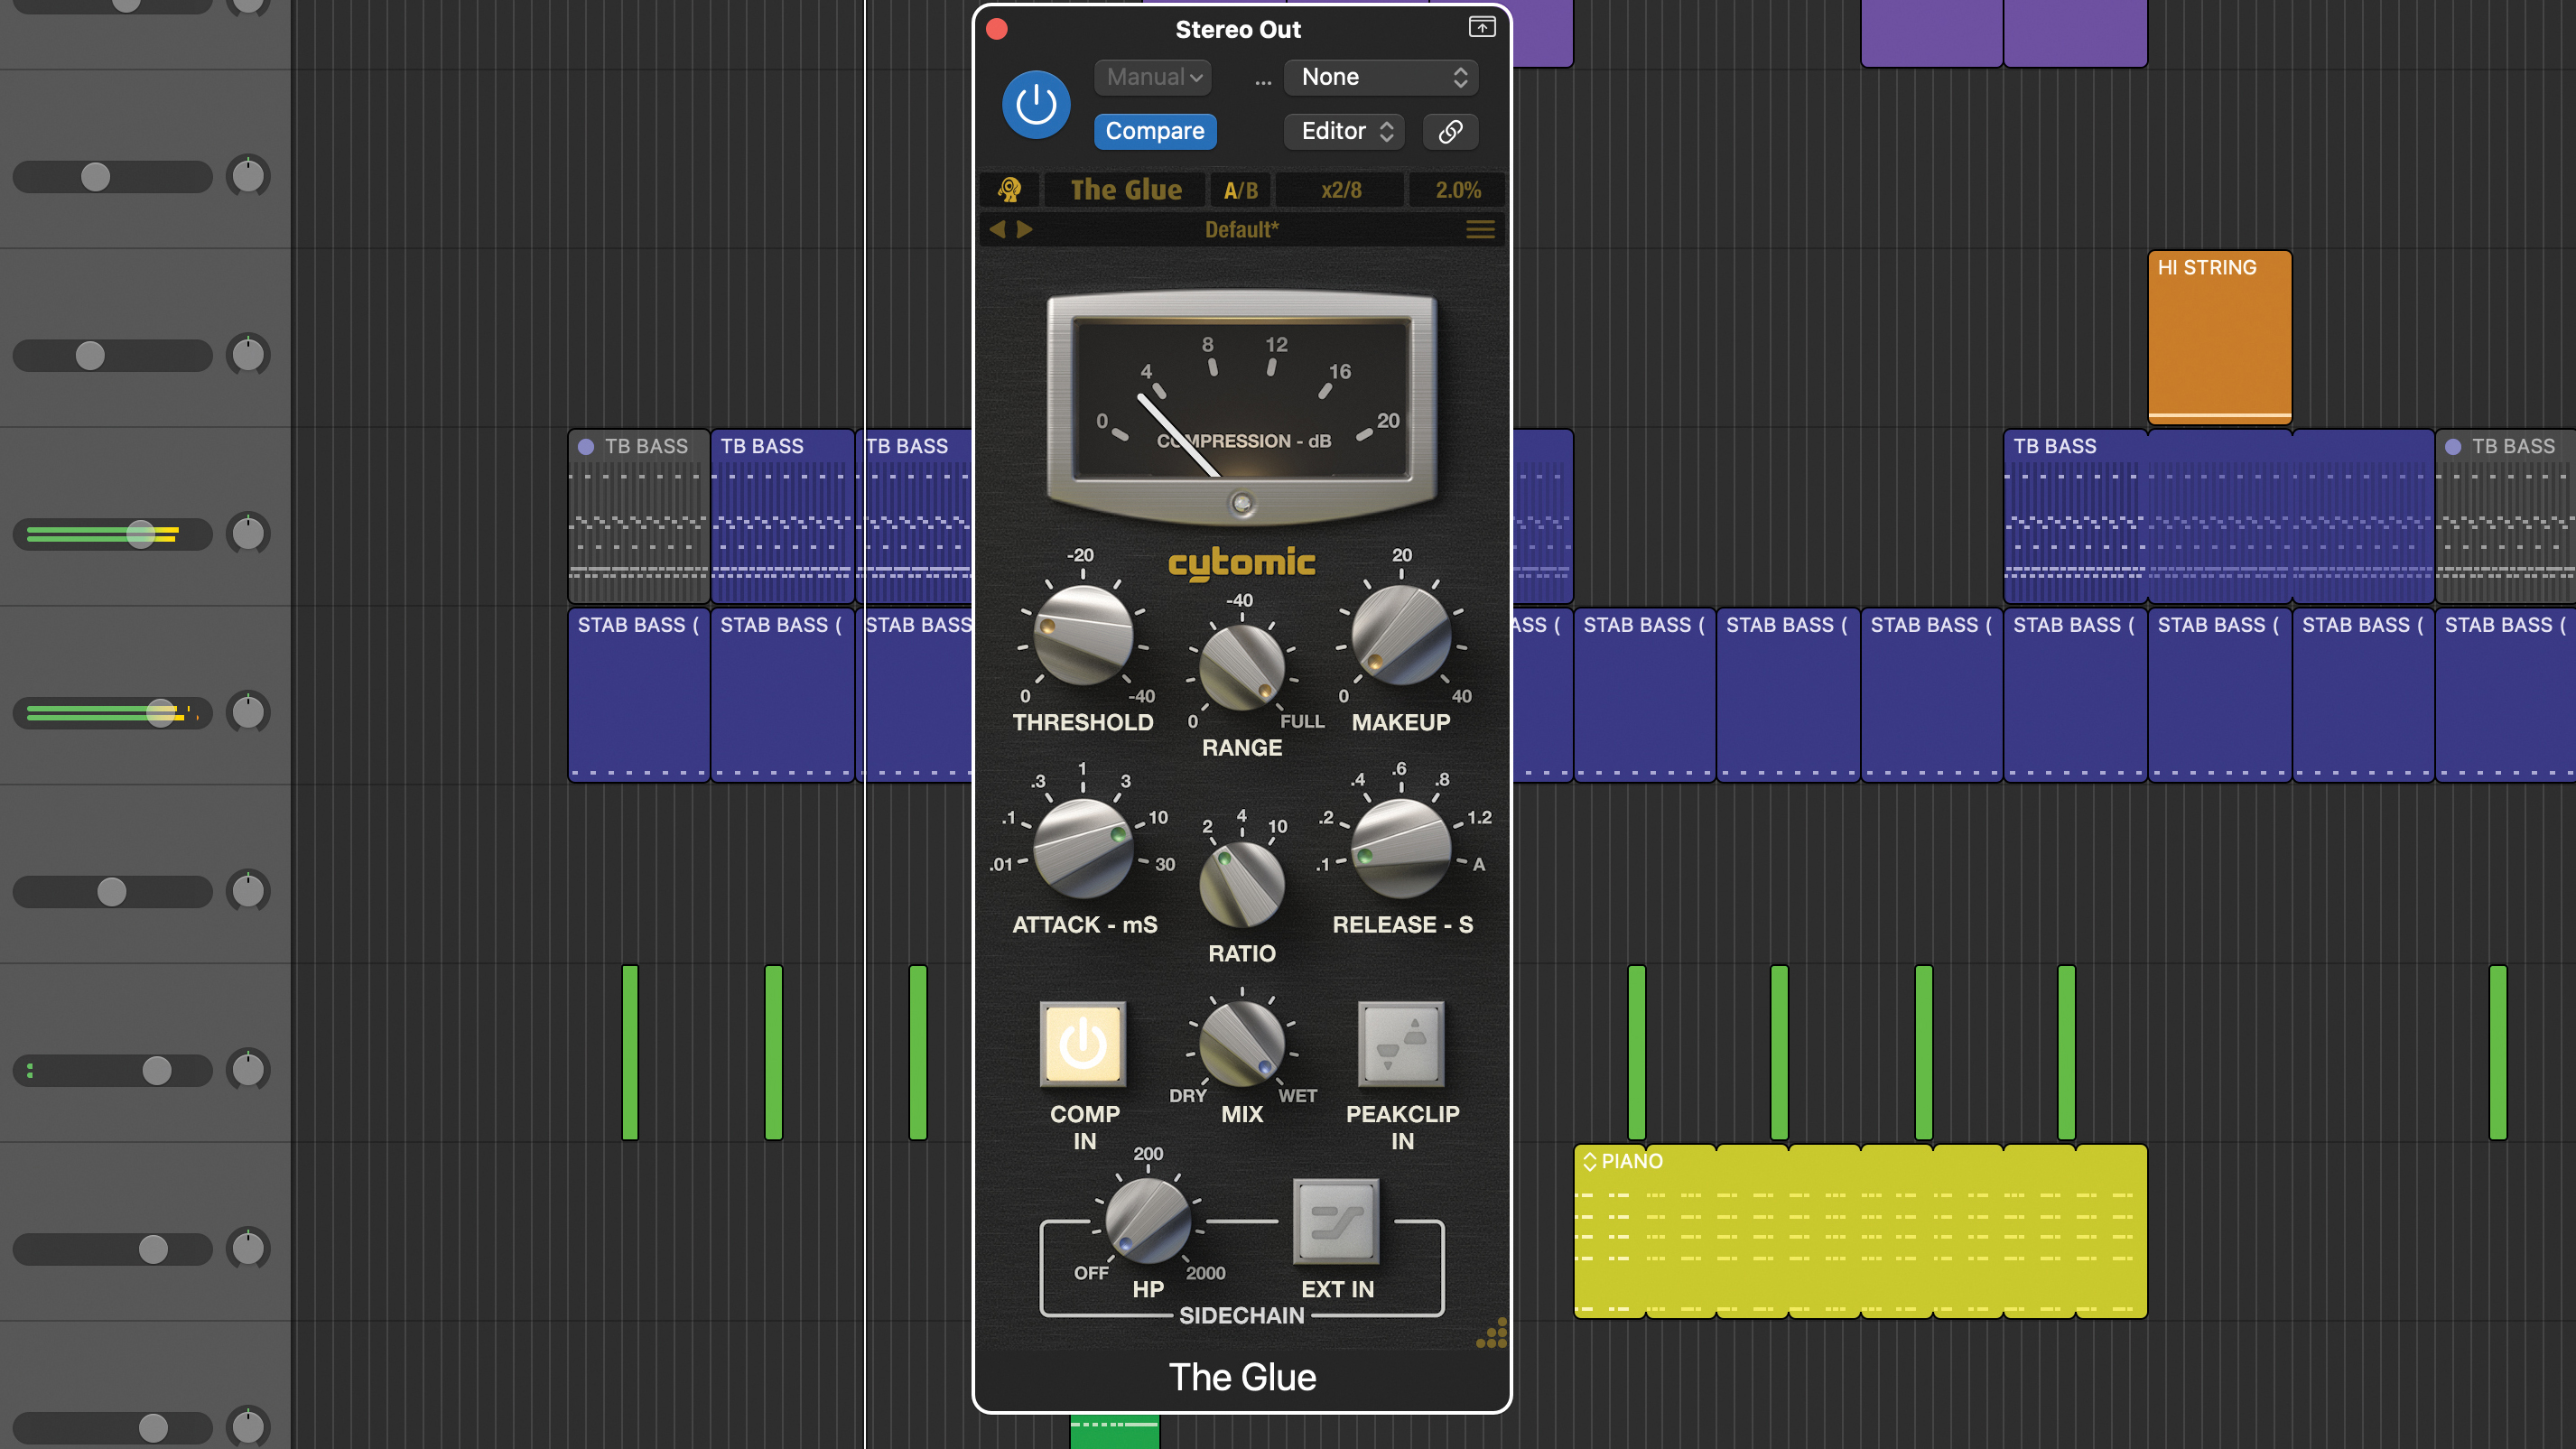
Mix bus or mastering compressors usually include a smaller array of options with the right kind of attack and release profiles, ratios, knee shape and metering. This not only helps with settings but also encourages us to spend more time focusing on setting the threshold and listening to what the compressor is actually doing.
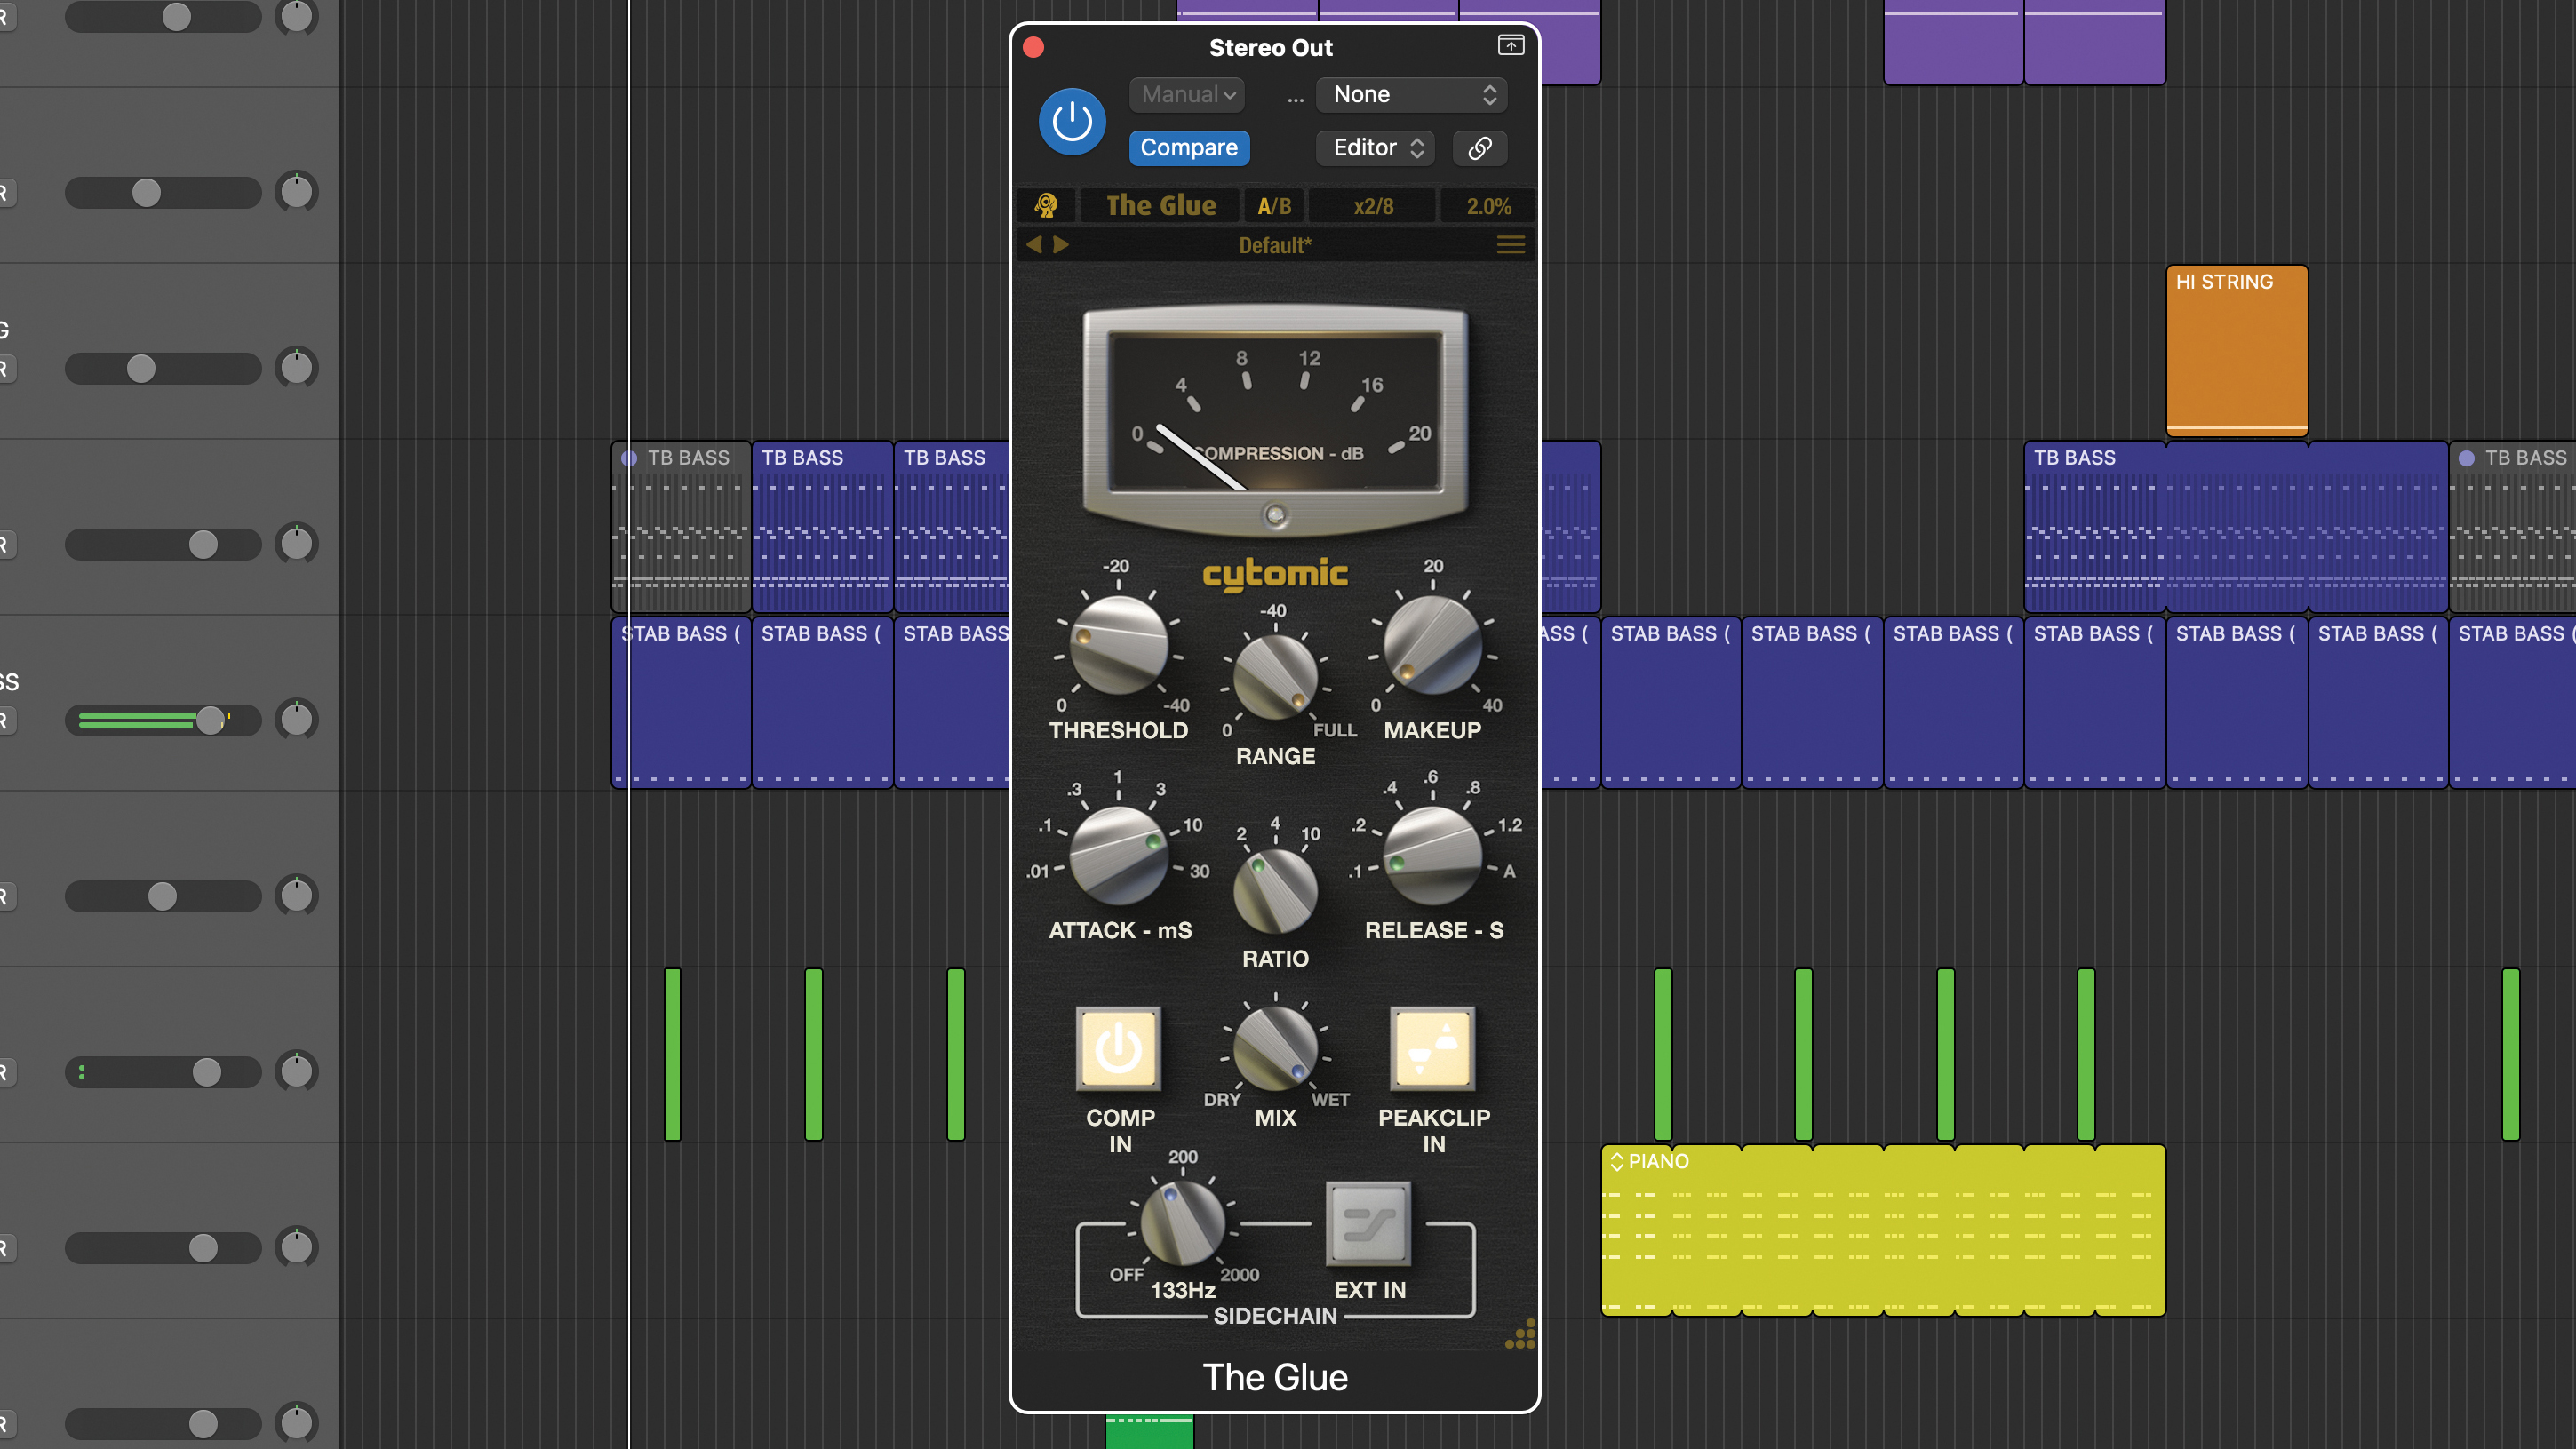
These tailored processors can also include other very helpful features, such as stepped controls, good left/right stereo linking, wet/dry mix or even mid/side processing. One of the most handy features you’ll find – and it’s included on our SSL-style VCA processor here – is a sidechain high-pass filter.
Want all the hottest music and gear news, reviews, deals, features and more, direct to your inbox? Sign up here.
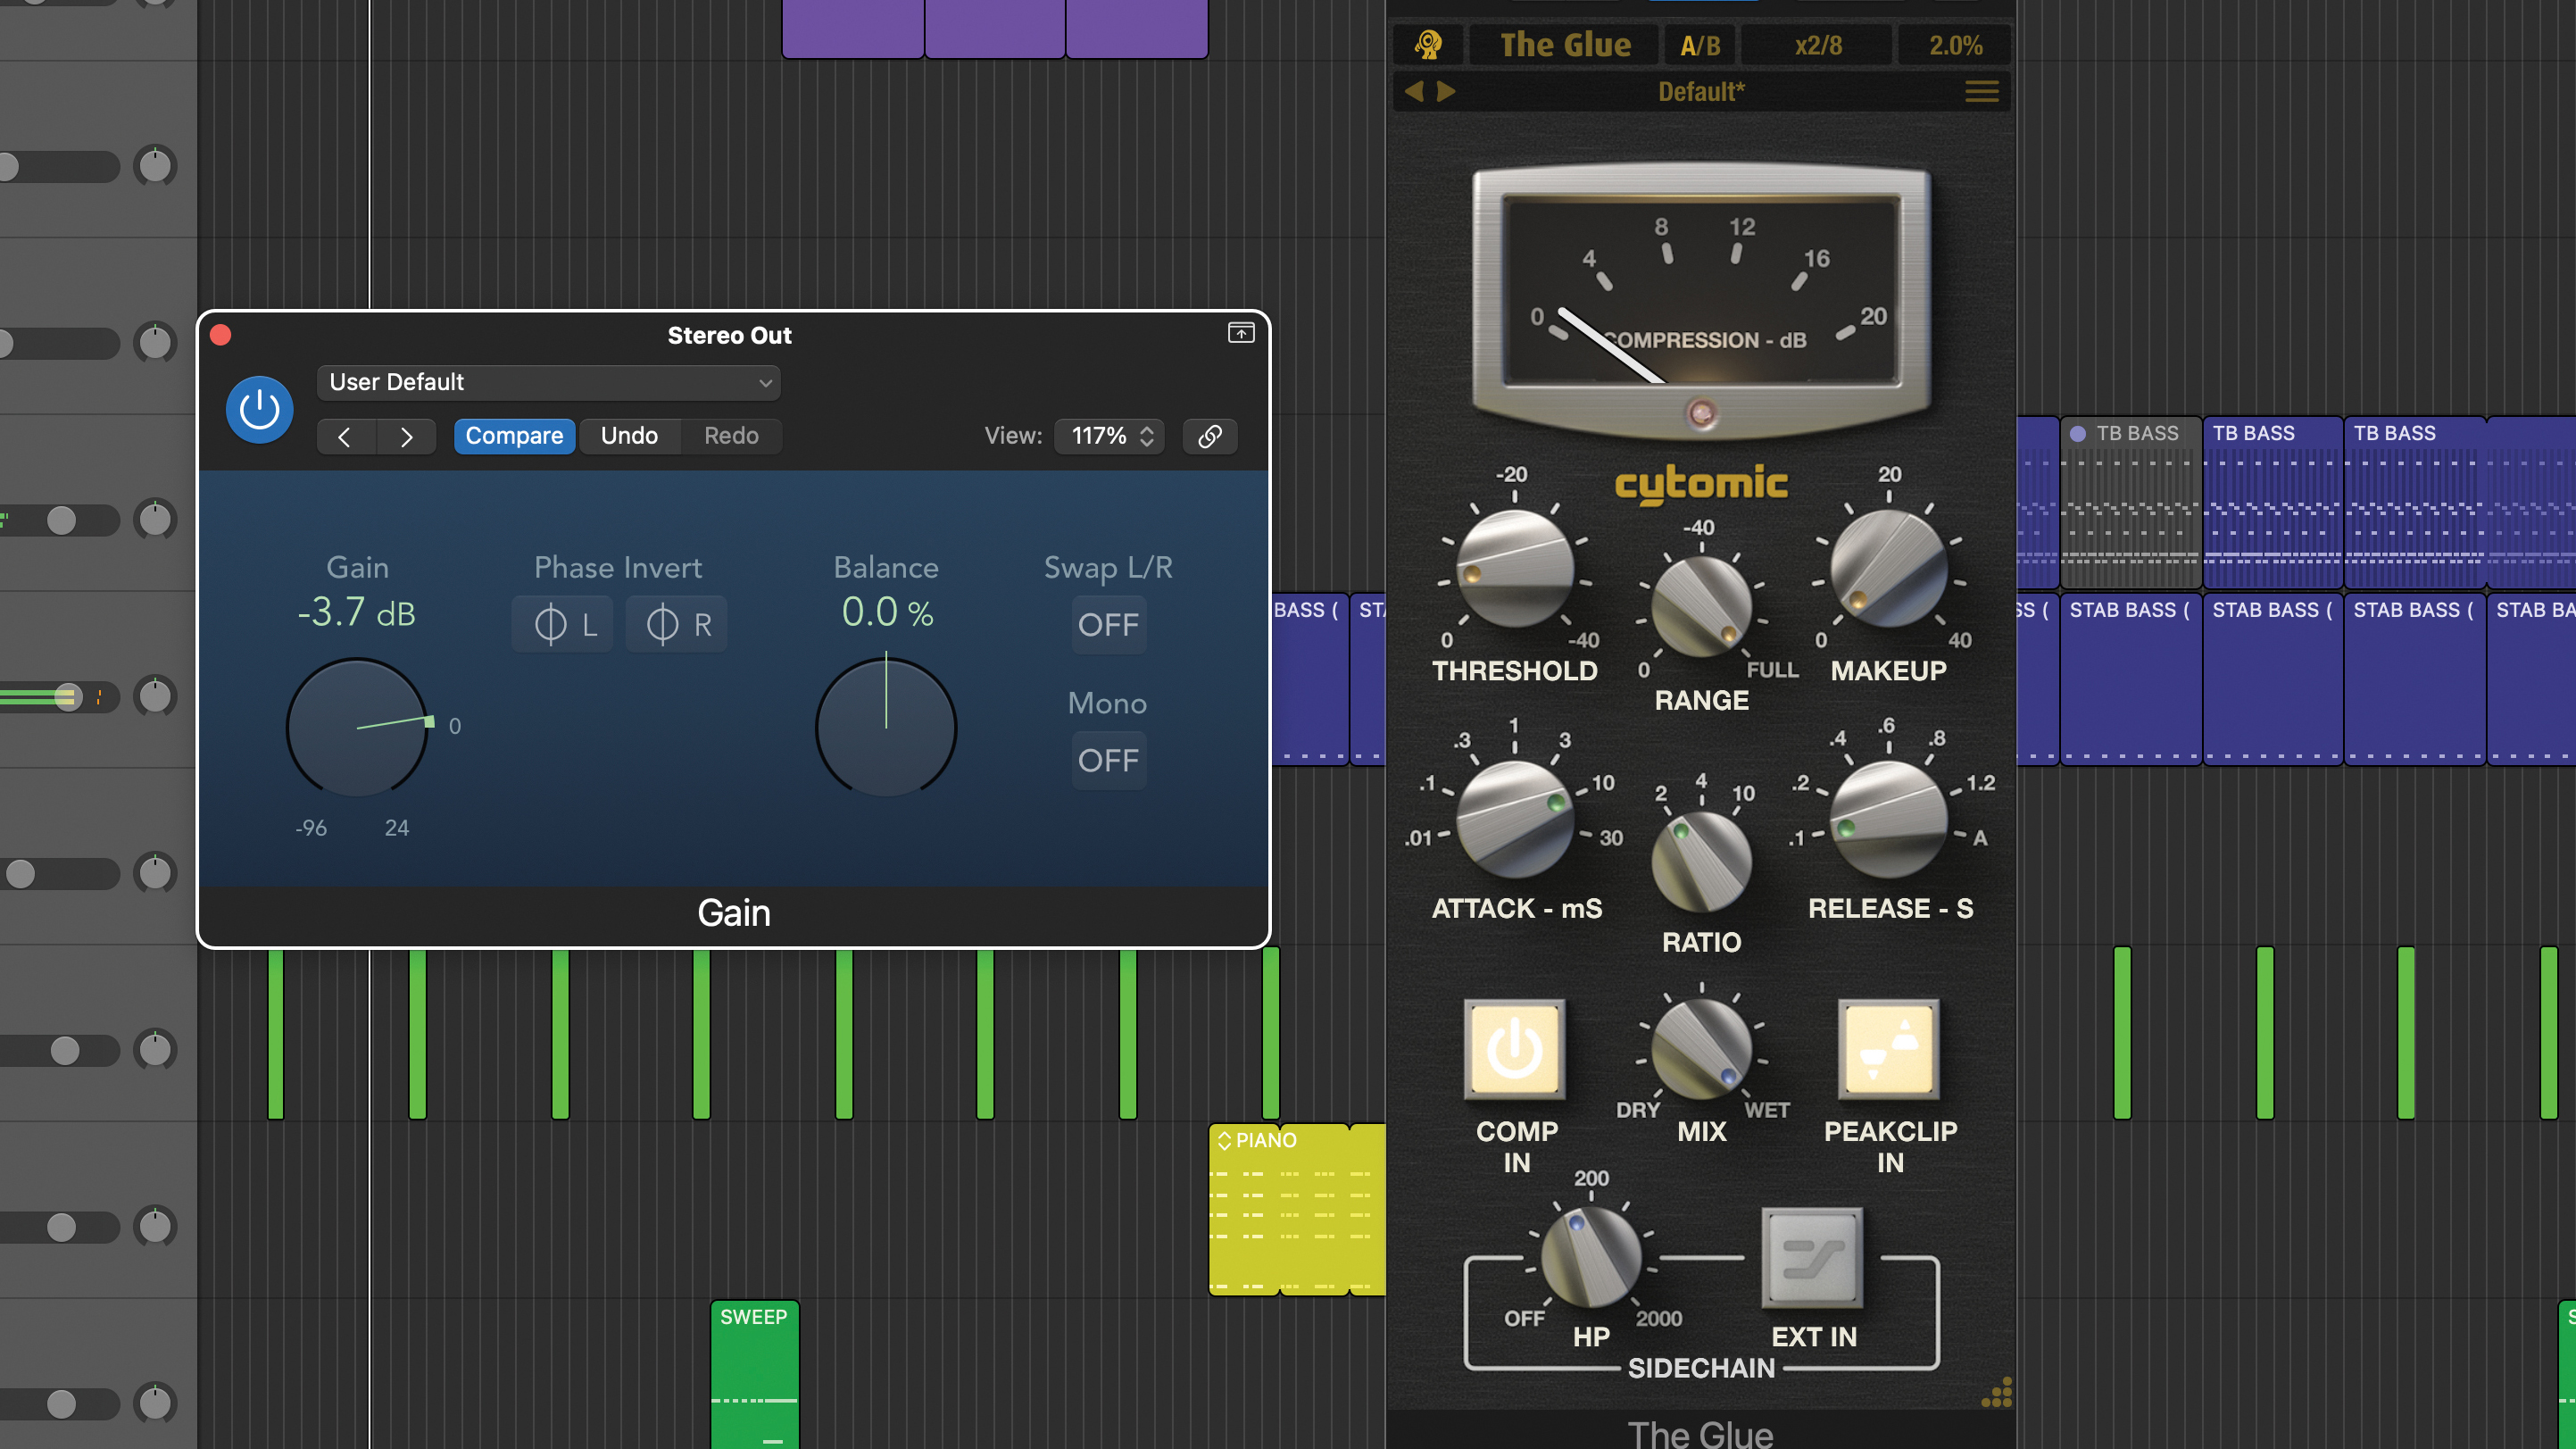
A couple of other considerations. It’s important to manage levels entering your mix bus and the simplest way to do this is to insert a gain plugin as the first plugin in your mix bus. Also, if you’re using other mix bus processing such as EQ, be aware that changes to any processor placed before your compressor may influence its behaviour.
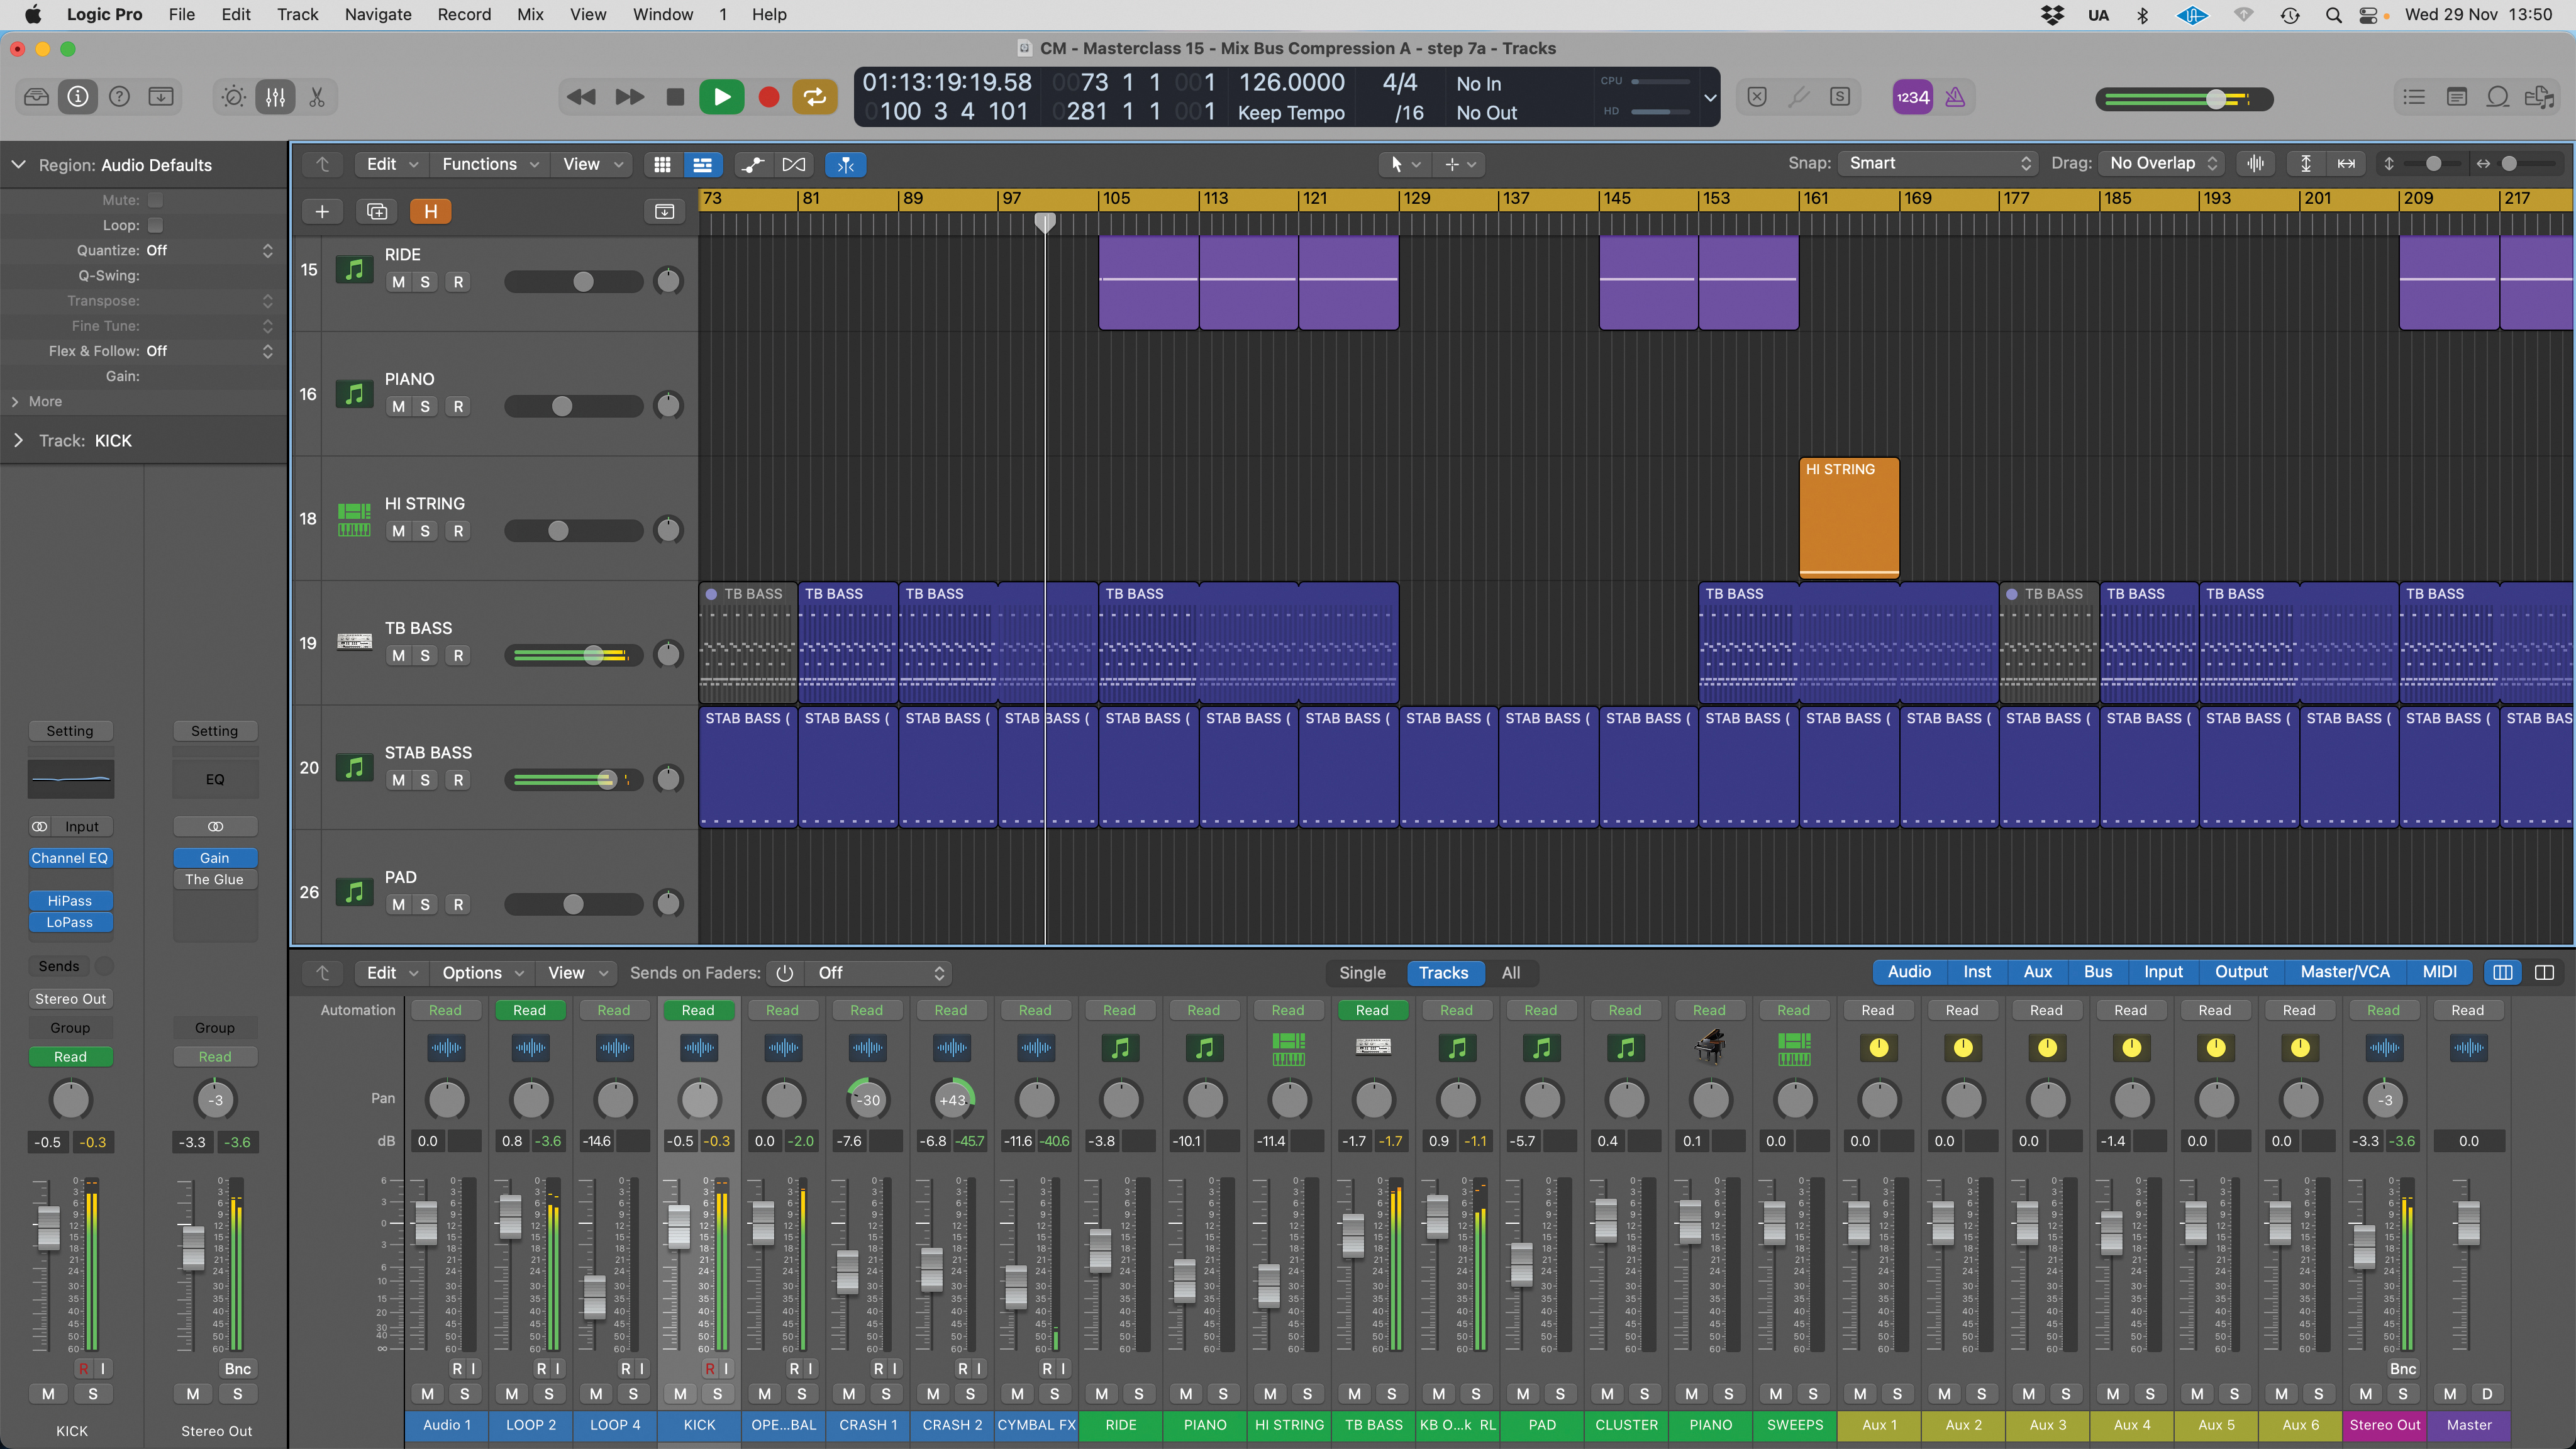
The next big decision is at what stage during your mix do you set up your mix bus compressor. The cautious and probably more common approach is to get your mix mostly done, looking at adding mix bus compression once all your key elements are balanced. We’ll start with this method.
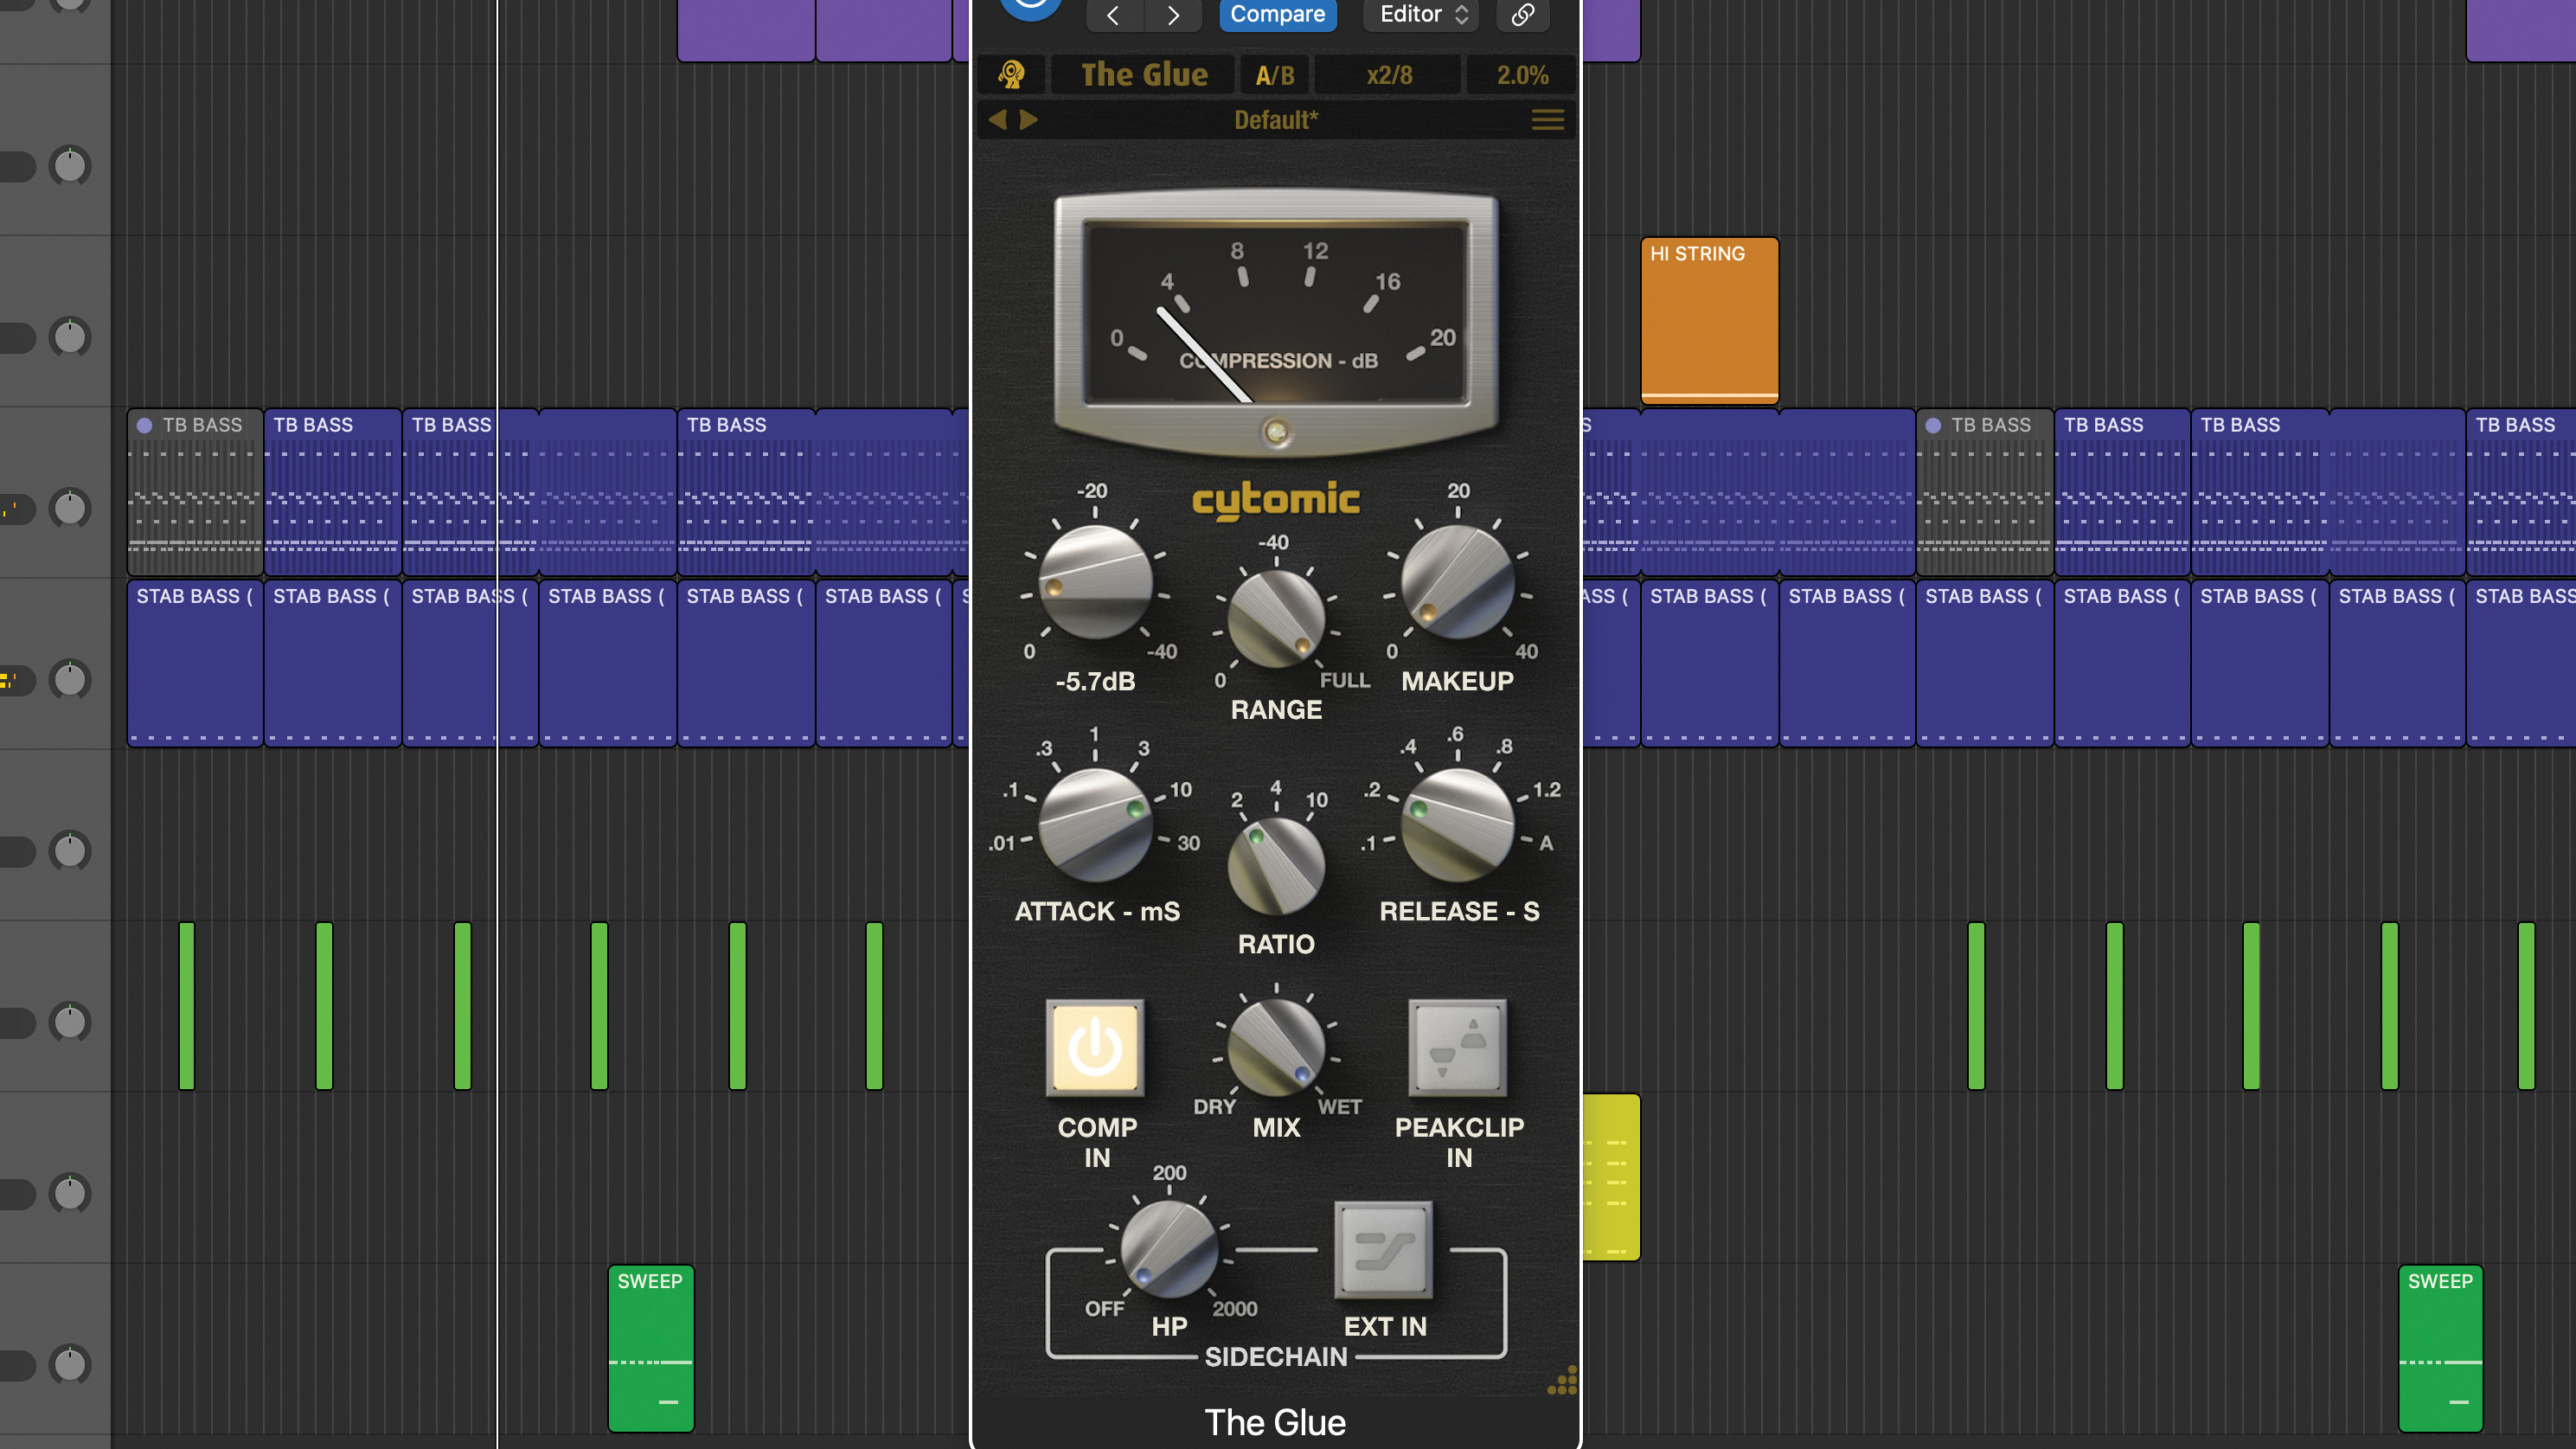
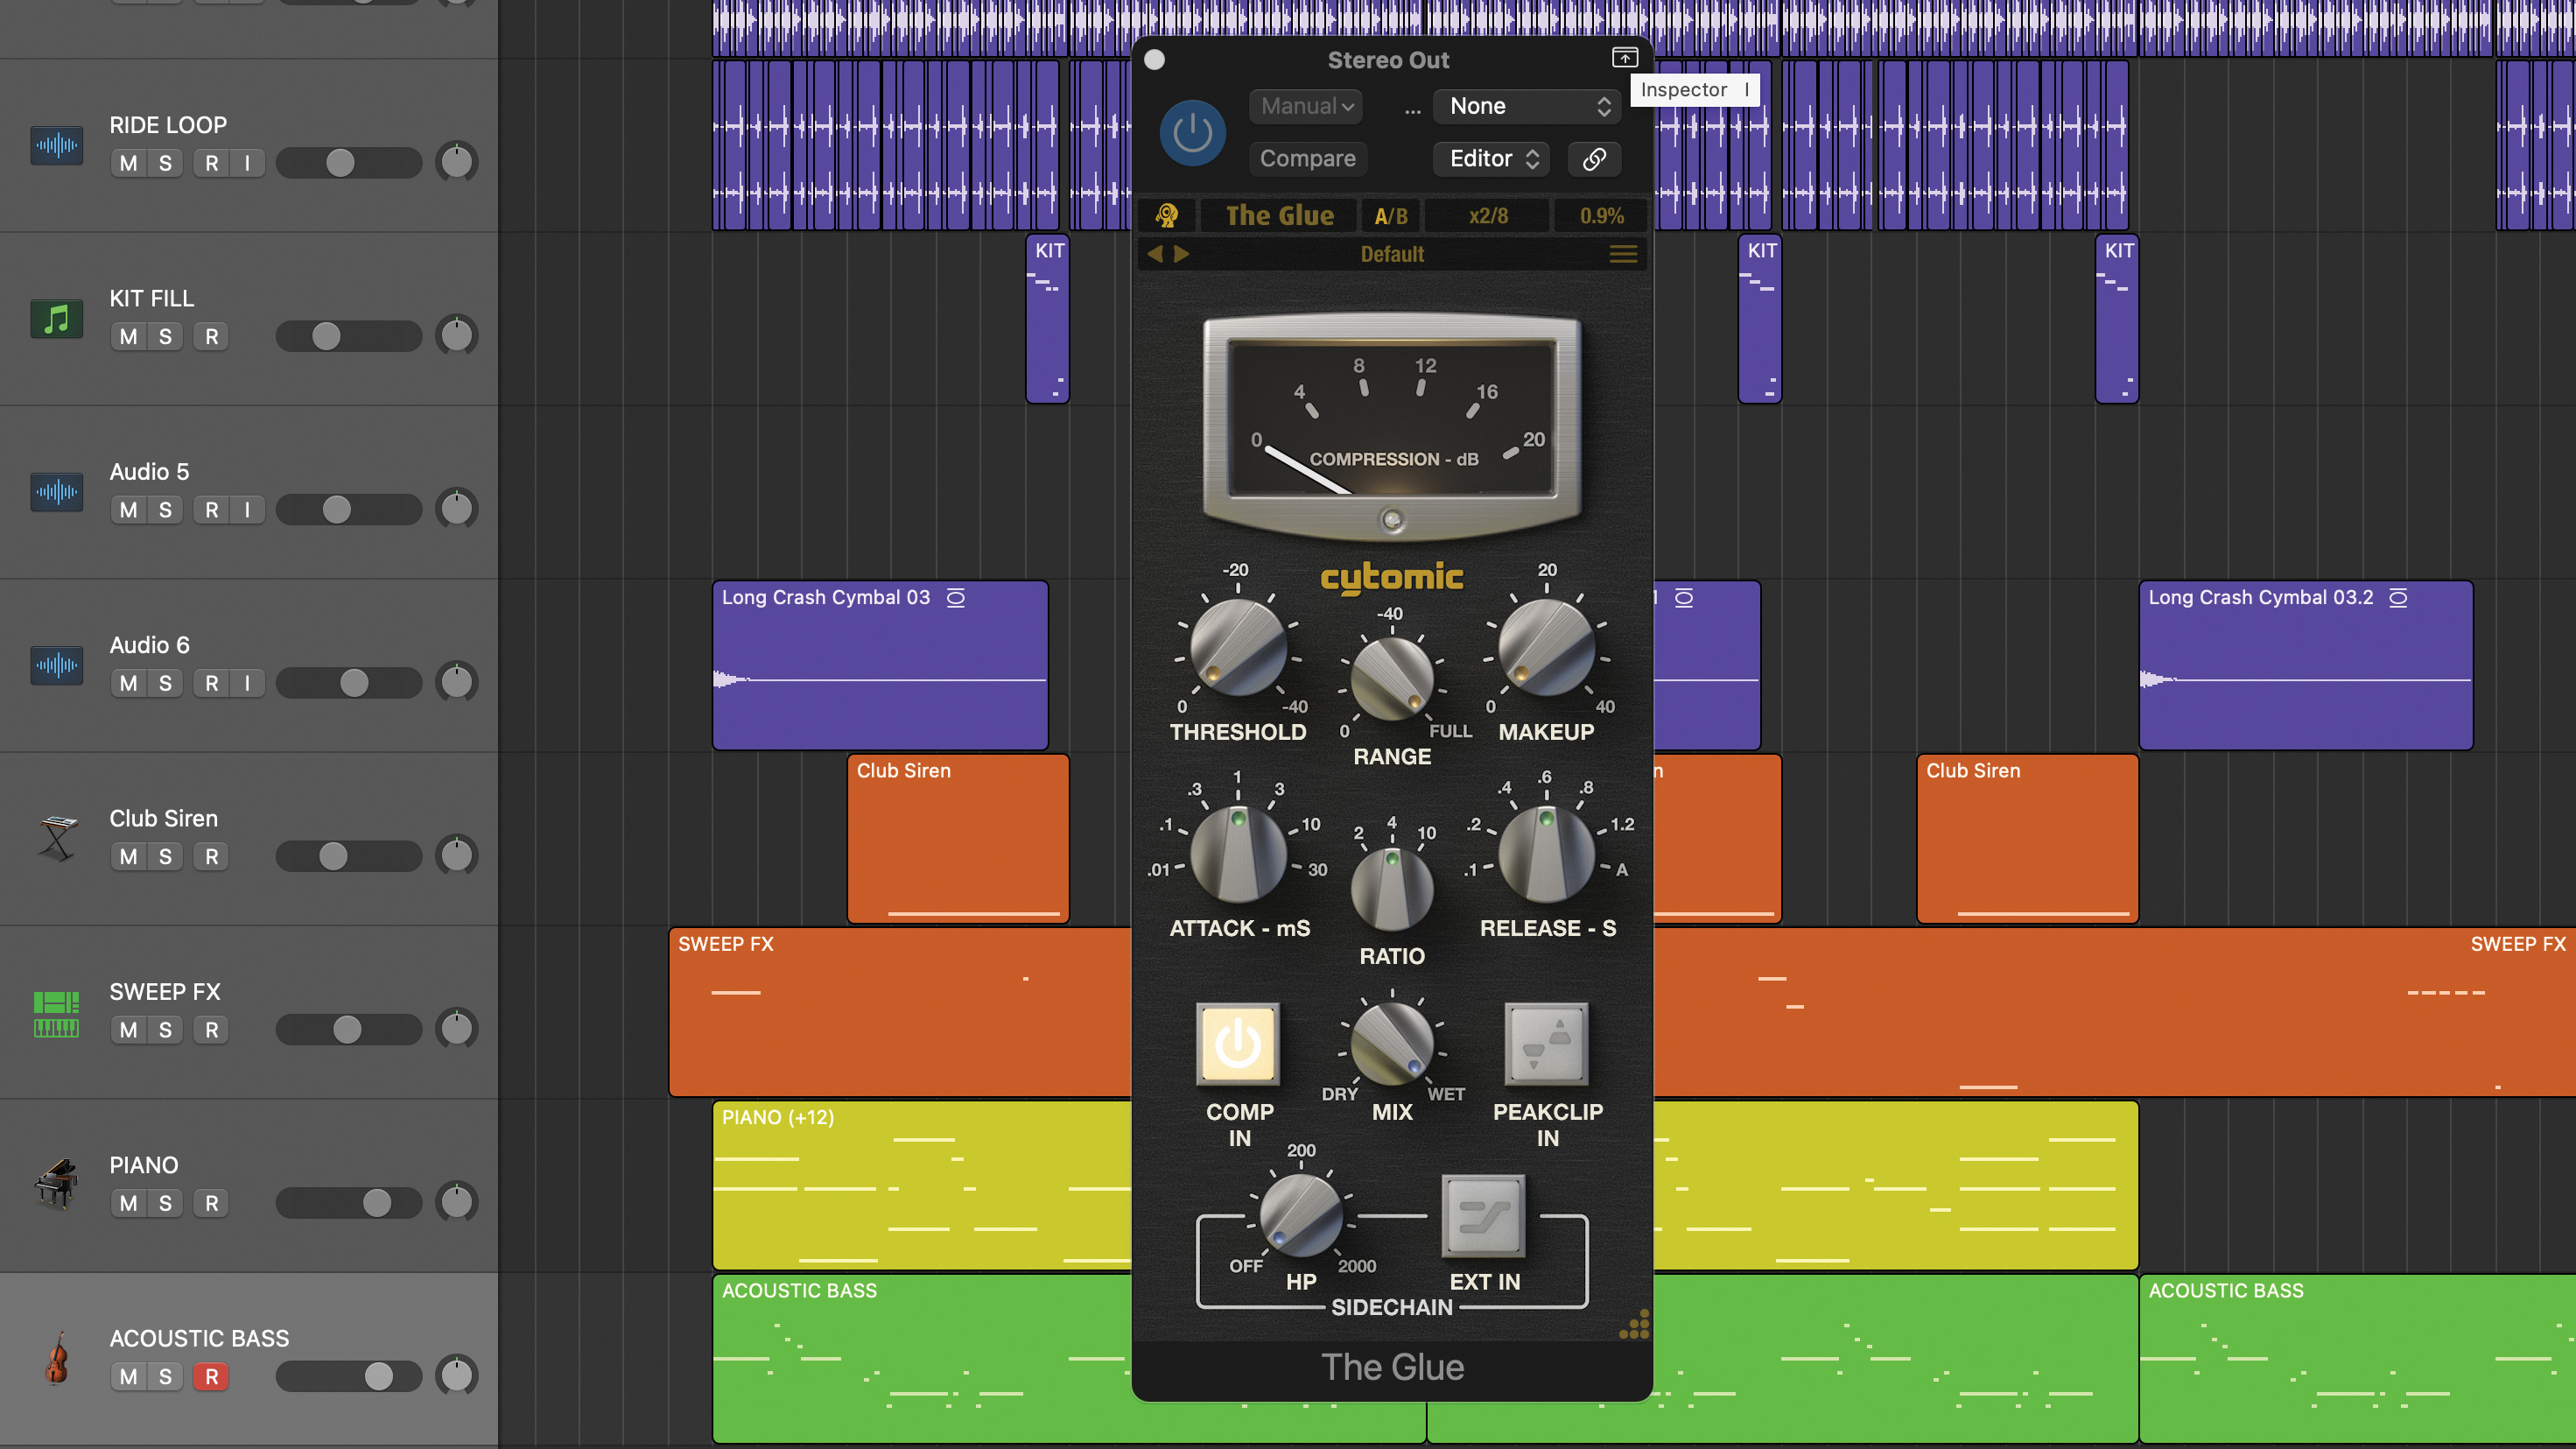
Sticking with our SSL bus compressor, let’s look at some basic settings. For pretty much any type of material, start with a reasonably slow attack and a reasonably fast release coupled with a low ratio. We’ve set our compressor attack to 10ms, release 0.2s and ratio 2:1, lowering the threshold to achieve a few dB of gain reduction.
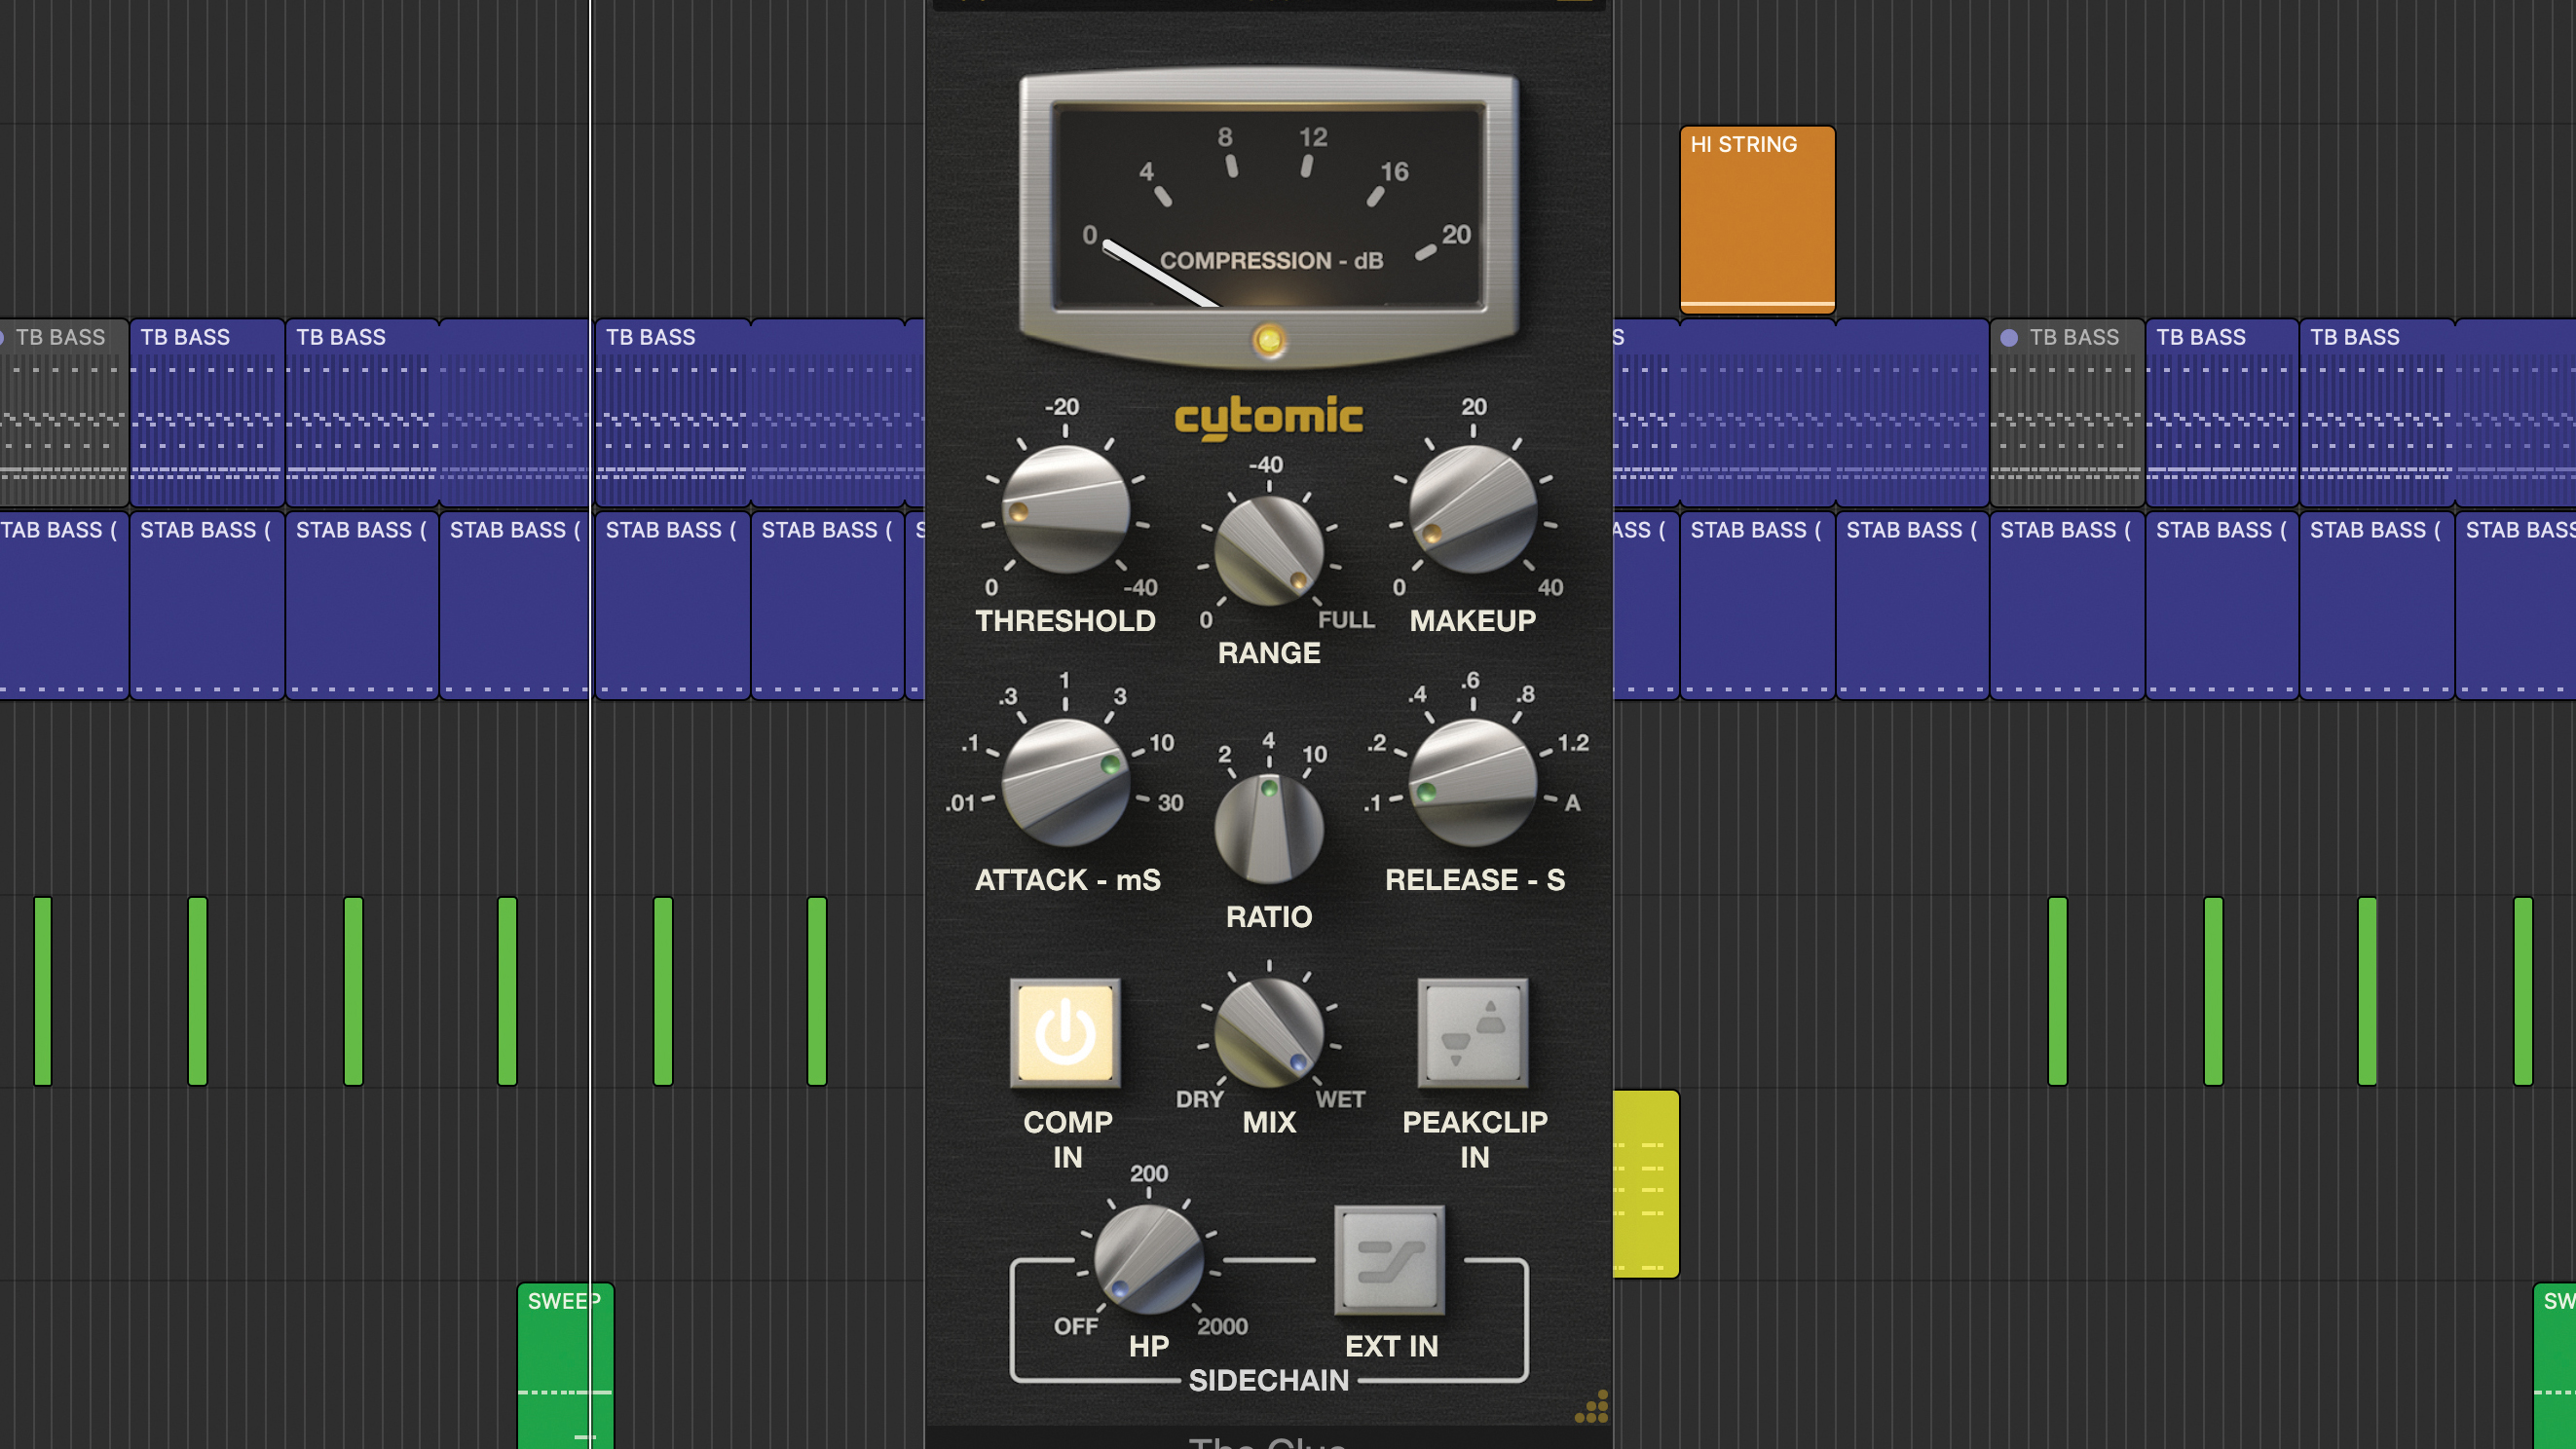
For more punchy material, we can step these settings up a gear. We have a track that is a beat-heavy, four-to-the-floor house style. For this sort of content, a higher ratio (4:1) and faster release (0.1s) are perfect for this type of VCA compressor.
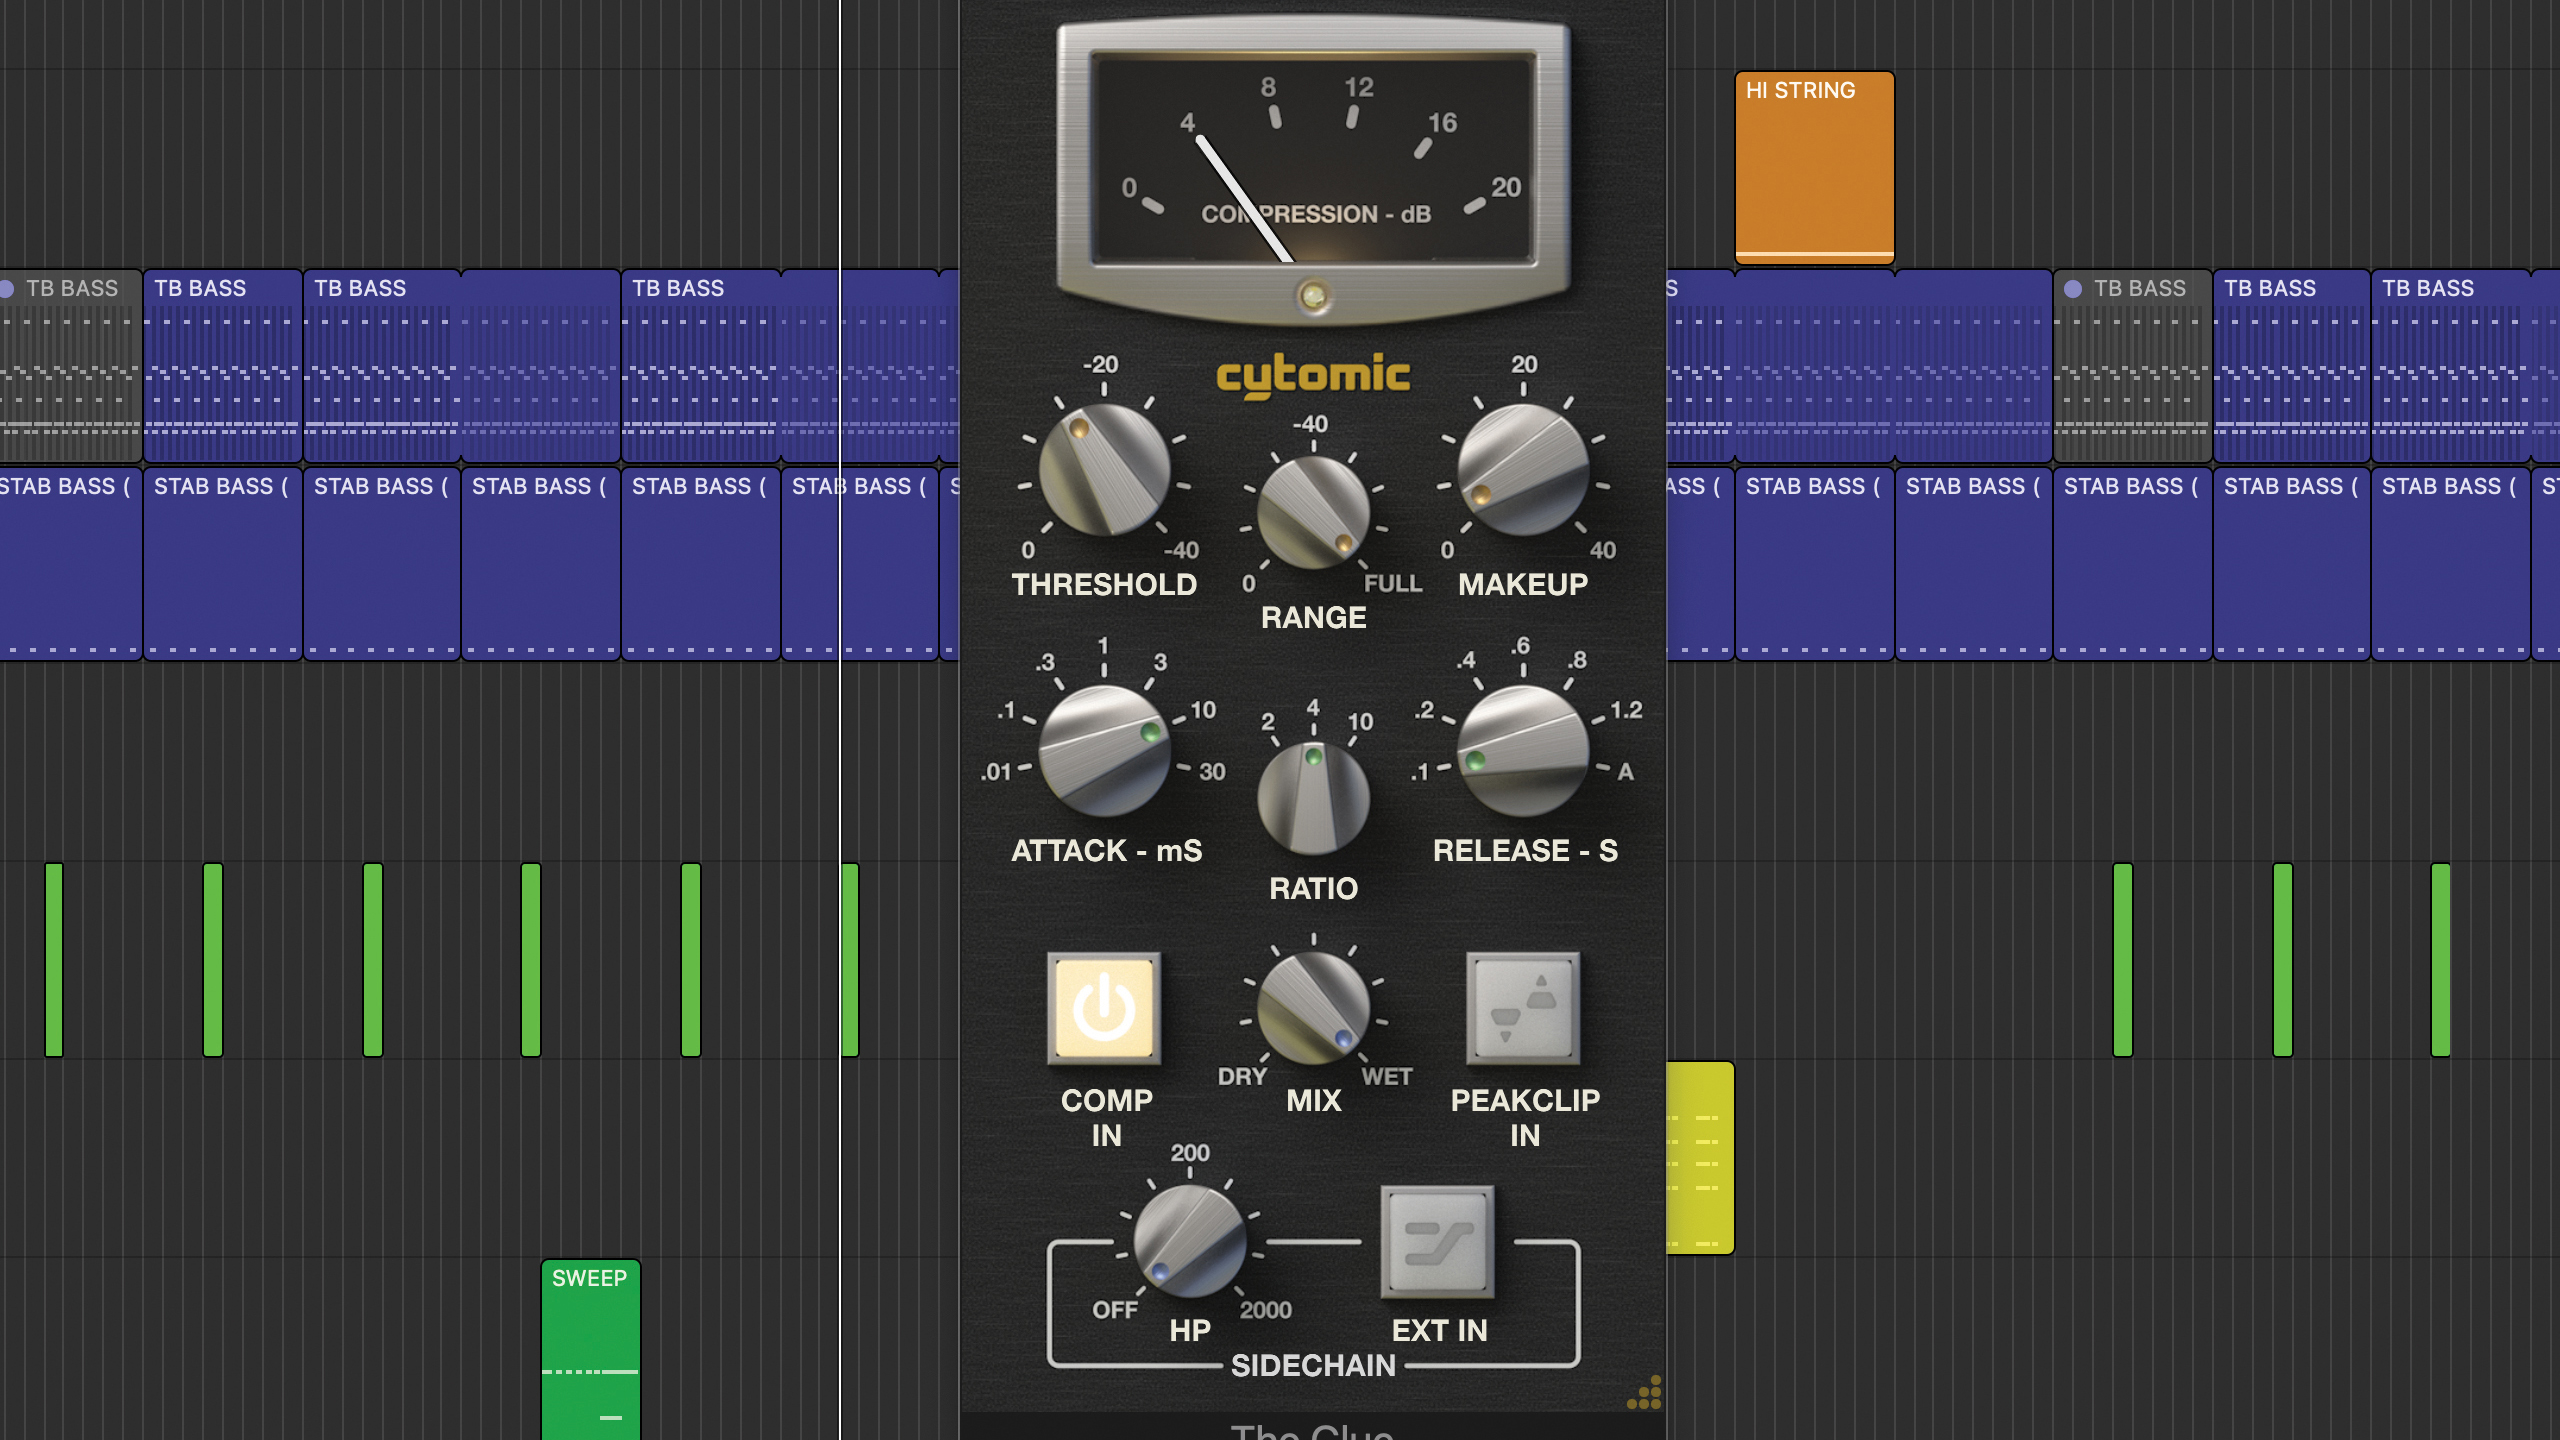
That said, the 4:1 ratio on this style of compressor has a different onset, and so you have to adjust the threshold to a noticeably lower setting. We’ve set it to achieve around 4 to 5dB maximum gain reduction, and have then increased the gain make up accordingly (+2dB). The outcome is more noticeable and works well for our mix.
A second, arguably more challenging approach is to add the compressor early in the mix process, possibly once key transient elements such as beats and bass are roughly balanced. This method is often called mixing ‘into’ the compressor and requires more awareness of your mix bus compressor’s gain reduction throughout the mix.
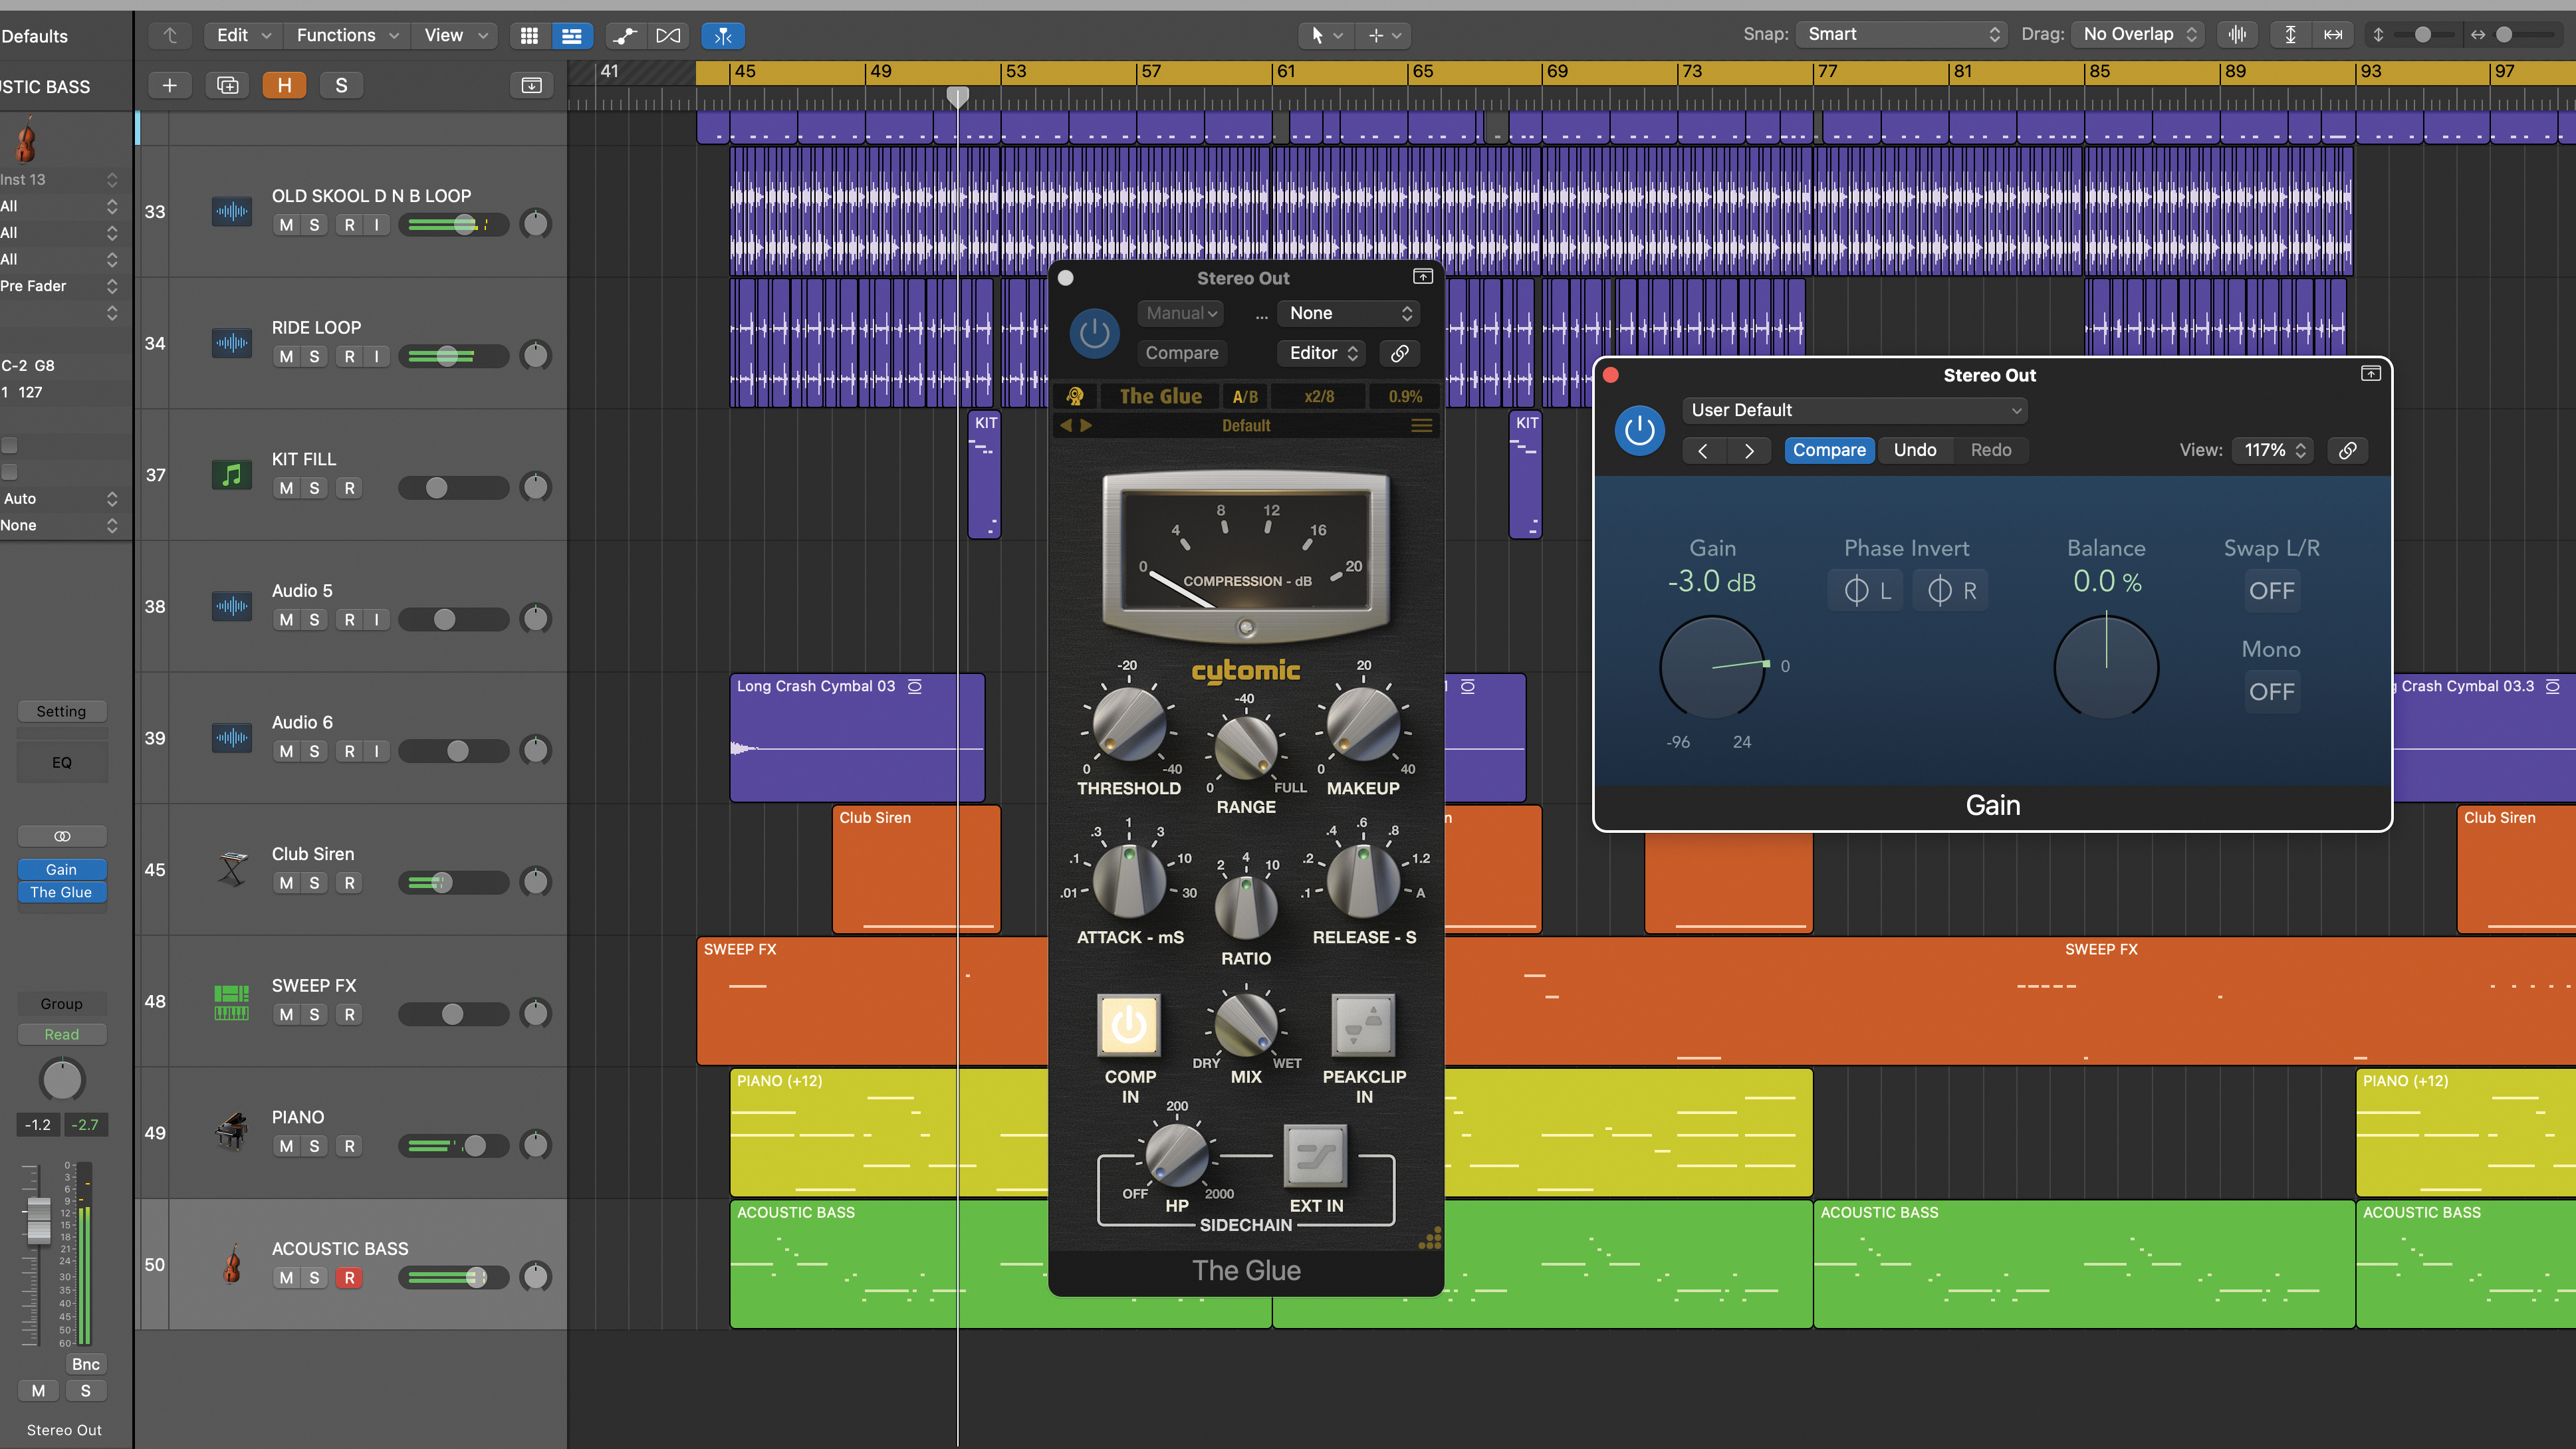
Once again, place a gain plugin first in your master bus chain, in case you need to trim levels. The goal here is to use the bus compressor to help us balance the track. Here we have a simple drum and bass track. It’s dominated by beats and needs cohesion, so it’s perfect for this technique.
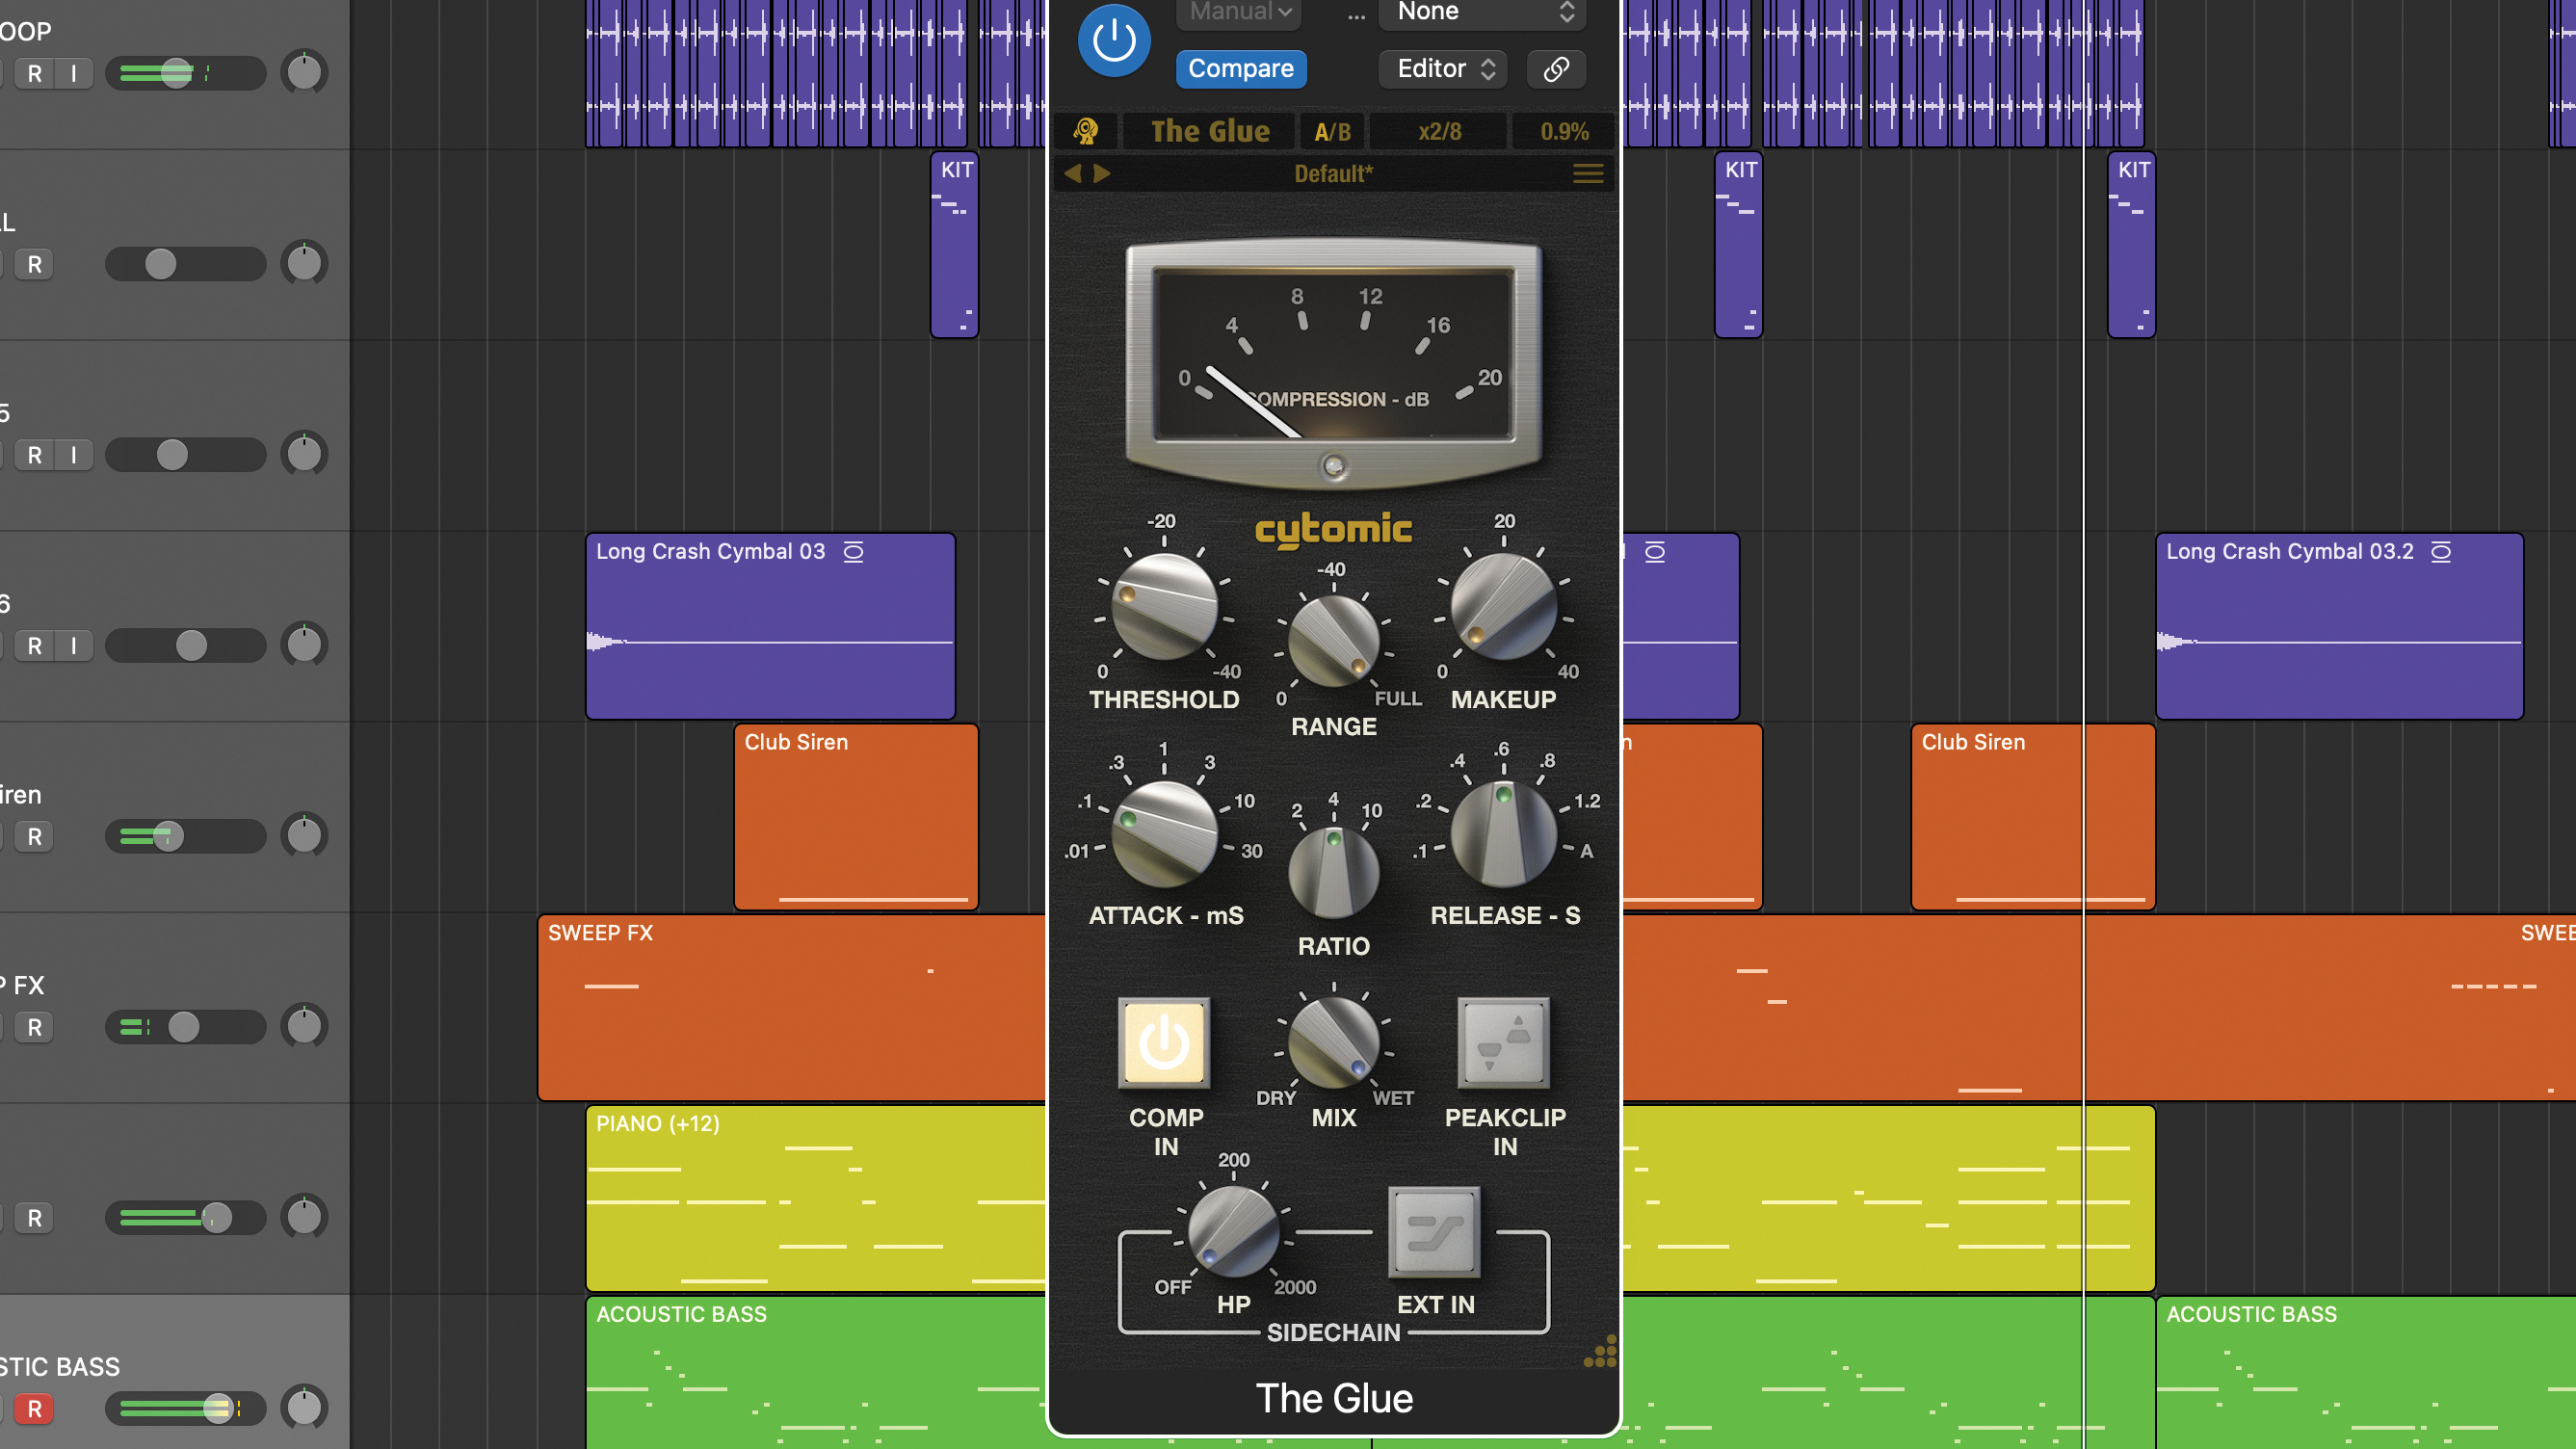
We’ve loaded the same kind of VCA bus compressor and it would be perfectly valid to use the same settings as our first technique, but this time we’re going for something slightly different. The attack is faster and release set to auto (which is signal dependent). We’ve then reduced the threshold to get a few dB of gain reduction.
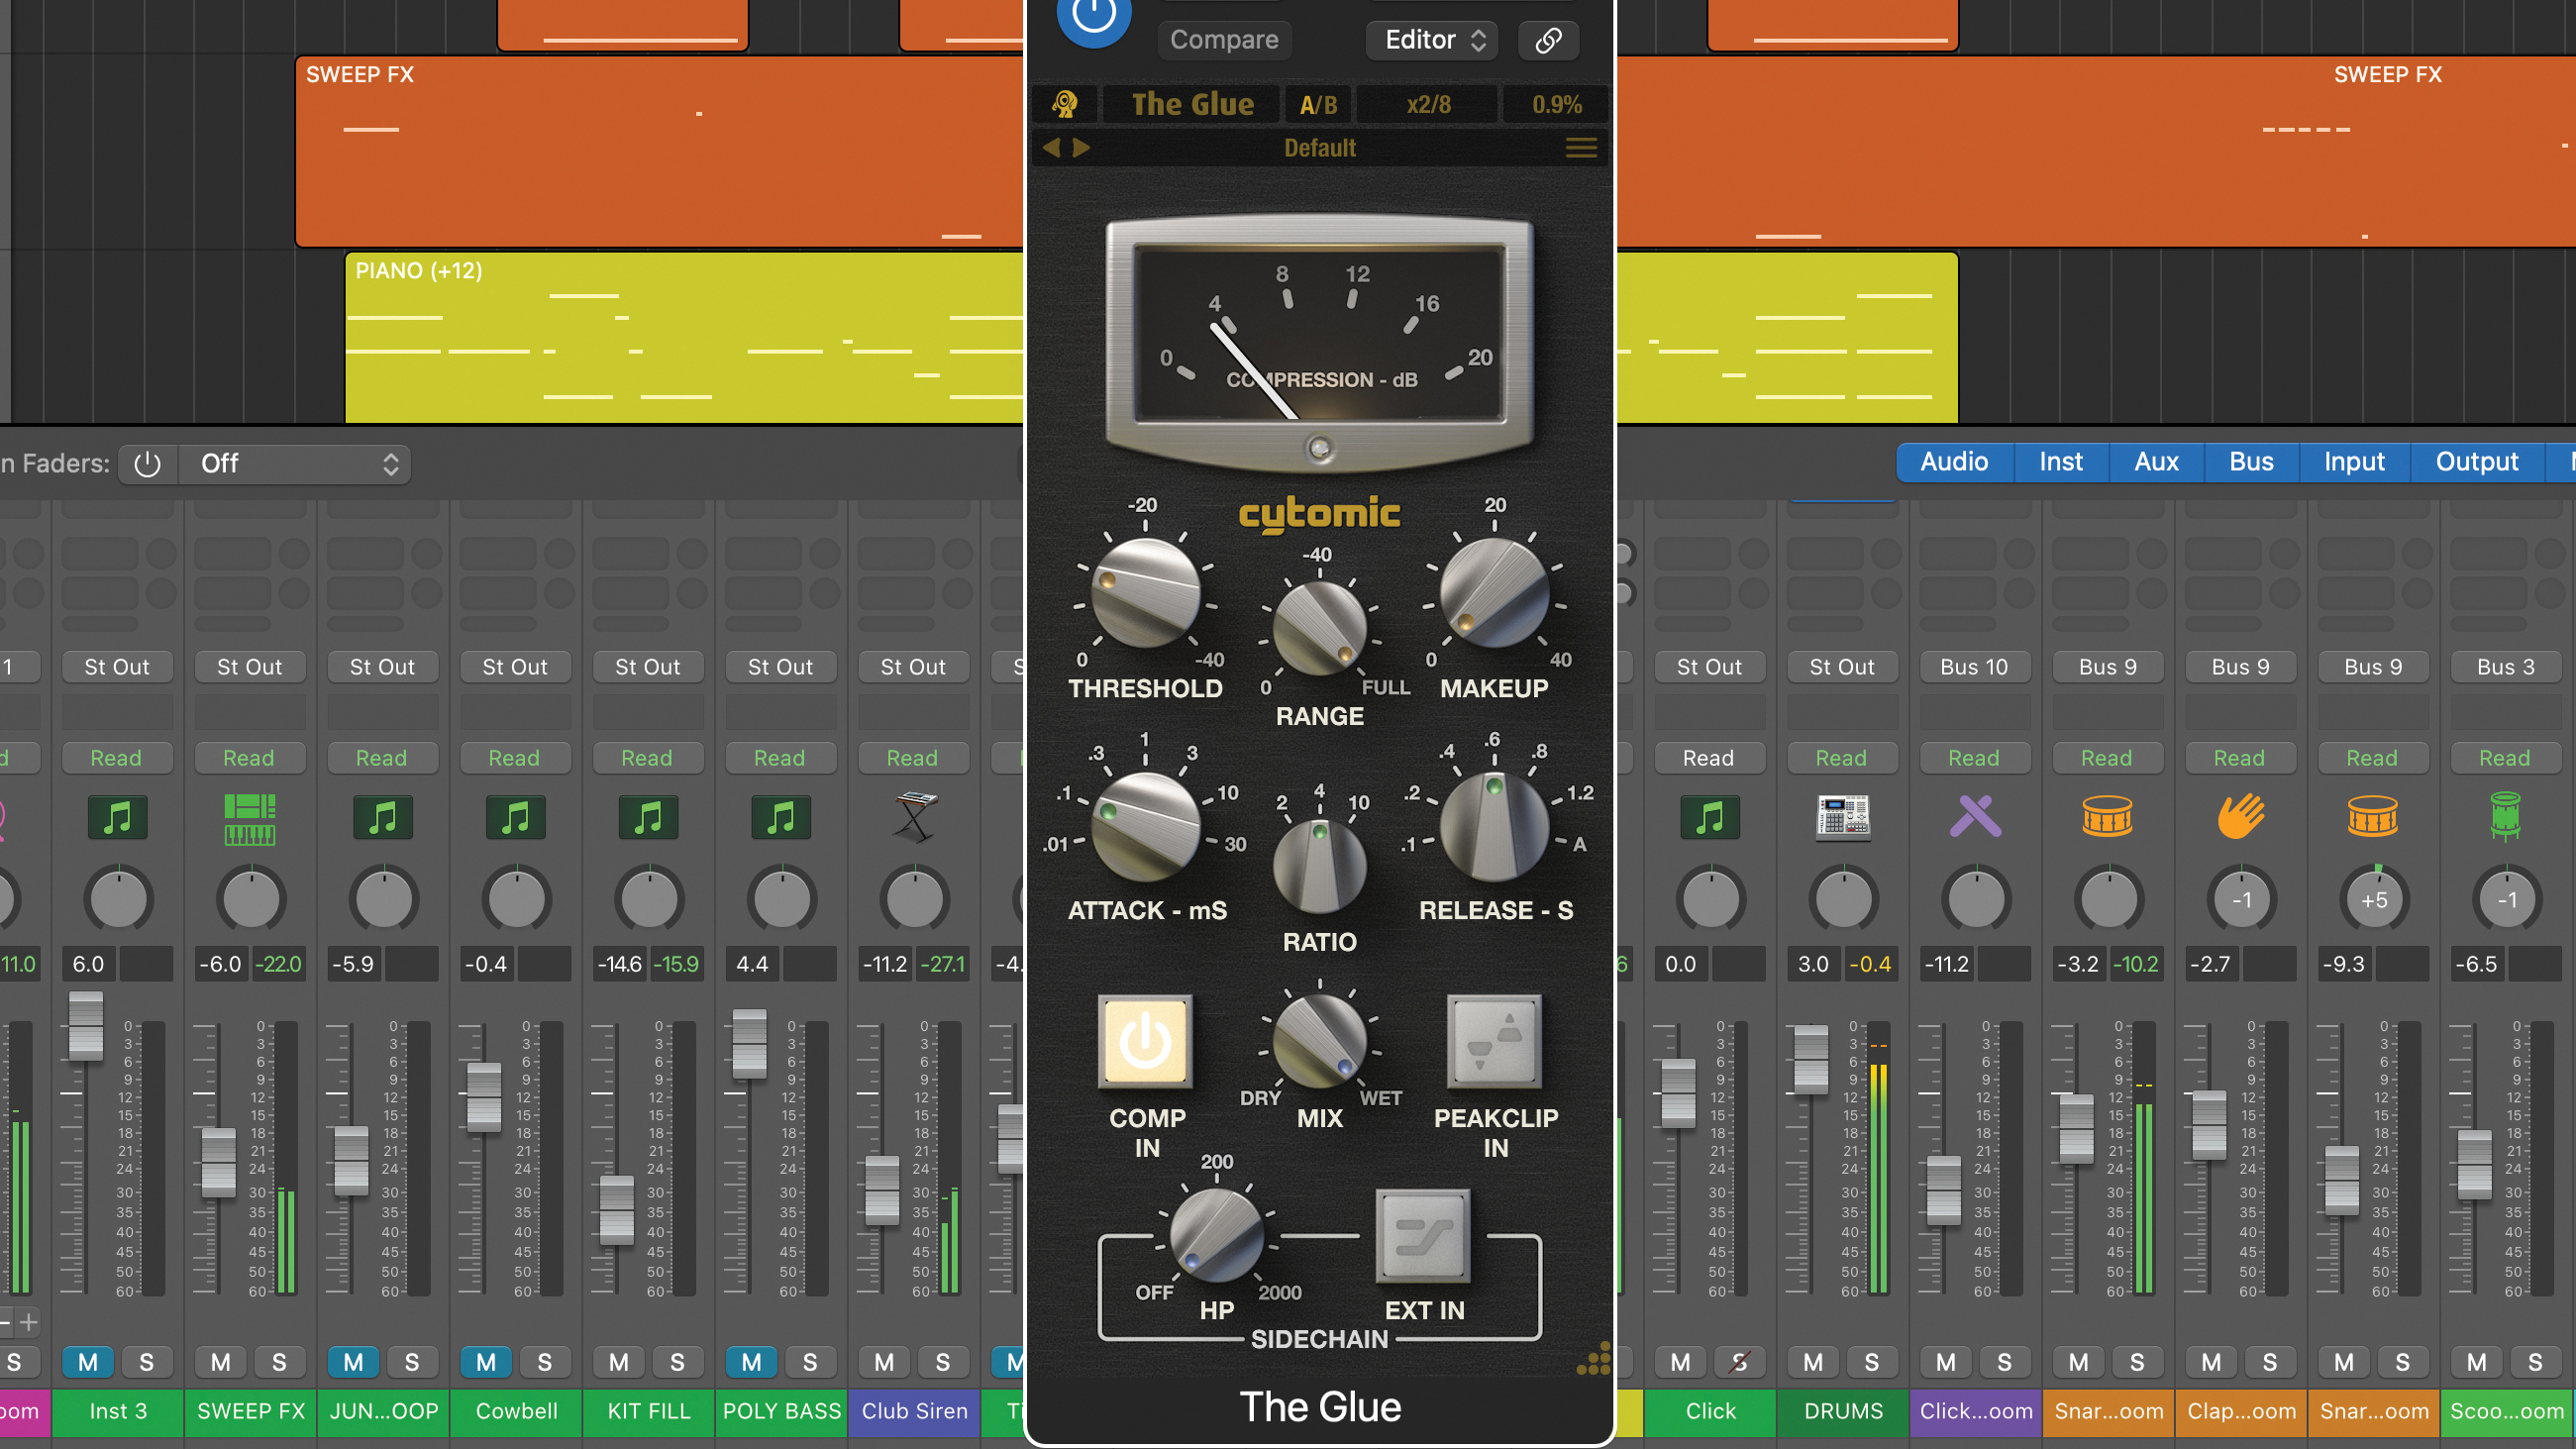
We can now proceed with the mix. However, as we push and pull levels to achieve the desired balance, we’re also influencing the mix bus compressor. Typically, low frequency content such as kicks and bass will drive the mix bus compressor, and with care you can find a sweet spot that exploits the compressor and helps gel the mix.
Pro tip
As is often the case when mixing, there is no simple one-size-fits-all approach. Nevertheless, within the boundaries of what we’ve discussed in the walkthrough, and even when using only a moderate amount of compression, different compressors deliver their own sonic footprint and it’s important to learn these. The only way to truly get to grips with this is to try out lots of compressors, and what you’ll find is that designs that work well on an individual sound, such as an FET (Urei 1176 for example), may not be best suited to the mix bus.

In the walkthrough, we’ve used the most popular and most widely copied VCA design, based on SSL’s bus compressor. It’s purpose-built for the job, but certainly not the only option, and designs based on API’s 2500 Bus Compressor or Focusrite’s Red 3 Dual Compressor Limiter are also fantastic.
Indeed, if you scratch the surface, you’ll find that mix bus compressors are often selected for additional reasons, such as the pleasing harmonic distortions they impart. So, if you find that a valve-based or opto compressor with minimal gain reduction lifts your mix in unexpected ways, you might be exploiting other aspects of its design.
Recommended listening
1. Daft Punk - Around The World
Here’s just one example of where this sampling duo take mixing ‘into’ the compressor to all-new extremes.
2. Switch Disc - REACT (feat. Ella Henderson)
Mix bus compression plays an important and audible role in this contemporary mix.
Jon is a London based platinum award winning mixer, producer, composer and club remixer with a diverse CV that spans dance, pop, rock and music for media. He’s also a long term contributor to MusicRadar's music technology tutorials and reviews. Whether working alone or collaborating he usually handles final mixdowns, so you’ll also find MusicRadar peppered with his handy mixing tips.
