
Reverb – it’s an essential tool most people will be familiar with. It can add space, power, even emotion to vocals. You’d be hard pressed to find a modern pop song without it. Usually when new music makers come to adding reverb, there’s a sound that they imagine in their head. But then… there’s a completely different result that they get.
A common mistake is to go crazy with plugins on every single channel. If there’s a main vocal track and say two or three vocal backing tracks plus adlibs, some producers might use a reverb plugin on every single one of them.
Not only is this taking up valuable RAM and slowing down your session, it’s also counterproductive in getting the desired sound. The different reverbs with different settings on each of the vocal tracks mean that the vocals are sitting in entirely different acoustic spaces and won’t sound cohesive.
In putting reverb plugins directly on a vocal track, you’re washing out the vocals, taking away the power from the performance the more you increase the effect. There is a better way to use reverb on your vocal tracks to maximise atmosphere while still maintaining the sharpness of the vox.

Step 1: Setting up your session correctly for a new project is essential. I keep a template ready-made in Pro Tools to save me time when I start on a new project. But you can do this for any DAW. This template has two reverb auxiliary tracks. This means that the plugins are only on these tracks and not on the individual instrument tracks.

Step 2: The reverbs on each auxiliary tracks have different settings. I will typically use one reverb channel for the vocals (so that all of the vocal tracks can be funnelled through a single chain and exist in the same acoustic space), and the other reverb channel for other instruments like drum components. Reverb tracks can be duplicated as needed, if you need more.

Step 3: Duplicate the vocal tracks (and any other instrument tracks) that you will be applying the reverb to. This will double the volume of the vocals, so you’ll need to turn the volume down on the duplicates in order to avoid having your ears blasted off. Come back to these duplicated tracks when you’re ready to work on reverb later in the mix.

Step 4: I add ‘sends’ to each duplicated vocal track that I will want reverb on. These sends make sure that the audio signal is sent through to the reverb auxiliary track of my choosing. For vocals, the destination track will be the same. But the key difference is how much signal I’m sending for each individual track.

Step 5: Reverb, and other effects, should be applied towards the end of the mixing process. There are a number of key steps that you’ll want to carry out first, such as the rough balance of your instruments, equalisation, compression etc. So I always deactivate the sends on the duplicate tracks, as well as keeping the volume faders down, till I’m ready to apply effects.

Step 6: The backing vocals on this track I worked on were very heavy with reverb. The send fader is really high (right) compared to the send on the main vocal duplicate (left). A signal heavily processed with reverb is known as wet while an unprocessed vocal is known as dry.

Step 7: As well as the send level, from each track to the reverb auxiliaries, there’s also a balancing act to take into account in terms of the volume of the vocal tracks and their stacked duplicates. The volume of the original main vocal is higher here, and this means that the power of this original vocal is retained.

Step 8: I recommend turning the duplicate vocal fader right down and then bringing the volume back up until you have the right amount of reverb that you want. It’s that simple, and means that you’ll always have total control rather than just having a plugin slap bang on a track.

Step 9: Reverb settings can look daunting. Common controls are Dry/Wet faders (the amount of the original unaffected signal vs reverb amount); Attack; Decay (how long the reverb effect lasts on the sound); Size (aka room or shape, which affects the sound and space of the reverb effect); and Pre Delay (how long after the original sound the reverb starts).

Step 10: The size of your reverb is important. If you’re going for an 80s power ballad style you’ll want a large room effect. If you’re going for an intimate, acoustic style you might want a small room, subtle effect just to make your vocals and instruments sound natural. In my example, the backing tracks are using large size with reverb Decay at an atmospheric 5.4 secs.

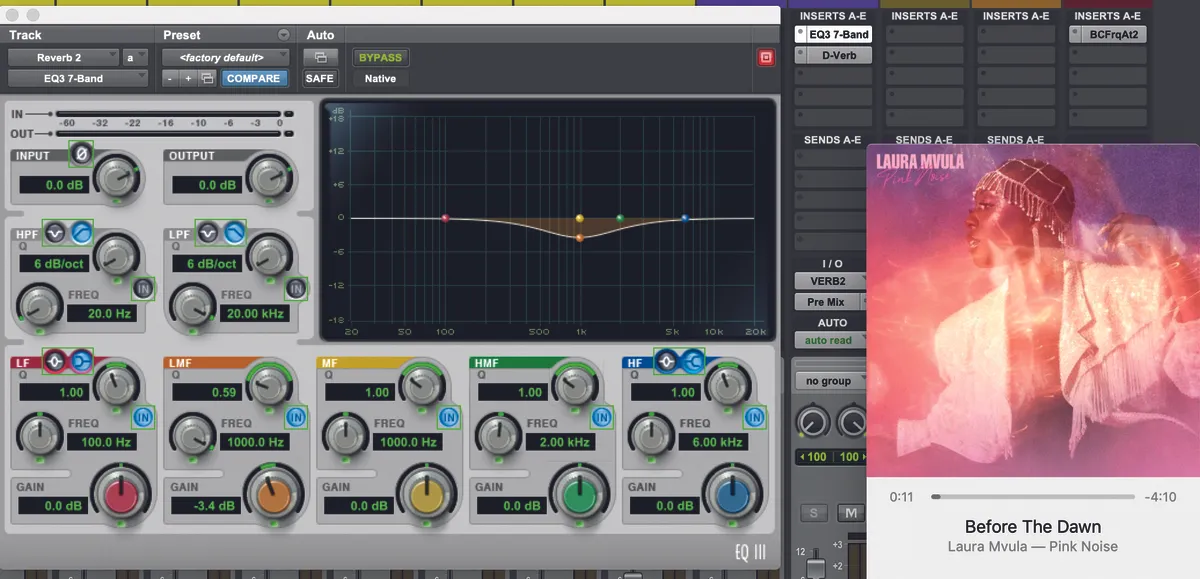
Step 11: Watch the amount of decay you add. Ensure it’s fit for purpose for the style you’re working in. If the reverb tail is too long and not EQ’d it can cause muddiness as the reverb tail clogs up acoustic space. For vocals you can definitely cut mid-range frequencies on your reverb; they won’t add anything. Again, consider the most pleasant audible range.
Step 12: It’s easy to go too far with reverb, and always be aware of the space you’re listening to audio in. That, too, will affect how you hear things. This is where a good reference track comes in handy. Pick a song you know inside out, including how it sounds on different devices.
