9 killer creative distortion tricks you need to try
Advanced mixing and sound design tips to fire up your signals
1. Driving delay and reverb
If your overly clean reverb or delay signals need a splash of colour, load them on an auxiliary return track containing a saturation or distortion plugin. By placing the distortion effect after the delay or reverb, you can dial in varying shades of colour: gentle saturation will bring up low-level detail and flatten your reverb or delay’s dynamics; while more assertive drive will result in face-melting, over-the-top distorted tails or repeats.
Placing the distortion stage before the ’verb or echo will coat the driven dry signal in clean ambience. Use subtle settings to spice up tame vocals and synth stabs, or heavily distort a parallel synth signal into gigantic reverb to design gnarly ‘foghorn’ bass sounds.
2. Make some noise
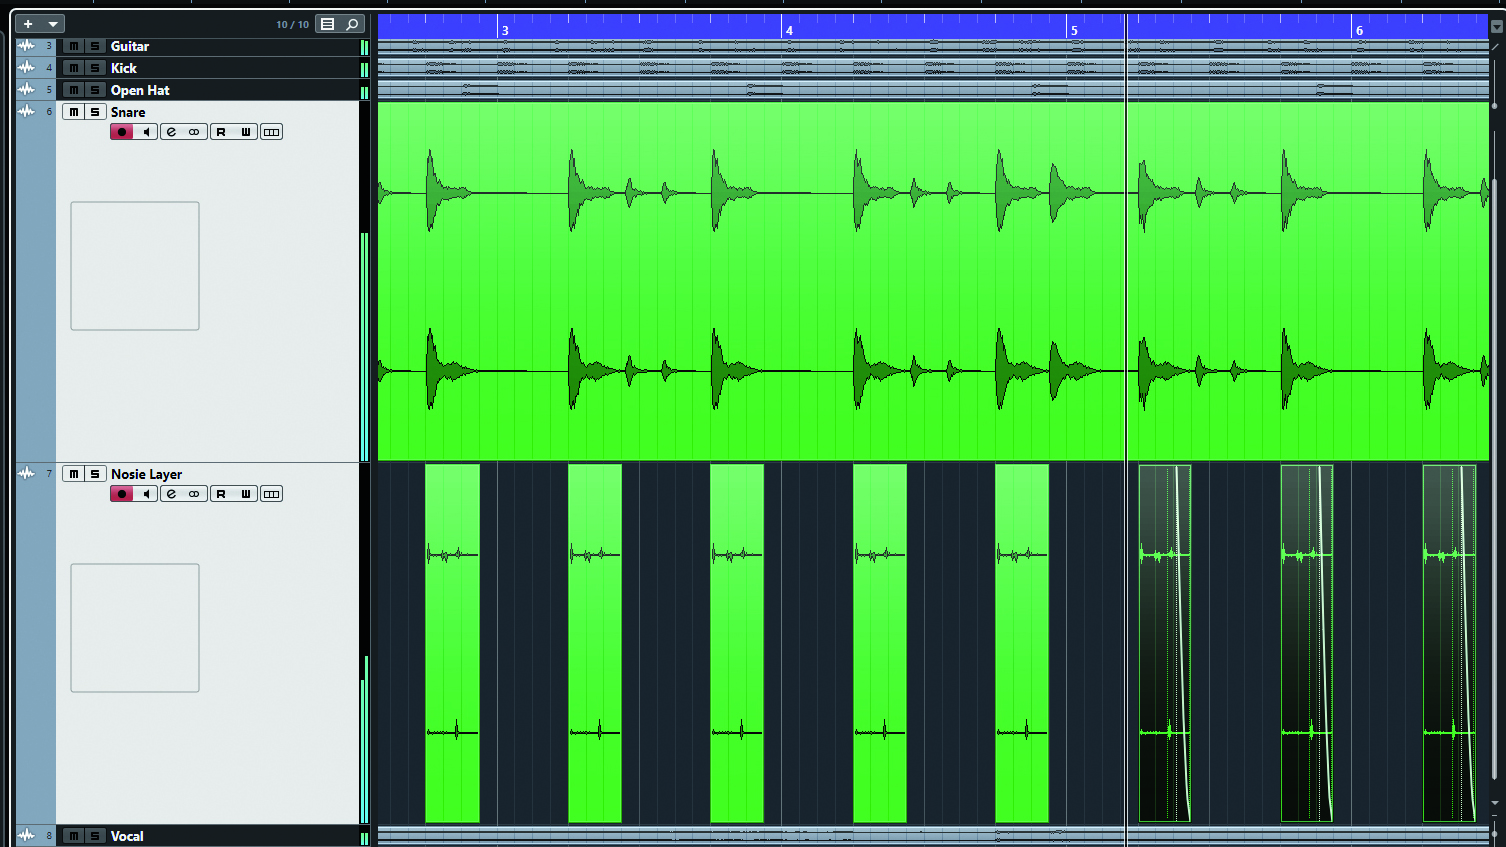
Need a simple, effective way to colour one-shot samples? Simply layer some kind of noise signal underneath, then group with the original signal and distort the two layers together as one. Pristine drum hits instantly sound more lo-fi and ‘sampled’ if you crunch them into some vinyl crackle, while digital synths can be shuttled back in time by distorting them alongside a slathering of tape hiss or hum.
3. Parallel excitement
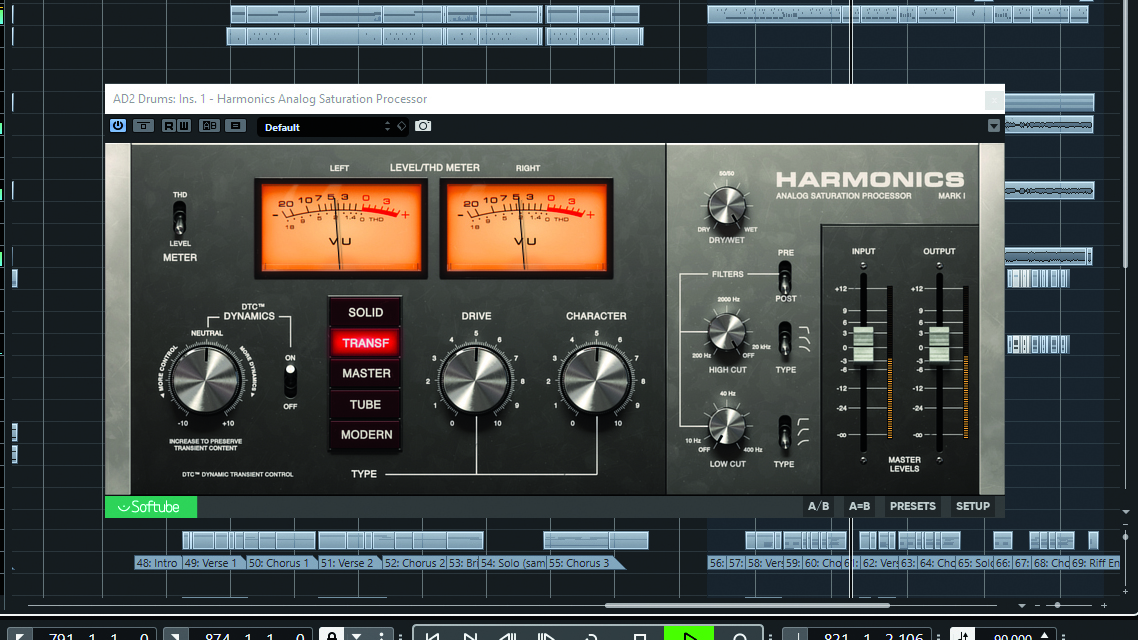
Step 1: Start by loading a saturator onto your drums. If your plugin allows, flip through its different saturation flavours to find one that suits – in this example, we’ve plumped for Softube Harmonics’ Transformer mode, which has a chunky, rich sound with sufficient high-frequency sweetness and depth.
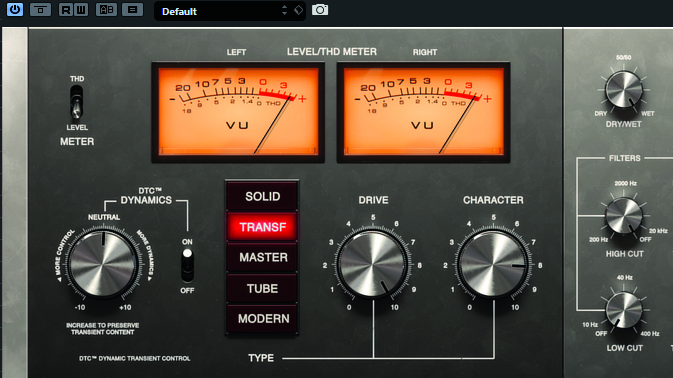
Step 2: Push your plugin’s saturation amount up to drive your beats hard. Many distortion plugins feature a ‘tone’ control for tilting the frequency response of the overdriven signal. Here, Harmonics’ Character gives us a brighter sound when cranked up. A setting of 8 brightens our beats without ear-shredding side effects.
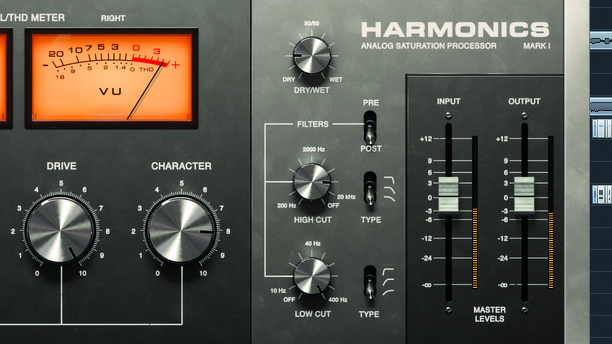
Step 3: To retain transient detail and cleanliness, pull your saturator’s wet/dry mix control right back to blend the smashed signal with the dry signal. Here, around 20% is enough. If you need to focus the effect around the high-mid region even more, reach for your drive plugin’s high- and low-pass filters.
4. A bit dirty
One of the most creative, striking ways to use distortion is in the no-holds-barred realm of sound design. Using the right distortion, you can generate atmospheric effects and synth-style tones from the simplest of source sounds.
Digital distortion treatments are particularly useful for generating new timbres. As you reduce the bitrate of an audio signal, its detail will disappear, leaving behind an aliased, crunchy sound. Try harshly bitcrushing a drum loop until the percussion takes on a synthetic, ‘blocky’ quality. Afterwards, cut out the best bits to use as one-shot zap sounds, then load them into a sampler with a splash of delay after to create unique synthetic bleeps ’n’ bloops that can be played back chromatically.
You can also make superb cinematic-style effects with overt distortion. Sending a reverb-soaked kick drum to a forceful distortion aux will give the hit some assertive power and bite. Place a sidechain compressor – triggered by the dry signal – after the distortion to duck the driven signal, retaining some of the clean sound amid the smashed, swelling tail.
5. Spot distortion
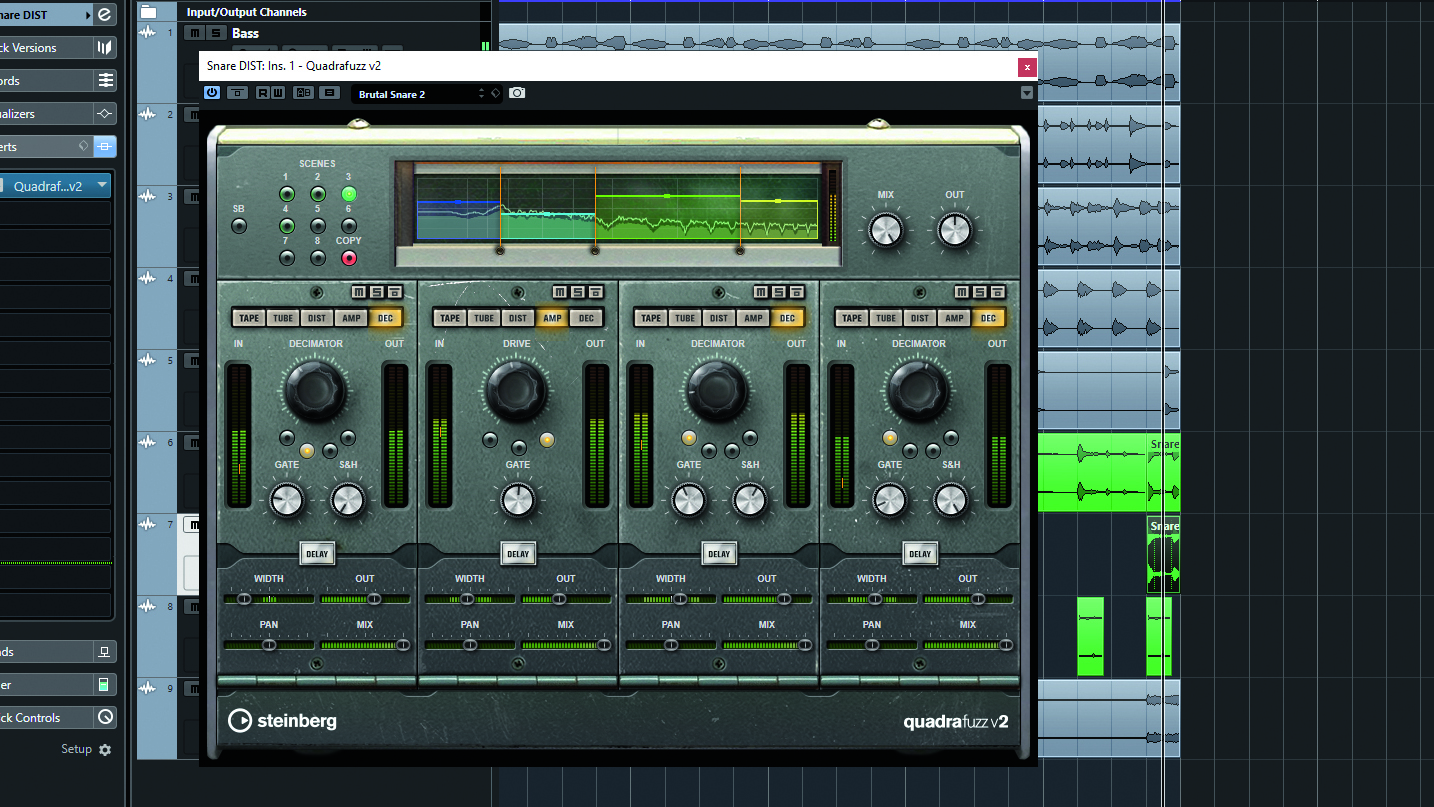
You can create a quick edit in your latest arrangement by copying a piece of audio to a separate channel, then heavily distorting it. You could, for example, crunch up the final snare of an eight- or 16-bar section, or blend some parallel distortion over certain bass notes to help them poke above the cleaner notes.
Want all the hottest music and gear news, reviews, deals, features and more, direct to your inbox? Sign up here.
6. Sidechained distortion
Call up a sidechain-capable distortion plugin such as FabFilter Saturn or iZotope Trash 2, then use external triggers from other parts of your track to modulate plugin settings. This can create impressive mix interactions, such as making elements like synth pads and rides distort when the kick drum hits, making it sound like the bass drum is smashing into those elements.
You can also give your synths interesting rhythmical distortion patterns by using parts of your drum kit as the trigger signal over multiband parameters. Reducing a low band of distortion when the kick hits will emphasise that element, while using your beat’s snare to modulate the feedback amount on a midrange band will impart unusual rhythmic crunch.
7. Pre-drive EQ
By chaining EQ and distortion together in series, you can radically alter the character of the effect. For example, automating a resonant EQ or filter boost into distortion will create modulated ‘rasps’ that can add a unique feel to aggressive synth basslines, particularly if you sweep the boost’s centre frequency around.
Or regulate distortion by EQing out too-prominent resonant frequencies pre-drive. This works well for distorting vocal recordings without emphasising sibilance, or removing low-mid ‘mush’ when sounds are pushed harder.
8. Mid/side distortion
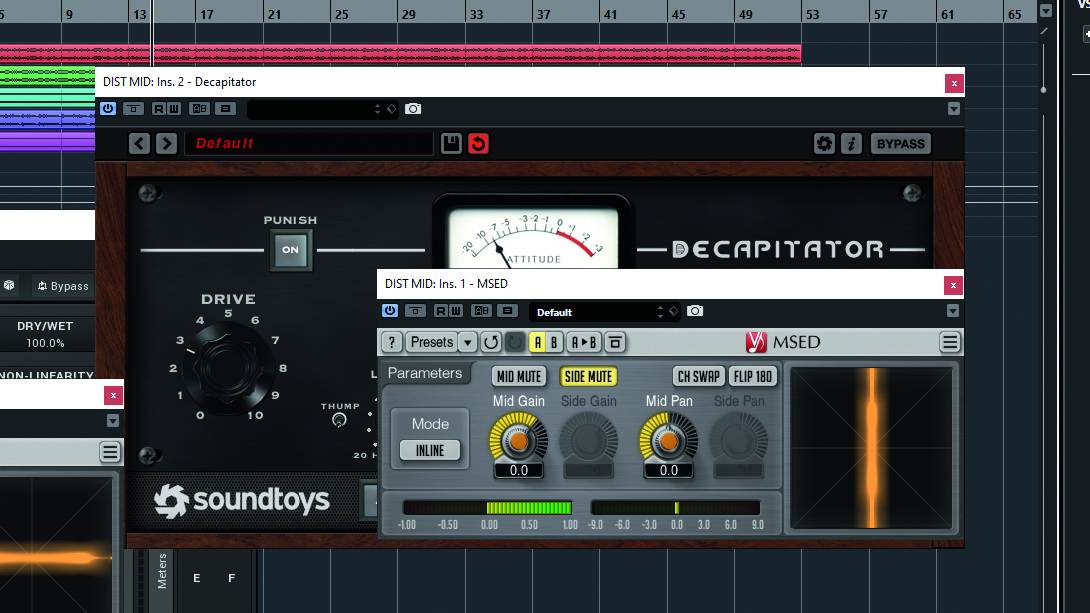
Just as you’d use mid/side EQ to independently sculpt the mid (mono) and side (stereo) frequencies of a stereo signal, you can also use distortion to drive mono or stereo signals separately. There are many ways to use this effect creatively: saturate the mid channel of a stereo guitar bus to give it more centered weight, or distort the sides of a synth pad to add stereo character without cluttering the middle of the mix. You can hack your own mid/side setup using Voxengo’s free MSED mid/side encoder and any regular distortion plugin, or turn to Vertigo’s VSM-3 for a ready-rolled option.
9. Return to sender
A brilliant way to add extra dimension to raw synths is by chaining up distortion, EQ and modulation effects on an aux return. By rolling off the lows from this aux signal, then mixing it alongside the dry signal, you can add in some crispy flavour to high frequencies that can in turn help instruments such as bass guitar, lead synths or 808 bass drum hits sear their way through the mix.
Similarly, if you want to give ringy synth leads and wompy basses some crunchy, characterful width, send the dry signal to an aux. Isolate this parallel signal’s midrange frequencies with a precise EQ band, coat the signal in swimming chorus, then distort to taste.
From here, add dynamics and motion to the effect by automating the source channel’s send levels up or down as the track progresses.
Computer Music magazine is the world’s best selling publication dedicated solely to making great music with your Mac or PC computer. Each issue it brings its lucky readers the best in cutting-edge tutorials, need-to-know, expert software reviews and even all the tools you actually need to make great music today, courtesy of our legendary CM Plugin Suite.
