
So, you've got the best field recorder you can lay your hands on, a pair of suitable shoes and a can-do attitude, but what steps do you need to take to ensure a successful foray into the outside world?
1. Listening through the microphone(s)
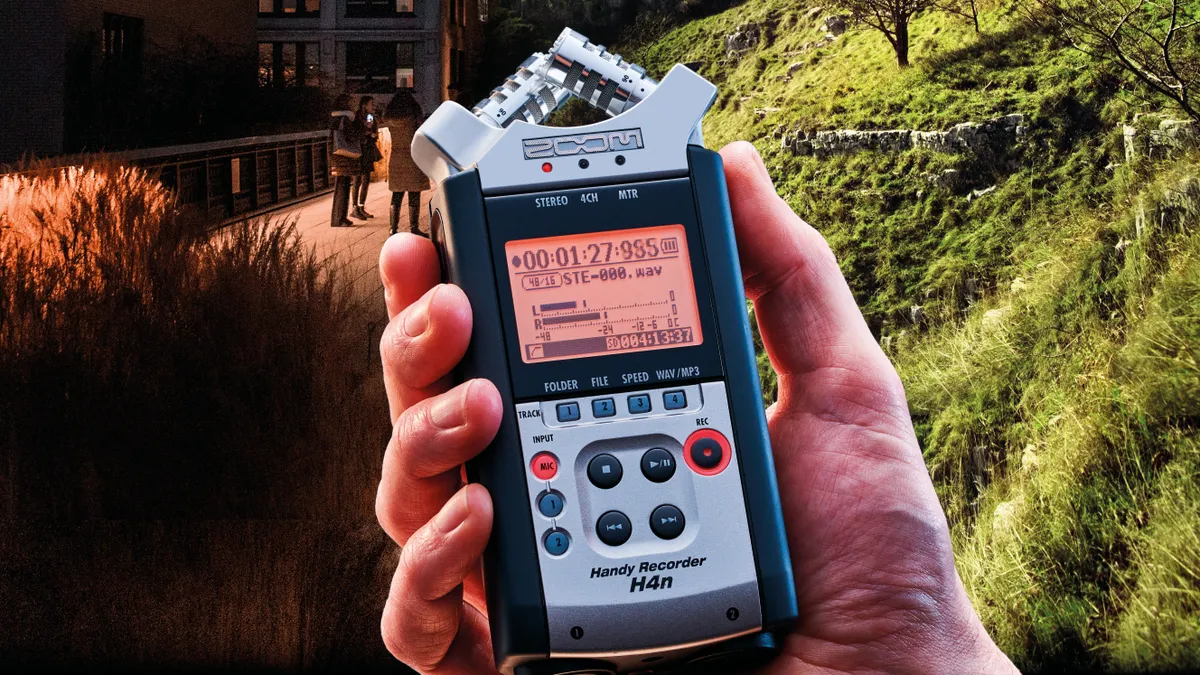
Best field recorders: top portable recorders for capturing sound on-the-go
It’s not just a cliché that sound recordists are pictured in films and documentaries with their cans on; it’s an essential part of successfully capturing the parts of the aural environment you're targetting.
Whenever possible, record with headphones on or earbuds in so that you can hear what the recorder is capturing. This will alert you to the most troublesome of sounds: wind.
Even light breezes can kill the low end of a recording, and though de-wind algorithms can work wonders, they can’t be relied upon.
The only time it’s best not to is if you are in a populated indoor space and don’t want to draw attention to your crowd-scene capture work, as people can, understandably, react badly to being recorded.
2. Getting the right level
The dynamic range of the world is huge, far in excess of your recorder and mic, so what level do you set?
The best piece of advice is to keep as much headroom as you can without making the noise floor of the recorder a regular component of your recordings. Think about what you want to capture and, if possible, set a level that allows for around 10dB or more of headroom.
Ambience recording is fairly simple as most of the dynamic events that may distort aren’t really what you’re after, but then again they may be golden nuggets that needed just an extra 10dB.
For dynamic material don’t be afraid to under-record and use noise reduction later, as it’s easier than removing distortion. Built-in limiters are best left off unless you’re really uncertain about your surroundings or know well how they sound/operate.
To a lesser degree, the same goes for high-pass/low-cut filters; ensure that you really don’t need the lowest octave(s) before engaging.
3. Slates and markers
Most handheld or mobile recorders have controls for dropping markers, starting new ‘takes’ or files. So do many phone/tablet-based packages. These are key for anyone serious about doing this, as it saves a lot of time in the first stage of editing and archiving.
There is also a manual approach which can be used with or instead of markers, akin to the slating in film recording. Clapping or making a loud transient, eg tapping the mic, can be useful for highlighting good takes or unwanted noise, etc.
Make verbal notes on the recording too, explaining what’s going on in the recording or some idea that comes to mind about the sound.

4. Be prepared (for sound)
Even if you just want to record some basic ambience material, keep your recorder running for as long as the batteries and data storage can manage. You can always edit out what you don’t need later, but you never know when an A-grade audio event may occur and provide something you didn’t expect, which is truly ‘found sound’.
Cities are rich with creaks, booms, cheers and screeches that can’t be asked for a re-take. The countryside is also chock-full of bird calls, falling tree branches, rock falls and unidentified animal noises that can power any number of imaginative sound design projects.
5. Archiving is for winners
Much like a well-sampled instrument or a bank of classic breakbeats, a library of your own field recordings and found sounds can be returned to again and again to spice up a musical project or create new sound bed layers for post production. The potential uses and combinations of the raw elements are only limited by your own creativity and imagination.
This point is moot if you don’t purposefully curate an archive, however small that may be. Best practice with regard to file and folder naming, as well as keeping raw and edited versions of your recordings, will aid efficiency and utility, as well as the all-important creative focus.
Situating the archive is also important. Dedicate a folder, partition or drive on your main computer to your archive, or even an external drive.
No matter where it is, ensure it’s backed in one or more locations, as with all your audio data. What takes moments to archive properly can provide priceless raw materials for years.
- The best field recorders: capture sound on-the-go
