5 Ableton Live power tips
Optimise your workflow and get more done with these essential techniques

Ableton Live goes out of its way to make life easy and productive for the computer musician, but there's always more that can be done to speed up your workflow and improve your output.
With these five power tips, you'll learn how to set up plugins for A/B comparison, switch tempo and time signature using Scenes, tighten up loops and more.
• For many more Live guides see our massive tips hub: Learn Ableton Live and Ableton Push: music production tips and tutorials
Article continues below1. Make custom metronome sounds
Live’s default metronome sounds can get annoying, but replacing them with your own is easy. Locate the original sounds - on Mac, right-click the Live.app file and select Show Package Contents, then go to Contents/App-Resources/Misc/Metronome/Samples/; on PC, go to C:\Program Files\Ableton\Live x\Resources\Misc\Metronome\Samples\.
The sound files are Metronome.wav and MetronomeUp.wav, and Live will use any samples with these exact file names as the metronome, so replace them with your own alternatives. Back up (or rename) the default files so you don’t lose them forever.
2. Add Locators
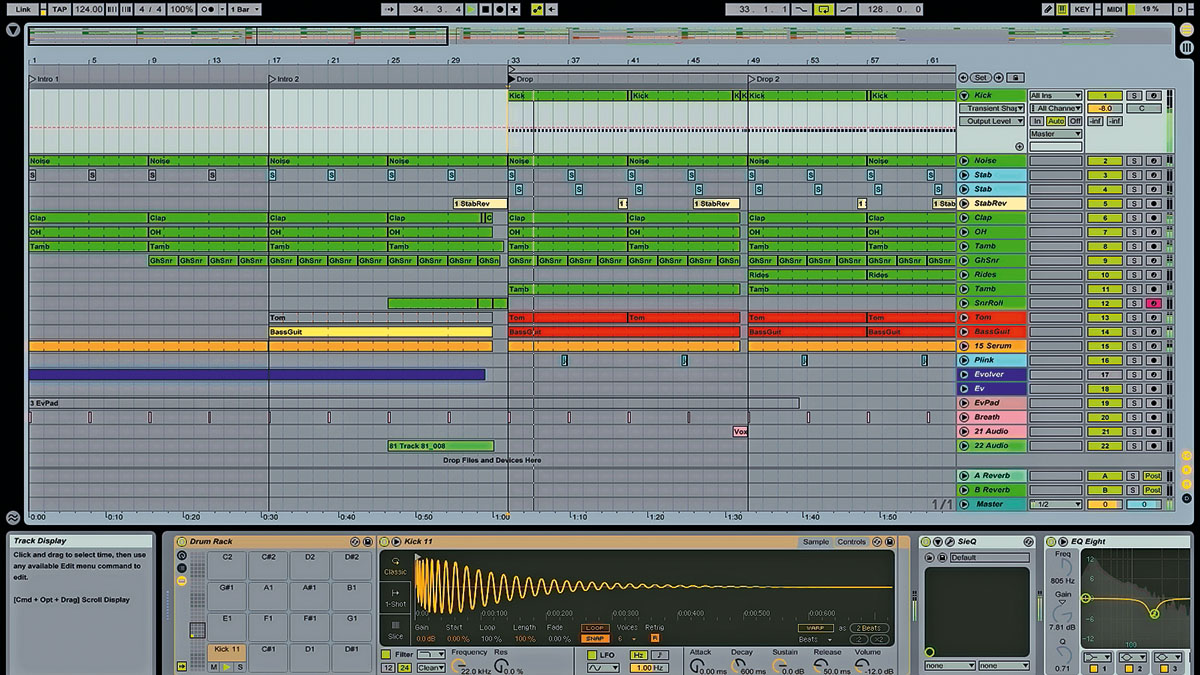
To add a ‘marker’ in Live, when working in the Arrangement View, right-click the top Scrub area (under Beat Time Ruler) and select Add Locator to place a locator marker at the playhead’s current position. Select the locator and use the right-click menu or hit Ctrl/Cmd-R to rename it.
Now click one of the locators’ arrows when your track is playing to make the playhead jump to that point, staying in sync with playback in true Live fashion.
Want all the hottest music and gear news, reviews, deals, features and more, direct to your inbox? Sign up here.
You can jump between locators with the Previous Locator and Next Locator buttons, which can even be assigned to MIDI or keyboard buttons for on-the-fly playback.

3. Clever comparison
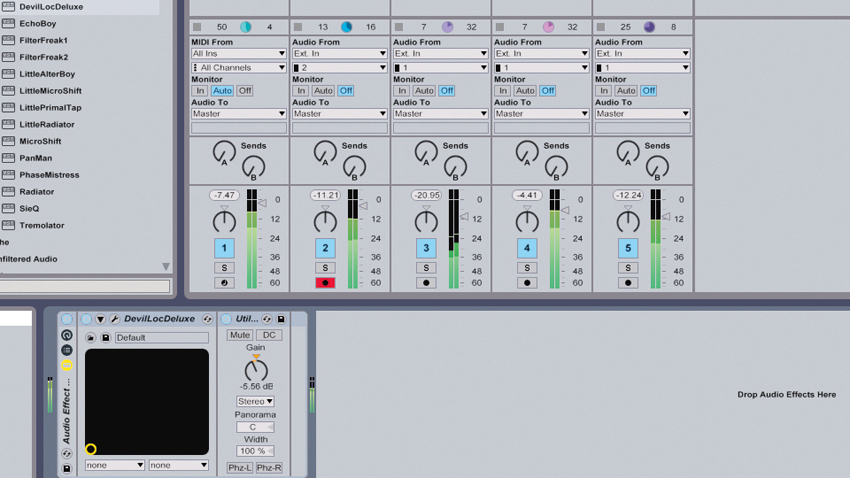
When mixing and working with plugins, you need to make sure you can quickly A/B your ‘before’ and ‘after’ settings at equal volume with a single click/button press. Not all plugins feature an output gain knob for level balancing, but you can use Live’s Audio Effect Rack and Utility to create your own instant A/B rack.
To do this, group your effect within an Audio Effect Rack, then place Live’s Utility device after the plugin within the Rack.
Now you can use Utility’s Gain knob to turn the processed signal up or down, then punch the Audio Effect Rack’s Device On toggle button to quickly deactivate and activate the plug-in and Utility simultaneously.
This is also great if you have multiple effects stacked up, as you can encapsulate all the plug-ins within a single Rack before bypassing them all with one mouse click. You can even assign the Rack’s Device On button to a key on your keyboard!
4. Make a Scene
We’re all used to triggering clips and Scenes via Live’s Session View, but did you know you can use renamed Scenes to jump between different project tempos and time signatures?
To do the former, rename any Scene (the far right slots under Master channel) to include XXBPM in the name, but replace 'XX' with the value of your choice. You’ll see the slot’s small triangle turn orange. Now, when you trigger that Scene, the project tempo will change to that value.
To change the time signature, rename a Scene to include the desired setting, eg, '3/4'. To change both, rename a Scene to something like '3/4, 100bpm'.
5. Tighten loops with Beats Warp mode's Transient Envelope slider
An extremely fast way to sculpt an audio loop’s dynamics is via the audio clip’s Transient Warp Mode. Load a percussive loop on a new Audio Track, head to the Clip View, switch the Warp Mode to Beats, then change the Granular Resolution menu to Transient. Underneath, change the Transient Loop Mode to Off.
As you reduce the right Transient Envelope slider down from 100, Live will attenuate the audio after each transient, reducing sustain and tightening the loop.
This is a great way to change the dynamic character of any percussive signal without having to slice the audio to a sampler.
Don't miss...
Future Music is the number one magazine for today's producers. Packed with technique and technology we'll help you make great new music. All-access artist interviews, in-depth gear reviews, essential production tutorials and much more. Every marvellous monthly edition features reliable reviews of the latest and greatest hardware and software technology and techniques, unparalleled advice, in-depth interviews, sensational free samples and so much more to improve the experience and outcome of your music-making.
