Elektron have always been at the forefront of beat-making, pushing the boundaries of what we’ve come to expect from drum machines and samplers.
From the Machinedrum, through the Octatrack, the RYTM and the Digitakt, their machines often feel as deep as your mind, yet without doubt, they’ve changed many producers’ approach to beatmaking.
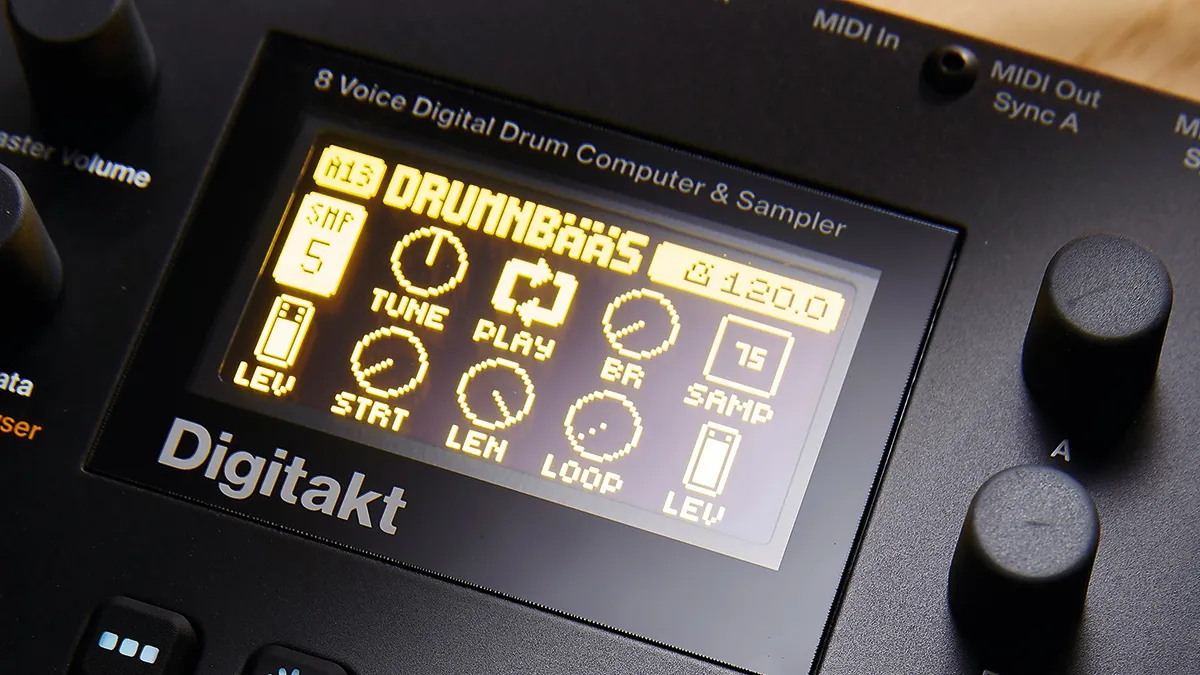
While the Digitakt is in many ways simpler than the Octatrack, we were able to get up and running sampling and making beats surprisingly quickly without the manual (and much faster than when we tested the Octatrack). This is a testament to Digitakt’s streamlined yet well-featured design - along with its enduring popularity in the five years since it was released.
So without further ado, here are 10 quick tips that will help you get the most out of the sampler.
1. Global control
Hold down Track, turn filter cutoff to control cutoff globally. This works for many other parameters too (ie tuning, sample start, amp envelope attack and more).
2. Sculpting sounds
Digitakt’s digital engine sounds super-phat! Use the resonant low-pass filter to filter out highs and boost/highlight frequencies using the resonance, and use the resonant high-pass to remove lows and boost/highlight frequencies using the resonance.
The filter and amp ADSR envelopes are smooth/punchy and perfect for sculpting any sample, while you can govern the amount of effect the filter envelope has on your sounds using the bi-polar envelope amount control.
To top things off, the LFO (per-track) goes stupidly fast, giving you another way to create pseudo-oscillator waves from noise, melodic or more atonal samples.

3. Random triggers
Parameter locking ‘sample select’ allows you to have several samples triggering randomly or sequentially from a single sequence trig/step for really mangling beats.
4. Automated variation
These are parameter/note trigs that work off probability; you may want a retrig, fill or a particular note or parameter-locked effect to trigger only every fourth or fifth time that the beat cycles, or for an event within the beat to only have a 25% chance of ever happening!
Once you get the hang of it it’s a brilliant way to add automated variation, fills or evolution. During grid recording, hold a trig/step button, go to the Trig page and tweak condition mode and percentage until you’re happy. The number of steps is limited to 64, so using conditional trigs is a great way to get around this limit and make things more varied.
5. Switch it up
For quick pattern variations, change the pattern’s step length by pressing function + page, then hit the trig/step button you want to be the last step of the pattern.

6. MIDI record
As well as the eight audio/ sampling tracks, you can record 4-note poly MIDI on each trig/step on each of the eight MIDI tracks (9-16/A-H). Connect a MIDI keyboard to enter chords/lines in real-time recording mode, or do the same direct from the trigger buttons when in chromatic mode.
You can also alter the pitch of each note in each chord on each step under the Trig page (when a MIDI track is selected). You can then record in trigs and locks in the same way as you would with your samples (although retrigs aren’t available for MIDI). Don’t forget you can also send out LFO MIDI data, as well as CCs.
7. Save and move
For making song forms, save several variations of the same pattern to different slots, then move between them in real time or use the pattern chain facility to automate the changes.

8. Quick changes
Under the page menu you can globally alter the length of a sequence, so it’s possible to instantly turn a 16-step sequence into a 7-step sequence for quick variation and feel changes.
Try the different scale settings too, so that your sequence plays back at half or double time (and at other settings too).
The great thing here is that pressing function + yes allows you to access independent track lengths and their associated scale settings, enabling polyrhythmic feels. You could have, for example, a triplet feel hi-hat running across a four on the floor beat. This takes beats into a whole other dimension.
9. Random recording
Once you’ve recorded a basic beat, enter real- time record, hold down random steps and parameter lock random parameters. Return to the previously saved state via function + no.
10. Auto-looping
The sample playback modes add a lot of scope to basic samples. While there are standard forward and reverse modes, these are both augmented with loop-able variations which enable the lengthening and auto-looping of even very short samples.
Consequently, you can transform these short samples into something longer, granular sounding and more versatile (particularly when sending an LFO to control sample start/length/loop).
In addition, you can degrade your samples with the bitcrusher or distort, brighten and fatten sounds using the overdrive – these are insert effects, whereas the stereo reverb and delay are send effects (though with parameter-locking and several editable parameters for each effect, you can really transform/effect your samples on a per-step basis). Pretty much everything is modulatable too, so the scope is vast!
