Going ampless: 5 tips for using an amp modeller with your pedalboard
Building a hybrid rig that's ready for anything
These days, so many of our favourite guitar players and bands are going digital. There are many reasons for this including access to multiple tones from a single unit, reduced costs from transporting gear on tour and easier and faster to setup for a gig. The market for multi-effects pedals and amp modellers has expanded to meet demand from a wide range of players, with pedal amps proving to be a fast-growing area.
Going fully digital is a big step for any analogue-minded guitar player. For many of us, the sound and feel of a roaring tube amp behind us on stage is our tonal comfort blanket.
If you’re starting to go down the digital road, don’t fear, it’s not as daunting as you may think. In this video and feature we’re going to discuss a few tips and concepts that will help you integrate your modellers into your existing pedalboard rig seamlessly.
1. Where to place an amp pedal in your signal chain
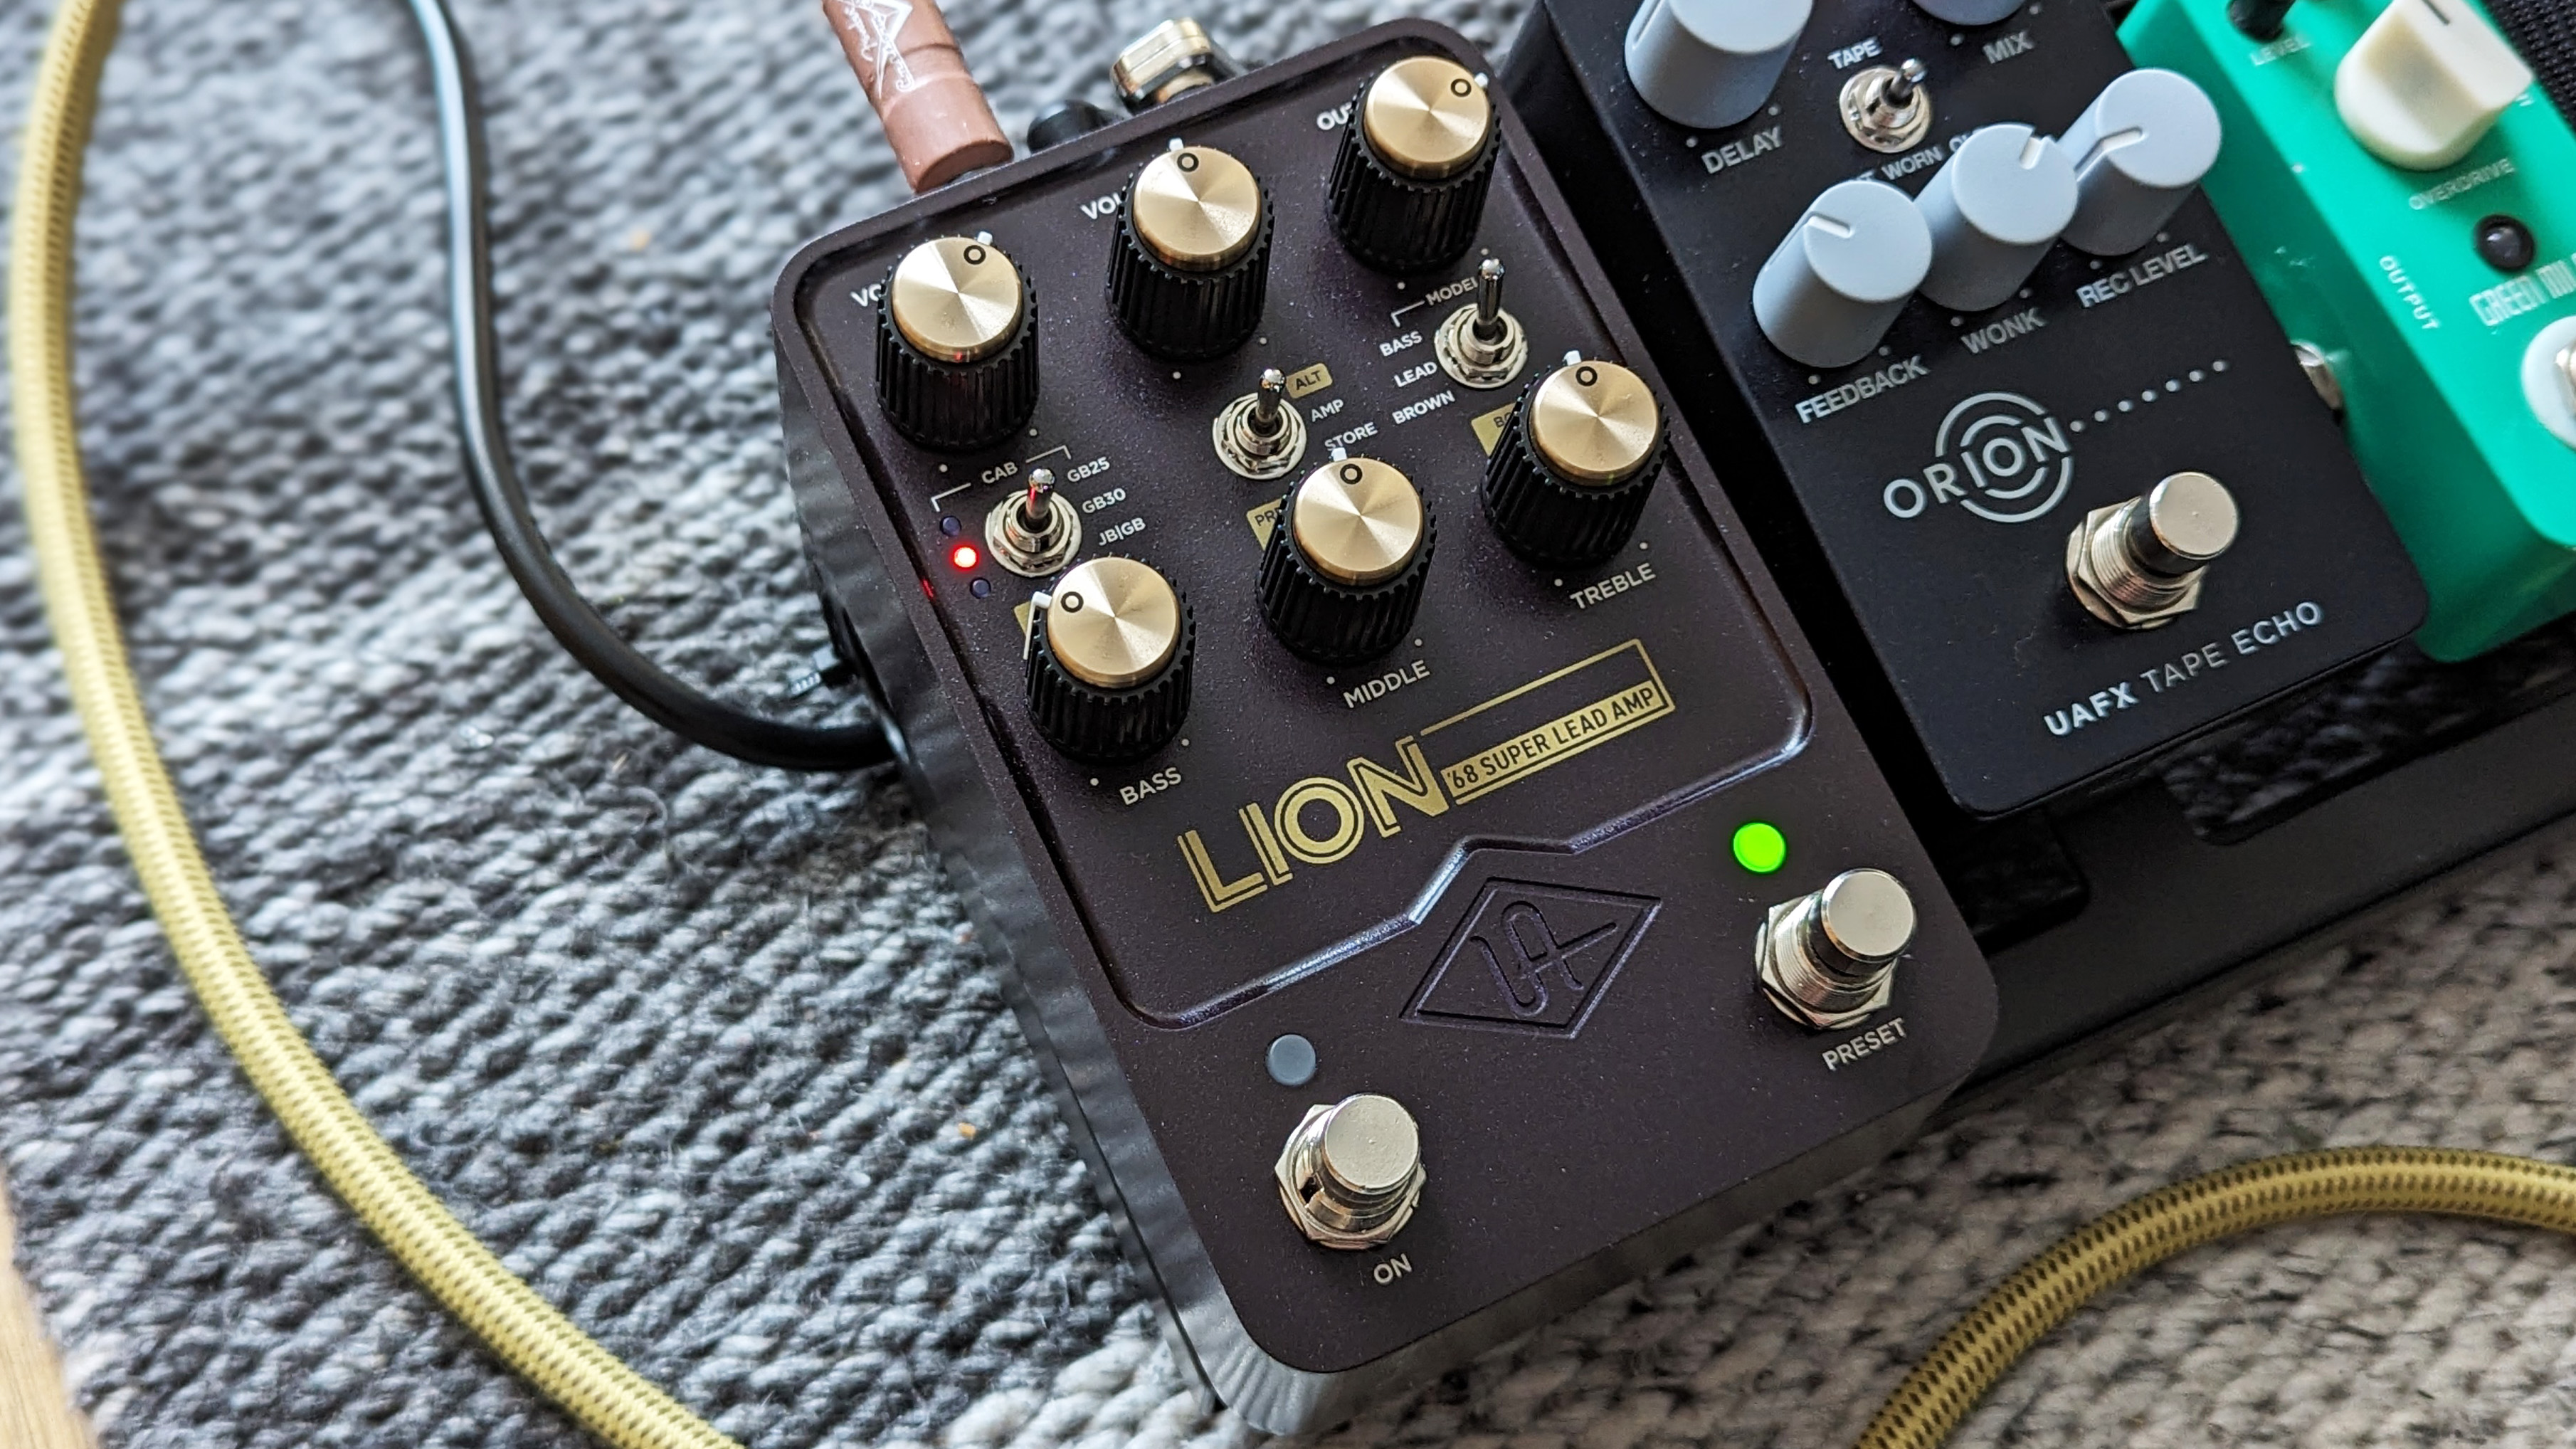
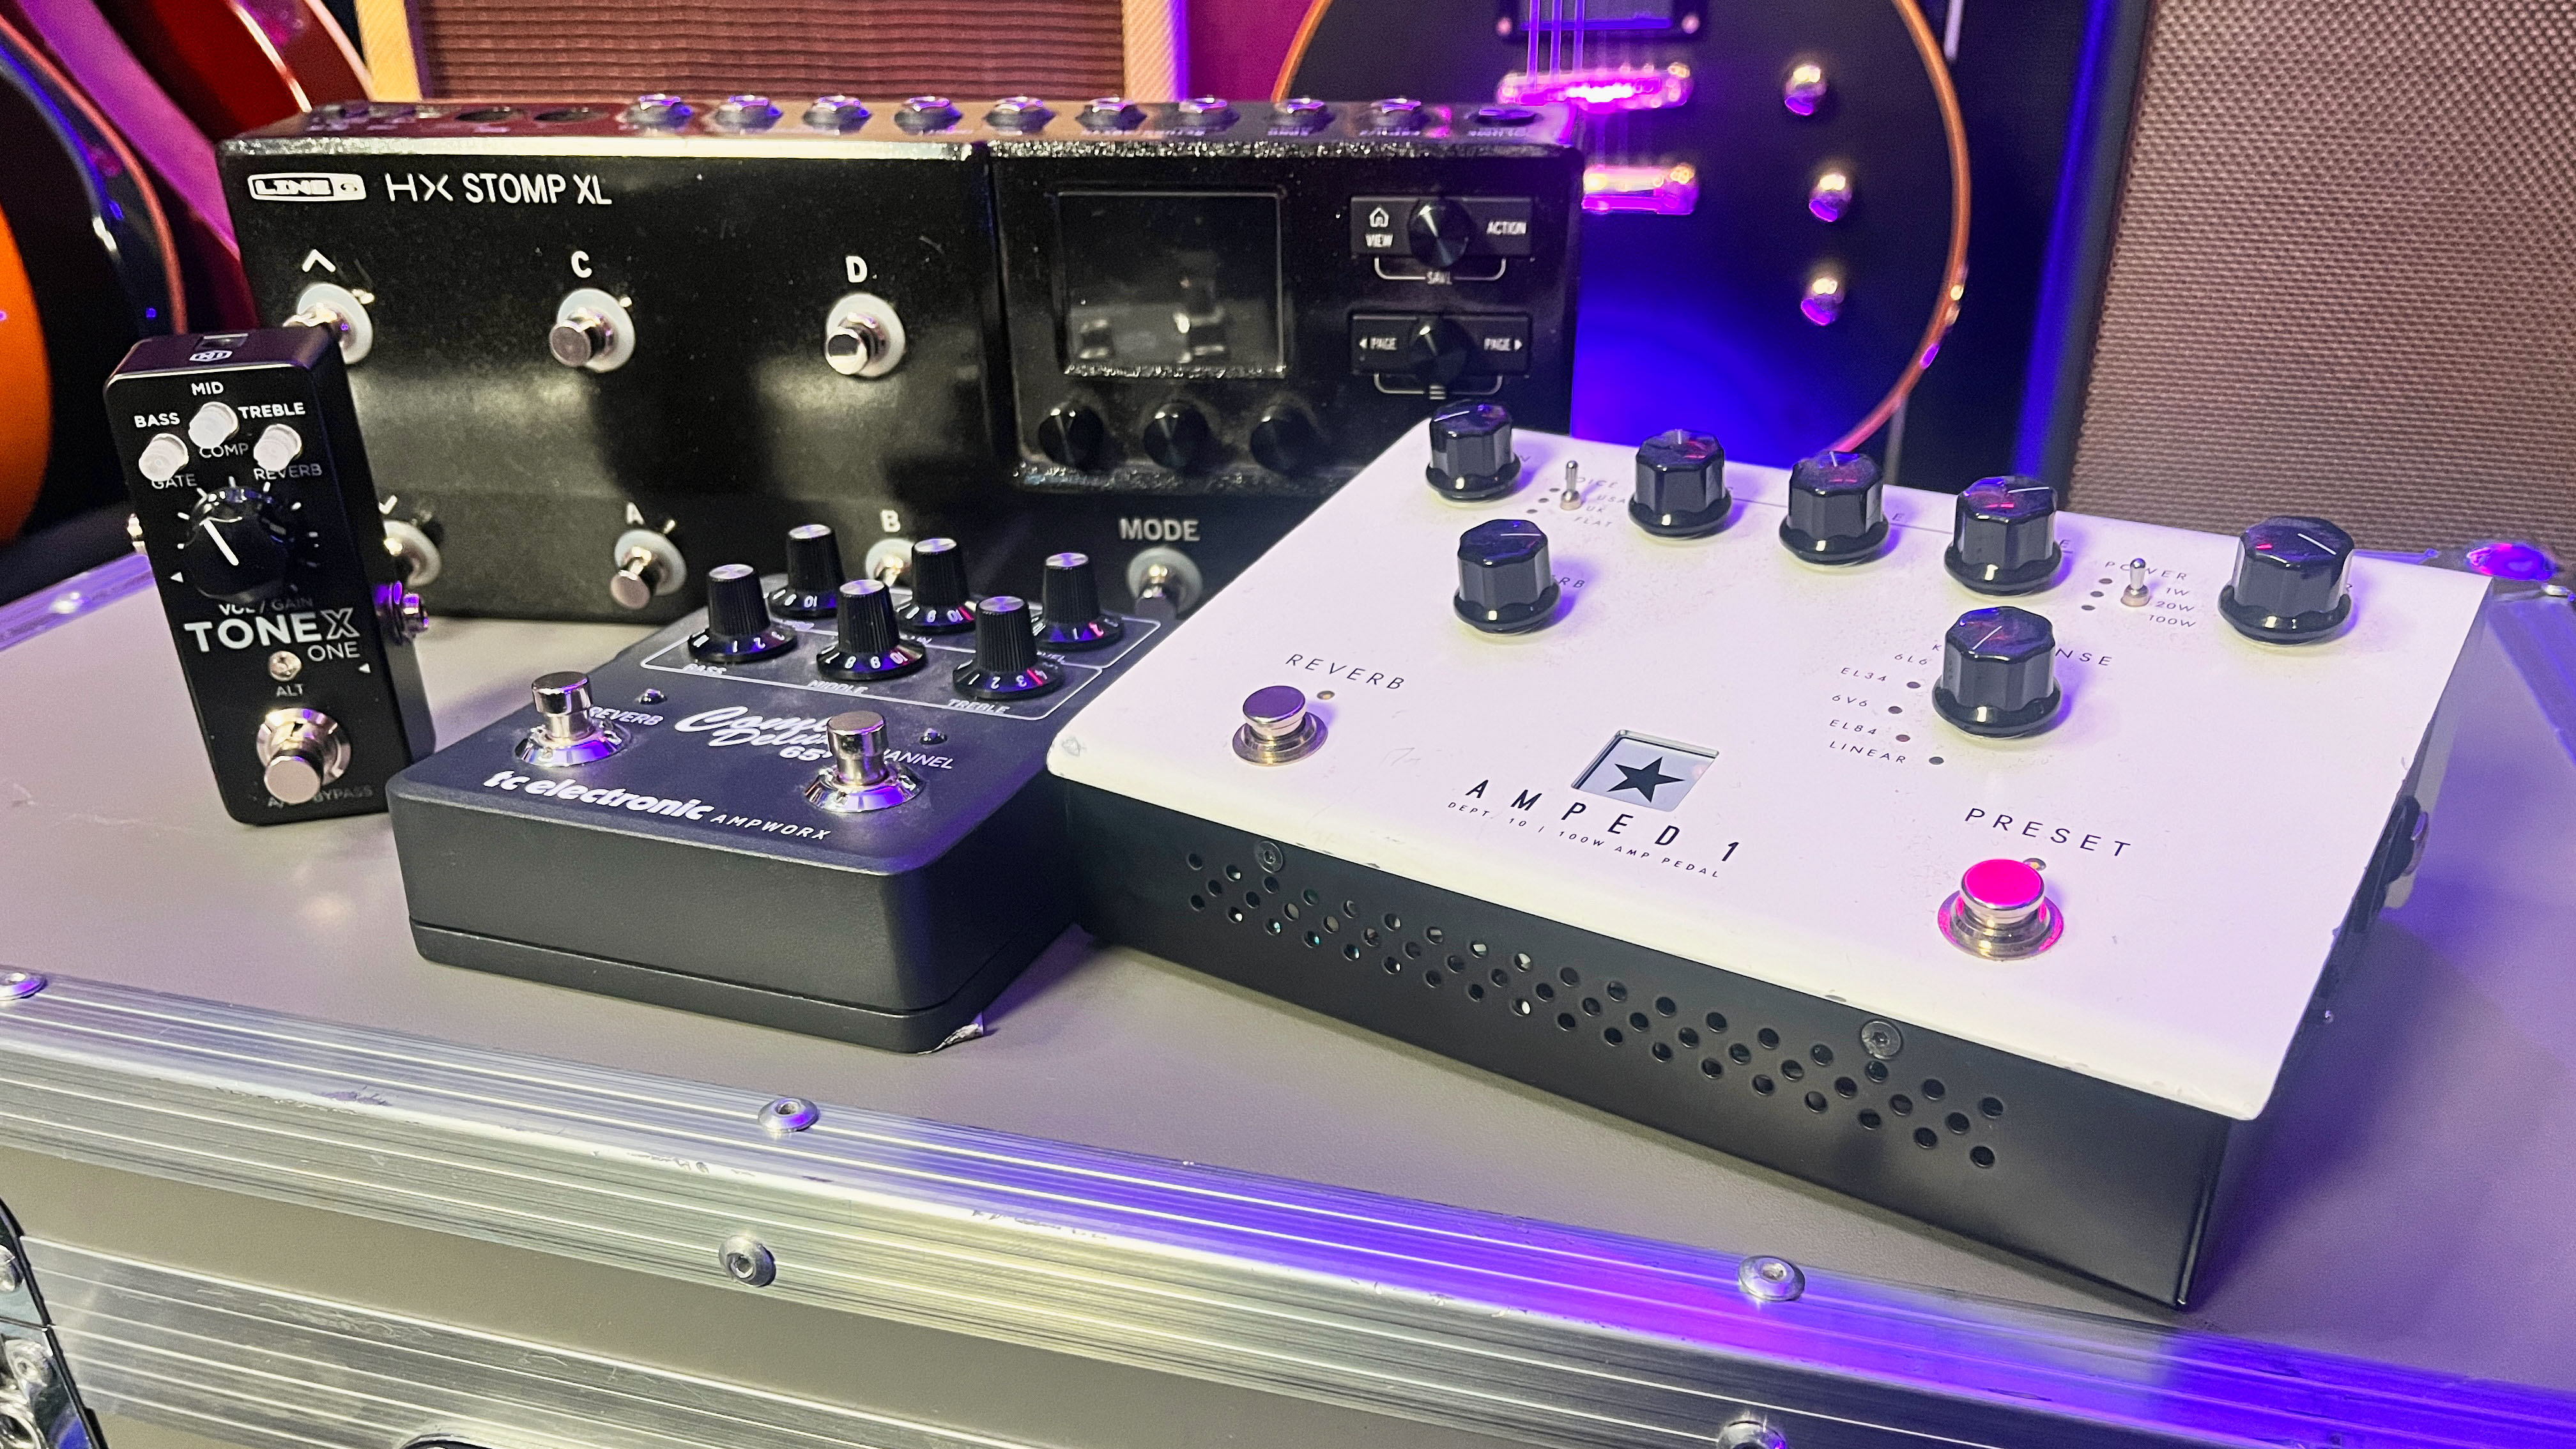
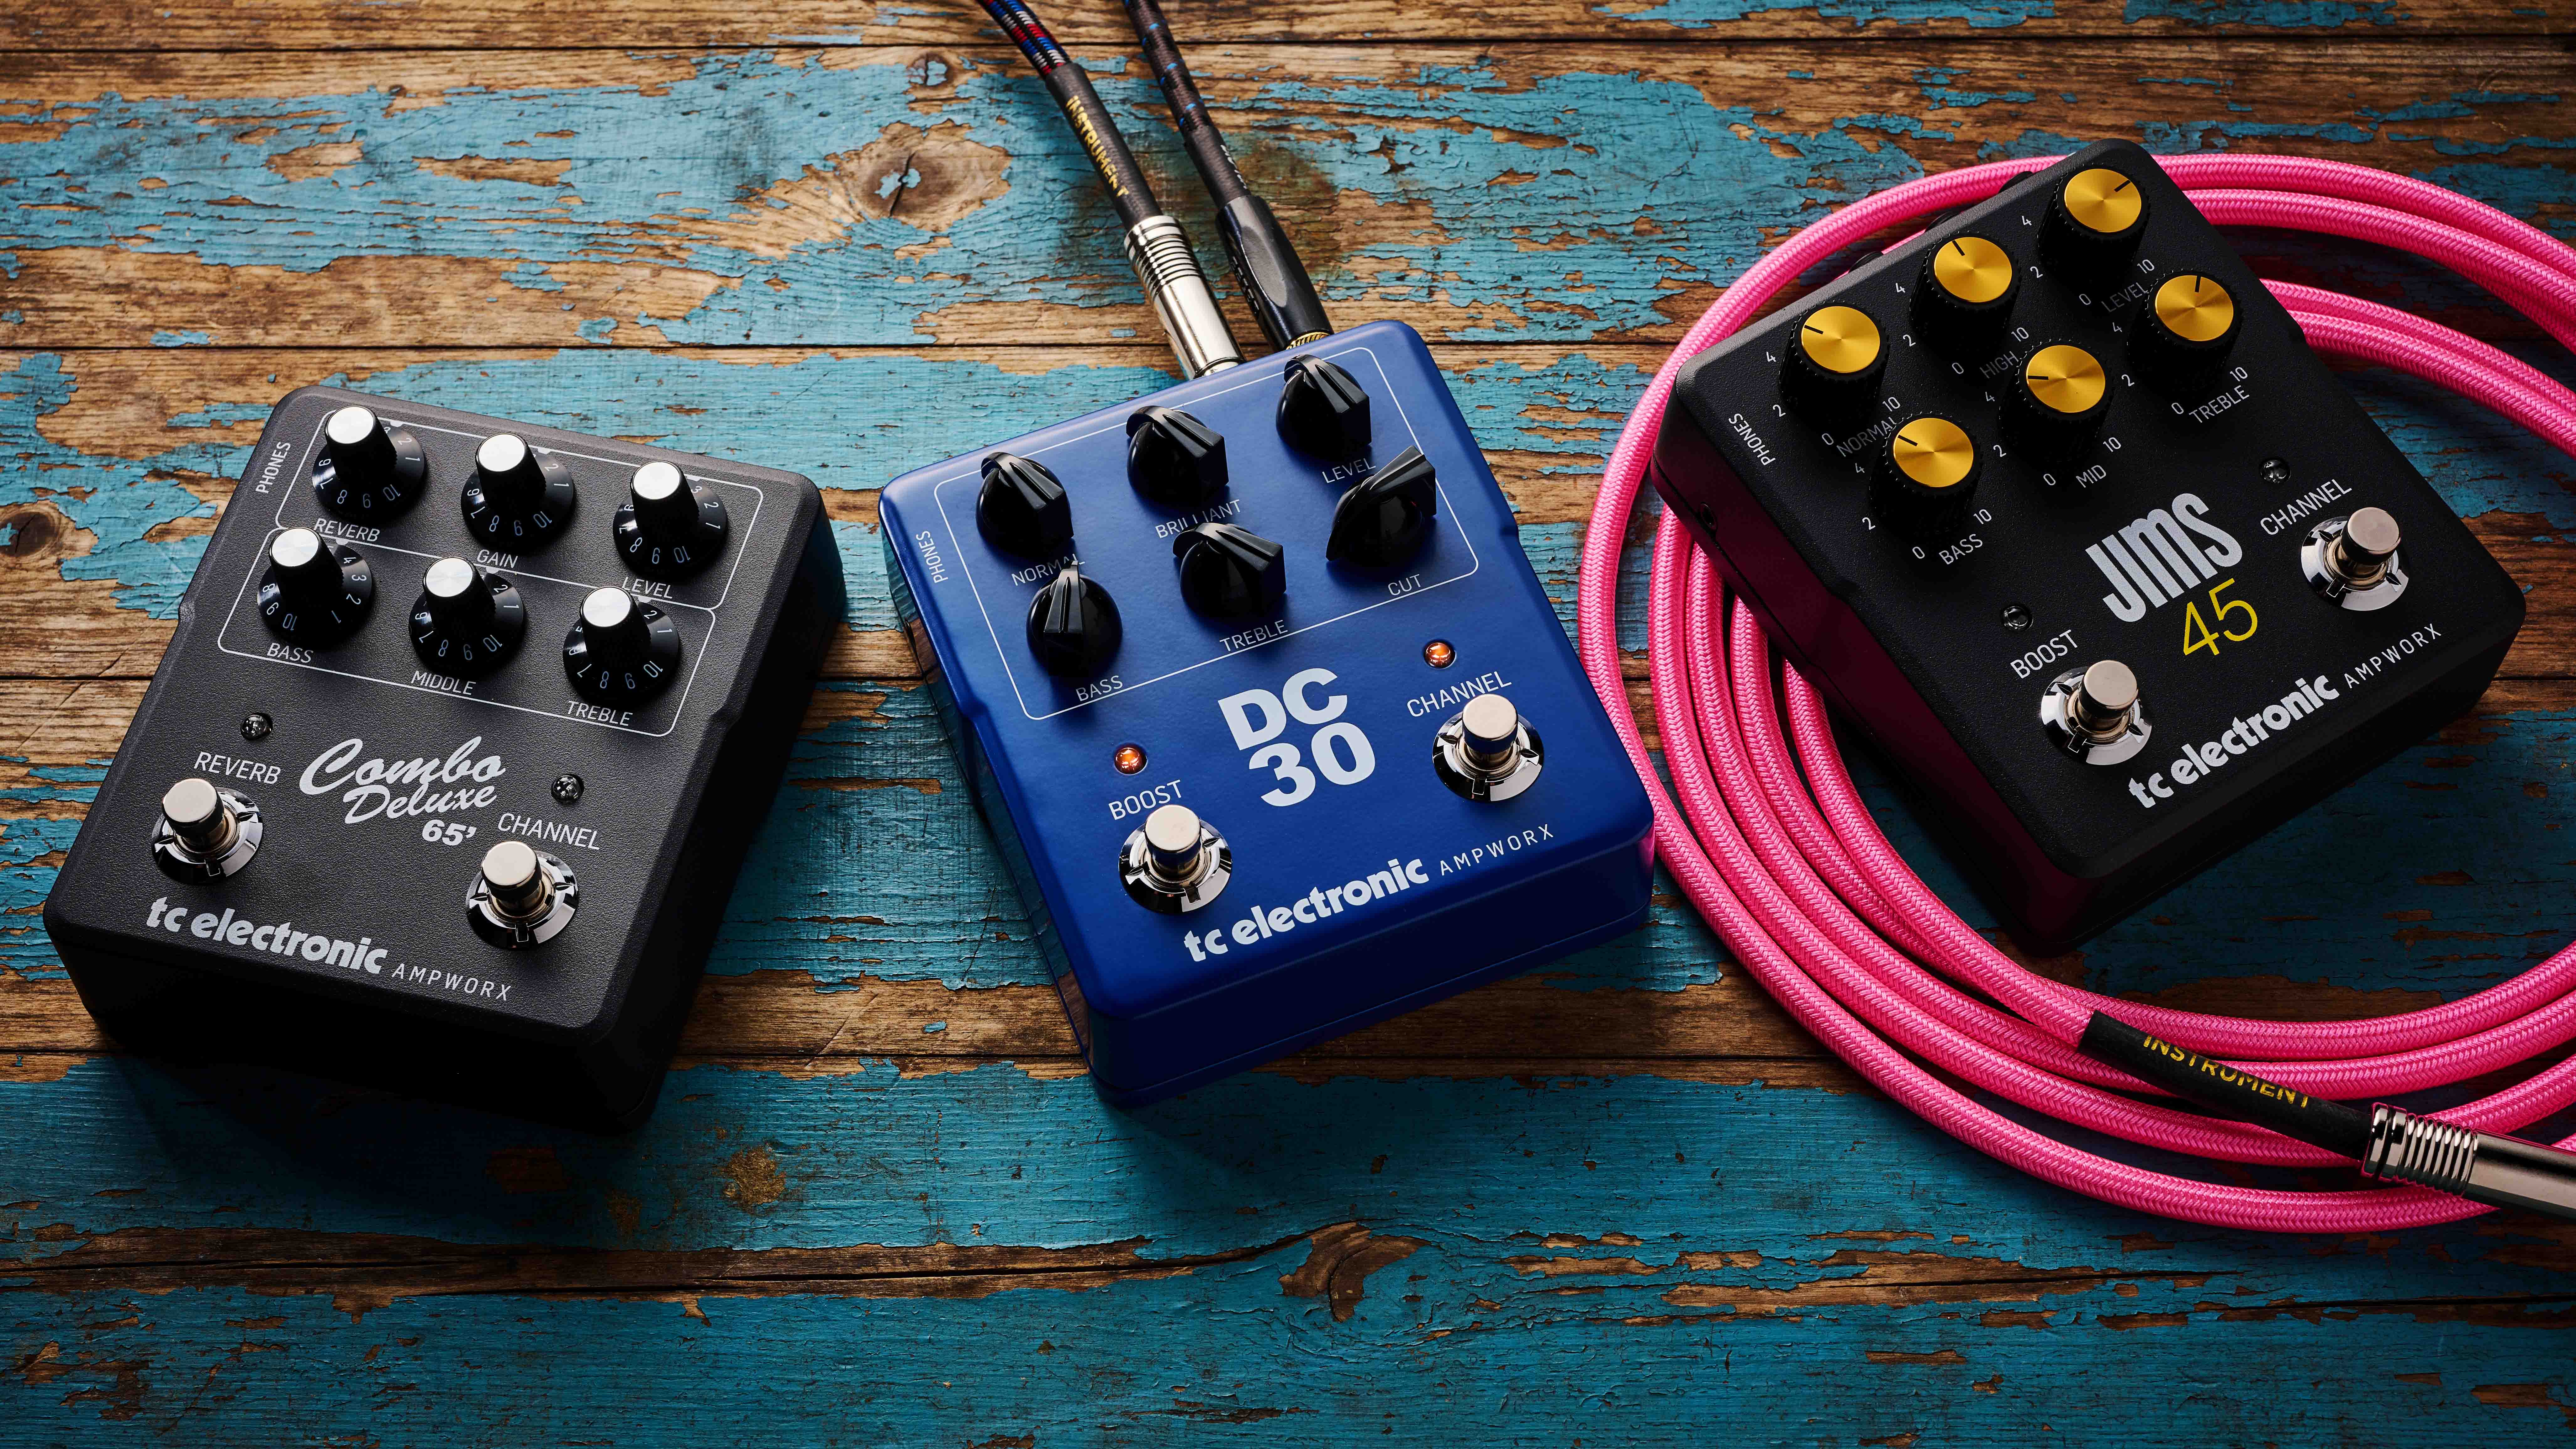
Amp modellers come in all shapes as sizes. Some are dedicated modelling units, others are in the form of multi-effects units that can provide you with amps and effects all in one, and some provide amp captures – which are a digital 'snapshot' of a real amp for players to use. Whichever you choose, you need to know how to best set it up.
If you’re integrating an amp modeller or capture with a pedalboard you want to think of it like an amp in terms of placement in the chain. If you were using the physical products that you’re modelling, you would have your amp as the final thing in the chain. Treat the modeller this way. It becomes your amp.
You can run your other pedals into the modeller as if it were a physical amplifier.
Some units may have dedicated send and return points which allow you to patch external gear into the unit. If yours doesn't and you need the functionality of an FX Loop for things like reverb and delay, you can place those items after the modeller. While this is not a perfect solution, it will somewhat emulate the functionality of an FX Loop.
Want all the hottest music and gear news, reviews, deals, features and more, direct to your inbox? Sign up here.
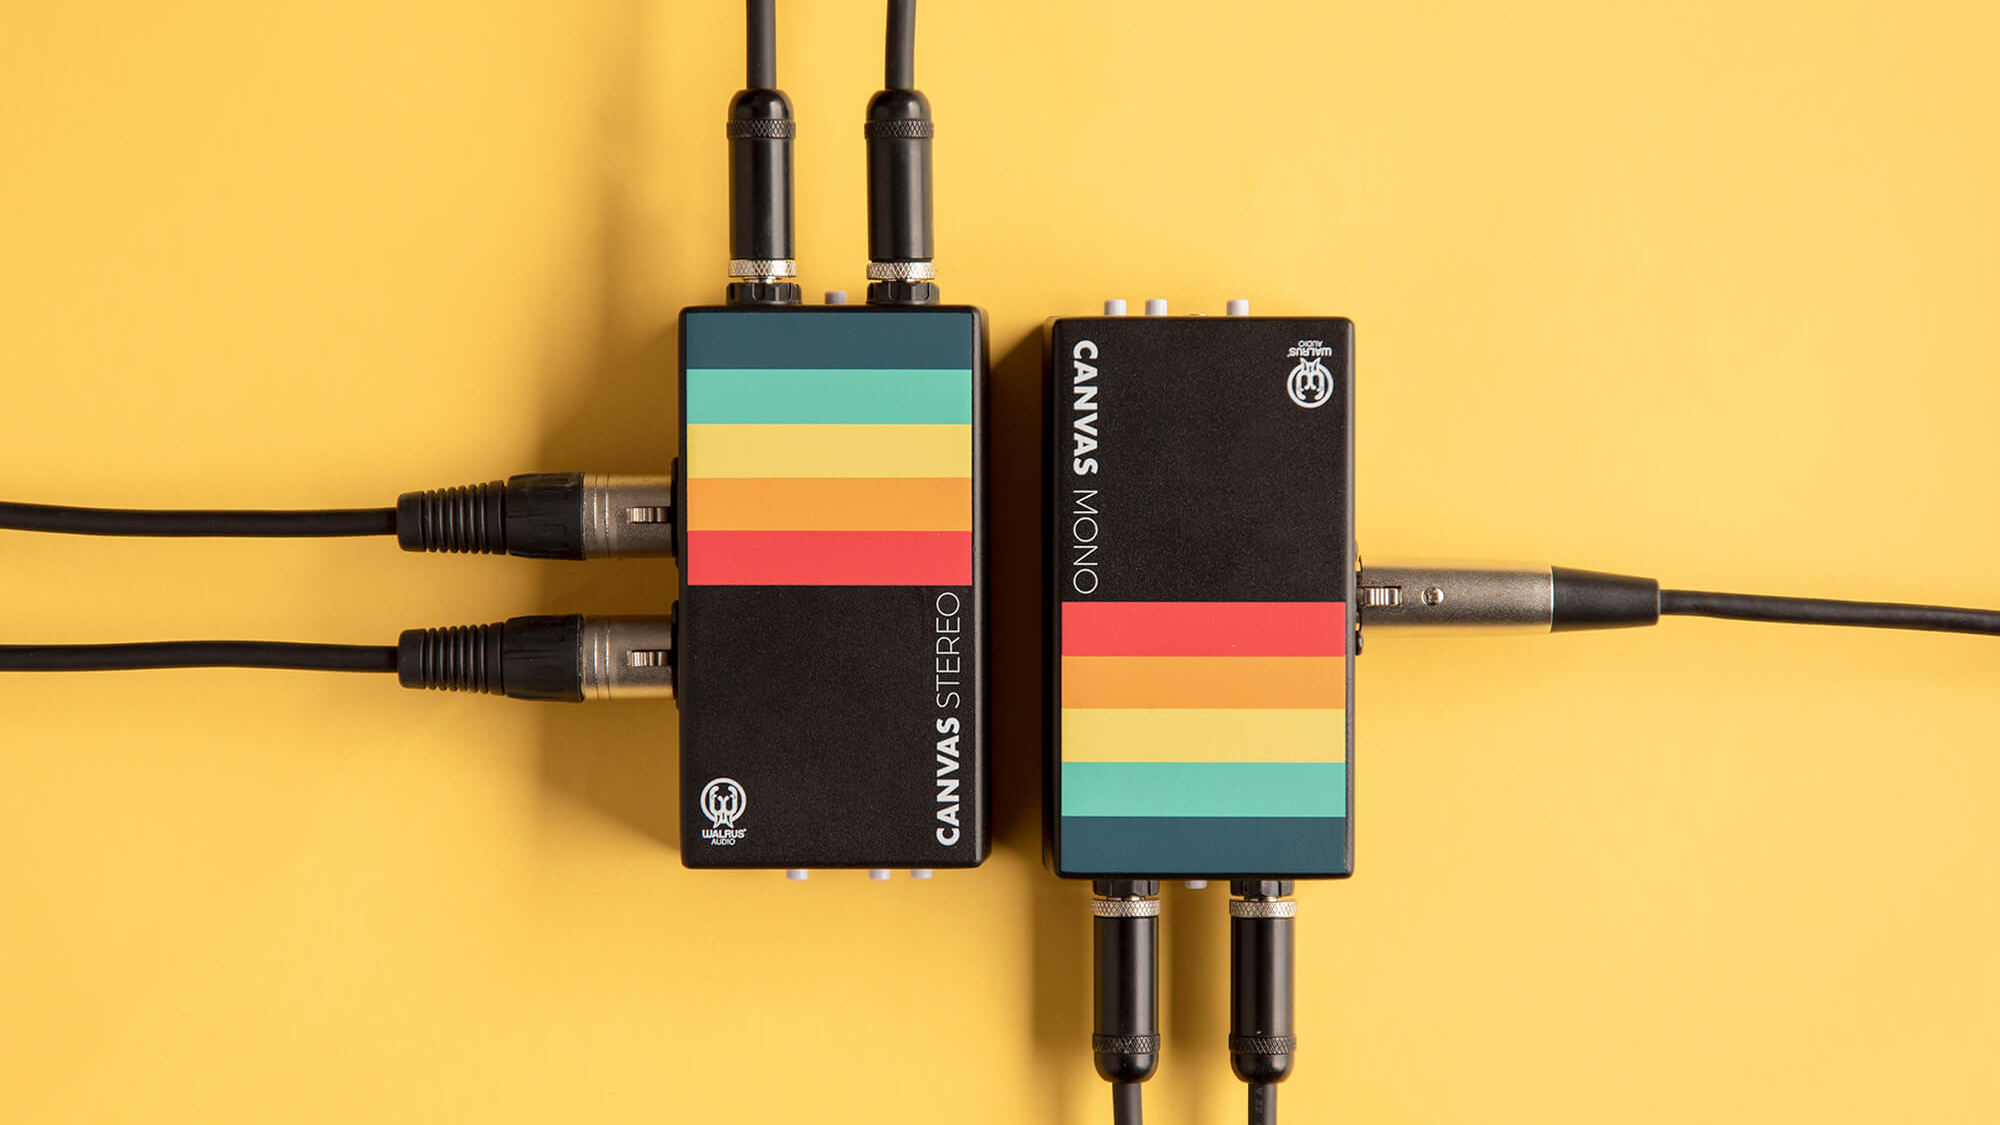
When it comes to connecting your modeller, there are a few different approaches you can take. If the modeller has an XLR output, the chances are you will be running out of the XLR output into the mixing desk. If your modeller only has a ¼” jack output, I’d always suggest keeping a passive DI box handy – Walrus Audio's Canvas mono and stereo DI boxes are good for this. This will allow you to plug the jack into the DI box and an XLR out of the DI to the mixing desk.
2. Setting up your tone
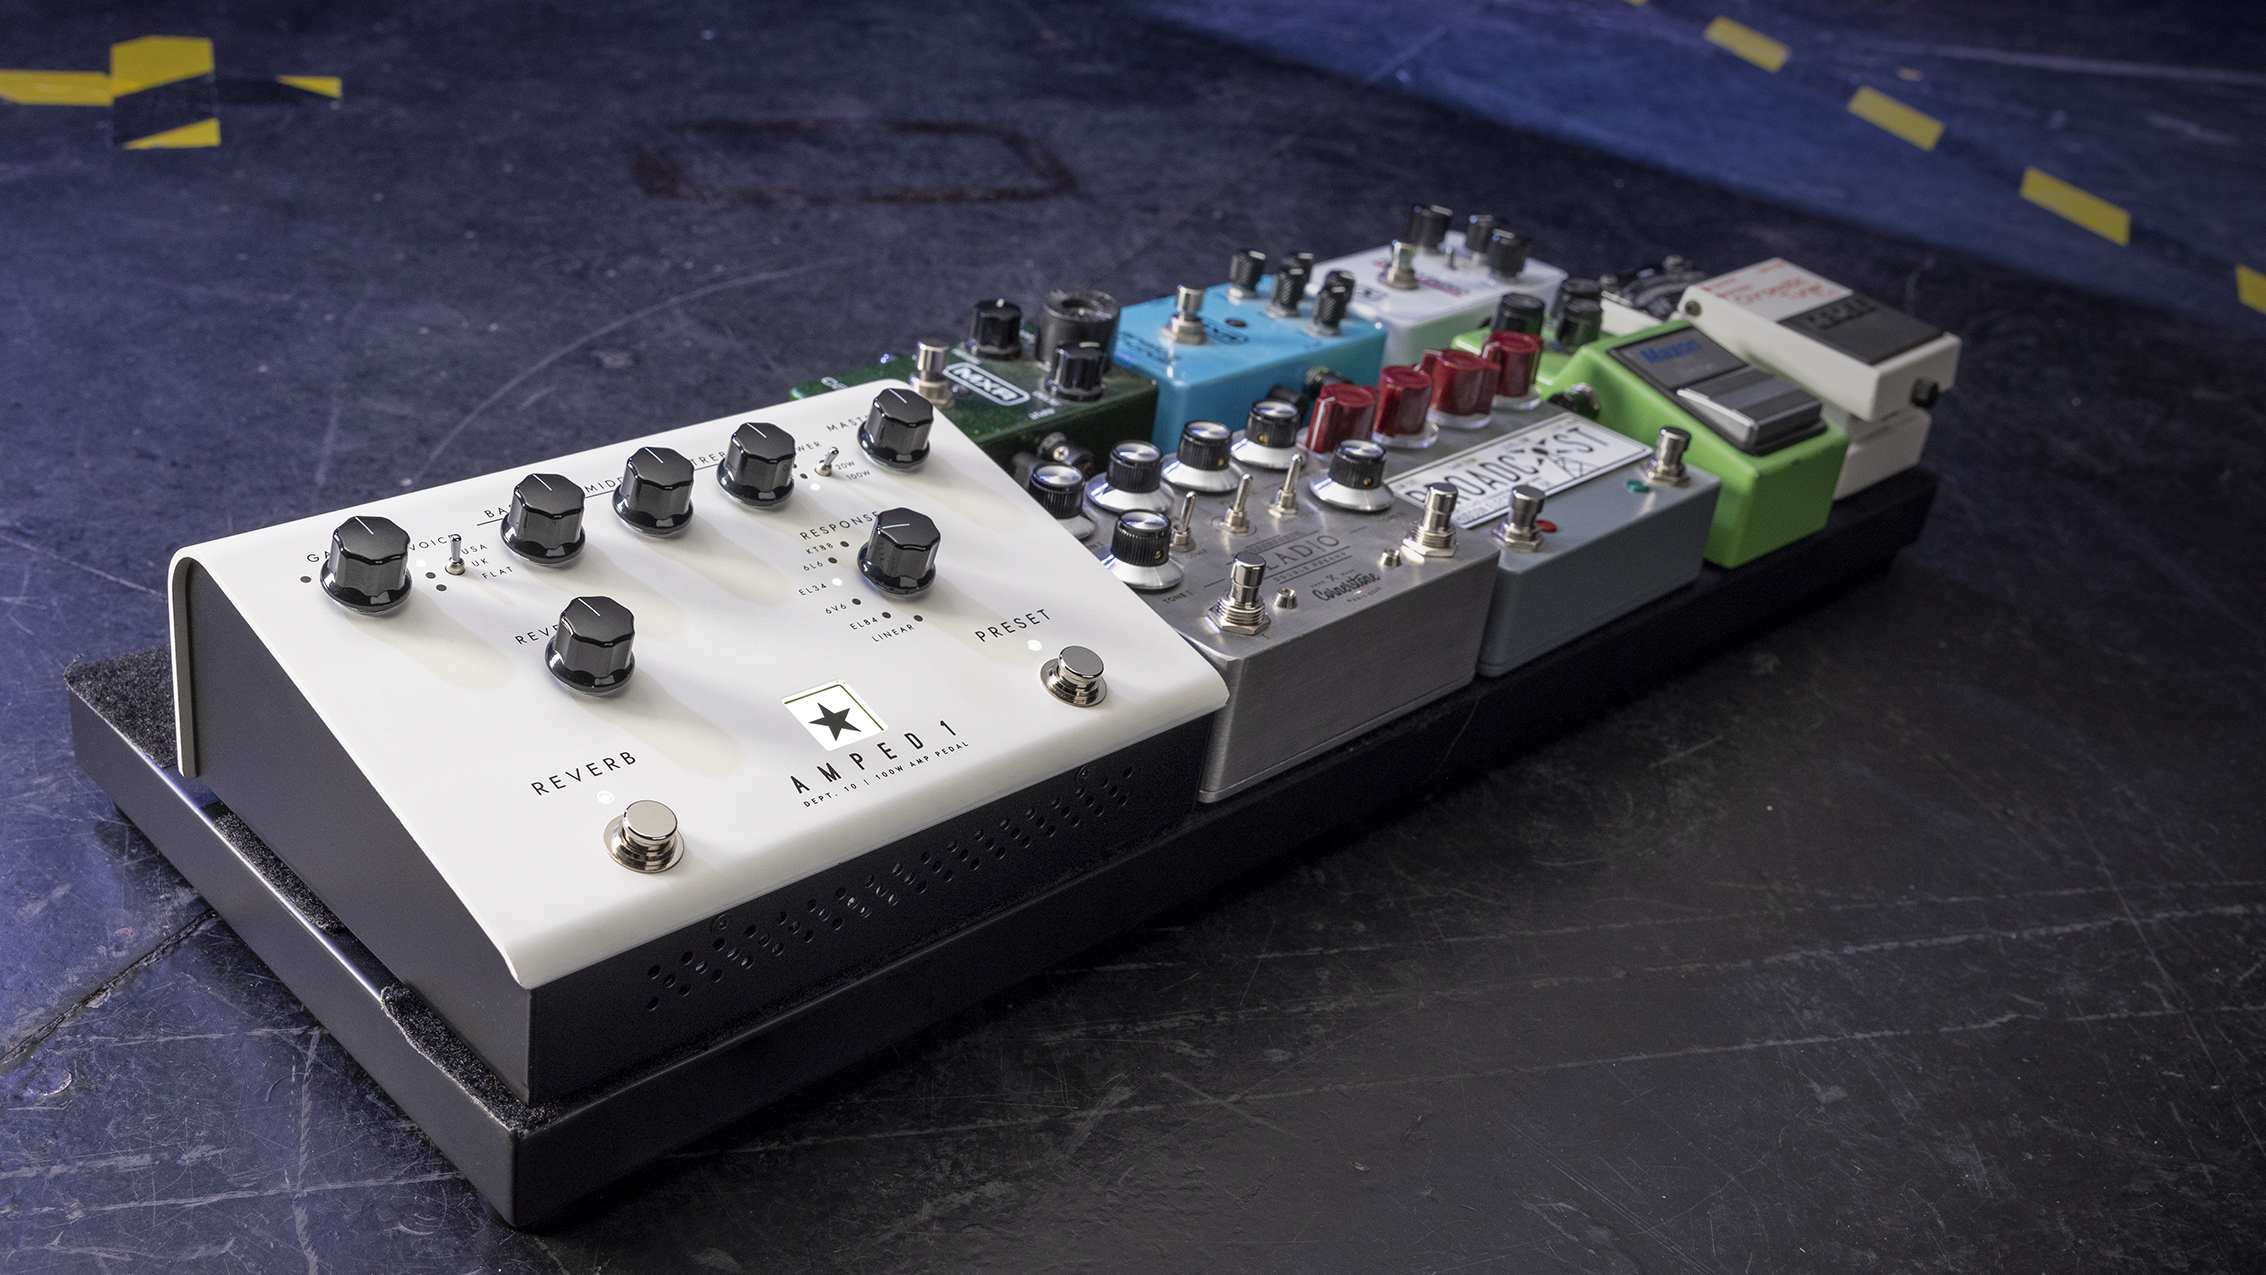
Once everything is plugged in and in the place, you want it to be, it’s time to start considering what job you want the modeller to fulfil in your rig.
For most people, this will be an amp replacement, so you want to set up the modeller to give you your desired amp tone.
Many guitar players who choose to integrate other pedals and effects with their modelling rig will often set up the modeller as a clean platform. Base your amp, cab and microphone choices on what you would use in the real world if you had the products available to you.
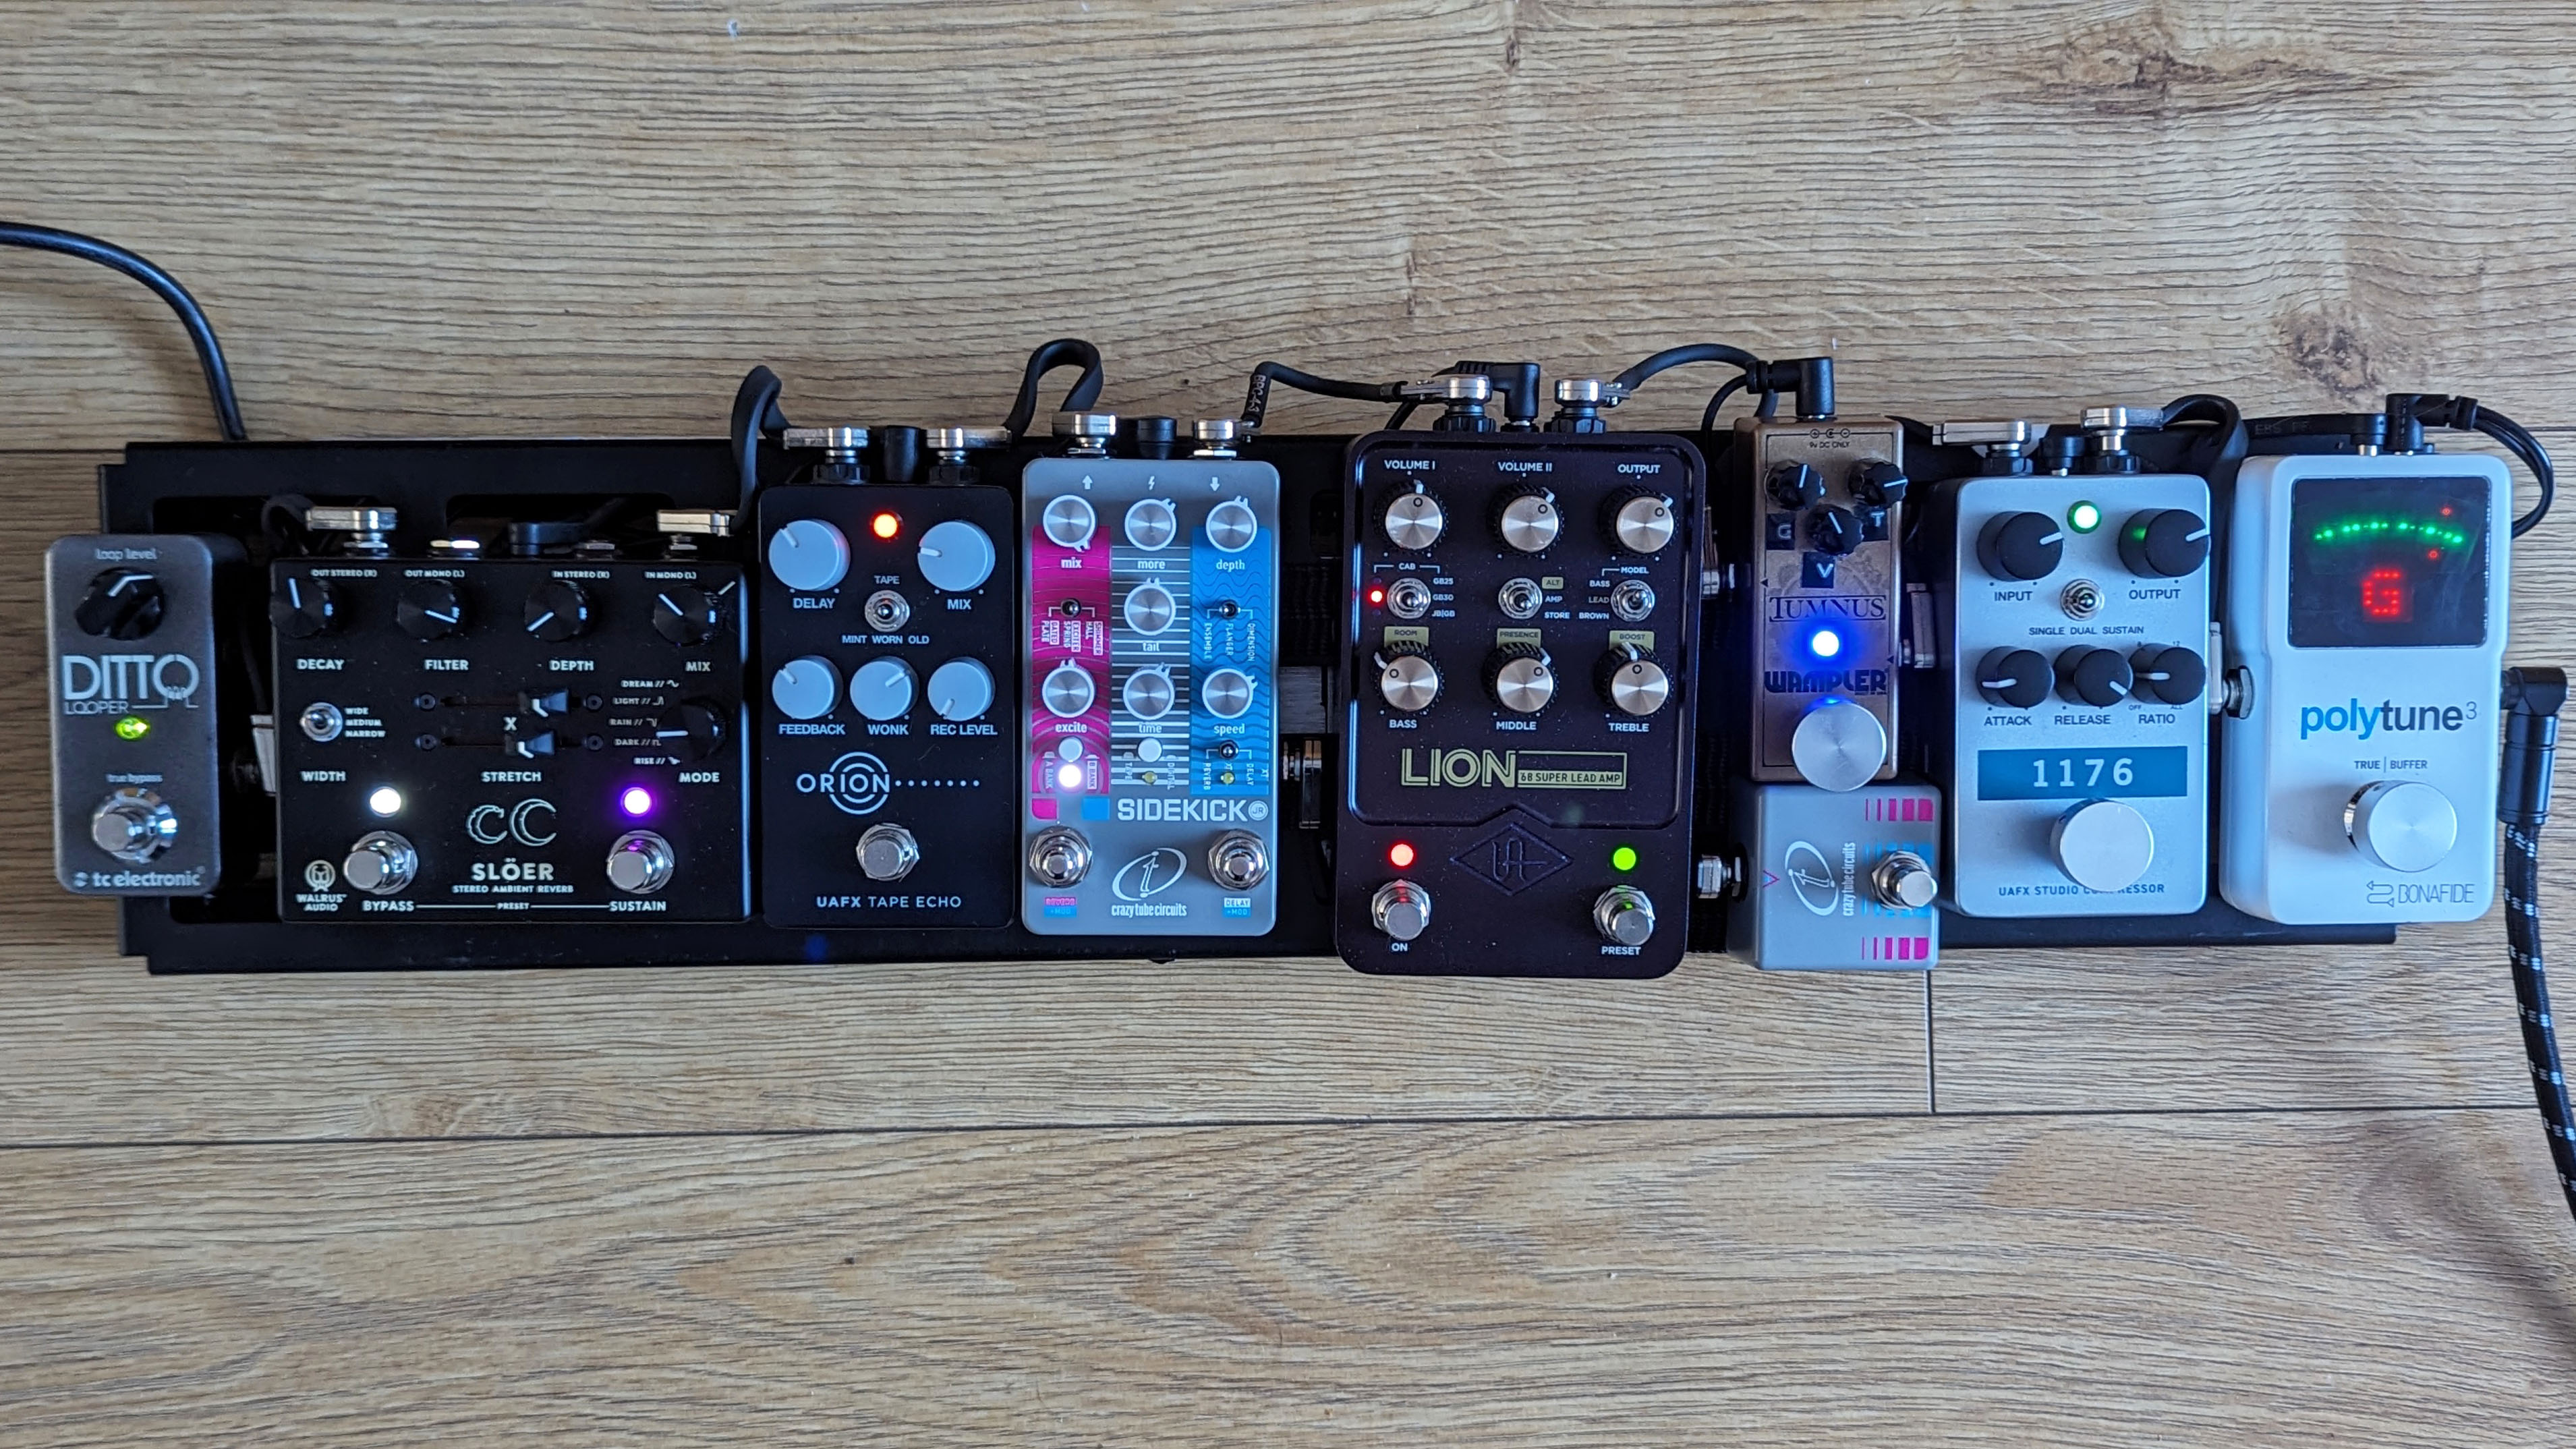
If you are using the amp modeller for higher gain tones, running things like reverbs and delays in the front will not work as well, this is where you should run them after the unit or in the loop, if the unit has one.
Digital amp modelling also allows you to dial in realistic reacting sounds. If you need a clean that can go to the edge of break up when you dig in, or an overdriven tone that cleans up when you back off, you can make that happen.
A good starting point when EQ’ing your amp model is to start with everything at the halfway point and make small adjustments to fine tune the EQ to taste.
If you have the option to change cab/mic placements, start with things you know the sound of already. Get a familiar sound that you like, and then start experimenting once you are happy.
3. Using a modeller with other pedals
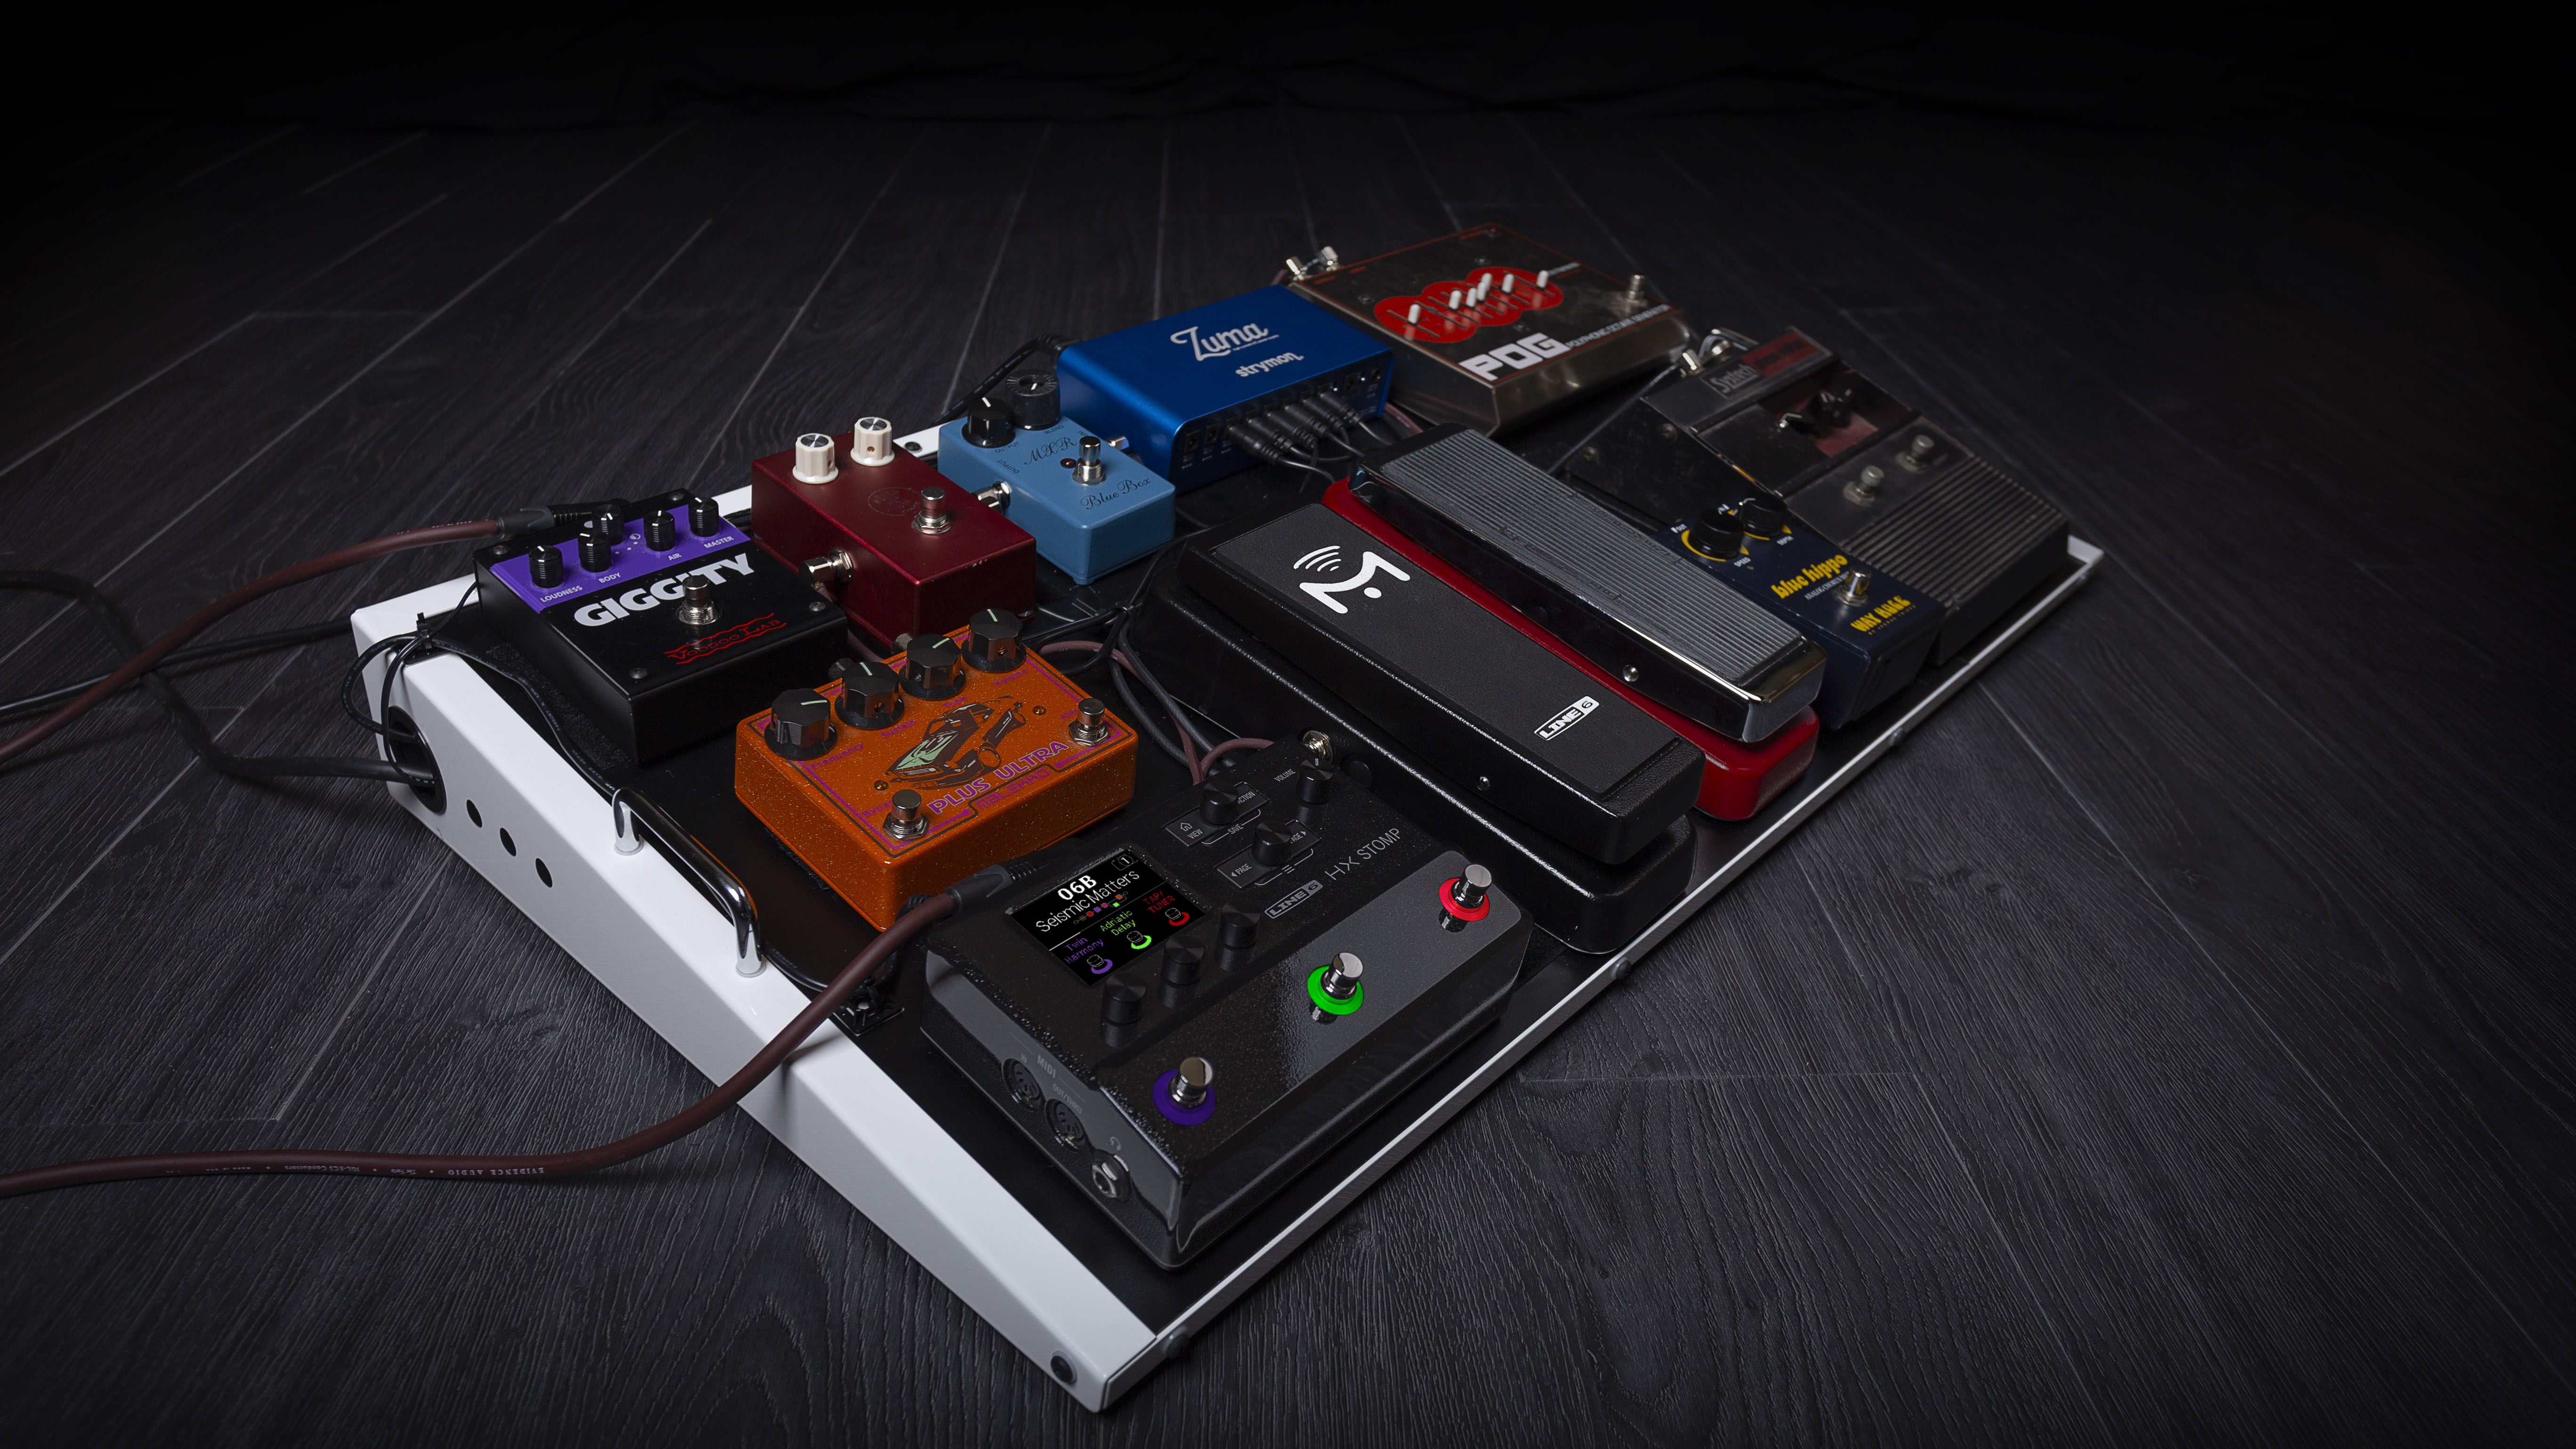
Pairing existing pedals with an amp modeller is a great way to take things you already own, use and love, and combine them with the ease of a more compact digital amp rig. This is a popular approach among touring guitar players as it allows you to take a pedalboard anywhere with you and have all your tones available.
Most amp modellers will take pedals the same way that a real amp will, and will react accordingly. If you use a boost pedal into a good amp modeller, it will take the amp to breakup like a tube amp. This is great for guitar players who might be feeling skeptical about moving over to an amp modeller.
Setting up a modeller as a clean pedal platform is a great way to build a pedalboard that you can use for every single scenario.
4. Using an FRFR cab
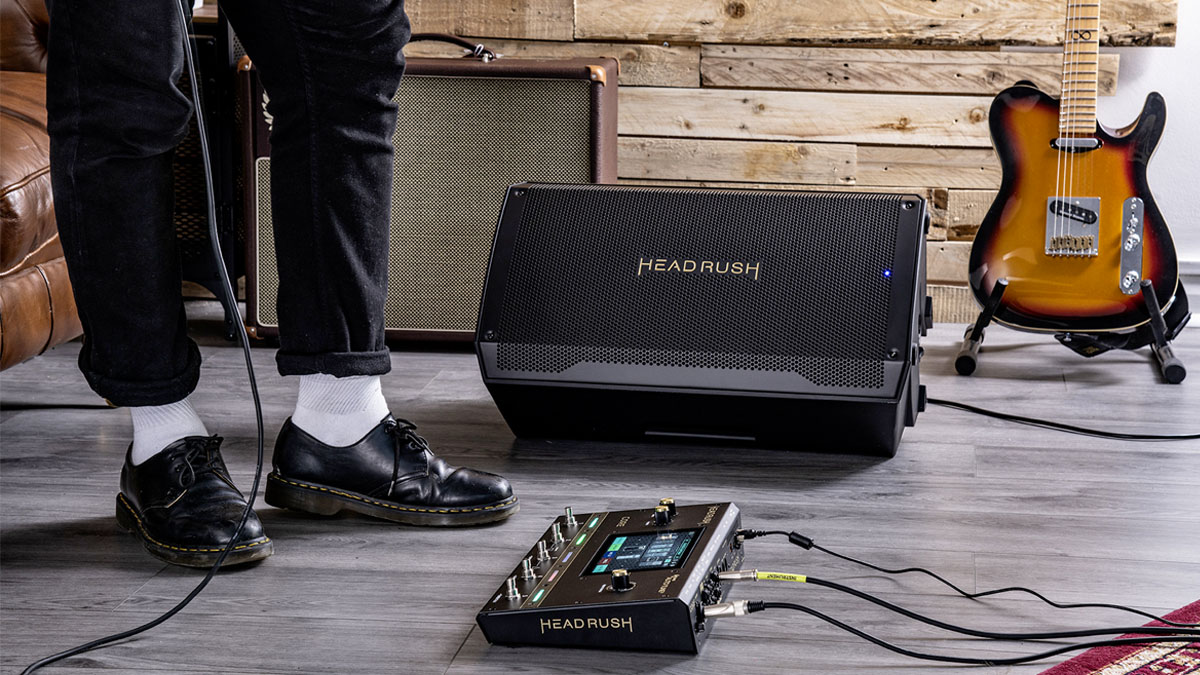
If having on stage sound is a dealbreaker for you, but you’re still interested in experimenting with the world of amp modelling, you can add an FRFR cab to your rig.
FRFR stands for Full Range Flat Response. What this means is that this cabinet actually does not have any tonal characteristics of its own, it just replicates what we tell it to do. This means you can use your digital modeller, with whatever amp, cab and mic selections you want, and the FRFR cab will just amplify this sound.
An FRFR cab is a great option to add some stage volume to your modelling rig, however, you may find that it still doesn’t feel exactly the same as a real amp
An FRFR speaker is a great option to add some stage volume to your modelling rig, however, you may find that it still doesn’t feel exactly the same as a real amp. Tube amps can be unruly beasts, but complicated too. All of the components inside work together in different ways and the amp’s functionality can even differ depending on the temperature or humidity of the space you’re in. This can change how it feels to play. Natural compression levels may change making the amp feel tighter or spongier, or the humidity of the air can affect the speaker.
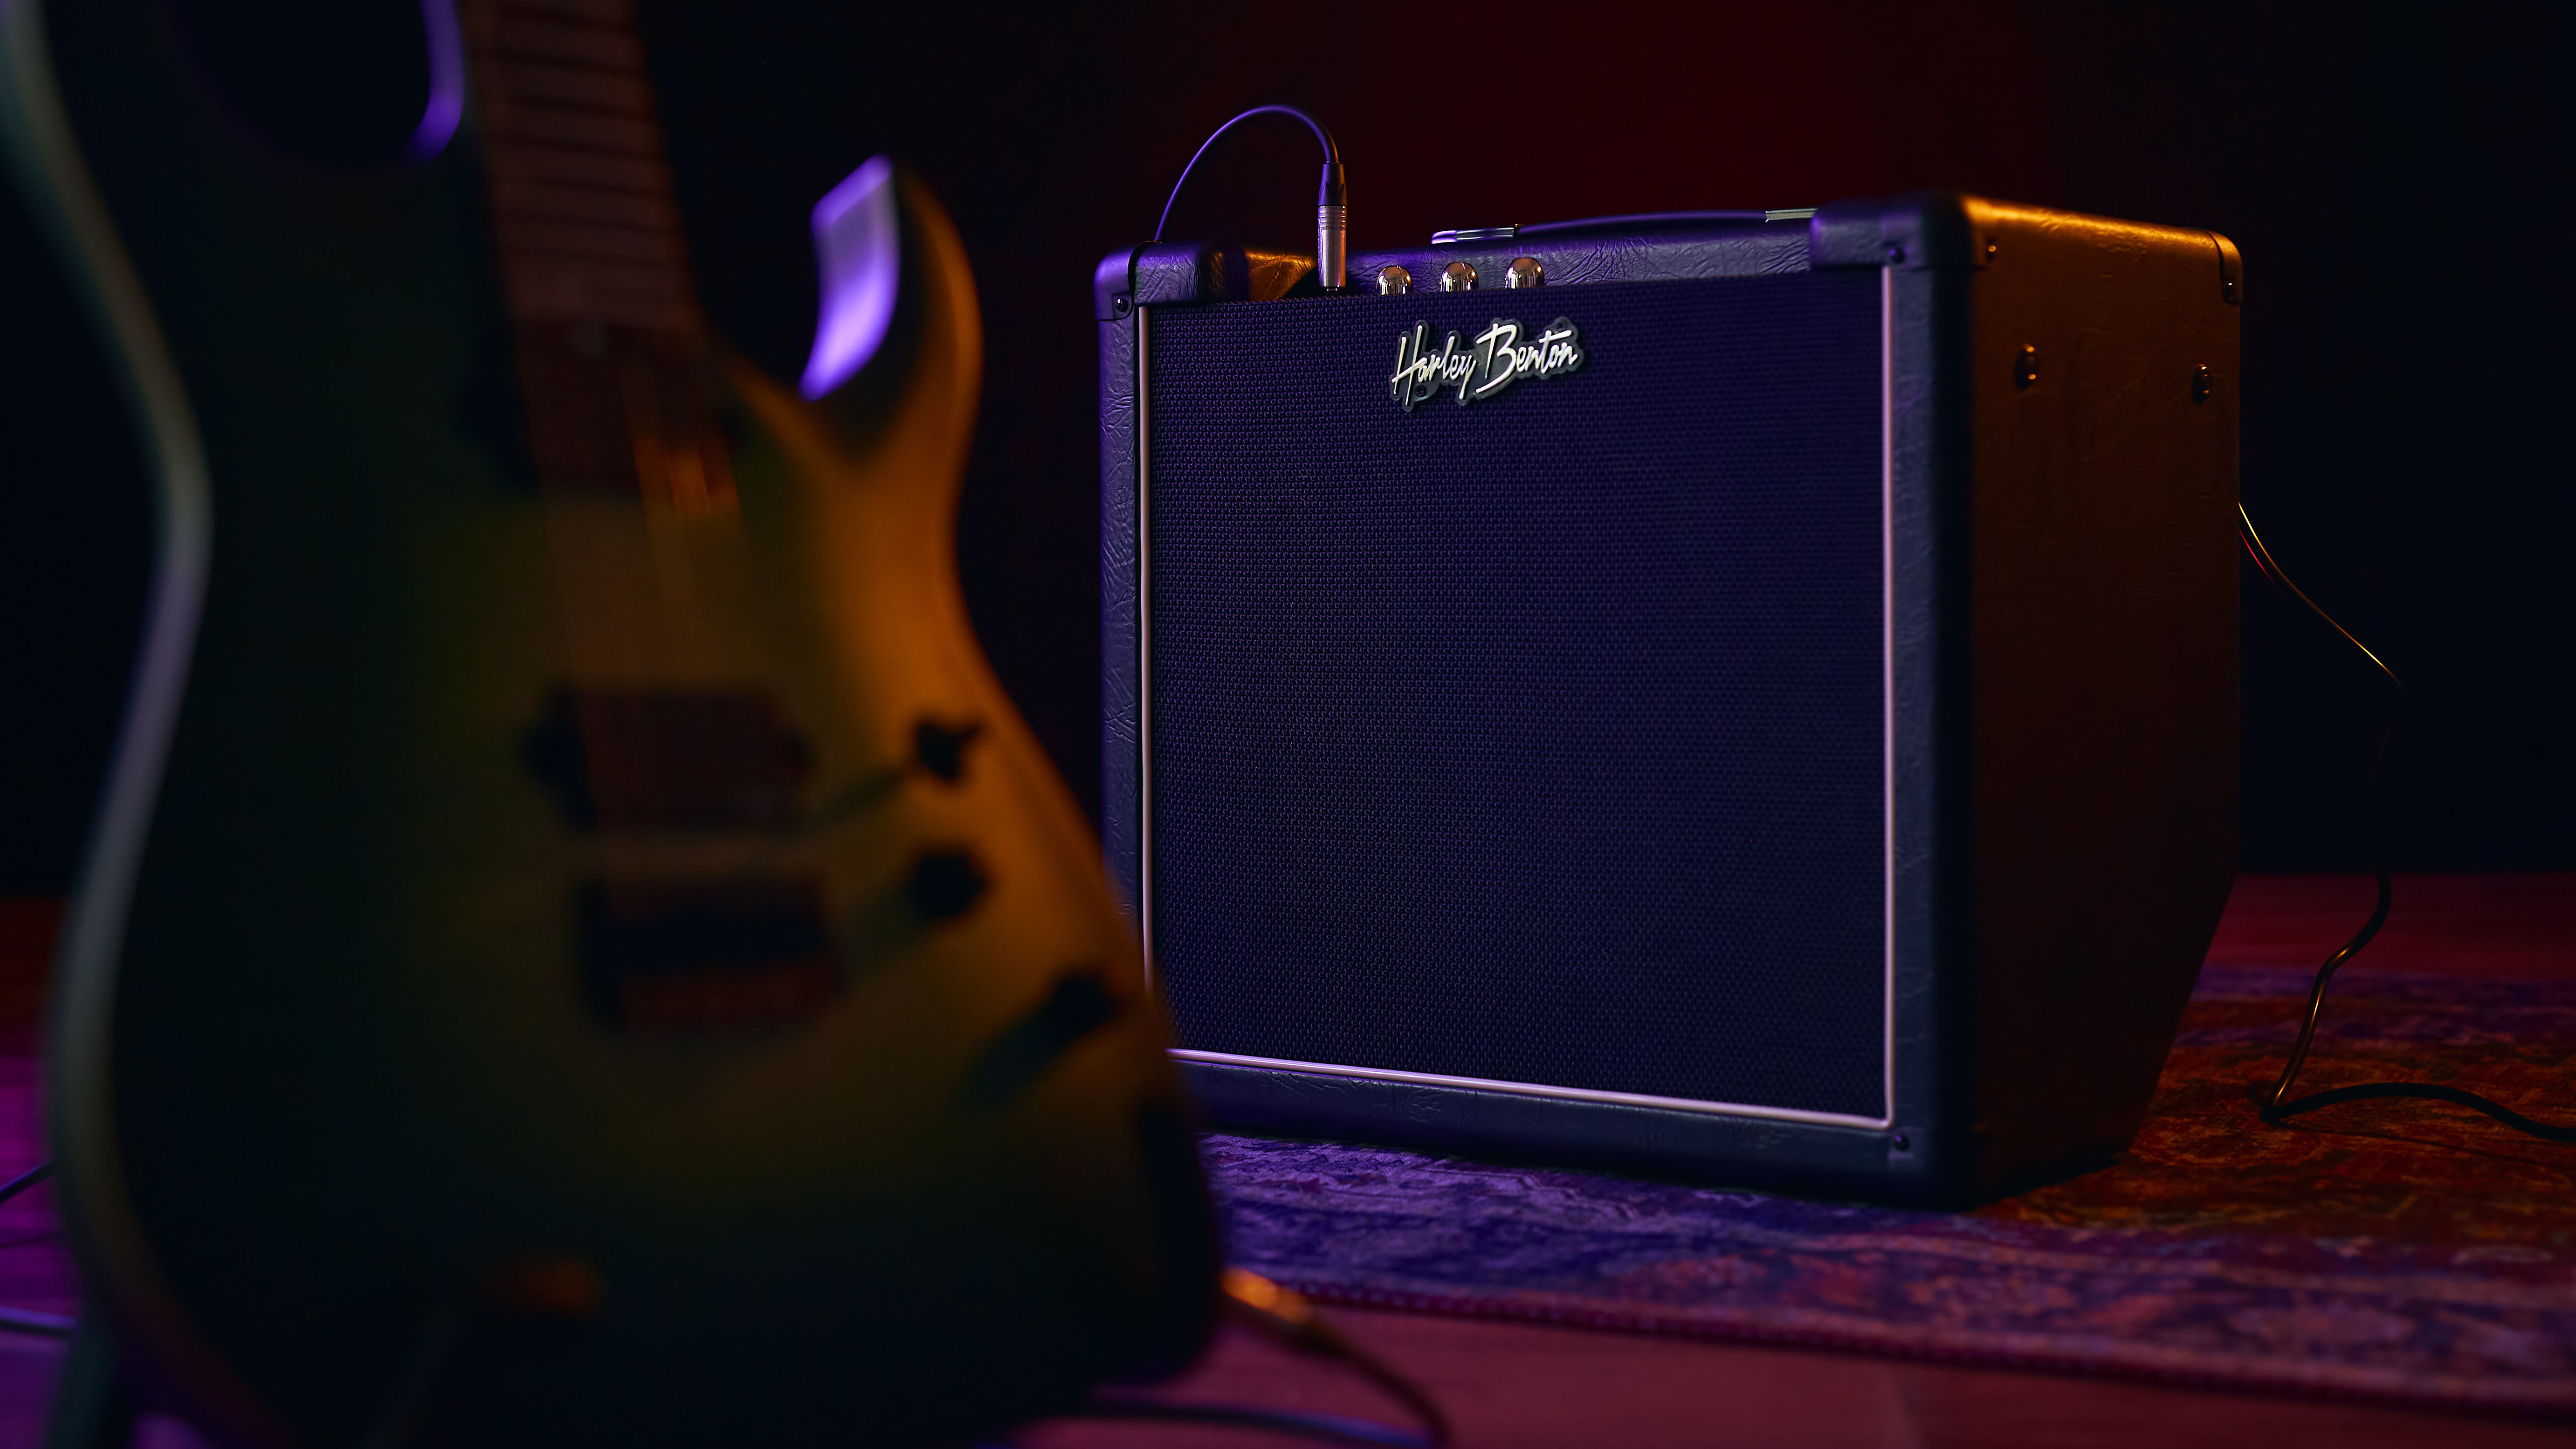
When you play at volume, you can actually feel the amp working. This is a sensation many guitar players refer to as “moving air”. The speaker creates vibrations in the air that you can physically feel on stage. An FRFR cab will certainly allow you to start feeling the air movements again, but you may find some variation in how it feels – although the positive to this is that it can be fairly consistent from room to room, which a real tube amp is not.
Most FRFR cabs will also have an XLR output on that back that just acts as a pass through for the signal to go from your rig to the mixing desk.
An FRFR cab should not colour the sound at all, its job is to add in the room volume to whatever signal you send it. This is a great way to still have some volume with an amp modelling rig without the need to set up an in-ear monitor rig.
5. Be aware of the pros and cons of using an amp pedal
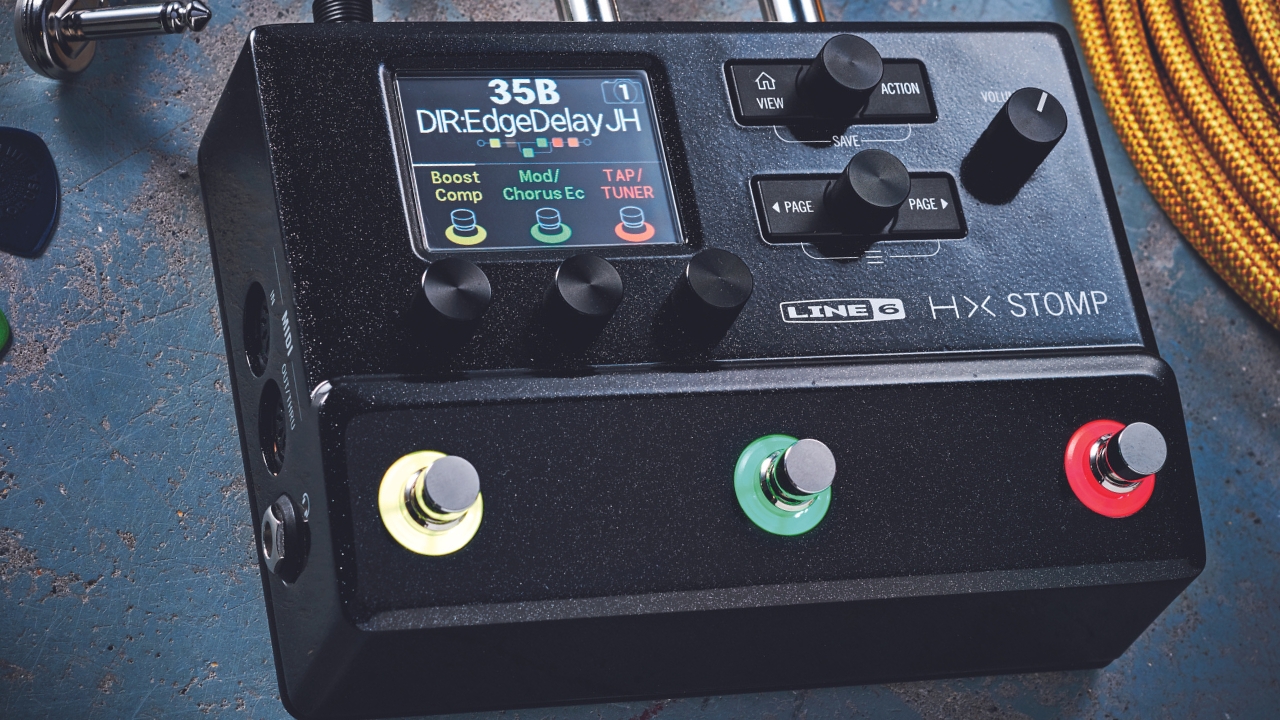
The switch from analog to digital is something that guitar players have been readily arguing for the last 20 years. It’s a topic that we all feel very strongly on, regardless of which side of the modelling fence we reside.
Amp modelling, like everything else has pros and cons and can present us with advantages and challenges in our day to day playing, and it's good to be aware of the potential positives and drawbacks beforehand.
Pros
- You can downsize the rig you need to travel with. Touring is expensive and transporting gear is expensive. If you can go anywhere with just a pedalboard, your overhead costs will be lower.
- It’s easier and quicker to get in and out of venues, and on and off stage – this is especially useful if you’re a support band and you need to get out of the way as soon as your set finishes.
- You have access to a library of gear and tones that you don’t physically own. This is perfect for trying new things – especially different cab impulse responses.
- You can use big, loud guitar sounds without actually being loud at all. You can get cranked amp tones at a friendly, safe volume.
- Easier to recreate live sounds for recording, and vice versa.
Cons
- No stage volume – if you like the sound and feel of an amp on stage, going direct into a PA will remove the on stage sound unless you are using a floor wedge or an FRFR cab.
- The feel and response is slightly different. Modelling technology sounds incredible but going fully digital removes the feeling of air movement on stage which in turn effects the tactile feel you get from playing a cranked amp.
Challenges
In my own experience, the biggest challenge I’ve experienced with modelling was not actually because of the modelling itself, but because of how I was running it
As with any gear setup, modelling can also put you into some challenging situations. These situations can range from things like your modeller failing at a gig, to not being able to hear yourself in certain situations if you don’t have adequate monitoring.
In my own experience, the biggest challenge I’ve experienced with modelling was not actually because of the modelling itself, but because of how I was running it. I was playing a gig with a silent stage, so my modeller was running straight to the mixing desk. The whole band were playing on in ear monitors to a click track, and I could hear my guitar through my in ear mix.
About half way through the show, my in ear rig went down. This not only left me with no audible guitar sound, but also no audible metronome… or anything else. I had to play the remainder of the show with my in ears out, listening to just the live drums and trusting my modeller sounded great out of the PA system without me being able to hear it and make decisions. So it's important to consider a backup for gigging, just as you would a real amp.
Leigh Fuge is a guitar player and content creator with a love for all things '80s. When he’s not creating gear demos for his Youtube channel he’s teaching students via his online guitar course Right Notes Music Tuition. Off camera he spends most of his time travelling around the UK performing at functions and corporate events. www.instagram.com/leighfugeguitar

