How to widen a mix using mid/side processing
Learn this essential modern mixing technique
Want all the hottest music and gear news, reviews, deals, features and more, direct to your inbox? Sign up here.
You are now subscribed
Your newsletter sign-up was successful
Mid/side processing is a hugely powerful but widely misunderstood concept, originating from a microphone technique designed to emulate the way in which we hear in stereo. Most new mixing plug-ins now boast M/S compatibility, offering the ability to shape the image and width of tracks and mixes like never before.
A stereo signal can be separated into two discrete components: mid and side. The mid information is essentially the mono centre - the signal present equally in both left and right channels - while the side signal is everything else. By separating these two signals from each other, they can be rebalanced and individually treated to their own processing.
While equalisation is probably the most common mid/side processing choice, there are plenty of other ways to affect the individual components of a signal: creative M/S compression, transient shaping and imaging treatments can all sculpt the tonal and dynamic balance of the mono and stereo signals independently.
Note that pseudo-widening plugins and Haas delay techniques are great for spreading narrow elements out to the sides of a mix, but it's easy to go overboard and ruin a mix's mono compatibility. Mid/side balancing and EQ can be used to rein in excessive stereo spread, giving you complete control over which frequencies are widened and which remain central.
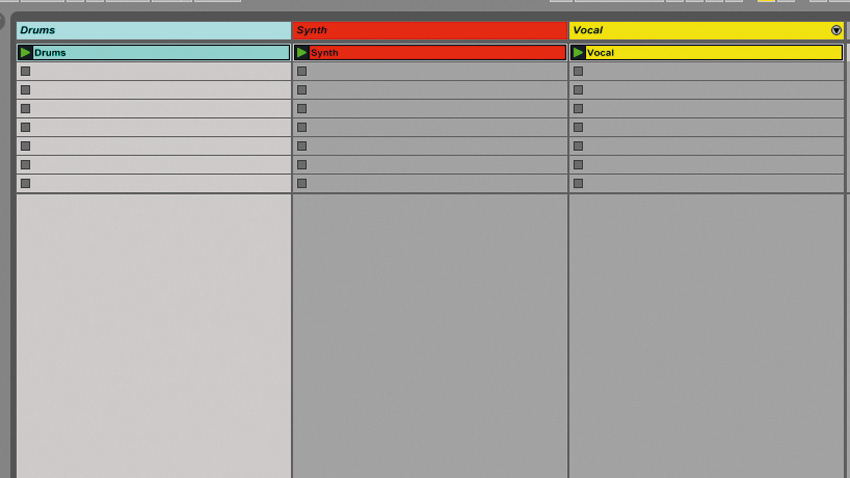
Step 1: The relative mix of this 124bpm house track isn't bad, but everything sounds a little too narrow. Let's use widening and M/S processing to enhance and excite the stereo image of each part, without compromising the track's mono compatibility too much.
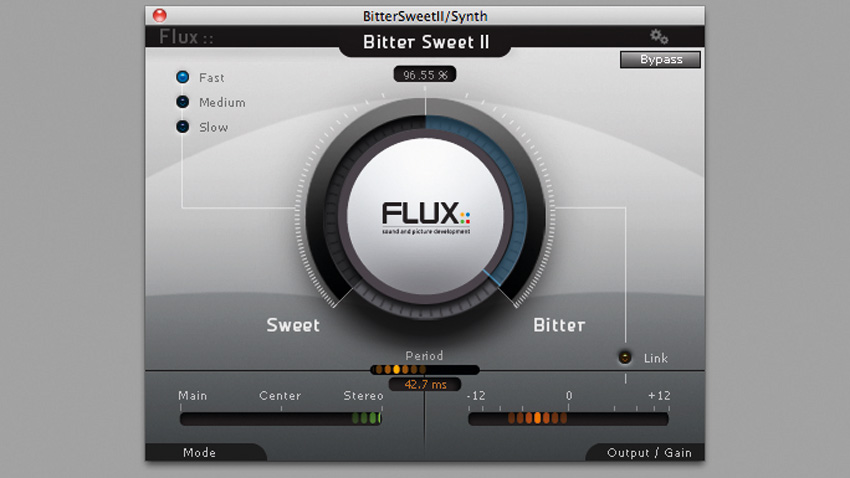
Step 2: To widen the synth riff, we add Flux's free BitterSweet transient processor, which can add attack to the mid and side signals independently. Boosting the attack of the riff's side signal helps its stereo elements punch through the mix a little more.
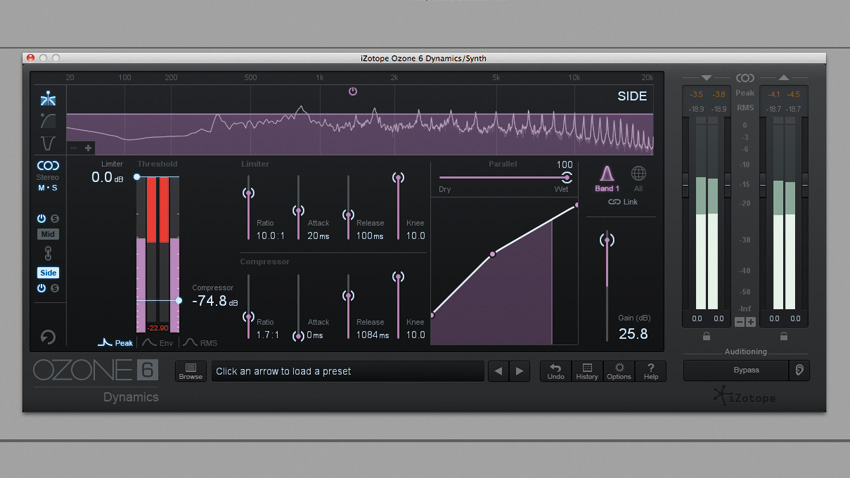
Step 3: To further enhance the stereo element of the synth part, we can use Ozone 6's Dynamics module to heavily compress the side signal while leaving the mono information alone. This gets the stereo information pumping for a creative widening effect.
Want all the hottest music and gear news, reviews, deals, features and more, direct to your inbox? Sign up here.
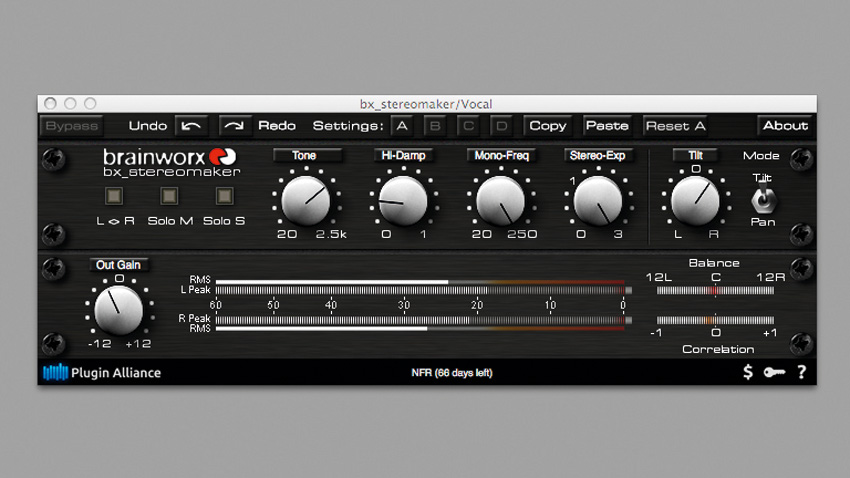
Step 4: The narrow vocal stab sits too centrally in the mix, and sounds rather dull in comparison to the other elements. A pseudo-widening plugin is used to add width and space to the vocal, pushing it out to the sides of the speakers for excitement and interest.
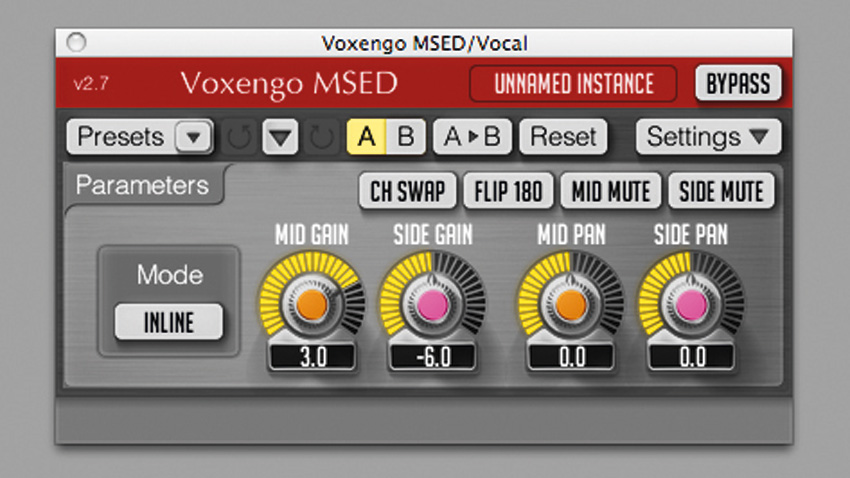
Step 5: Our vocal processing is now a little too overbearing, so we use Voxengo's MSED to turn the side signal down and the mid signal up. This keeps the perception of width we previously added, but brings back enough mono information to prevent excessive phase cancellation.
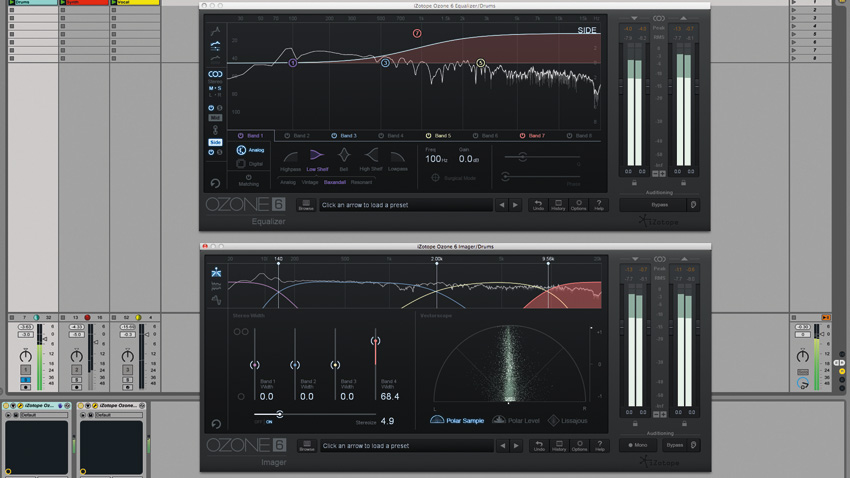
Step 6: Finally, to add treble width to the drums, a high shelving boost to the sides brings out the stereo information a little more. Ozone 6's Imager module is then engaged in multiband mode - the stereo signal is boosted above 9.5kHz for a touch of width and sheen.
Future Music is the number one magazine for today's producers. Packed with technique and technology we'll help you make great new music. All-access artist interviews, in-depth gear reviews, essential production tutorials and much more. Every marvellous monthly edition features reliable reviews of the latest and greatest hardware and software technology and techniques, unparalleled advice, in-depth interviews, sensational free samples and so much more to improve the experience and outcome of your music-making.
